How to Hang Christmas Lights Indoors Without Damaging Walls
Choose the least-damaging hanger by surface: use removable adhesive hooks on painted drywall in rentals, low-tack clips for trim or molding, and skip nails unless the wall is yours and patching is acceptable. Bad choices leave torn paint, cracked plaster, and repair costs. This guide sorts drywall, plaster, and rental walls so you can pick the safest indoor Christmas light method before hanging anything.
Start with your wall surface


Match the attachment method to the finish first, then check the weight of the strand. A smooth painted wall can take damage-free adhesive hooks if the paint is sound, while plaster, wallpaper, tile, wood trim, and textured walls each need a different approach. Light weight matters too. Fairy lights are lighter than traditional string lights, and LED bulbs run cooler than incandescent bulbs.
If the run is short and the wall is sensitive, battery-powered lights make bedroom hanging easier because they remove outlet tension from the plan. That matters near corners, doors, and beds. For longer runs, LED string lights are usually the better fit because they stay cooler and can handle more strand length than incandescent sets.
What you’ll need
- LED string lights or fairy lights, depending on run length and visual weight
- Battery-powered lights for short cord-free sections
- Damage-free adhesive hooks or strips with a stated weight rating
- Command outdoor clear light clips for straight vertical runs or columns
- Small hooks for wall-ceiling intersections
- Thumbtacks for very light fairy lights on soft interior surfaces
- Microfiber cloth and a dry duster for cleaning the wall first
- Measuring tape
- Painter’s tape for marking positions without leaving marks
- Extension cord or surge strip if the outlet is far from the run
Indoor light decision table
| Surface | Safest light type | Attachment method | Approximate spacing | Removal risk |
|---|---|---|---|---|
| Painted drywall | LED string lights or fairy lights | Damage-free adhesive hooks or strips | Every 12 to 18 inches | Low to moderate if paint is cured and clean |
| Plaster | Fairy lights or lightweight LED strands | Small hooks only where the plaster is sound; avoid heavy adhesive loads | Every 12 to 16 inches | Moderate to high if the plaster is old or fragile |
| Wallpaper | Battery-powered fairy lights | Low-tack clips or removable hooks tested in a hidden spot | Every 12 to 18 inches | Moderate; wallpaper can lift during removal |
| Tile | LED string lights or fairy lights | Removable adhesive hooks or clear clips on clean, dry tile | Every 16 to 24 inches | Low if removed slowly on a smooth tile face |
| Wood trim | Fairy lights or LED strands | Low-tack clips or small hooks on the trim line | Every 12 to 18 inches | Low to moderate, depending on finish hardness |
| Textured wall | Battery-powered fairy lights | Small hooks at the wall-ceiling line or along trim, not on the texture field | Every 12 to 16 inches | High if adhesive is placed on rough paint |
Which lights are safest indoors?
Use LED string lights for longer runs, fairy lights for lightweight wall displays, and battery-powered lights for short, cord-free sections. LED bulbs stay cooler than incandescent bulbs, which lowers heat stress near walls, fabric, and paper decor. Fairy lights are lighter than traditional string lights, so they need less support at each point.
For a bedroom headboard, a 6- to 10-foot fairy-light run is often easier to support than a heavier mini-string set. For a living room perimeter, LED string lights are better because they are built for longer coverage and fewer support points. Pick the light type before you choose hooks.
How do you hang lights without damaging walls?
Use the lightest attachment that still fits the wall and the strand weight. On painted drywall, start with damage-free adhesive hooks or strips. On trim, use low-tack clips. On soft interior surfaces, thumbtacks can work for very light fairy lights, but they can pierce the wire if you place them through the cord instead of beside it.
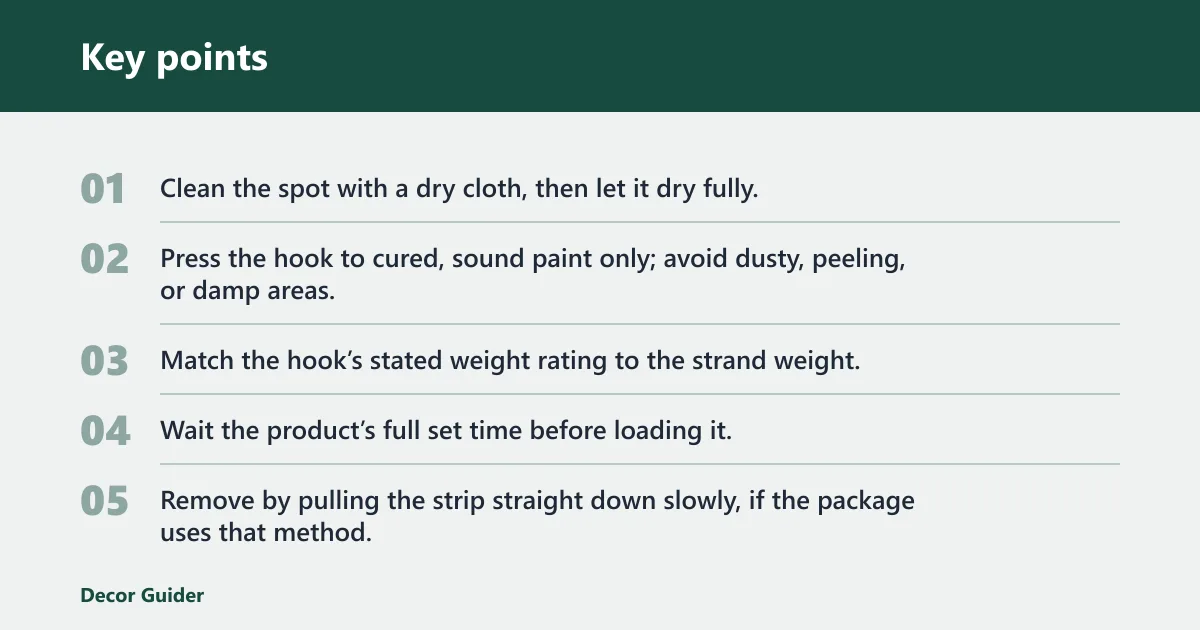
Damage-free adhesive hooks and strips
- Clean the spot with a dry cloth, then let it dry fully.
- Press the hook to cured, sound paint only; avoid dusty, peeling, or damp areas.
- Match the hook’s stated weight rating to the strand weight, then leave slack between anchors.
- Wait the product’s full set time before loading it.
- Remove by pulling the strip straight down slowly, if the package uses that method.
Damage-free hanging hooks such as Command strips are recommended for renters, and they come in a variety of sizes. Most are meant for indoor use and work best on smooth painted drywall, finished wood, and tile. Temperature limits vary by product, so check the package before placing them near a warm window or heat vent.
Thumbtacks and small hooks
- Use thumbtacks only for lightweight fairy lights on soft interior surfaces.
- Place each tack beside the wire path, not through the wire.
- Keep spacing tight enough that the strand does not bow between points.
- Use small hooks at the wall-ceiling intersection when you want the line to disappear near the ceiling.
Thumbtacks are best for temporary use. They work well on wood trim and similar soft surfaces, but they are a poor choice for brittle plaster and can leave obvious pinholes. Small hooks suit ceiling lines because they hold the run without putting weight into the wall face.
Command outdoor clear light clips
Command outdoor clear light clips can be used on vertical columns and other straight indoor paths where the spacing needs to stay even. They are designed for columns and vertical surfaces, use removable adhesive, and are meant to support light runs along a clean line. A common spacing guidance for column clips is about 16 to 24 inches.
Say your hallway has a pair of painted columns and a 12-foot strand of LED lights. Clear clips along the columns keep the run straight without nail holes, and the even spacing prevents sagging between anchor points.
How do you hang lights on a ceiling?
Anchor at the perimeter first and keep tension low across spans. Indoor ceiling lights can be secured at wall-ceiling intersections, which is usually safer than placing adhesive in the middle of a broad ceiling panel. Route the cord toward the outlet without pulling the plug sideways or stretching the wire.
Ceiling-to-wall transitions
- Mark the wall-ceiling line with painter’s tape before you attach anything.
- Set small hooks or clear clips at the intersection, not into the ceiling field.
- Run the strand with gentle slack between points so it does not tug on one anchor.
- Guide the cord downward along trim or a corner instead of across open wall space.
Picture a bedroom where the outlet sits low on one side of the room. A battery-powered run avoids cord strain entirely. If the lights are plugged in, move the outlet end to the nearest corner first, then add support points about every 12 to 16 inches so the span does not pull away from the ceiling line.
Common mistakes
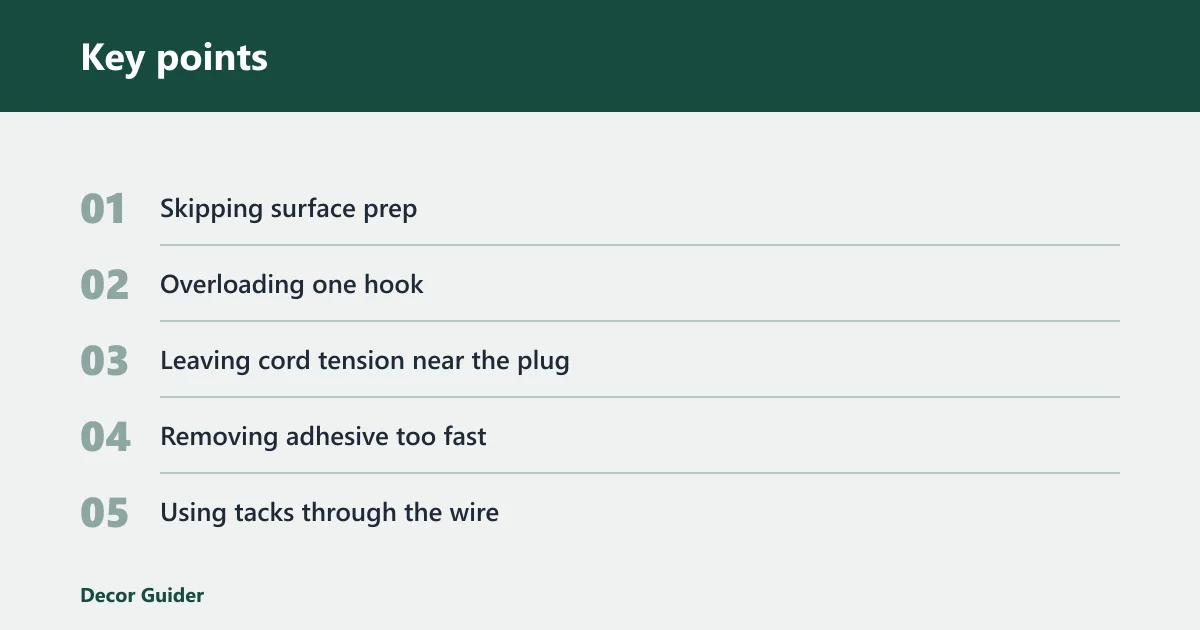
- Skipping surface prep. Dust and loose paint cause adhesive failure. Clean the area first and avoid peeling spots.
- Overloading one hook. A hook that holds the strand in one place will sag. Add another support point sooner.
- Leaving cord tension near the plug. If the plug is under strain, move the first anchor closer to the outlet or switch to battery-powered lights.
- Removing adhesive too fast. Pulling straight away can lift paint. Follow the strip’s removal method and go slowly.
- Using tacks through the wire. That can nick the insulation. Place the tack beside the wire instead.
Failure checklist for adhesive, tack, and hook setups
| Problem | What usually caused it | Fix next time |
|---|---|---|
| Hook slips off painted drywall | Dust, damp paint, or too much weight | Clean the spot, use a larger hook, or switch to a lighter strand |
| Paint lifts during removal | Adhesive pulled too fast or paint was weak | Warm the room slightly, remove slowly, and use the strip’s release method |
| Light run sags between points | Spacing too wide | Add another anchor before the midpoint |
| Tack leaves a wire nick | Tack went through the cord | Move the tack beside the wire and use lighter fairy lights |
| Plug looks strained | Cord routed too directly to the outlet | Shift the first anchor closer to the outlet and reduce the pull |
Frequently asked questions
What can I use instead of nails for indoor Christmas lights?
Damage-free adhesive hooks, clear clips, small hooks at the wall-ceiling line, and thumbtacks for lightweight fairy lights are the main alternatives. Command outdoor clear light clips are useful on columns and other straight runs, while battery-powered lights reduce cord stress when outlet placement is awkward.
Are Command strips safe for hanging string lights on walls?
Yes, when the wall is smooth, clean, and within the product’s weight rating. They are recommended for renters and come in several sizes. Use them on painted drywall, finished trim, or tile, but avoid rough texture, dusty paint, and overlong spans that put extra pull on one point.
Can I hang Christmas lights on painted walls without leaving marks?
Often, yes, if the paint is fully cured and sound. Use removable adhesive hooks on clean painted drywall, test one hidden spot first, and wait the package’s full set time before loading it. Removal should be slow and straight, not yanked away from the wall.
How do I hide the cord when hanging indoor Christmas lights?
Route the cord along a corner, trim line, or wall-ceiling intersection so it blends into the room edge instead of crossing open wall space. Keep the first support close to the outlet to reduce strain, and use battery-powered lights when the cord would otherwise create a visible drop.
Products related to this article
Sponsored / affiliate links. As an Amazon Associate I earn from qualifying purchases. I may earn additional commission from eligible campaigns.