How to Decorate a Staircase Banister for Christmas
Start with the staircase shape, then pick the attachment method and garland weight. On steep or curved banisters, use lightweight garland with zip ties or floral wire at about every 12 to 18 inches. On narrow or high-traffic rails, use low-profile greenery and short attachments. Skip that, and decor can slip, snag hands, block steps, or mark paint and wood. This guide covers the best materials, attachment systems, and length planning for straight, curved, steep, narrow, and busy staircase banisters.
For related holiday styling ideas, see Christmas mantel garlands, front porch garland, ribbon bow tutorials, staircase lighting safety, and holiday entryway decor.
Choose the right garland for your banister
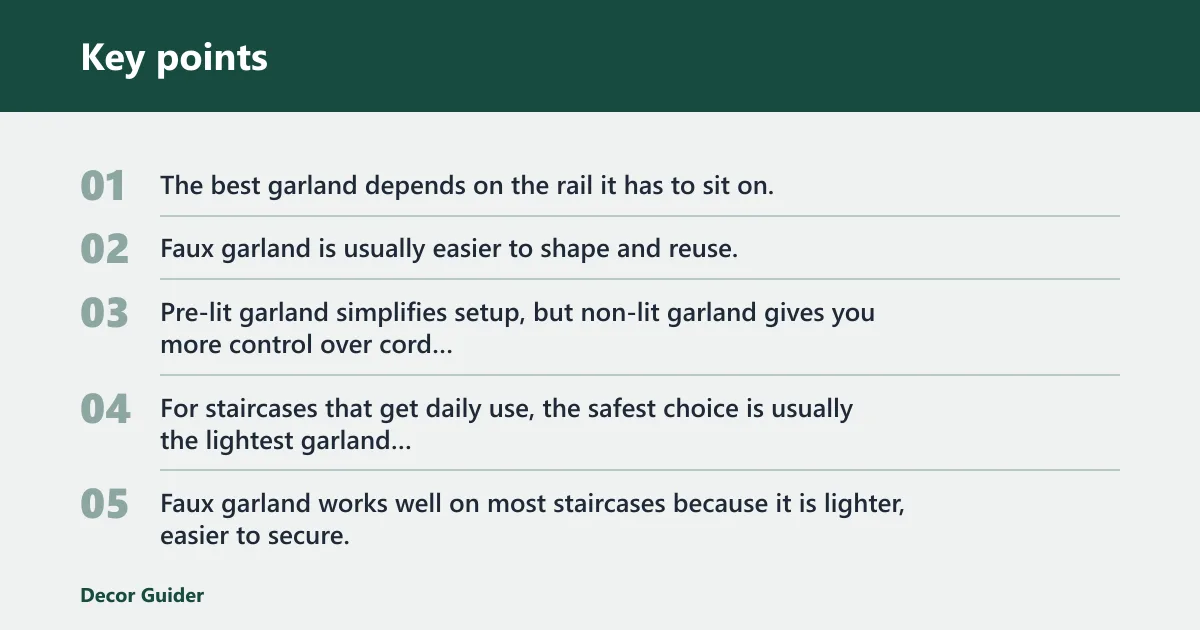


The best garland depends on the rail it has to sit on. Faux garland is usually easier to shape and reuse, while fresh garland brings scent but adds weight and sheds more. Pre-lit garland simplifies setup, but non-lit garland gives you more control over cord placement and safety. For staircases that get daily use, the safest choice is usually the lightest garland that still looks full enough from the entryway.
Faux vs fresh garland
Faux garland works well on most staircases because it is lighter, easier to secure, and less likely to sag on curves. Fresh garland can look fuller at first, but it needs more support, especially on steep runs or long open staircases. If you want a safer, lower-maintenance choice, start with faux. The weight difference matters most on painted wood and metal rails, where extra load can cause slipping or surface marks if the fastener is too loose or too tight.
Fresh garland also needs more upkeep. It can dry out, shed, and lose shape, which means more cleanup on stairs and more chance of debris on steps. Faux garland usually costs less to maintain over the season because it can be reused and reshaped, while fresh garland has the advantage of scent and a softer look. On long staircases, faux is often the more practical starting point.
Pre-lit vs non-lit garland
Pre-lit garland saves time, but it adds weight and fixes the light spacing for you. Non-lit garland is easier to route around newel posts, turns, and spindle-heavy railings, and it lets you use battery-operated string lights only where you want them. For busy stairs, cordless lights help avoid visible cords and trip hazards. If the stair rail is narrow or steep, non-lit garland with separate battery lights is usually easier to manage.
When choosing between the two, use a simple decision tree: if the stair is narrow or heavily used, pick lightweight non-lit garland; if the look needs instant glow and the rail is sturdy, pre-lit can work; if outlets are distant or cords would cross a walking path, choose battery-operated lighting instead of plug-in strands. For fresh garland, skip pre-lit unless the rail can handle the extra weight.
How fullness and drape change the look
Garland that hangs too low can catch hands and sleeves. Garland that sits too tight can look stiff, especially on a long straight rail. The best look comes from a gentle drape with support points hidden behind the greenery, not from one long loose run with no fastening. A shallow swag with evenly spaced anchors usually photographs better and stays safer than a deep, sagging curve.
Two feet of garland for every foot of handrail. Another decorator says a 6-foot garland can be used on a 4-foot banister. Those figures point in the same direction: add extra length for drape, bends, and end coverage instead of buying to the rail length alone. In practice, that rule of thumb is a starting point, not a fixed limit, because stair shape changes the final amount.
How much garland do you need?
Measure the handrail first, then add slack for the shape of the staircase. Straight rails need the least extra length. Curved, steep, or open staircases need more because the garland must follow turns, descend at an angle, and cover gaps without pulling tight. For planning, start with the rail length, then add a buffer for anchor points, fullness, and any bows or accents.
Measure the rail, then add slack for curves and swag
For a straight staircase, start with the rail length and add enough to create a soft curve between anchor points. For curved or steep stairs, plan for more slack so the garland does not lift at the outside edge or pull away from the wall. The steeper the angle, the more support points you need. As a practical range, anchor spacing usually lands around every 12 to 18 inches, with tighter spacing on curves and looser spacing on straight sections.
Garland can be sold in lengths from 15 feet to 100 feet for open staircases. That range matters because open runs often need continuous coverage, especially when the railing is visible from the entryway or landing. If the stair is long, buying one longer run can reduce obvious joints. For very visible staircases, one continuous run usually looks cleaner than several short pieces tied together.
Buy extra for thick garland and end coverage
Thick garland needs more length than thin garland because fullness shortens the visible span between support points. Add extra for the top and bottom ends as well. Those areas are where the eye lands first, and they are also the spots most likely to slip if the garland is cut too close. End coverage matters on painted wood and metal rails because exposed fasteners are more noticeable there.
Match length to straight, curved, steep, or open stairs
Suppose a stair rail is 12 feet long and you want a soft swag. Using the two-feet-per-foot rule, you would plan for about 24 feet of garland before adding any extras for bows or end coverage. On a tight curve, that same rail may need more because the outside edge travels farther than the inner edge. For steep rails, add a little more slack than you think you need, then cinch it back with extra anchor points rather than relying on a single tight wrap.
Staircase banister table
This table gives a starting point for planning the rail you actually have. Use it to match stair shape, attachment method, and garland type before you buy. For curved or high-traffic stairs, the risk level rises quickly if you choose a heavy garland or a loose fastening method. As a planning rule, keep anchor points closer together on bends, and loosen the spacing only after the garland is stable.
| Stair shape | Recommended garland length | Attachment method | Light type | Risk level |
|---|---|---|---|---|
| Straight | Rail length plus extra for soft swag; a common starting point is two feet per foot of handrail | Zip ties or decorative twist ties at ends and every 12 to 18 inches | Battery-operated string lights or no lights | Low |
| Curved | Longer than the rail length to cover the outside arc and prevent pullback | Zip ties plus floral wire at curve points | Battery-operated string lights | Medium |
| Steep | Extra length for downward drift and additional anchor points | Decorative twist ties or garland ties for a scratch-free hold | Battery-operated string lights only | Medium to high |
| Open | Often the longest run; 15 feet to 100 feet may be sold for this use | Zip ties at hidden support points, with floral wire for accents | Battery-operated string lights | Medium |
| Narrow | Shorter, low-profile greenery with minimal overhang | Decorative twist ties or garland ties | Small battery-operated string lights or none | High for snagging |
| Painted wood rail | Start with rail length, then add 25% to 100% depending on swag depth and fullness | Decorative twist ties first; zip ties only where hidden and snug | Battery-operated string lights preferred | Medium |
| Stained wood rail | Rail length plus enough extra for clean end wraps and a shallow drape | Decorative twist ties or garland ties; avoid over-tightening | Battery-operated string lights or no lights | Low to medium |
| Metal rail | Rail length plus extra for grip and bend compensation | Decorative twist ties, garland ties, or zip ties at hidden points | Battery-operated string lights | Medium |
What is the easiest way to attach garland to a staircase banister without damage?

The easiest damage-minimizing method is usually decorative twist ties or garland ties on wood, metal, or painted rails, with zip ties reserved for hidden anchor points and heavier sections. For a secure hold, fasten the garland ends first, then add support points along the rail so the weight is spread out instead of hanging from one spot. On painted wood and stained wood, the least visible attachment is the one that stays snug without biting into the finish.
Zip ties for a secure hold
Zip ties are a practical choice when you need a firm hold, especially on steep staircases or heavier faux garland. The staircase tutorial lists zip ties or decorative twist ties as attachment tools and advises snipping zip tie ends after securing the garland. That last step matters because sharp tails can catch sleeves and hands. On straight metal rails, zip ties usually hold best; on curved rails, they can work well only if a second support point is added near the bend.
Decorative twist ties or garland ties for a scratch-free hold
Decorative twist ties are useful on painted wood, stained wood, and metal when you want a lower-profile attachment. Garland ties can hold the heaviest garland, which makes them a strong option for thick, full runs. They are also easier to reposition if the swag looks uneven. In finish-protection terms, they are the best first choice when a rail has a visible grain, soft paint, or a polished surface that can show pressure marks.
Floral wire for accents and reinforcement
The staircase tutorial includes floral wire as a required material. Use it to attach berry stems, leaves, dried fruit, and other small accents, or to reinforce weak spots where the garland wants to drift. Floral wire is discreet, but it should support details, not carry the whole weight of the arrangement. It works best as a helper at the curve or end of a run, not as the only support for a heavy piece.
Where to fasten garland ends and support points
Fasten the garland at the newel post, at the top and bottom ends, and at intervals that match the stair shape. On curves, place extra support at the bend. On spindle-heavy railings, tie to the handrail rather than around every spindle unless the spacing and finish make that safer. A good anchor pattern usually starts with the ends, then fills in the middle so the center does not slide downhill.
- Anchor one end at the newel post or top rail.
- Set the garland across the handrail without pulling it tight.
- Add ties at intervals that match the rail shape.
- Check for slipping, then tighten only where needed.
- Snip zip tie ends and hide any visible fasteners.
How do you make faux garland look fuller on stairs?
Fluff the branches first, then layer small accents into the body of the garland so it reads as one thick piece. If the garland still looks thin, use floral wire to hold added stems in place and cover gaps with ribbon, bows, berries, or pinecones. The goal is fullness without extra bulk at the edges. Fullness should sit on the front face of the rail, not spill so far over the sides that it narrows the handhold.
Fluff before hanging
Separate the tips and shape the branches before you attach the garland. This is faster than trying to correct flat sections after the rail is covered. It also helps you spot thin spots early, so you can place the sparse areas where they are less visible from the entryway. Fluffing also makes a lightweight garland look denser, which is useful on narrow or painted rails where heavy styling can be risky.
Layer stems, berries, and pinecones
Accent greenery and botanicals work best when they add volume without making the rail hard to hold. Berry stems, eucalyptus, pinecones, and dried orange slices can be tucked into the garland so the surface looks deeper and more varied. Use floral wire for these small additions because it stays discreet. Keep the extra pieces clustered instead of spreading them evenly everywhere; that creates a fuller look with less visual clutter.
Hide thin spots with ribbon and bows
Ribbon is useful when you need to disguise ties or bridge a sparse section. Non-wired ribbon gives a draping, vintage effect, while velvet, plaid, and satin all change the mood of the stairway. Keep bows small on narrow rails so they do not block the handhold or catch on clothing. For a cleaner look, place ribbon where the rail naturally turns or widens, since those spots hide transitions better.
A common first-timer mistake is buying a thick garland for a narrow painted rail and then forcing it into place with too few ties. The garland sags at the center, the ties show from the landing, and the handrail feels crowded. A lighter garland with more support points usually fixes all three problems at once. On straight rails, that usually means more evenly spaced supports; on curved rails, it means shorter spacing near the bend.
Lights, ribbon, and accents
Lights and ribbon should follow the staircase, not fight it. Battery-operated string lights are the safest way to add glow without visible cords, and they are especially practical for open staircases or spots where outlets are far away. After that, choose one ribbon style and a few small accents instead of loading the rail with everything at once. For safety, keep the display decorative rather than dense enough to obstruct the rail or walkway.
Battery-operated string lights and fairy lights
Battery-operated string lights are presented as optional for the banister garland, and they are the better fit when you want a cord-free setup. Warm white works for a softer look, while multicolor reads more playful. Fairy lights are useful when you want sparkle without large bulbs or extra visual weight. The lighting-safety advantage is simple: fewer cords across stairs means fewer trip hazards and less risk of pinching the wire under the garland.
For battery lights, keep the pack hidden but reachable, route cords along the back side of the rail, and avoid running any wire across a tread or open step edge. If a light set has a timer, that can reduce battery changes and help keep cords from being adjusted repeatedly. For staircase lighting safety, battery lights still need clear routing and secure placement, especially in homes with children or pets.
Ribbon styles: velvet, plaid, and satin
Velvet gives the stair rail a heavier holiday feel. Plaid works well with traditional or rustic rooms. Satin reflects more light and suits a cleaner, lighter look. Use ribbon to disguise ties, then let it drape naturally instead of pulling it tight around every turn. If the rail is narrow, keep ribbon tails shorter so they do not swing into the walking path or cover the handhold.
Accent greenery and botanicals
Berry stems add color without needing ornaments everywhere. Dried orange slices bring a natural note and are light enough for smaller rails. Eucalyptus softens the line of the garland, and pinecones add texture. A few well-placed accents often read better than a crowded mix that makes the staircase feel busy. On high-traffic stairs, choose light accents first so the display stays intact through daily use.
Common staircase problems and fixes
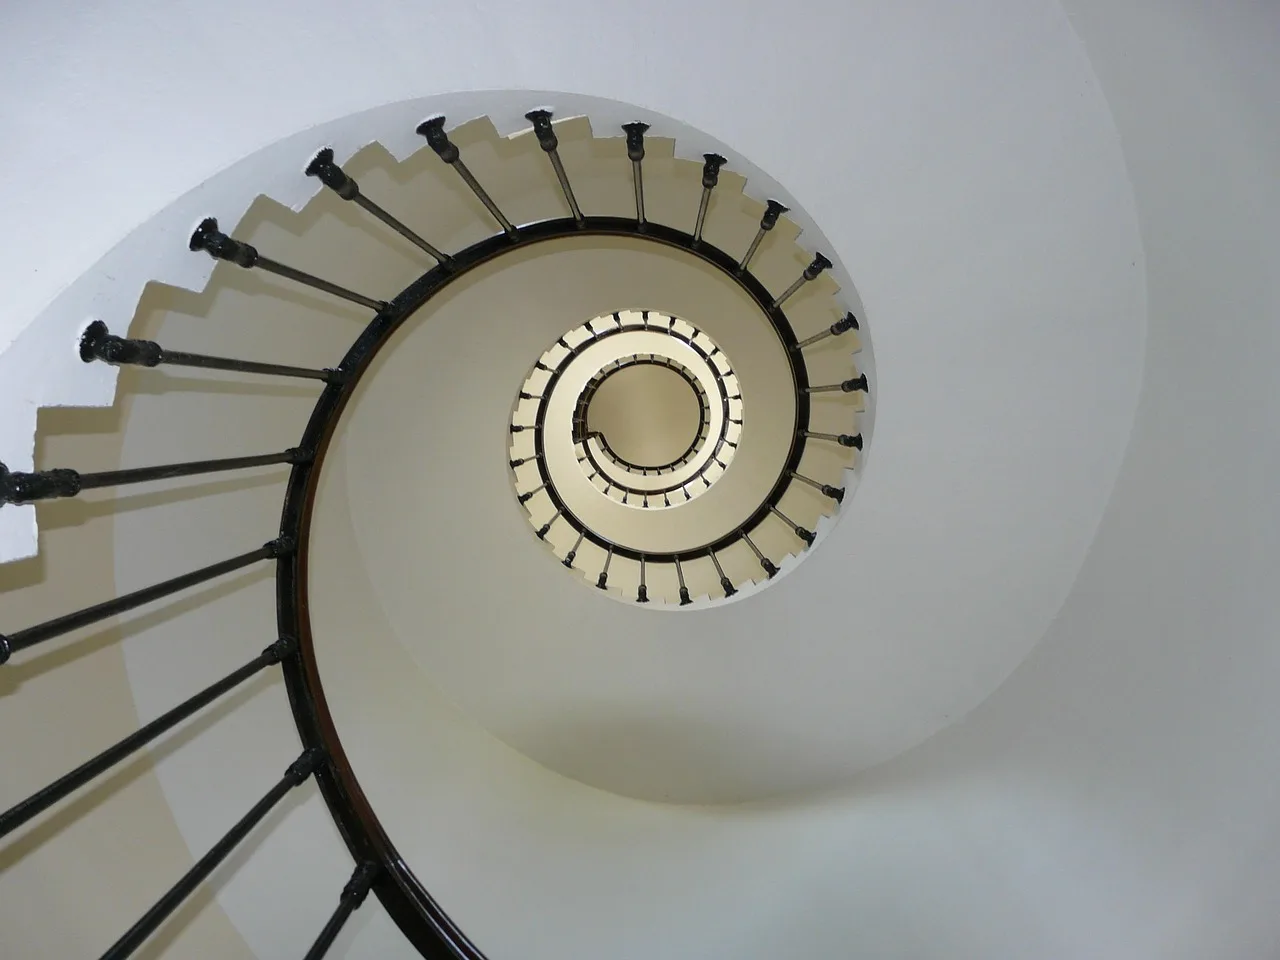
The most common problems are sagging, slipping, visible ties, and uneven swag. Each one points to the same basic issue: the garland is not matched to the stair shape or the attachment method is too weak for the weight. Fix the support first, then adjust the styling. If the layout is wrong, no amount of extra ribbon will fully correct it.
Sagging at curves
Curves need more anchor points than straight rails. If the garland sags at the bend, add a tie just before and just after the curve, then lift the center slightly. Heavier garland may need floral wire reinforcement at the bend so the outside edge does not droop. Curved rails also benefit from shorter spacing between anchors because the outside line of the curve carries more visible weight.
Slipping on painted or metal railings
Painted wood and metal can be slick, so the attachment choice matters. Decorative twist ties or garland ties are usually kinder to the finish, while zip ties should be used where the hold matters most and the cut ends can be hidden. Tighten only enough to stop movement; over-tightening can mark the surface. If the garland still shifts, move the anchor to a less slick section instead of pulling harder on the same spot.
Visible ties and uneven swag
Visible ties usually mean the garland is hanging too low or the support points are too far apart. Move the fastening points behind thicker branches and cover them with ribbon or small stems. If the swag looks uneven, re-space the ties before adding more decor, because decoration cannot fix a bad foundation. Uneven spacing is especially noticeable on straight staircases, where the eye can track the whole rail at once.
Keeping the setup safe around kids and pets
For toddlers, pets, and narrow steps, keep the garland closer to the rail and avoid long hanging ribbons. Battery-operated lights reduce cord hazards. In high-traffic entries, keep ornaments, pinecones, and bows out of the walking line so hands and feet do not catch on the display. Choose soft, lightweight accents if the staircase doubles as a daily route.
Safety checklist: keep the handrail clear enough to grip, avoid open flame or heat sources near fresh or faux greenery, route any light cords along the back side of the rail, secure battery packs so they do not hang loose, and keep ribbons, ornaments, and low-hanging ends away from kids, pets, and foot traffic. If the display blocks the rail, shorten it.
Say your staircase is narrow, painted white, and used every morning. A low-profile faux garland with decorative twist ties, short ribbon tails, and battery-operated string lights is less likely to snag coats or scuff the finish than a heavy wrap with long drape. The safer choice can still look full. On painted wood, that usually means smaller bows and tighter anchor spacing; on stained wood, it means avoiding visible pressure marks; on metal, it means checking for slip at the bends.
Frequently asked questions
How much garland do I need for my staircase railing?
A common rule of thumb is two feet of garland for every foot of handrail, then extra length for curves, fullness, and end coverage. A 6-foot garland can work on a 4-foot banister, but steep or open staircases usually need more than a simple straight measurement. If the rail is curved, plan for additional slack and more anchor points.
Products related to this article
Sponsored / affiliate links. As an Amazon Associate I earn from qualifying purchases. I may earn additional commission from eligible campaigns.