
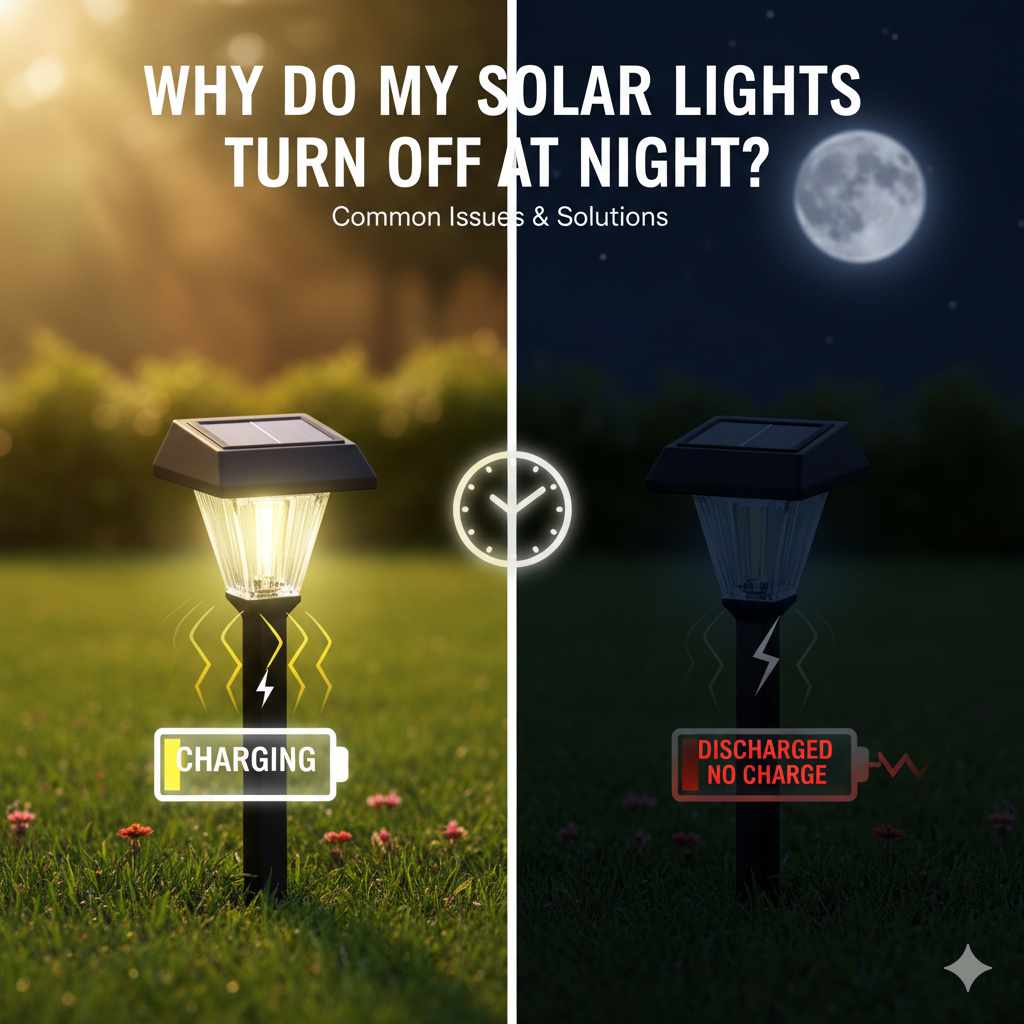
Most solar lights turn off at night due to simple issues like a dirty solar panel, a drained battery, or the switch being off. Fixing this often involves cleaning the panel, checking the battery connection, or giving them a full day of uninterrupted sun exposure to recharge properly.
It’s frustrating when you expect a soft glow from your outdoor solar lights and find nothing when the sun goes down. You bought them to save energy and look great, but now they just sit there, dark. This is a super common problem, and the good news is that the fix is usually very simple—no need to call an electrician!
As your trusted guide for keeping things running smoothly, I’m going to walk you through the main reasons your lights aren’t working. We’ll look at easy, step-by-step fixes you can do right now. You’ll gain the confidence to troubleshoot these common issues and get your beautiful outdoor lighting back on track.
The Big Three Reasons Your Solar Lights Quit Working
Before we start pulling tools out, let’s understand what makes these lights tick. Solar lights are simple gadgets. They need three things to work correctly: sunlight to charge, a battery to store that energy, and a sensor to tell them when to turn on. When they fail, it’s almost always one of these three areas causing trouble.
1. Not Enough Sunlight: The Charging Problem
This is the number one culprit. Solar lights rely entirely on their small solar panel soaking up direct sunlight all day long. If they don’t get enough power, they simply won’t have the juice to last through the night.
Check for Obstructions and Shade
Even a little shade can make a big difference. A tree branch that wasn’t there last year, a new hedge, or even the shadow cast by your house can drastically reduce charging efficiency. During the spring and summer, the sun moves across the sky, changing where shadows fall.
- Inspect the panel area around 11 AM to 3 PM, which are the peak charging hours.
- Look for overhanging tree limbs or new roof lines blocking the sun.
- If you recently installed a new fence or structure, check if it’s now shading the light post.
Dirty Panels Don’t Charge
Think of the solar panel like the windshield of your car. If it’s covered in dirt, dust, bird droppings, pollen, or grime, the sunlight bounces right off instead of getting absorbed. This severely limits how much energy gets stored.
This fix is the easiest and often the most effective. You just need to clean them up!
- Tools Needed: Soft cloth or sponge, mild dish soap (optional), clean water.
- The Gentle Cleaning Process:
- Turn the light switch off (usually located under the solar cap).
- Gently wipe the surface of the solar panel with a damp, soft cloth.
- If you have stubborn grime, use a tiny bit of mild dish soap mixed with water, but rinse thoroughly.
- Dry completely with a soft towel or let it air dry. Never use abrasive chemicals or scrub pads, as they scratch the surface and permanently reduce efficiency.
2. Battery Issues: Where the Power Goes
The battery is the heart of your solar light. It stores the energy collected during the day so the light can shine at night. If the battery has issues, the light won’t work, regardless of how sunny the day was.
The Battery Is Dead or Too Old
Solar lights typically use rechargeable Nickel-Metal Hydride (NiMH) or Lithium-Ion batteries. These batteries have a lifespan. After about one to three years, they lose their ability to hold a full charge, even if they are the original rechargeable type.
If your lights are older and the cleaning didn’t help, the battery is the next logical check. If you bought cheap, non-rechargeable lights, they might have come with standard alkaline batteries that simply died after the first night—these should be replaced immediately with NiMH rechargeables.
Improper Battery Installation or Connection
Sometimes, the battery hasn’t been seated correctly or the small metal contacts inside the housing are corroded or dirty, preventing good electrical contact.
Step-by-Step Solar Battery Swap Guide
Always start by ensuring the light is switched OFF before opening the compartment.
- Locate the Compartment: This is usually under the main solar cap, accessed by unscrewing or popping open a small door.
- Remove Old Battery: Note the orientation (+ and – ends) of the old battery so you can install the new one correctly.
- Clean Contacts (If Needed): If you see rust or white/green residue (corrosion) on the metal tabs, gently scrub them with a pencil eraser or a cotton swab dipped in rubbing alcohol. Good contact is key!
- Insert New Battery: Ensure the new rechargeable NiMH battery matches the voltage specification (usually 1.2V) and size (often AA or AAA). Match the polarity (+/-).
- Reassemble and Test: Close the compartment securely. Place the light in total darkness or cover the solar panel completely for a few hours, then move it back into the sun/dark to test.
3. The Light Sensor or Switch is Faulty/Off
Solar lights have a built-in photocell (a small sensor) that tells the circuit board: “It’s dark, turn on!” If this sensor gets confused, the light won’t activate.
Is the Light Switch in the “OFF” Position?
It sounds obvious, but many people install a light, forget to turn the main power switch ON (usually a small slide switch under the decorative lid), and then wonder why nothing works later. Always confirm that switch is set to ‘ON’ after initial setup or battery change.
Sensor Confusion
If the light is near another bright light source—like a porch lamp or floodlight—the sensor might think it’s still daytime. This tricks the light into staying off all night.
If you are testing the light by covering the panel during the day, make sure you cover it completely. Even a slight glow can trick the sensor into thinking the sun is still up.

Troubleshooting for Consistent Nighttime Operation
Once you’ve checked the basics (Sun, Battery, Switch), we need to look at slightly deeper reliability issues. Here is a comparison of common problems and their typical fix time.
| Observed Issue | Most Likely Cause(s) | Difficulty Level | Fix Time Estimate |
|---|---|---|---|
| Light turns on briefly, then dies quickly. | Weak or aging battery; Insufficient daytime charge (shade). | Easy | 10 minutes (if swapping battery) |
| Light never turns on, even after a sunny day. | Switch is off; Battery installed backward; Corroded terminals. | Easy | 5 minutes |
| Light stays on all day or flickers sporadically. | Photocell (sensor) is dirty or blocked by another light source. | Very Easy | 2 minutes (cleaning sensor) |
| Light worked fine for years, now suddenly dead. | Battery has reached end-of-life or permanent internal short circuit. | Medium | 15 minutes (if replacement battery is on hand) |
Advanced Fixes: When Simple Cleaning Fails
If you’ve cleaned the panel, swapped the battery, and checked the switch, but your lights are still moody, it might be time to look at external factors or potential internal damage. We need to ensure the system is getting the maximum possible charge input.
Evaluating the Charging Environment
For any solar device, the quality and duration of the charge directly impact the run time. We want maximum Watts hitting that tiny panel.
The “Full Sun Test”
To truly test the health of your light’s charging capability, you need to perform a full-cycle test on a clear, sunny day. This is best performed on a weekend when you can monitor it.
- Prep Work: Ensure the unit is completely clean and the switch is OFF.
- Peak Exposure: Place the unit where it receives direct, unobstructed sunlight from 9:00 AM to 5:00 PM. Avoid placing it on concrete or metal that might reflect light onto the panel unevenly, causing overheating or odd readings.
- Activate: At dusk, manually switch the light ON (or cover the sensor completely to simulate darkness).
- Observe: If the light now glows for several hours until the battery drains, you’ve confirmed the issue was previously poor or insufficient daytime charging exposure.
Checking for Moisture Damage
Solar lights are designed to be weather-resistant, but they are not always waterproof, especially if the plastic casing has developed fine cracks over time due to UV exposure or freezing temperatures.
Moisture inside the housing—especially around the battery terminal or the wiring leading to the LED bulb—can cause corrosion or short circuits, leading to inconsistent failure. Many reliable sources, like those studying solar technology viability, highlight that moisture ingress is a major failure point for consumer-grade outdoor electronics (Source: National Renewable Energy Laboratory research on PV degradation).
Steps for Inspecting Internal Seals:
- Carefully open the area housing the battery and circuitry.
- Look for any signs of condensation, pooling water, or heavy white/green corrosion on any wires or circuit points.
- If you find minor dampness, leave the access door open in a warm, dry environment for 24 hours to allow everything to dissipate before reassembling.
- If the damage is severe, the unit might not be repairable without specialized tools, and replacement may be the more cost-effective route.
Choosing the Right Replacement Batteries: A Quick Buying Guide
When you replace the batteries, using the right type is crucial. Using standard alkaline batteries in a slot designed for rechargeables will lead to leakage and failure.
| Battery Type | Voltage | Best For | Why It Works / Doesn’t Work |
|---|---|---|---|
| Nickel-Metal Hydride (NiMH) | 1.2V | Most modern solar lights. | Designed to be charged repeatedly by the solar panel. Excellent lifespan. |
| Nickel-Cadmium (NiCd) | 1.2V | Older, budget solar lights. | Works, but NiMH generally holds a better charge and avoids memory effect. |
| Alkaline (Single Use) | 1.5V | Lights specifically designed for them (rare). | Will quickly lose charge and may leak when connected to a charging circuit they were not designed for. |
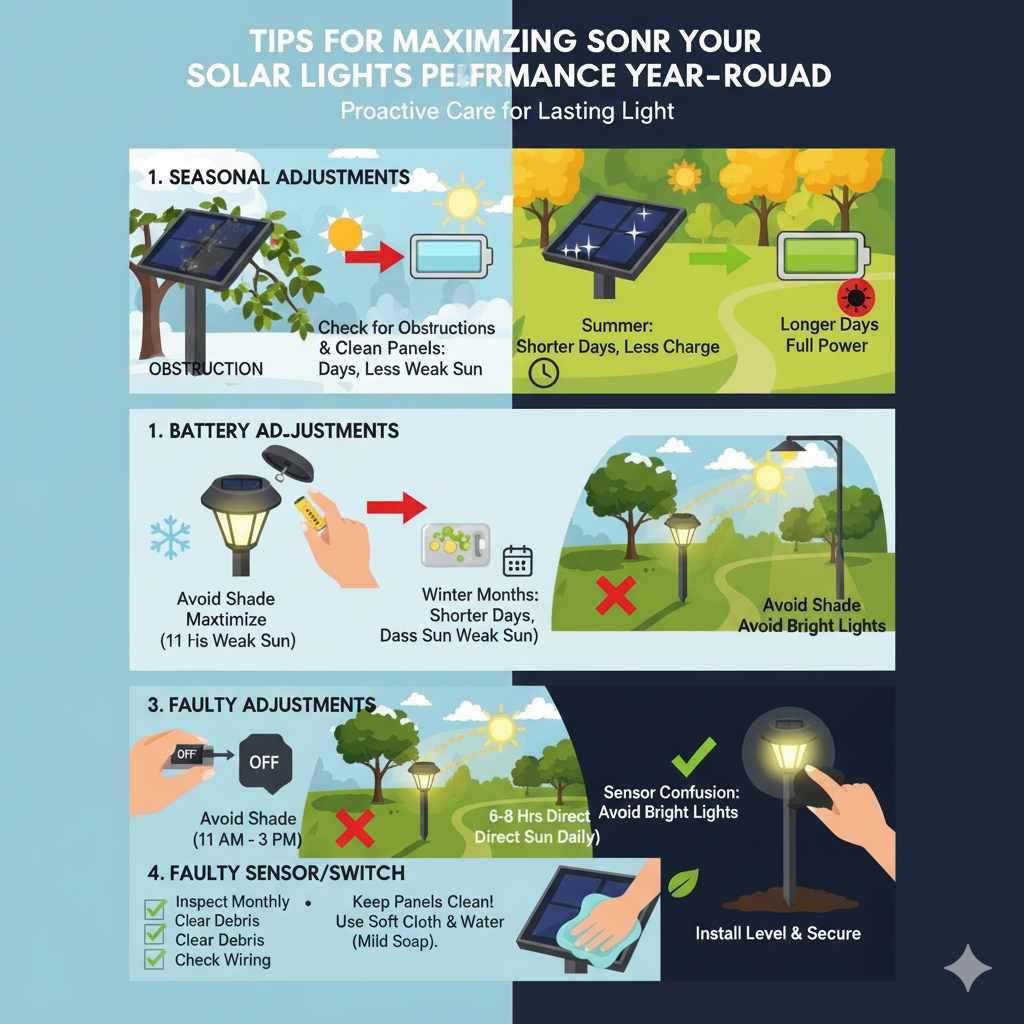
Tips for Maximizing Solar Light Performance Year-Round
Keeping your solar lights running consistently is about proactive maintenance, not just reactive fixes. Think of it like oil changes for your car—a little attention keeps the big problems away.
Seasonal Adjustments
During winter months, daylight hours are shorter, and the sun sits lower in the sky, meaning less intense charging. Don’t be surprised if your lights don’t last as long.
- Winter Boost: If possible, move your lights to a location that gets the absolute maximum amount of weak winter sun, even if it’s just for a few hours.
- Battery Swap: Consider swapping in brand-new, high-capacity NiMH batteries right before the worst of winter hits to ensure they have maximum storage capacity for those short, gray days.
Placement Matters
When installing or moving lights, always consider the path of the sun. A spot that looks sunny midday might be shaded by afternoon when the sun is lower. For optimal performance, aim for at least 6-8 hours of direct, cloudless sun exposure daily.
If you are using stake lights, ensure the stake is fully inserted so that the solar panel cap sits level and doesn’t tilt downward, inadvertently catching runoff water or dirt.
Frequently Asked Questions (FAQ) About Solar Lights
Q1: How long should a good solar fence light last before needing new batteries?
A: High-quality rechargeable batteries (NiMH) inside a well-sealed solar light should typically last between 1 to 3 years before they start noticeably losing their ability to hold a full charge. The lifespan of the light fixture itself can be much longer, but the battery is the most common wear item.
Q2: Why are my lights flickering instead of staying steadily lit?
A: Flickering is usually a sign of a critically low charge, meaning the battery is almost depleted but has just enough power to trigger the circuit intermittently. Fully clean the panel and let it charge for two full sunny days before testing again. If it still flickers, the battery needs replacing.
Q3: Can I use regular, non-rechargeable batteries in my solar lights?
A: Generally, no. Solar lights are designed with a small charging circuit to replenish rechargeable (NiMH or Lithium) batteries. Inserting standard 1.5V alkaline batteries can lead to overcharging, leaking, and permanent damage to the light’s internal circuitry.
Q4: Do solar lights work on cloudy days?
A: Yes, they do work on cloudy days because solar panels capture solar radiation, not just direct visible light. However, they charge much slower. A heavily overcast day might only provide enough energy for the light to run for a few hours instead of all night.
Q5: My light worked fine yesterday but is completely dead today. What’s the fastest fix?
A: Check the switch immediately—it might have been bumped off. If the switch is on, quickly test the battery voltage with a multimeter if you have one, or simply replace the battery with a known good, fully tested rechargeable battery. Bad battery contact is the most common cause of sudden failure.
Q6: Is there a way to make my solar lights brighter?
A: You cannot typically increase the brightness beyond what the manufacturer designed, as the LED output is fixed based on the available charge. However, you can maximize the brightness they can produce by ensuring the solar panel is spotless and the battery is brand new and fully charged. Also, ensure the plastic lens covering the LED is clean and not yellowed or cloudy.
Conclusion: Getting Your Glow Back with Simple Steps
Dealing with solar lights that won’t turn on at night can certainly feel defeating, but I hope this step-by-step approach has shown you how straightforward the solutions usually are. Remember, your solar lights are just small, battery-powered gadgets that need sunlight. If they are dark, the problem boils down to power generation (dirty panel/shade), power storage (bad battery), or power activation (switch/sensor).
Take five minutes to wipe down those panels, check that little switch, and if they are older than two or three years, invest wisely in a set of new, high-quality rechargeable batteries. By following these practical steps, you are back in control of your outdoor lighting system, ensuring a safe, beautifully lit yard every single evening without relying on constant electrical work. Happy troubleshooting, and enjoy the reliable glow!


