
Making your own bean bag toss game can be a blast. It’s a project that brings family together. You can use things you already have.
For another TV setup decision, TV Stand Vs Wall Mount: Showdown gives readers a related next step before choosing or installing furniture.
For a related kitchen decision, How To Hang A Headboard On The Wall adds another practical detail to check.
For a related storage or furniture fix, What Color Kitchen Cabinets Are Trending In 2025? helps readers compare the next practical option.
Plus, it’s way more fun than just buying one. This guide will show you just how simple it is to get started. Let’s make something great!
A simple DIY bean bag toss game is achievable with common items. You’ll learn to build a sturdy board and make your own bean bags. This project is perfect for backyard fun and customizing to your style.
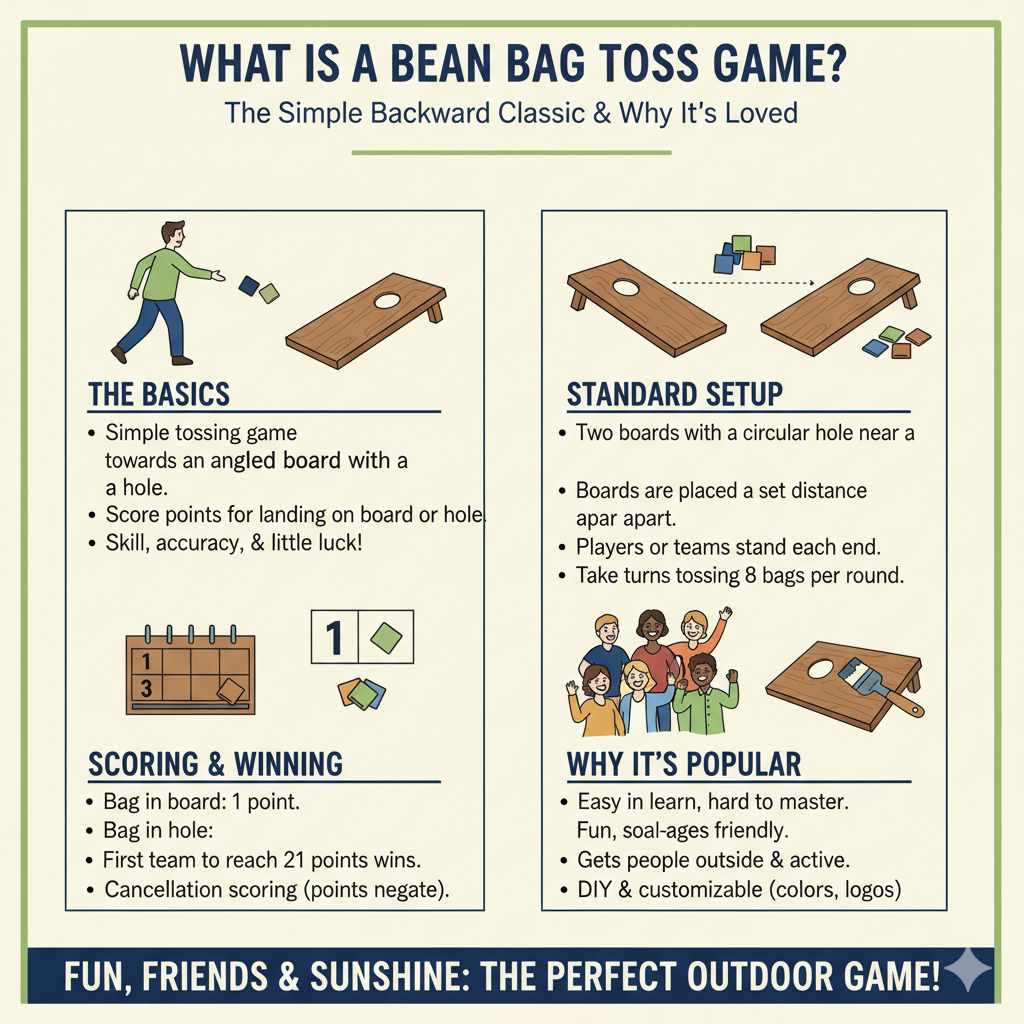
What is a Bean Bag Toss Game?
A bean bag toss game is super simple. It’s also called cornhole for many people. You have a board.
This board has a hole in it. People stand back and toss bean bags. They try to get the bags through the hole.
Or they try to land them on the board. It’s a game of skill and a little bit of luck.
The boards are usually angled. This makes them a bit tricky. The goal is to aim well.
You can play with two people or two teams. It’s a popular game for parties. It’s also great for cookouts and family get-togethers.
Everyone can play, young or old. It doesn’t need much space.
The basic setup is pretty standard. You have two boards. Each board has a hole.
The hole is usually a circle. It’s cut near the top of the board. The boards are placed apart.
Teams stand at each end. They take turns tossing bags.
Scoring is usually pretty easy. Landing a bag on the board might be one point. Getting a bag through the hole is more points, maybe three.
The first team to reach a set score wins. Like 21 points is common. It’s a game that keeps you moving and engaged.
Why is it so popular? It’s easy to learn. It’s hard to master, which is fun.
It gets people outside. It’s a great way to enjoy good weather. And making your own means it’s personal.
You can paint it with your favorite colors or team logos. That’s part of the charm of a bean bag toss game.
My First Time Building a Bean Bag Toss
I remember my first try at building a bean bag toss game. It was for a summer barbecue. My dad always loved DIY projects.
He said we could make one ourselves. I was maybe ten years old. We went to the garage.
It smelled like sawdust and old paint.
Dad pulled out some scrap plywood. He had leftover 2×4 lumber. I felt so important helping him measure.
He showed me how to use the saw. It buzzed loudly. I held the wood steady.
My hands were a little shaky. I was scared of making a mistake.
We cut the pieces for the boards. Then we built the frames. Dad explained how the angled legs work.
He said they keep the board steady. And they give it the right tilt. It felt like real carpentry.
My mom came out with lemonade. The sun was warm on my back.
Cutting the holes was the exciting part. Dad let me use the jigsaw. I carefully followed the circle Dad drew.
It felt like magic, the wood falling away. We sanded the edges smooth. That was so important for safety.
No splinters allowed!
Then came the bean bags. We used old fabric scraps. My mom helped me sew them.
We filled them with dried beans. She showed me how to make them the right size. Not too big, not too small.
Just right for tossing. It was messy. Beans spilled everywhere.
But it was fun chaos.
Painting the boards was the best part. I painted bright blue. My dad painted a red bullseye.
We felt so proud. When we played that day, it was amazing. Everyone loved the game.
They loved that we made it. That feeling of accomplishment stuck with me. It showed me what you can do with a little effort and some basic materials.
Materials You’ll Need
Gathering your supplies is step one. Don’t worry if you don’t have everything. Many items are easy to find or borrow.
- For the Boards:
- Plywood (about 2 feet by 4 feet)
- 2×4 lumber (for frame and legs)
- Wood screws
- Wood glue
- Sandpaper
- Paint or stain (optional)
- Primer (if painting)
- Paintbrushes
- Ruler or tape measure
- Pencil
- Saw (hand saw or power saw)
- Drill with bits
- Jigsaw (for cutting the hole)
- Clamps (helpful but not essential)
For the Bean Bags:
- Durable fabric (like canvas or denim)
- Thread
- Sewing machine or needle
- Filling material (dried beans, rice, or plastic pellets)
Building the Cornhole Boards: Step-by-Step
Let’s break down building the actual boards. This is where the fun really begins. You’ll see how a simple idea turns into a game.
Step 1: Cut Your Wood Pieces
You need two main pieces for your boards. These should be 2 feet wide and 4 feet long. Common plywood works well.
About half-inch thick is good.
Next, cut your 2×4 lumber. You need pieces for the frame around each board. You’ll also need them for the legs.
For the frame, cut two pieces at 48 inches. And two pieces at 21 inches. These go around the 2×4 edge of the plywood.
For the legs, cut two pieces. They should be about 16 inches long. The angle on the legs is important later.
You’ll cut that angle on the top where they meet the frame.
Board Dimensions Summary
Board Surface: 24 inches x 48 inches
Frame Sides: Two 48-inch pieces, Two 21-inch pieces
Legs: Two 16-inch pieces (angled cut later)
Step 2: Assemble the Frame
Now you build the frame. Lay your 2×4 frame pieces out. Make a rectangle.
It should fit around the edge of your plywood. Use wood glue for extra strength. Then, screw the pieces together.
Attach this frame to the edge of your plywood. The plywood sits inside the frame. Make sure it’s flush.
Use screws and wood glue. This makes the board strong. It also gives you something to attach the legs to.
Do this for both boards. It’s good to use clamps if you have them. They hold the wood tight while you screw.
This step gives the boards their structure. It makes them feel sturdy.
Step 3: Cut the Hole
This is the signature part. You need to cut a hole in each board. The hole is for tossing the bags through.
The size and placement are key.
Measure 12 inches from the top edge of the board. Measure 12 inches from the side edge. Mark the center of your hole there.
A 6-inch diameter circle is standard. You can draw this with a compass or by tracing a large can.
Use a drill to make a starting hole. This hole should be big enough for your jigsaw blade. Carefully guide the jigsaw.
Cut along the circle line. Take your time. Make it as smooth as you can.
Sand the edges very well after cutting.
The hole needs to be smooth. A rough edge can catch the bags. And that’s no fun.
Smooth edges mean fair play. This is also where you can test your bean bag toss game skills.
Step 4: Attach the Legs
Now, attach the legs to the underside of the boards. You want the board to tilt. The back edge should be higher than the front.
The top of each leg needs an angle. This angle matches how the leg meets the frame. It allows the board to rest at the right tilt.
You can figure this out by holding the leg in place. Then mark the angle. Cut it with your saw.
The angle is usually about 20-30 degrees.
Attach the legs with screws and wood glue. Make sure they are secure. They should fold up or down easily.
Check that the boards stand up at a good angle. The front edge should be about 3-4 inches off the ground. The back edge will be higher, maybe 12-13 inches.
Having the right tilt is important. It affects how hard it is to get bags through the hole. It also affects how bags stay on the board.
Test them out. Adjust if needed.
Step 5: Sand and Finish
Before you paint, sand everything. All edges should be smooth. The surface should be smooth.
This makes the game safer. It also makes it look much better.
If you’re painting, apply a primer first. This helps the paint stick. Then paint your boards.
You can do solid colors. Or you can get creative. Add designs, team logos, or custom graphics.
Let the paint dry completely.
A few coats of paint or stain will protect the wood. Especially if you plan to use the game outside. Polyurethane can add an extra layer of protection.
Make sure everything is dry before playing. You want the paint to last.
Angle and Height Guide
Angle of Legs: Approximately 20-30 degrees
Front Edge Height: 3-4 inches off the ground
Back Edge Height: 12-13 inches off the ground
Hole Position: 12 inches from top, 12 inches from side (center)
Hole Diameter: 6 inches
Making Your Own Bean Bags
The boards are only half the fun. You need bean bags to toss! Making these is very simple.
And you can control the size and feel.
Choosing Your Fabric
You want fabric that is strong. It should not rip easily. Canvas is a great choice.
Denim works well too. Old jeans are perfect. Even thick upholstery fabric can work.
You’ll need enough fabric for 8 bags. A 1/4 yard of fabric should be plenty. You can also use smaller scraps.
Just make sure they are sturdy.
Cutting and Sewing
Each bean bag should be a square. About 6 inches by 6 inches is a good size. Cut two square pieces for each bag.
So, 16 squares total for 8 bags.
Place two squares right sides together. Sew around three sides. Leave one side open.
Use a strong stitch. A sewing machine makes this fast. But you can hand sew it too.
Turn the bag right side out. You should have a small fabric pouch. Now it’s time to fill it.
Filling the Bean Bags
Dried beans are the classic filling. You can use pinto beans, black beans, or corn. About 1 to 1.5 cups of beans per bag is usually good.
You want them to be firm but flexible.
You can also use rice. Or even small plastic pellets. These can be good if you plan to play in damp conditions.
They won’t rot like beans might. But beans are the most traditional.
Fill the bag evenly. Don’t overfill it. You want the bags to lay flat.
They should have some give. Once filled, fold the raw edges of the open side inward. Sew this side shut securely.
Double stitch it for extra strength.
Make sure the stitching is strong. You don’t want bags splitting open. Especially during a competitive game.
Ensure no filling escapes.
Bean Bag Quick Facts
Size: 6 inches x 6 inches (finished)
Fabric: Durable like canvas or denim
Filling: 1 to 1.5 cups dried beans per bag
Quantity: 8 bags for a standard game
Customizing Your Game
This is where your personality shines. Making a bean bag toss game is also about making it yours. Think about themes.
Think about your favorite colors.
Painting and Stencils
You can paint anything on your boards. Simple designs look great. Or go for something complex.
Stencils are your friend here. You can buy stencils or make your own.
Team logos are very popular. You can also paint state outlines. Or your family name.
Maybe even a funny saying. Let your imagination run wild.
Consider using a good quality exterior paint. It will hold up better outdoors. Even if you bring the game inside after use.
A clear coat of polyurethane can add extra protection. It keeps your artwork looking fresh.
Adding Accessories
You can make your game more complete. Think about carrying cases. These can be simple bags.
Or sturdy wooden boxes you build yourself.
Some people add lights to their boards. Especially if they play at night. LED strip lights can be attached around the edges.
Or under the hole. This adds a cool effect for evening games.
Consider the bean bags too. You can use different colors for each team. Or sew unique patterns on them.
Maybe use fabric markers. The possibilities are endless.
Customization Ideas
- Team Spirit: Paint team colors and logos.
- Family Fun: Use family name or inside jokes.
- Themed Designs: Beach, sports, holidays, or animals.
- Glow-in-the-Dark: Use glow paint or add LED lights.
- Personalized Bags: Different colors or patterns for each player.
Real-World Context and Scenarios
This game is perfect for so many situations. Think about where and when you’d play. It’s all about creating those fun moments.
Backyard BBQs and Parties
This is the classic setting. You’re grilling. Friends and family are gathered.
Kids are running around. A bean bag toss game is the perfect activity. It’s casual.
People can join in or watch. It adds to the lively atmosphere.
It’s also great for weddings or graduations. Any outdoor party. It gives guests something to do.
It encourages interaction. People who might not know each other can bond over a friendly competition.
Camping and Tailgating
When you’re out camping, you need portable fun. A bean bag toss game can be made to be relatively portable. Especially if you build folding legs.
It’s a great way to pass the time at a campsite.
Tailgating before a big game is another perfect scenario. Set up your boards. Play a few rounds.
Get everyone in the spirit. It’s a great icebreaker for fellow fans.
Beach Days or Park Picnics
If you can carry it, you can play it. Take your game to the beach. Or a local park for a picnic.
Just make sure the ground is somewhat level. You might need to adjust the legs slightly.
Playing near water means you need to be careful. Consider using waterproof paint. And maybe fabric bags that dry fast.
Or the plastic pellet filling. This makes it more resilient to sand and moisture.
Where to Play
Ideal Settings:
- Backyards
- Parks
- Campgrounds
- Beach areas
- Tailgating lots
- Outdoor parties
Considerations:
- Level ground is best.
- Weather protection for materials.
- Portability for transport.
What This Means for You
Having your own bean bag toss game is fantastic. It means instant fun. It means quality time with loved ones.
It’s a project that gives back.
When It’s Normal
It’s normal for this game to be a hit. It’s normal for people to ask where you got it. It’s normal to spend hours playing.
It’s normal to want to paint it over again. This game is designed for enjoyment.
It’s normal to have friendly rivalries develop. Maybe you have a family tournament. Or challenge your neighbors.
That’s all part of the fun. The game brings people together in a lighthearted way.
When to Worry (Slightly!)
Okay, there isn’t much to “worry” about with this game. But here are a few things to keep in mind.
Board Stability: If your boards wobble a lot, check the legs. Make sure they are attached securely. Loose legs can make the game frustrating.
Adjust or reinforce them.
Bag Wear and Tear: If your bean bags start splitting open, it’s time to reinforce the stitching. Or make new ones. You don’t want to lose your filling mid-game.
Wood Condition: If the wood starts to rot or splinter, it might be time for repairs or a new set. Especially if it’s been left out in the elements too long.
But generally, these are minor fixes. They are part of maintaining something you built and love.
Quick Game Checks
Board Stability: Are legs secure? Does the board sit firm?
Bean Bag Integrity: Are they holding their shape? Any rips or tears?
Surface Smoothness: Are the boards and hole edges smooth?
Playing Surface: Is the ground relatively level where you play?
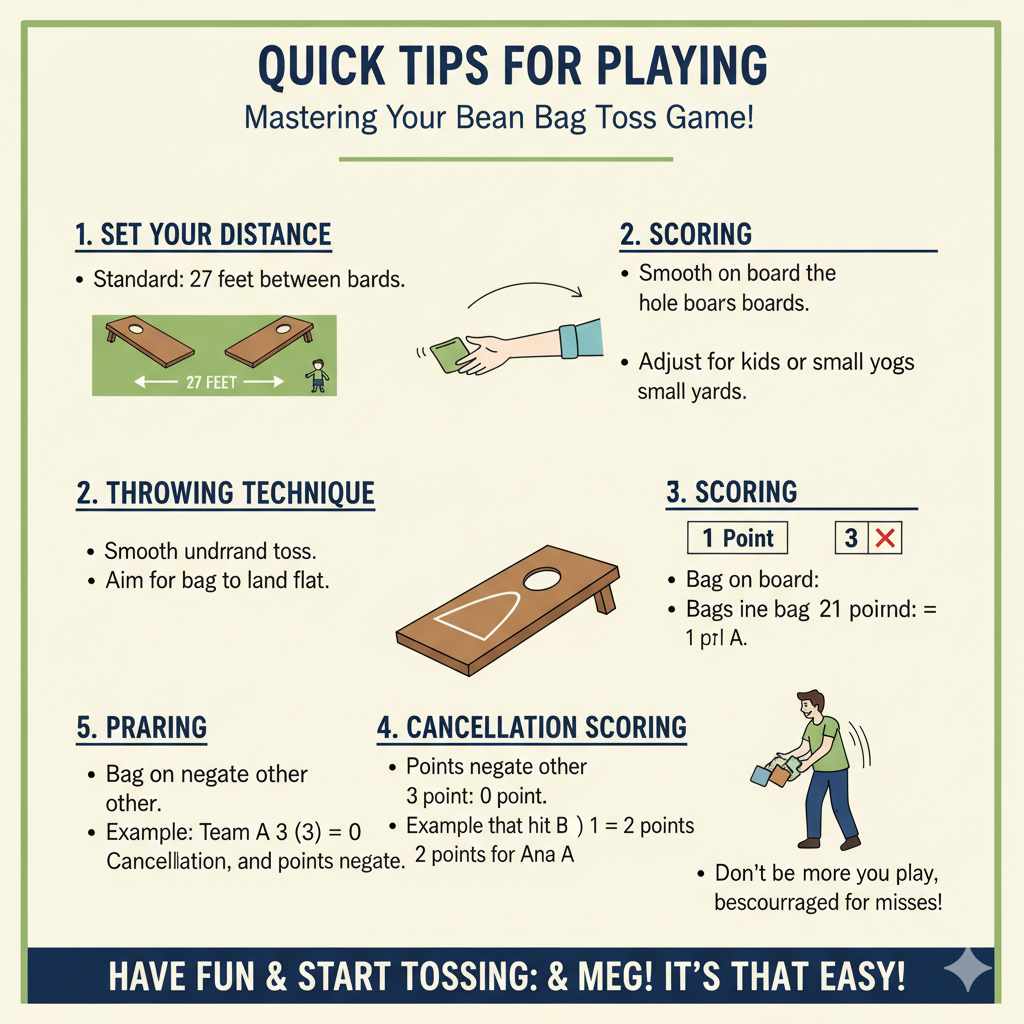
Quick Tips for Playing
Playing the game is simple. But a few tips can make it better.
- Set Your Distance: Standard distance between the boards is 27 feet. You can adjust this for kids. Or for smaller yards.
- Throwing Technique: Aim for a smooth, underhand toss. Try to get the bag to land flat on the board.
- Scoring: Typically, a bag on the board is 1 point. A bag through the hole is 3 points. Bags that hit the ground don’t count.
- Cancellation Scoring: If one team scores 3 points and the other scores 1 point in a round, the net score for the round is 2 points (3-1=2). This keeps scores close.
- Practice Makes Perfect: The more you play, the better you’ll get. Don’t be discouraged if you miss shots at first.
Game On! Basic Rules
Objective: Score points by tossing bean bags onto or into the hole of the opponent’s board.
Distance: 27 feet from front edge of board to front edge of board.
Scoring:
- Bag on board = 1 point
- Bag through hole = 3 points
- Bag not on board or in hole = 0 points
Winning: First team to reach 21 points.
Frequently Asked Questions
What kind of wood is best for a bean bag toss game?
Plywood is a very common and affordable choice for the board surface. For the frame and legs, 2×4 lumber is sturdy and readily available. Pine or poplar are good options for these parts.
How big should the bean bags be?
The standard size for bean bags is about 6 inches by 6 inches when filled. This size is easy to grip and toss accurately.
What’s the best filling for bean bags?
Dried beans (like pinto or corn) are traditional and provide a good weight and feel. For outdoor or damp conditions, plastic pellets or rice can be better options as they won’t rot.
Can I make a portable bean bag toss game?
Yes! You can design the game with folding legs. This makes it much easier to transport and store.
Some people even build custom carrying cases.
What’s the standard distance for playing cornhole?
The official distance for cornhole boards is 27 feet from the front edge of one board to the front edge of the other. You can adjust this for younger players or smaller spaces.
How many bean bags do you need?
You typically need 4 bean bags per team. So, 8 bean bags in total for a standard game. This allows for back-and-forth tossing in each round.
Conclusion
Building your own bean bag toss game is a rewarding project. It’s more than just a game. It’s about creating memories.
It’s about using your hands. And it’s about having fun together. You now have the steps to make it happen.
Go make some awesome memories!


