
Build bifold doors yourself with this effortless guide! Transform your space with stylish, space-saving bifold doors. This step-by-step tutorial makes it achievable for beginners, providing clear instructions, necessary tools, and helpful tips for a beautiful DIY result.
Are you looking to add a touch of modern elegance and a clever space-saving solution to your home? Bifold doors, with their unique folding action, are a fantastic way to open up a room, save precious floor space, and create a beautiful, functional opening. However, the thought of building them yourself might seem a bit daunting, especially if you’re new to DIY projects. Many homeowners shy away from DIY door projects because they worry about complexity, precision, and the potential for expensive mistakes.
But what if I told you that building your own bifold doors is more accessible than you think? With the right guidance, clear steps, and a little bit of patience, you can absolutely achieve professional-looking results. This guide is designed precisely for you – the beginner DIYer who wants to enhance their home’s style and functionality without the stress. We’ll break down the entire process, from choosing materials to the final adjustments, making it feel like a friendly chat with a design expert helping you every step of the way. Get ready to transform your space with pride!
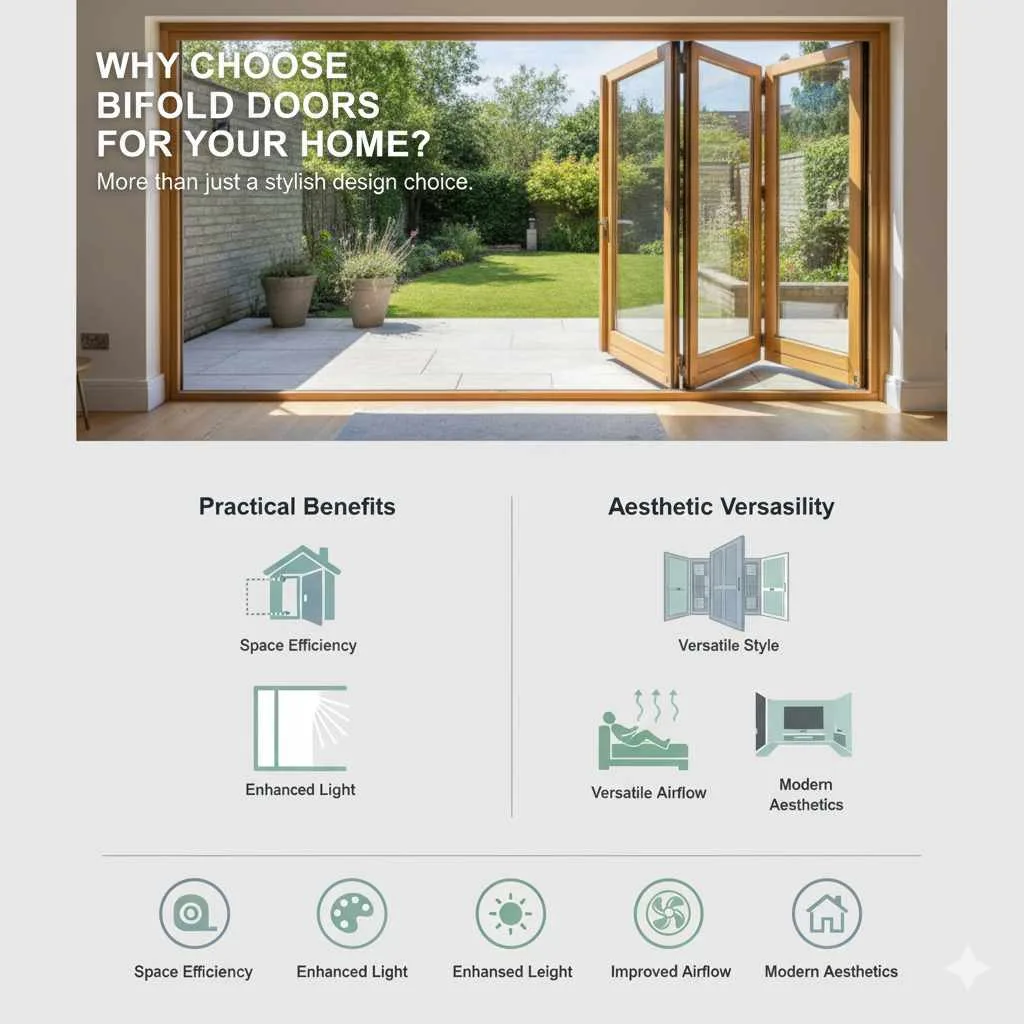
Why Choose Bifold Doors for Your Home?
Bifold doors, also known as folding doors, are more than just a stylish design choice. They offer a host of practical benefits that can significantly improve your living space. For starters, their ability to fold neatly against a wall makes them ideal for smaller rooms or areas where traditional swinging doors would take up too much valuable real estate. Think about a cramped closet, a laundry room tucked into a nook, or even as a stylish room divider that can be tucked away when not needed.
Beyond space-saving, bifold doors offer incredible versatility in style. Whether you’re aiming for a sleek, modern look with clean lines or a more rustic, charming feel with natural wood, there’s a bifold door design to match. They can be customized in terms of size, material, and finish to perfectly complement your existing decor. Plus, for those who love natural light, many bifold door designs can incorporate glass panels, allowing sunlight to beautifully filter through your home.
Key Advantages of Bifold Doors:
- Space Efficiency: They fold away, maximizing usable floor space, perfect for tight areas.
- Versatile Style: Adaptable to various interior design aesthetics, from contemporary to traditional.
- Enhanced Light: Can incorporate glass panels to brighten rooms and create a sense of openness.
- Improved Airflow: Easily open up entire sections of a room for better ventilation.
- Modern Aesthetics: Offer a sophisticated and updated look to any home.
Getting Started: Planning Your Bifold Door Project
Before you even think about picking up a saw, a little planning goes a long way. This is where we lay the foundation for a smooth and successful build. Rushing this stage can lead to frustration later, so let’s take our time and get it right!
1. Measure Your Opening Precisely
This is the most critical step. You need to know the exact dimensions of the doorway or opening where your bifold doors will be installed.
- Height: Measure from the floor to the top of the door frame. Do this at multiple points (left, center, right) and use the smallest measurement.
- Width: Measure across the opening at the top, middle, and bottom. Again, use the smallest measurement.
- Depth: Measure the thickness of your door frame. This helps determine the hardware you’ll need and how the doors will sit in the opening.
It’s always a good idea to double-check your measurements. A tiny error here can mean doors that don’t fit or hang properly.
2. Decide on the Number of Panels
Bifold doors are made of multiple panels that fold together. For most standard doorways, two or four panels are common.
- Two-Panel System: This typically involves two doors hinged together, folding to one side.
- Four-Panel System: Two pairs of doors are hinged together, folding to either side of the opening. This is great for wider openings.
The number of panels will affect the overall track length and the amount of hardware you’ll need.
3. Choose Your Materials
The material you choose for your bifold doors will impact their look, weight, durability, and cost.
- Solid Wood: Offers a classic, warm look and can be painted or stained. It’s durable but can be heavier. Pine, oak, or poplar are good options.
- MDF (Medium-Density Fibreboard): A more budget-friendly option, great for painting. It’s stable but less durable than solid wood and susceptible to moisture.
- Plywood: Can be a good choice for a modern or industrial look, especially if you plan to paint or veneer it.
- Pre-made Bifold Door Kits: If you’re feeling less adventurous with fabrication, you can purchase kits that include the doors, hardware, and tracks, ready for assembly and installation.
For beginners, using lighter materials like pine or even pre-made panels can make the process much more manageable.
4. Select Your Hardware
The right hardware is key to smooth operation. Bifold door hardware usually includes:
- Track: This is mounted at the top of the opening and guides the doors.
- Rollers/Hangers: These attach to the top of your doors and slide within the track.
- Pivot Sets: These are mounted at the bottom (and sometimes top) to allow the doors to swing and pivot.
- Hinges: Used to connect the panels together. Look for hinges designed for bifold doors.
You can often buy these as a complete kit designed for specific door sizes and weights. Always check the manufacturer’s recommendations. Resources like The Home Depot’s Bifold Door Hardware section can give you an idea of the options available.
Tools and Materials You’ll Need
Gathering your tools and materials beforehand will make the building process much smoother and more enjoyable. Here’s a comprehensive list to get you started.
Essential Tools:
- Measuring Tape
- Pencil
- Safety Glasses
- Work Gloves
- Circular Saw or Miter Saw (for cutting panels if needed)
- Drill with various drill bits
- Screwdriver Set (or drill bits for screws)
- Level (a long one is best)
- Clamps
- Sandpaper or Orbital Sander
- Wood Chisel (optional, for adjustments)
- Stud Finder
- Caulking Gun (if you need to seal gaps)
Materials:
- Wood for door panels (e.g., pine boards, plywood, or pre-made MDF panels)
- Bifold door hardware kit (track, rollers, pivots, hinges)
- Wood screws (various lengths)
- Wood glue (if building panels from scratch)
- Wood filler (for any imperfections)
- Primer and paint, or stain and sealant
- Drop cloths or old sheets
- Painter’s tape
Remember, investing in good quality tools, especially a reliable drill and saw, will make a big difference in the ease and accuracy of your work. If you’re new to using power tools, consider watching some basic tutorials on safe operation.
Step-by-Step Guide to Building Bifold Doors
Now comes the exciting part – building your doors! We’ll break this down into manageable steps. Remember to work safely and take your time.
Step 1: Prepare Your Door Panels
If you’re using solid wood or plywood, this is where you’ll cut your panels to size. Based on your measurements, determine the width and height of each panel. For a standard door opening, each panel is usually about half the width of the opening, minus a small amount for clearance and the hardware.
Cutting the Panels:
- Measure and mark the dimensions for each panel on your chosen material.
- If cutting from larger sheets, use a circular saw with a straight edge guide or a miter saw for precise, straight cuts. For clean edges, ensure your saw blade is sharp.
- If you’re using pre-made panels, you might only need to trim them slightly to fit.
Sanding and Finishing:
- Once cut, sand all edges and surfaces smooth, starting with a coarser grit sandpaper and finishing with a finer grit.
- Wipe away all dust.
- Apply your chosen finish (primer, paint, stain, or sealant) according to the product’s instructions. It’s often easier to paint or stain the panels before assembly. Make sure to get both sides to prevent warping.
- Allow panels to dry completely.
Step 2: Assemble the Door Pairs
If you’re building a four-panel system, you’ll create two pairs of doors. If it’s a two-panel system, you’ll just connect the two individual doors.
- Lay two panels side-by-side on a flat surface, ensuring they are perfectly aligned.
- Attach bifold hinges to connect the two panels. Follow the hinge manufacturer’s instructions carefully for placement. Typically, hinges are placed about 4-6 inches from the top and bottom edges, centered on the seam.
- Use the provided screws to attach the hinges securely. Ensure the screws go into the wood firmly without stripping the holes.
- Repeat for the second pair of doors if making a four-panel system.
Step 3: Install the Top Track
The track guides the movement of your bifold doors. It needs to be perfectly straight and securely mounted.
- Locate the center of your doorway opening.
- Measure and mark where the track will be installed, usually a few inches from the front edge of the jamb or casing. Check your hardware kit instructions for specific recommendations.
- Using a level, position the track and mark the screw hole locations.
- Use a stud finder to locate wall studs behind your markings. It is crucial to drive screws into studs for maximum support.
- Drill pilot holes for your screws.
- Securely attach the track to the wall using the provided screws. Ensure it is perfectly level. A sagging track will cause your doors to bind.
Step 4: Install the Top Hangers (Rollers) and Pivots
These components connect your doors to the track and provide support at the bottom.
Top Hangers:
- Following your hardware kit’s instructions, attach the top hangers (rollers) to the top edge of your door panels. Ensure they are positioned correctly – one side will have a double roller/hanger system to guide the door along the track, and the other will have a single roller that fits into a guide at the end of the track.
- The exact placement might vary slightly based on the hardware brand.
Bottom Pivots:
- Attach the bottom pivot mechanism to the bottom edge of the door panel that will be the lead door in the fold.
- The pivot point should align with the top hanger and the track placement.
- Install the corresponding stationary pivot receiver into the floor or the bottom of the door frame, again checking your hardware instructions for precise location. This might involve drilling into your subfloor or frame.
Step 5: Hang the Doors
This is where your bifold doors start to take shape!
- Lift the first pair of doors (or the single door if a two-panel system) and align the top hangers with the track.
- Slide the rollers into the track.
- Carefully guide the bottom pivot into its designated receiver on the floor or frame.
- For a four-panel system, repeat for the second pair of doors, ensuring hinged panels are connected and the lead door’s pivot is engaged.
Step 6: Install the Bottom Guide and Final Adjustments
The bottom guide keeps your doors stable and prevents them from swinging too wildly.
- Once the doors are hanging, the bottom guide (often a sliding piece with a wheel or glides) needs to be installed. It usually attaches to the bottom edge of the last panel in the fold.
- Gently fold the doors and determine the correct position for the bottom guide so it contacts the floor or a guide channel when the doors are mostly closed.
- Secure the bottom guide in place.
- Adjustments: Bifold door hardware often includes adjustment screws. Use these to fine-tune the doors’ alignment, ensuring they hang plumb, swing smoothly, and have even gaps. You may need to adjust the tension on the pivots or the position of the rollers to get everything perfect. The goal is doors that fold and unfold without rubbing or sticking.
Troubleshooting Common Bifold Door Issues
Even with careful work, you might run into minor hiccups. Here are some common issues and how to fix them.
Doors Sticking or Rubbing
- Cause: Track not level, doors not plumb, or hardware improperly adjusted.
- Solution: Use your level to check the track. Adjust the rollers or pivots using any available adjustment screws to plumb the doors. Ensure no screws are protruding and catching.
Doors Sagging
- Cause: Insufficient track support, loose hinges, or heavy door panels.
- Solution: Ensure the track is securely fastened into studs. Tighten all hinge screws. If the panels are very heavy, you might need to reinforce the track support or consider lighter materials.
Doors Don’t Fold Properly
- Cause: Incorrect hinge placement, panels bound, or bottom guide misaligned.
- Solution: Double-check hinge placement and ensure panels have enough freedom to fold. Adjust the bottom guide so it doesn’t impede movement when folded.
Gaps Too Large or Uneven
Cause: Imperfect initial cuts, frame not square, or improper hardware installation.
Solution: Minor gaps might be acceptable. For larger or uneven gaps, you may need to reposition the track slightly, adjust pivot points, or add shims. For significant frame issues, consider adding trim to cover gaps.
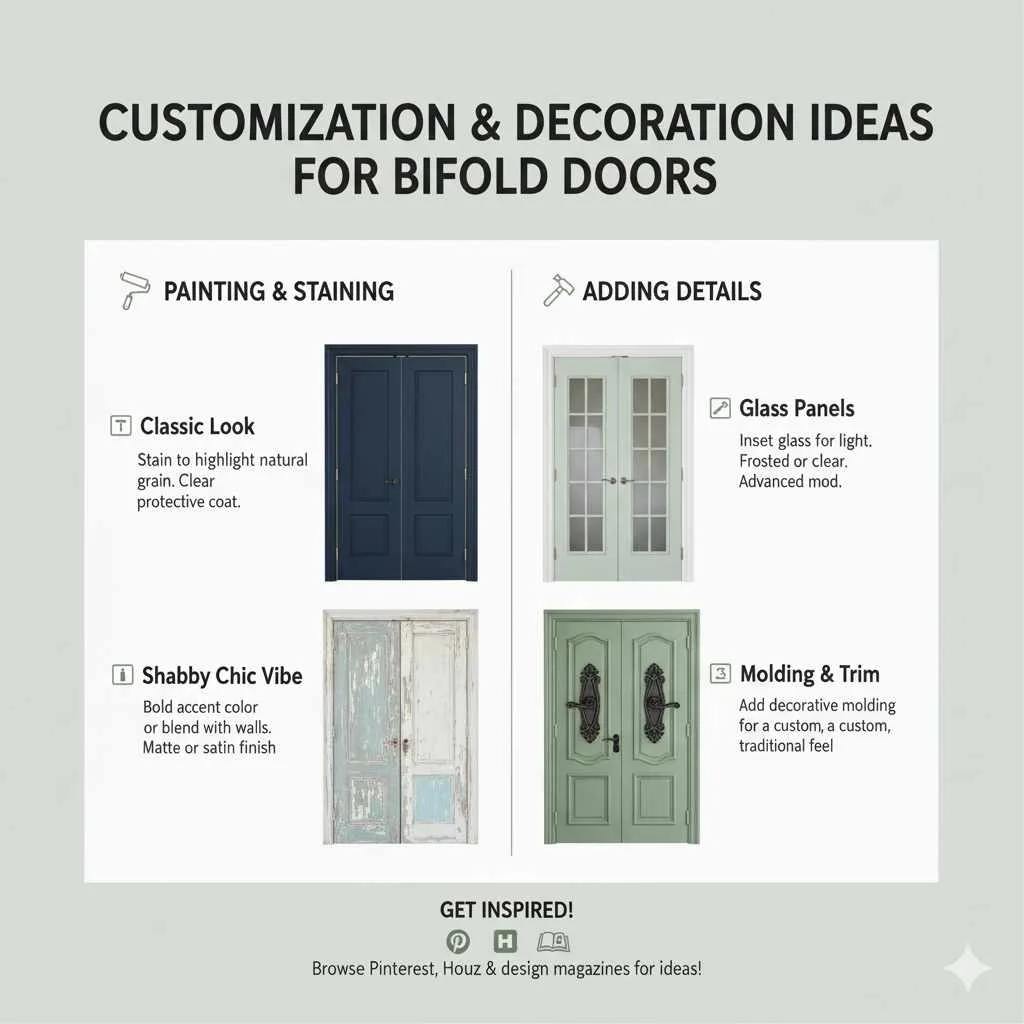
Customization and Decoration Ideas
Once your bifold doors are built and installed, the fun of personalization begins! They are a blank canvas waiting for your unique touch.
Painting and Staining
- For a Classic Look: Stain your wood doors to highlight the natural grain, then seal with a clear coat.
- For a Modern Refresh: Paint them a bold accent color to make them a focal point, or choose a shade that blends seamlessly with your walls for a more subtle effect.
- For a Shabby Chic Vibe: Try a distressed paint finish with a second color peeking through.
Consider the existing decor of the room. If your room is full of vibrant colors, a neutral door might be best. If your space is minimalist, a pop of color can add personality.
Adding Details
- Glass Panels: If you chose solid panels, you could carefully inset glass panels into them for added light and visual interest. This is a more advanced modification, so proceed with caution or consult a professional.
- Hardware: Swap out the standard hinges and pulls for decorative ones that match your style. Brushed nickel, antique brass, or matte black hardware can dramatically change the look.
- Molding: Adding decorative molding to the panels can give them a more traditional or custom furniture feel.
Getting inspiration is key! Browse interior design magazines or Pinterest for ideas on how others have styled their bifold doors. You might find inspiration from sites like Houzz, which showcases a wide range of bifold door designs and applications.
Frequently Asked Questions (FAQ)
Here are some common questions beginner DIYers have about building bifold doors.
Can I build bifold doors for an exterior opening?
While it’s possible, exterior bifold doors require more robust materials, superior weatherproofing, and specialized hardware to withstand the elements. This guide focuses on interior bifold doors. For exterior applications, it’s often best to purchase professionally manufactured doors.
How do I calculate the width of each bifold door panel?
For each pair of bifold doors, the total width of the two panels should be slightly less than the width of the opening to allow for clearance. A general rule of thumb is to subtract about 1/2 inch to 1 inch from the opening width and then divide by two for each panel width. Always follow the specific recommendations of your chosen hardware kit.
What if my door frame isn’t perfectly square?
Minor imperfections can often be managed with adjustments during installation. If your frame is significantly out of square, you might need to add shims to the frame itself or use clever trim work to conceal any remaining gaps. For substantial issues, consult a carpenter or consider framing adjustments.
How much weight can standard bifold door hardware support?
Weight capacity varies by manufacturer and hardware type. Always check the specifications provided with your hardware kit. Heavier doors (like solid hardwood) will require more heavy-duty hardware. Lighter materials like MDF or hollow-core doors are often suitable for standard kits.
Do I need a special track, or can I use something else?
Using a track specifically designed for bifold doors is highly recommended. These tracks are engineered to work with the integrated roller and pivot systems and ensure smooth, stable operation. Improvised solutions are unlikely to perform as well and may lead to operational problems.
How much clearance is needed above the doors for the track?
This depends on the specific hardware. Most bifold door hardware systems require about 1-2 inches of clearance above the top of the door panels to accommodate the track and hangers. Always check your hardware kit’s installation manual.
Conclusion
Building your own bifold doors might have seemed like a challenge at first, but I hope this guide has shown you that with careful planning, the right tools, and a step-by-step approach, it’s a wonderfully achievable DIY project. You’ve learned how to measure accurately, choose your materials, select the essential hardware, and assemble your doors with confidence. From preparing your panels to the final adjustments, each step is designed to lead you toward a beautiful, functional addition to your home.
Remember, the beauty of DIY is not just in the finished product, but in the journey of creating it yourself. You’ve gained new skills, saved money, and added a personalized touch that truly makes your house a home. Don’t forget to celebrate your accomplishment! Soon, you’ll be enjoying the space-saving elegance and stylish flair that your new bifold doors bring. If any minor issues pop up during or after installation, don’t hesitate to revisit the troubleshooting tips. Happy building, and enjoy your beautifully transformed space!


