How to Build an Armoire Wardrobe: A No-Fail Guide for Solid, Custom Storage
You finally got the bedroom closet organized, but it’s already full. The overflow sits in a plastic bin in the corner, or worse, on the chair. You’ve looked at store-bought wardrobes, but they all share the same problems: flimsy particleboard backs, drawers that stick, and a price tag that feels too high for what you get.
Building your own armoire solves that. You pick the exact dimensions, choose the interior layout, and use joinery that actually holds up for decades. This guide walks through the entire process—from planning the cut list to anchoring the finished piece to the wall. You’ll learn the structural techniques that most DIY plans skip, like dado joints and proper back panel installation, so your armoire doesn’t rack or sag.

As an Amazon Associate I earn from qualifying purchases.
You don’t need a full workshop or twenty years of experience. You need a solid plan, a few good tools, and the patience to measure twice. This is that plan.
Before you start cutting wood, it’s worth thinking about how you’ll actually use the space. A well-built armoire solves storage, but the clothes inside still need to work together. If you find yourself staring at a full closet with nothing to wear, the armoire build guide here pairs well with a system for choosing outfits. A book like Why Your Clothes Don’t Look Good on You (And How to Fix It) covers the decision-making side, helping you reduce morning friction so the storage you build actually gets used. It’s a practical companion to the physical project.
Why Build an Armoire Instead of Buying One?
Flat-pack furniture has its place. It’s cheap and quick. But a typical store-bought wardrobe uses particleboard with a printed wood grain, cam locks, and a cardboard-thin back panel nailed on with brads. After a couple of years, the cam locks loosen, the back panel rips, and the whole thing wobbles when you open the doors.
Building from plywood changes the equation. You get a cabinet carcass that’s rigid, a back panel that actually squares the frame, and the ability to choose hardware that feels good to use every day. You also get customization. Need a 14-inch-deep armoire for a narrow hallway? Build it. Want a hanging rod on one side and 12-inch-deep shelves on the other? That’s your call.
Cost is a factor too. A solid wood armoire from a furniture store runs several hundred dollars minimum. You can build a larger, stronger version for roughly the same price, or less if you already own tools. The trade-off is your time. Expect to spend a weekend on the build, plus a few evenings for finishing.
Planning Your Armoire: Dimensions, Layout, and Cut List
Good planning prevents most build failures. This section covers how to match the armoire to your room and how to get a cut list that works with standard plywood sheets.
How to Choose the Right Depth and Height for Your Space
Depth matters more than people think. A standard closet rod sits about 24 inches from the back wall, but an armoire is freestanding. Measure your room’s floor space and think about how the doors will swing.
For a bedroom armoire holding hanging clothes, plan for a depth of 22 to 24 inches. That gives you enough room for hangers to sit perpendicular to the door without catching. For a hallway or entryway piece holding shoes and folded items, 16 to 18 inches deep works fine and keeps the footprint narrow.
Height is about ceiling clearance and proportion. Most armoires run 70 to 76 inches tall. If you have 8-foot ceilings, a 76-inch armoire leaves a comfortable gap on top that’s easy to dust. If you want to maximize storage, build to 80 inches, but remember you’ll need to maneuver the carcass through doorways and up stairs.
Width depends on the room and your plywood sheet. A 48-inch-wide armoire is a sweet spot. It’s wide enough to hang shirts on one side and store folded jeans on the other, yet narrow enough to fit through a standard 30-inch interior door when tipped diagonally.
Creating a Simple Cut List from a 4×8 Plywood Sheet
You’ll build the carcass from 3/4-inch plywood. One 4×8 sheet is enough for a small armoire, but for a full-size piece (48 inches wide, 24 inches deep, 76 inches tall), buy two sheets. You’ll use the second sheet for shelves, the back panel, and the doors.
Here’s a sample cut list for a 48W x 24D x 76H armoire with a center divider:
- 2 sides: 24 x 76 inches
- 1 top: 48 x 24 inches
- 1 bottom: 48 x 24 inches
- 1 fixed shelf (middle): 48 x 24 inches
- 2 adjustable shelves: 22.5 x 22.5 inches each
- 2 doors: 24 x 72 inches each (overlay style)
- 1 back panel: 48 x 76 inches, cut from 1/4-inch plywood
Before you cut, sketch the layout on paper. Mark which side gets the hanging rod and which gets the shelves. This prevents the classic mistake of cutting all shelves the same width when one side needs to be narrower to accommodate the rod.
Use a circular saw with a straightedge guide or a table saw for long rips. A track saw is ideal if you have one, but a circular saw and a clamped straight board work just as well. Just take your time on the long cuts; a wandering cut on the side panel ruins the whole carcass.
Tools and Materials: The Complete Checklist
Here’s what you need before you start. You don’t need every tool on this list, but the ones marked as required are non-negotiable.
Required tools:
- Circular saw or table saw
- Drill/driver with bits
- Wood glue (Titebond II or similar)
- Clamps (at least 4 bar clamps)
- Measuring tape and square
- Pocket hole jig (optional if using dado joints)
Nice to have:
- Router with a straight bit for dados
- Orbital sander
- Brad nailer
- Kreg jig for face frame assembly
Materials for a 48x24x76 armoire:
- 2 sheets of 3/4-inch plywood (birch or maple for paint-grade)
- 1 sheet of 1/4-inch plywood for the back
- 1×3 or 1×4 lumber for the face frame (about 16 linear feet)
- Hinges (3 per door, soft-close recommended)
- Drawer slides (2 pairs, soft-close)
- 1-inch and 1-1/4-inch screws
- Wood filler and primer
- Paint or stain
- Wall anchor kit
The plywood grade matters. Use birch or maple plywood with a smooth face. Avoid construction-grade plywood with voids in the core; it’s cheaper but the edges look terrible and the internal voids weaken screw joints.
Step 1: Build the Carcass with Dado Joints (Stronger than Pocket Holes)
Most online plans rely on pocket holes for everything. Pocket holes are fine for face frames, but for the main carcass, dados are stronger and easier to keep square.
A dado is a groove cut across the grain of the wood. You cut a groove in the side panel, then the shelf sits inside that groove. The joint resists racking far better than a butt joint with screws, because the shelf is physically trapped inside the side panel.
To cut dados, set up a router with a straight bit and an edge guide. Set the bit depth to 3/8 inch. Cut a groove that’s 3/4 inch wide (the thickness of your plywood) across each side panel where the top, bottom, and fixed shelf will sit.
If you don’t have a router, you can cut dados with a table saw. Run the panel over the blade, then move the fence over and run it again to widen the groove to 3/4 inch. It takes a few passes, but it works.
Dry-fit the carcass first. Slide the top, bottom, and fixed shelf into the dados. Check that all corners are square by measuring diagonals—they should be equal. If they’re not, adjust the clamps before the glue goes on.
Once you’re happy with the fit, apply wood glue to the dados and the shelf edges. Assemble the carcass and clamp it. Use a square to check the corners immediately, while the glue is still wet. Let it dry overnight.
One honest caveat: dados take more time than pocket holes. You’re spending an extra hour on setup and cutting. The result is a carcass that doesn’t creak or shift, so it’s worth it for a furniture-grade piece.
Step 2: Add the Back Panel and Stabilize the Frame
The back panel is not just a dust cover. It’s the structural element that prevents the carcass from racking into a parallelogram. Skip this step or use a thin hardboard panel, and your doors will eventually sag.
Cut the back panel from 1/4-inch plywood. Make it the full size of the carcass, 48 x 76 inches in this case. Lay the carcass face-down on a flat surface. Place the back panel over the opening and secure it with wood glue and 1-inch screws every 6 inches along the perimeter.
For extra strength, cut a shallow rabbet (a recess) around the back edge of the carcass so the panel sits flush, not proud. If that’s too fussy, you can simply attach the panel to the flat back of the carcass. It will stick out slightly, which you’ll cover with trim later.
This is also the time to check for square one final time. Measure the diagonals of the carcass. If they’re off by more than 1/8 inch, loosen a few screws and gently push the frame back into square before the glue sets.
Step 3: Install Interior Shelves, Dividers, and Hanging Rod
Now the interior starts to take shape. The left side of this armoire holds the hanging rod. The right side holds adjustable shelves.
For the hanging rod, use a 1-1/4-inch diameter wooden dowel or a metal closet rod. Cut it to length—about 22 inches for this 24-inch-deep cabinet. Install rod sockets on the left side panel and the center divider. Position the rod at 62 inches from the bottom, which accommodates dresses and long coats.
For the adjustable shelves, install shelf pins. Drill 5mm holes in a vertical line on the right side panel and the center divider, spaced every 2 inches. Use a shelf pin jig to keep the holes aligned. You’ll get about seven shelf positions across a 60-inch span.
Cut your adjustable shelves to 22.5 x 22.5 inches. The 1.5-inch difference from the full depth accounts for the face frame you’ll add later. Sand the edges smooth and apply edge banding to hide the plywood layers.
Consider adding a drawer stack on the bottom right instead of just shelves. A 12-inch-high drawer bank at the bottom is perfect for socks and undergarments. If you plan for this, cut the bottom shelf accordingly and install drawer slides before you attach the face frame.
Step 4: Build and Hang the Doors (Inset vs. Overlay)
Doors define the look of the armoire. You have two main styles: inset and overlay.
Overlay doors are simpler. The door sits on top of the face frame, covering the opening completely. You get a 1/2-inch gap between the two doors, and the hinges are easier to adjust. This is the right choice for a first build.
Inset doors sit flush with the face frame, like a built-in. They look more refined, but they demand precision. The gap between the door and the frame needs to be a consistent 1/8 inch all the way around. Any error in the door dimensions or hinge placement shows up immediately.
For this build, use overlay doors. Cut two doors from 3/4-inch plywood, each 24 x 72 inches. If the face frame is 1-1/2 inches wide, the overlay should be about 3/4 inch on each side, which means the door should be 3 inches wider than the opening.
Attach the hinges to the doors first, then hang the doors on the carcass. Use three hinges per door, not two. The middle hinge prevents the door from bowing over time.
How to Adjust Hinges to Fix Sagging Doors
Even with good hinges, doors drift out of alignment. Almost every hinge has adjustment screws. You’ll find them on the hinge arm or the mounting plate.
For a door that sags at the bottom, tighten the bottom hinge’s vertical adjustment screw. For a door that rubs on the top, loosen the top hinge and push the door down before retightening. For a gap that’s too wide on the hinge side, adjust the depth screw to pull the door closer to the frame.
Make adjustments in small increments—quarter turns, not full rotations. Check the gap after each adjustment. It takes a few minutes to get right, but a properly adjusted door closes with a soft click instead of a scrape.
Step 5: Add Drawers with Soft-Close Slides
Drawers add complexity, but they’re worth it for small items. Build the drawer boxes from 1/2-inch plywood. The front can be 3/4-inch to match the face frame.
Use soft-close drawer slides. Standard slides slam shut, which over time loosens the drawer front screws. Soft-close slides cost a few dollars more per pair and are worth every penny. They also prevent the drawer from sliding open when you tilt the armoire during a move.
Mount the slides on the interior sides of the carcass. Most slides have a lever that allows you to snap the drawer box in and out. Install the cabinet part of the slide first, then the drawer part. Check that the drawer slides smoothly before you attach the front.
Attach the drawer front with screws from the inside of the box. Clamp the front in place with a 1/8-inch gap on all sides, then drill pilot holes and drive the screws. If the front is off by a hair, you can loosen the screws and adjust before the final tighten.
Step 6: Finishing, Trim, and Decorative Feet
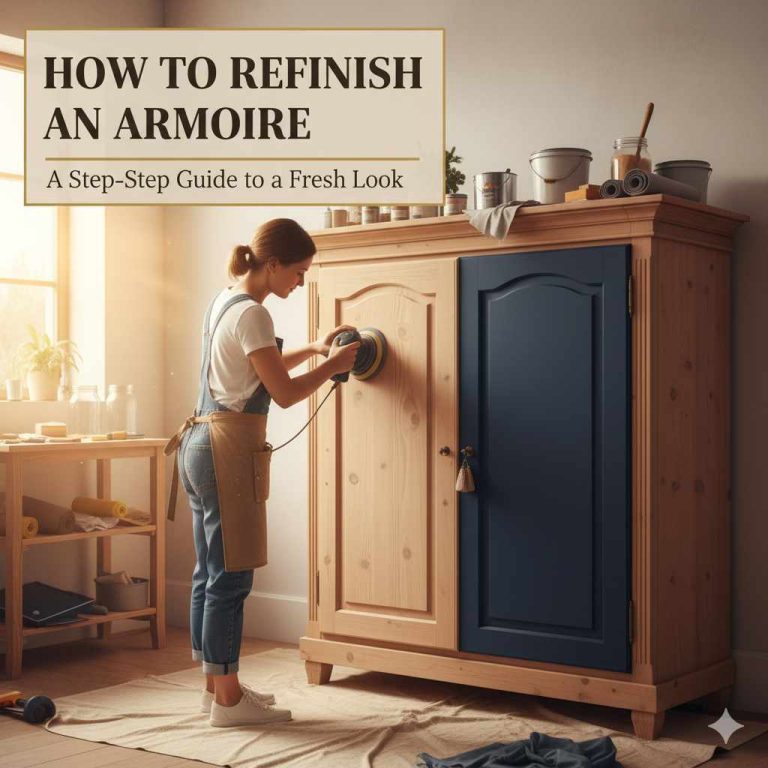
Finishing protects the wood and makes the armoire look like furniture, not a utility cabinet. Start by sanding everything with 120-grit, then 220-grit. Remove all dust with a tack cloth.
Apply a coat of primer to all surfaces, especially the plywood edges. Plywood edges soak up paint unevenly, so primer is non-negotiable. After the primer dries, sand lightly with 220-grit and apply two coats of paint or stain. For a paint-grade finish, use a semi-gloss or satin enamel. It’s more durable than flat paint and wipes clean easily.
Add a face frame to the front edges of the carcass. Cut 1×3 boards to fit around the perimeter and the center divider. Attach them with wood glue and 1-1/4-inch finish nails. Fill the nail holes with wood filler and sand smooth. The face frame gives the armoire a finished, furniture-grade look and covers the raw plywood edges.
For the base, build a simple plinth or install adjustable feet. A plinth is a box frame that raises the armoire 4 inches off the floor. It protects the bottom from moisture and makes the piece look like it’s floating slightly. Adjustable feet are easier if your floor isn’t level—you can twist each foot to level the cabinet.
Step 7: Wall Anchoring and Safety Tips
This step is critical and almost every DIY plan ignores it. A 76-inch-tall armoire is a tipping hazard, especially if a child climbs the drawers or if you hang heavy doors that shift the center of gravity.
Anchor the armoire to a wall stud. Use a furniture anti-tip strap kit, which costs about $10. Locate the studs with a stud finder, screw the bracket into the stud, and attach the strap to the top of the armoire. The strap should be taut but not pulling the armoire away from the wall.
If you can’t hit a stud, use heavy-duty drywall anchors rated for at least 100 pounds. You’ll also want to keep the heaviest items (like shoes) on the bottom shelves and lighter items on top. This lowers the center of gravity and reduces the tipping risk.
Also, check the floor. If the armoire rocks because the floor is uneven, shim the base before you anchor it. A rocking cabinet puts stress on the joints and will eventually loosen the glue joints.
Troubleshooting: Fixing Common Armoire Build Mistakes
Even careful builders run into problems. Here are the most common issues and how to fix them.
Doors that sag. If a door droops after a few months, the hinge screws have stripped. Remove the hinge, fill the screw holes with wood glue and toothpicks, let it dry, then re-drill and reinstall the screws. If the door itself has warped, you may need to replace it with a new plywood panel.
Drawers that stick. A drawer that binds usually means the slides aren’t parallel. Loosen the screws on the slide, push the drawer in and out to find the binding point, and adjust the slide position. If the drawer box is too wide, sand the sides down with 80-grit sandpaper.
Carcass racking. If the armoire wobbles side to side, the back panel isn’t doing its job. Check that the panel is glued and screwed along the entire perimeter. Add more screws along the top and bottom edges if you see gaps.
Paint that chips on edges. Plywood edges are prone to chipping. Apply a second coat of primer to the edges and sand between coats. This builds up a smooth surface that paint can adhere to.
Cost Breakdown: What You’ll Actually Spend
Prices vary by region and lumber yard, but here’s a realistic range for a 48x24x76 armoire built from plywood. This assumes you already own basic tools like a drill and circular saw.
| Item | Quantity | Estimated Cost |
|---|---|---|
| Birch plywood (3/4-inch) | 2 sheets | $120 – $160 |
| Plywood (1/4-inch) for back | 1 sheet | $25 – $40 |
| 1×3 lumber for face frame | 16 linear feet | $15 – $25 |
| Soft-close hinges | 6 | $30 – $50 |
| Soft-close drawer slides | 2 pairs | $20 – $40 |
| Wood glue, screws, sandpaper | 1 kit | $20 – $30 |
| Primer and paint | 1 gallon each | $40 – $60 |
| Wall anchor kit | 1 | $10 – $15 |
| Total | $280 – $420 |
That’s noticeably less than a comparable solid-wood armoire from a furniture store, which typically starts around $500 and goes up from there. The catch is your labor. If your time is worth $50 an hour, a 15-hour build adds $750 in opportunity cost. But you end up with a custom piece that fits your space exactly, which a store-bought unit can’t offer.
If you’re on a tighter budget, use shop-grade plywood instead of birch and skip the soft-close hardware. You’ll save roughly $80, but the build quality still beats a flat-pack unit.
Frequently Asked Questions
Can I build an armoire with just a circular saw?
Yes. A circular saw with a straightedge guide handles all the long cuts. You’ll need a square to set the guide up correctly, and you’ll want a fine-tooth blade (60 teeth or more) to avoid tear-out on plywood. The main limitation is cutting dados, which you can do by making multiple passes with the circular saw set to the right depth. It’s slower than a router, but it works.
What’s the best plywood for a painted armoire?
Baltic birch or maple plywood. Both have a smooth, void-free core and a tight grain that takes paint well. Avoid pine plywood—it has a prominent grain that telegraphs through paint, and the soft spots ding easily. Look for plywood graded B or better on both faces.
How do I make the doors stay aligned over time?
Use three hinges per door and choose hinges with built-in adjustment. Soft-close hinges from brands like Blum or Salice hold alignment longer than cheap stamped hinges. Also, keep the armoire away from direct sunlight and humidity changes. Extreme moisture cycles cause wood to expand and contract, which is the real reason doors go out of alignment.
Should I use pocket holes or dados for the carcass?
Dados are stronger and more beginner-friendly for keeping the carcass square. Pocket holes are faster but rely on the screws’ shear strength. For a piece that holds heavy hanging clothes and gets moved around, dados are the safer bet. Use pocket holes for the face frame, where the joints are purely cosmetic and the glue does most of the work.
Can I add drawers after the armoire is built?
Yes, but it’s a retrofit. You’ll need to cut an opening in the face frame and install drawer slides inside the carcass. It’s easier to plan for drawers during the initial build. If you’re adding them later, make sure the drawer slides you buy have a low profile so they fit in the existing shelf space.
Final Thoughts
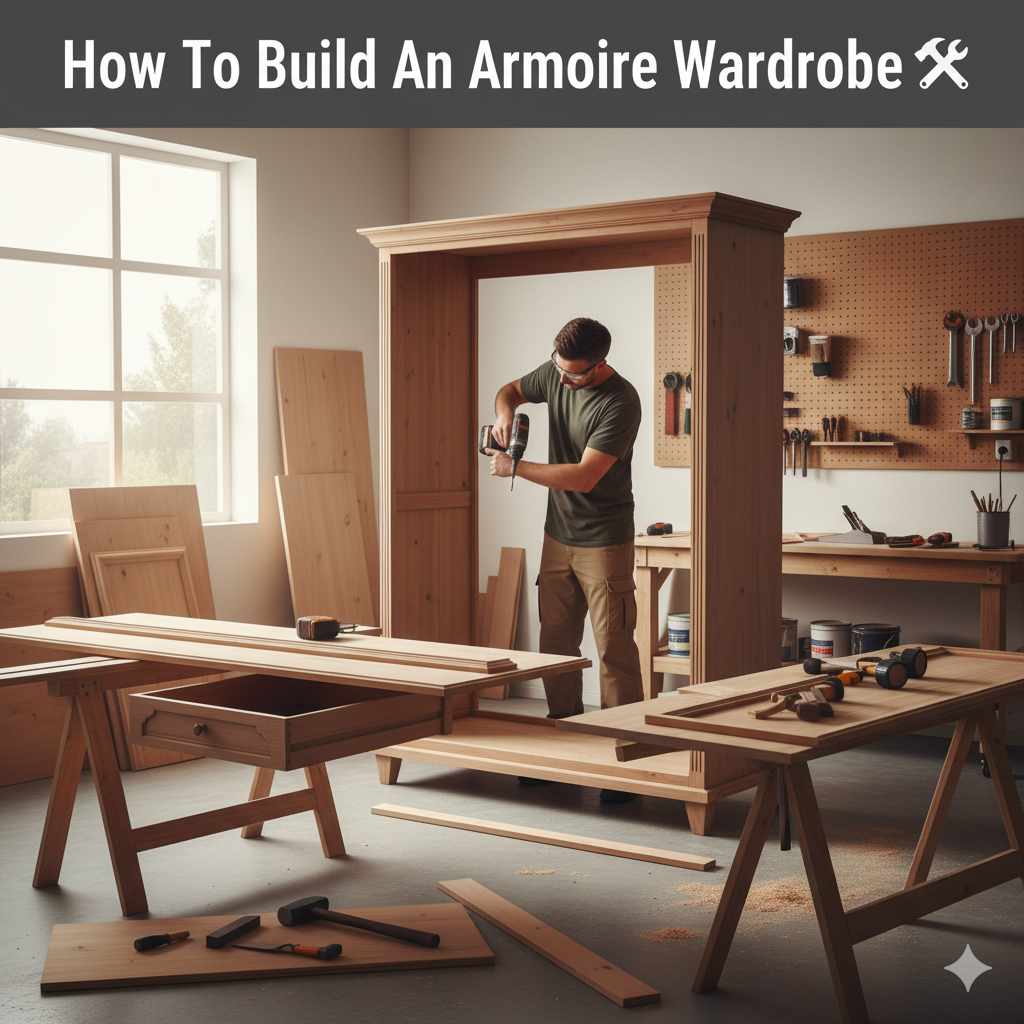
Building an armoire is a weekend project that pays off for years. The key is to prioritize structure over speed. Dado joints, a solid back panel, and wall anchoring are the three details that separate a piece that lasts from one that wobbles.
Take your time on the planning phase. A clear cut list and a measured sketch of the room will save you from the most common mistakes. And don’t skip the finishing steps—a good primer and paint job turns a functional box into a piece of furniture you’re proud to show off.
- Choose a 22-24 inch depth for hanging clothes; 16-18 inches for a narrow hallway piece.
- Buy two sheets of 3/4-inch birch plywood for a full-size armoire; use 1/4-inch for the back panel.
- Cut dados for the main carcass joints—they’re stronger and easier to keep square than pocket holes.
- Install three hinges per door and soft-close slides on drawers to prevent sagging and slamming.
- Anchor the armoire to a wall stud with an anti-tip strap, especially in homes with children.
- Budget between $280 and $420 for materials, plus a weekend of labor.
- If you run into alignment issues, adjust hinges in quarter-turn increments and check the gaps after each turn.
For more furniture projects that use similar techniques, check out this guide on building a simple dresser or this piece on built-in bookcases. Both cover joinery and finishing methods that transfer directly to your next build.
Products related to this article
Sponsored / affiliate links. As an Amazon Associate I earn from qualifying purchases. I may earn additional commission from eligible campaigns.