The Complete Bed Bug Treatment Guide: Choose the Fastest, Most Cost-Effective Path
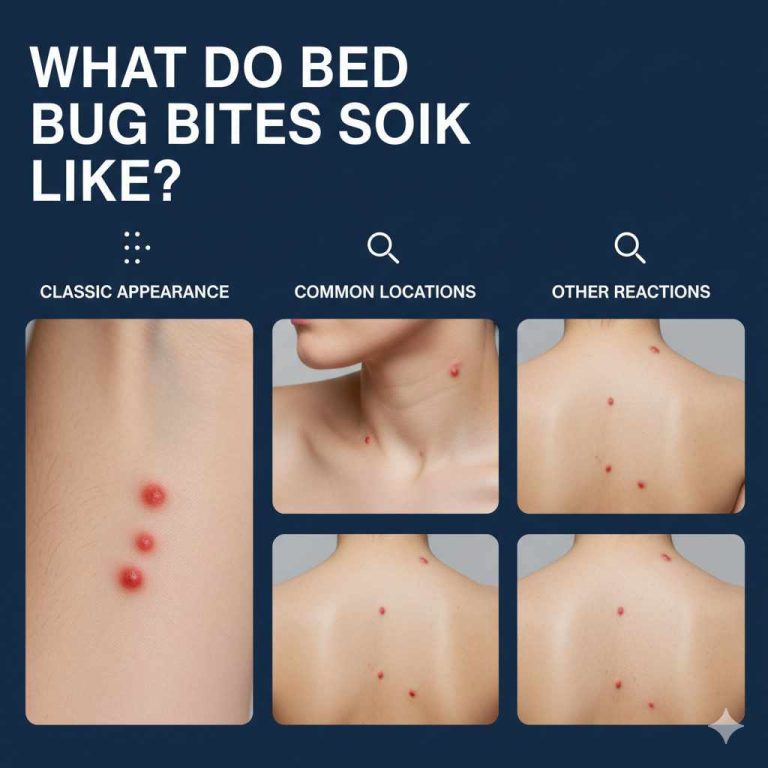
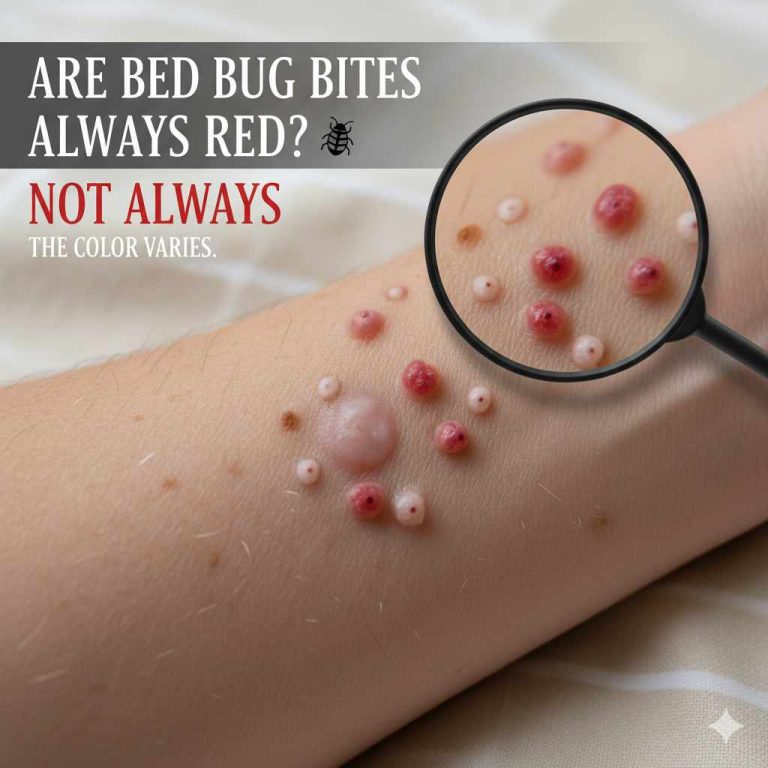
You wake up with three itchy welts on your forearm. You check the mattress and find nothing. A week later, your partner has a line of red bites across their shoulder. Your mind starts racing: where did they come from, how bad is it, and what will this cost?
This guide walks you through the entire process, from confirming you actually have bed bugs to the final follow-up inspection weeks later. You’ll learn how to judge the infestation’s severity, which DIY steps actually work, when to call a professional, and how to handle tricky items like electronics and books. The goal is simple: help you pick the fastest, most cost-effective path for your specific situation.

Ortho
Ortho Home Defense Max Bed Bug, Flea…
- READY-TO-USE APPLICATOR: Apply this bed bug spray for homes using the included Comfort Wand to target tight and hard-to-reach plac…
- BED BUG KILLER: Kill bed bugs, bed bug eggs, fleas and ticks with Ortho Home Defense Max Bed Bug, Flea & Tick Killer
- BED BUG SOLUTION SYSTEM: This indoor bug spray is a Step 2 product in the Ortho Bed Bug Solution System; use with Step 1: Detect a…
As an Amazon Associate I earn from qualifying purchases.
One product worth having on hand for the chemical step is Ortho Home Defense Max Bed Bug, Flea & Tick Killer. It comes in a ready-to-use gallon jug with a Comfort Wand applicator, so you can reach into mattress seams, tufts, and baseboard cracks without a separate sprayer. It’s designed to kill even pyrethroid-resistant bed bugs, which matters because many populations have built up resistance to older sprays.
Confirm You Have Bed Bugs (and Not Look-Alikes)
Before you spend a dime on treatment, make sure you’re dealing with bed bugs. Many people treat the wrong pest and waste weeks.
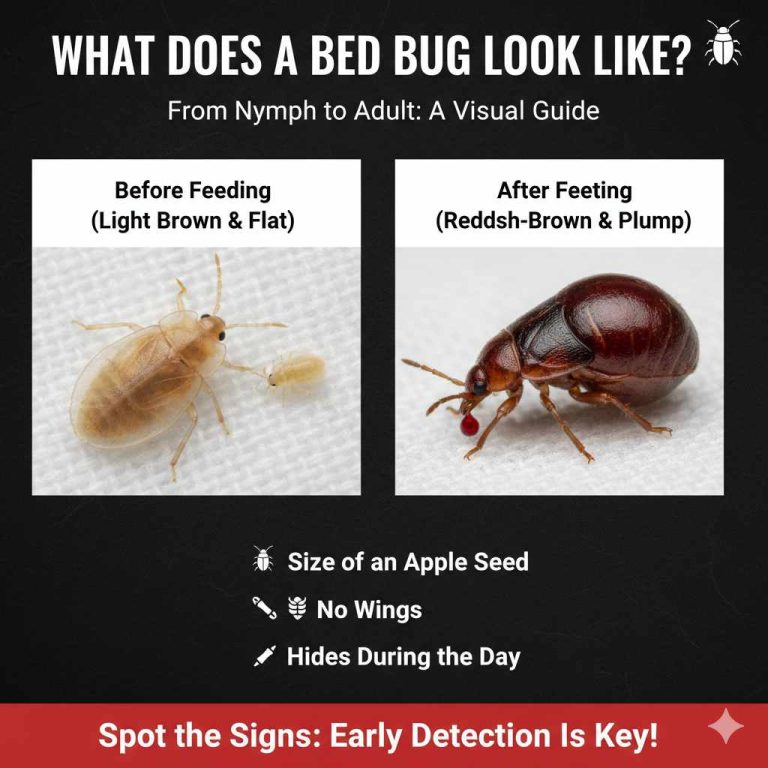
Bed bugs are small, oval, and flat. Adults are about the size of an apple seed (5-7 mm), reddish-brown, and they swell after feeding. Nymphs are smaller and lighter. You’ll often find them in mattress seams, box spring edges, and behind headboards.
But other insects cause confusion. Carpet beetle larvae are fuzzy, brown, and often found near baseboards or under furniture. They don’t bite, but their shed skins can cause skin irritation that looks like bites. Booklice are tiny, pale, and show up in damp areas. Neither requires bed bug treatment.
Look for these signs instead of relying on bites alone:
- Rust-colored or dark spots on sheets (fecal stains)
- Shed skins or egg casings (tiny, pale, about 1 mm)
- Live bugs in the seams of your mattress or along baseboards
- A sweet, musty odor in heavily infested rooms
If you’re unsure, check our guide on bed bug appearance for detailed photos and size comparisons. A quick confirmation now saves you from treating the wrong problem.
Assess the Severity: When DIY Is Not Enough
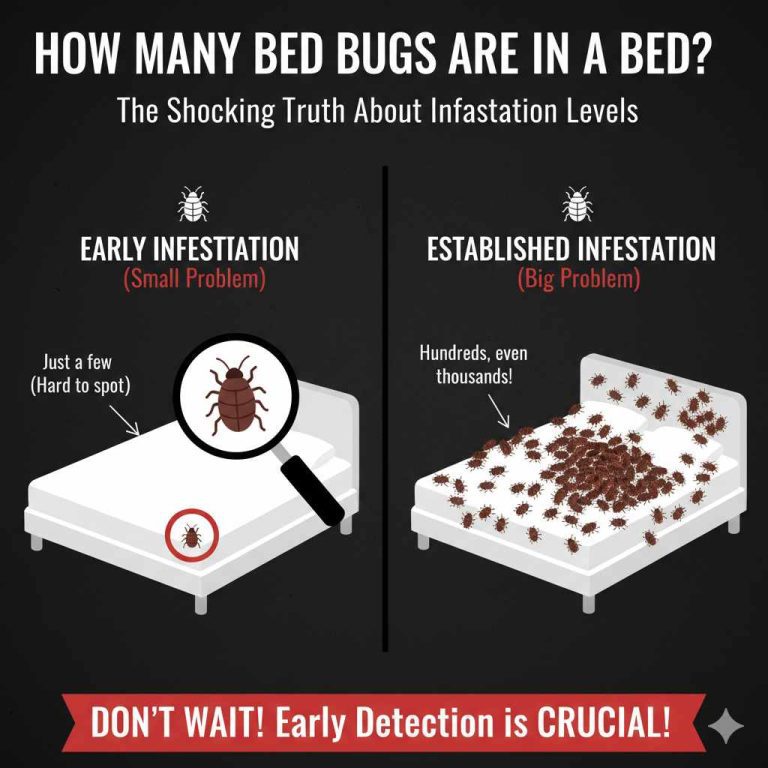
The size of the infestation dictates your strategy. A small problem (a few bugs, one room, caught early) can often be handled with a careful DIY approach. A large one (multiple rooms, thousands of bugs, or an apartment building) needs a professional.
Here’s a practical way to think about it:
- Light infestation: You’ve found fewer than 10 bugs, no eggs, and only one room is affected. DIY is realistic, but you must be thorough.
- Moderate infestation: You’ve found bugs in two rooms, or you see eggs and nymphs. DIY might work, but expect to repeat treatments for several weeks.
- Heavy infestation: You’re finding bugs daily, they’ve spread to multiple rooms, or you’ve had the problem for months. Call a professional. The cost of DIY supplies and lost sleep will exceed the exterminator’s fee.
Budget matters, but so does time. A professional heat treatment might cost several hundred dollars, but it can finish in one day. A DIY chemical approach costs less but demands weeks of repeated effort. If you can’t commit to a strict 14-day treatment cycle, professional help is the smarter choice.
Step 1: Contain the Infestation Immediately
Bed bugs are excellent hitchhikers. Before you start killing them, stop them from spreading to other rooms.
Take these actions in the first hour:
- Stop sleeping in the infested room. If you move to the couch, you’ll just spread them.
- Strip all bedding and put it in plastic trash bags. Tie the bags shut.
- Do not move furniture between rooms. Leave everything in place until treated.
- Vacuum the perimeter of the room and along baseboards. Empty the vacuum contents into a sealed bag and throw it out immediately.
This containment phase is often skipped, and it’s a costly mistake. A few bugs that wander into your living room can create a second infestation that doubles your treatment time.
Step 2: Prepare Your Room for Treatment
Preparation is tedious but non-negotiable. Both DIY and professional treatments fail if you skip this step.
Here’s the preparation checklist:
- Remove all items from under the bed. Store them in sealed plastic bins.
- Pull the bed away from the wall so you can access all sides.
- Take down curtains and wash them.
- Empty dressers and closets. Launder everything washable on hot water (at least 120°F) and dry on high heat for 30 minutes.
- Items that can’t be washed (shoes, bags, books) go into sealed bags until you treat them separately.
- Declutter the floor. Bed bugs love clutter because it gives them hiding spots.
This takes a few hours per room. It’s tedious, but it’s the difference between a one-time fix and a four-month saga. Professionals will often refuse to treat a room that isn’t prepped because they can’t guarantee results.
Step 3: The Mechanical Kill (Vacuum, Steam, and Laundry)
Chemicals alone won’t reach every bug. Mechanical methods physically remove or kill them, and they work on pesticide-resistant populations.
Vacuuming: Use a vacuum with a HEPA filter and a crevice tool. Go over mattress seams, tufts, and folds, the box spring, bed frame joints, baseboards, and carpet edges. Vacuum slowly and methodically. After each session, seal the vacuum bag in plastic and dispose of it.
Steam cleaning: Steam kills bed bugs and eggs on contact if the surface temperature reaches 160-180°F. Use a steamer with a narrow nozzle and move it slowly (about 1 inch per second) along seams and cracks. Don’t rush; a quick pass only warms them up.
Laundry: Wash bedding, clothing, and curtains in hot water (120°F or higher) and dry on high heat for at least 30 minutes. The dryer is the critical step — even if you can’t wash in hot water, the dryer alone will kill them.
These methods reduce the population dramatically, but they don’t eliminate hidden eggs. That’s why you need the next step.
Step 4: Apply Chemical Treatments Safely (Sprays and Dusts)
Chemical treatments are the backbone of DIY bed bug control. But you have to use the right product in the right places.
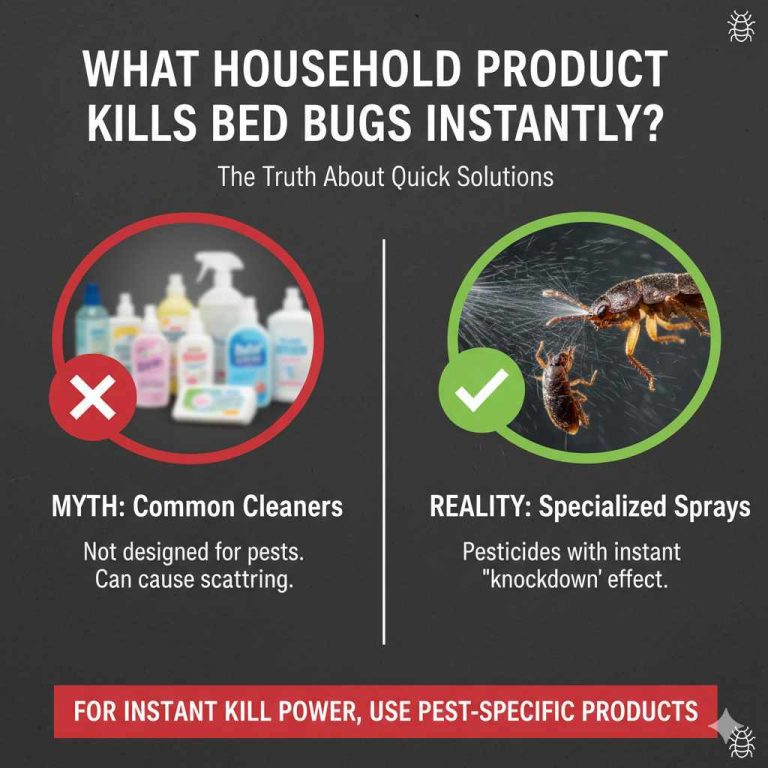
Liquid sprays like Ortho Home Defense Max are good for spot treatments. Apply them to bed frame joints, baseboards, and mattress seams (check the label for mattress-safe use). The residual effect kills bugs that cross the treated surface days later.
Insecticide dusts (like diatomaceous earth or silica gel) are different. They’re not sprays; they’re powders that stick to bugs and dry them out. Dusts work best in cracks and crevices where sprays can’t reach — behind baseboards, inside electrical outlets (after turning off power), and under carpet edges. Apply a thin, even layer. A visible pile of dust actually deters bugs from walking through it.
Two rules matter here:
- Never spray where you applied dust. The wet spray clumps the dust and ruins it.
- Rotate product types if you have resistant bugs. If a pyrethroid spray isn’t working after two weeks, switch to a different chemical class.
Pesticide resistance is real. Some bed bug populations are resistant to common pyrethroids, which is why products formulated to kill resistant strains, like the Ortho spray mentioned above, are worth considering.

Step 5: Treat Heat-Sensitive Items (Electronics, Books, Shoes)
Not everything survives the washing machine or a 120°F dryer. Electronics, books, shoes, and delicate fabrics need special handling.
For electronics like laptops, phones, and game consoles, you have a few options:
- Sealed bag + time: Place the item in a sealed plastic bag and leave it for 12 months. Bed bugs can survive for months without feeding, so this is a long-term solution.
- Portable heat chamber: You can buy or build a small heat chamber that maintains 120°F for 2-3 hours. This is faster but requires careful temperature control to avoid melting plastic.
- Professional heat treatment: Some pest control companies offer specialized heat boxes for electronics.
Books are tricky because they’re paper and glue. You can seal them in a bag with a desiccant dust (like diatomaceous earth) for a few weeks. Or, if you have a garage in summer, leave them in a sealed black plastic bag in direct sun for a full day — interior temperatures can exceed 130°F.
Using Freezing (Cryonite) for Delicate Items
Freezing is an alternative, but it’s slower and less reliable than heat. Most home freezers only reach 0°F, and bed bugs need to be exposed to that temperature for at least 4 days to die. Even then, eggs are more resistant than adults.
Professional cryonite treatments use liquid CO2 at -110°F, which kills on contact. For home use, freezing is a last resort for items you can’t heat. Seal the item in a bag, leave it in the freezer for a week, then remove and let it thaw for a day before checking for survivors.
Step 6: Monitor and Repeat Treatment (The 14-Day Cycle)
Here’s the part people hate: bed bugs don’t die in one treatment. You need to repeat the process.
The bed bug lifecycle is the reason. Eggs hatch in 6-10 days. Nymphs need to feed and molt through five stages before becoming adults. A single treatment kills the live bugs it contacts, but eggs are often unaffected. New nymphs hatch a week later, and you need to kill them before they mature and lay more eggs.
The standard protocol is a 14-day cycle:
- Day 1: Full mechanical cleaning (vacuum, steam, laundry).
- Day 2: Apply chemical treatments (spray and dust).
- Day 14: Repeat the entire process. This catches newly hatched nymphs.
- Day 28: Do a third round if you still see signs of activity.
Use monitoring traps (interceptors under bed legs) to track progress. If you catch bugs in the traps, they’re still active. If the traps stay empty for two weeks, you’re likely winning.
Don’t stop treatment early. Many people quit after a week because they see no bugs, only to get re-infested a month later from surviving eggs.
Professional Treatment Options Compared (Heat, Chemical, Fumigation)
If DIY isn’t working or the infestation is too large, you have three main professional options. They differ in cost, speed, and effectiveness.
| Method | How It Works | Typical Timeline | Pros | Cons |
|---|---|---|---|---|
| Heat Treatment | Whole-room heaters raise temperature to 120-135°F for several hours | 1 day | Kills all life stages including eggs; no chemical residue; items stay in place | Expensive; requires moving heat-sensitive items; risk of fire if not monitored; can miss bugs in insulated walls |
| Chemical Treatment | Liquid sprays and dusts applied to all hiding spots | 2-3 visits over 2-4 weeks | Effective for most infestations; less expensive than heat; good for apartments (no need to vacate) | Requires preparation; repeated visits; some populations are resistant |
| Whole-Structure Fumigation | Tent the house and fill with gas (sulfuryl fluoride) | 2-3 days | Kills everything in the structure; reaches all areas | Most expensive; must vacate for days; requires special preparation; not available for apartments |
Heat treatment is popular because it’s fast, but it’s not perfect. It can miss bugs hiding deep inside walls or under thick insulation. Chemical treatments are slower but often more thorough because they leave a residual barrier. Fumigation is the nuclear option — it works, but it’s disruptive and costly.
For apartments, chemical treatment is usually the only option, since you can’t fumigate one unit in a multi-story building. Heat treatment in an apartment can push bugs into neighboring units through wall voids.
How to Prevent Re-Infestation (Especially in Apartments)
You’ve done the work. The last thing you want is a second infestation. Here’s how to keep them away.
First, install mattress and box spring encasements. These are zippered covers that trap any remaining bugs inside and prevent new ones from getting in. They cost $30-50 and are worth every penny.
Second, use interceptor traps under bed legs. These plastic cups have a slippery inner surface that traps bugs trying to climb up. Check them weekly.
Third, reduce clutter. Bed bugs thrive in piles of clothes, papers, and boxes. Fewer hiding spots means easier detection.
If you live in an apartment, re-infestation from neighbors is the biggest risk. Bed bugs can travel through wall voids, electrical outlets, and shared plumbing. You can’t control your neighbors, but you can:
- Seal cracks and gaps around baseboards and pipes with caulk.
- Install foam gaskets behind electrical outlet covers.
- Notify your landlord or property manager immediately. Most states require landlords to address infestations.
- Inspect your bed area weekly, especially after a neighbor reports bed bugs.
Remember that bed bugs aren’t a sign of poor hygiene. They’re a hitchhiker pest. Your neighbor’s infestation doesn’t mean you did anything wrong, but it does mean you need to stay vigilant.
The Bottom Line: Your Action Plan and Timeline
Here’s the realistic timeline you should expect:
- Day 1-2: Confirm bed bugs, contain the spread, and prep the room.
- Day 3-7: Complete the first round of vacuuming, steaming, laundry, and chemical application.
- Day 14: Repeat the full treatment cycle.
- Day 28: Do a third round if needed. Start monitoring with traps.
- Week 6-8: If traps are empty and no new bites, you’re likely clear. Continue weekly inspections for another month.
If you see no improvement after two full treatment cycles, stop wasting money on DIY supplies and call a professional. The cost of a pro is high, but the cost of a prolonged infestation — lost sleep, damaged furniture, and stress — is higher.
Your action plan in short:
- Confirm it’s bed bugs by looking for fecal stains and live bugs, not just bites.
- Contain the spread immediately by sealing bedding and stopping room-to-room movement.
- Prep the room thoroughly before any treatment, DIY or professional.
- Use a combination of vacuuming, steam, laundry, and chemical sprays/dusts.
- Repeat everything on a 14-day cycle to catch newly hatched nymphs.
- Treat electronics and books separately with heat chambers, sealed bags, or professional services.
- Monitor with traps and encasements, and stay vigilant for at least two months.
Bed bugs are a nightmare, but they’re not unbeatable. The people who succeed are the ones who follow a systematic plan and don’t give up after one round. Stick with it, and you’ll get your home back.
Products related to this article
Sponsored / affiliate links. As an Amazon Associate I earn from qualifying purchases. I may earn additional commission from eligible campaigns.