
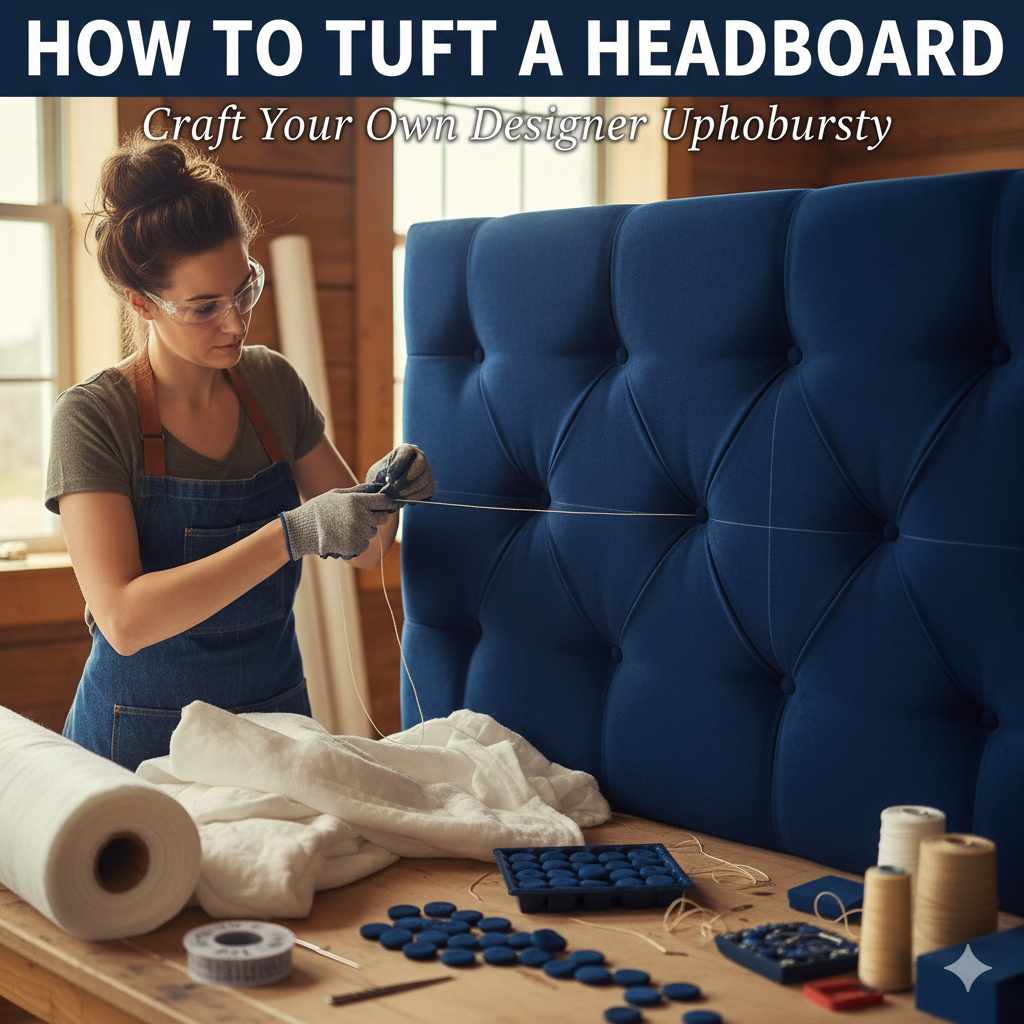
To tuft a headboard successfully, you need a sturdy backing board, high-density foam, quality batting, and durable fabric. Measure carefully, mark your button locations evenly across the board, drill pilot holes, thread strong upholstery twine, and secure the buttons tightly to create those classic, luxurious diamond patterns. Safety first, measure twice, and enjoy your custom look!
Turning an old headboard or building a new one from scratch can seem like a big task. Maybe you saw a gorgeous tufted headboard online and thought, “I could never do that.” It looks complicated, right? Lots of buttons and perfect diamonds? Not at all! With clear steps and the right approach, anyone can achieve that high-end, custom look right in their own home. Think of this project as giving your bedroom a major style upgrade without needing a professional upholsterer. We are going to break down exactly how to tuft a headboard, step by step, making sure your finished piece looks amazing and lasts for years. Let’s get started building your dream bed!
Why Tufting Makes an Instant Impact
Tufting isn’t just about looks; it adds depth, texture, and a feeling of luxury to any bedroom. When you see those deep dimples and neat lines, it signals quality craftsmanship. For DIYers, tufting is often the key feature that elevates a simple piece of furniture into a focal point.
The beauty of a DIY tufted headboard is customization. You choose the fabric color, the button style, and even the depth of the tufts. Whether you want a classic Chesterfield look or something modern, this technique lets you take full control. It’s a satisfying project that proves you can tackle big décor goals on a budget.

Preparing for Your Headboard Project: Tools and Materials
Before you even think about drilling, gathering your supplies is essential. Think of this list like your maintenance checklist before a long road trip—everything needs to be accounted for.
Essential Supplies Checklist
Here’s what you’ll need to create that classic, professional look. We’re aiming for durability and a smooth finish.
- Backing Board: Usually 3/4-inch plywood or medium-density fiberboard (MDF). This needs to be strong!
- Foam (Comfort Layer): High-density upholstery foam (at least 2 inches thick). This provides the cushy factor.
- Batting (Softening Layer): Polyester quilt batting or cotton wrap to smooth out the foam edges.
- Upholstery Fabric: Choose a piece large enough to wrap around the board and secure underneath. Velvet, linen, or performance fabrics work well.
- Upholstery Buttons: Ensure you buy matching buttons and the corresponding button tying kits (or specialized upholstery needles and strong thread).
- Buckram or Backer Board (Optional but Recommended): For a completely clean back finish.
Tools You Will Need
Having the right tools makes the process faster and safer. Remember, safety glasses are your best friends when working with power tools!
- Electric drill and drill bits (a long, thin bit is best for tufting depth).
- Staple gun (heavy-duty, electric or pneumatic is easiest) and staples.
- Measuring tape and a long ruler or level.
- Pencil or chalk marker.
- Heavy-duty upholstery twine or strong, thick thread (nylon or polyester).
- Scissors and pliers.
- Spray adhesive (for securing foam to the board).
- Safety glasses.
Step 1: Constructing the Base Board
The backing board is the skeleton of your headboard. It needs to support all the weight, the foam, the fabric, and the tension from the tufting. Don’t skimp on quality here.
Cutting and Preparing the Plywood
If you bought pre-cut wood, great! If not, use a circular saw or have your local home improvement store cut it for you. For a standard Queen size headboard, the width is often around 60 inches, but check your specific bed frame measurements.
Once cut, give the edges a quick sanding. Smooth edges prevent sharp points from tearing your precious foam or fabric later on.
Pro Tip: If you are using MDF, seal the back side with a coat of paint or primer. MDF can swell if exposed to humidity over time. Check out resources from wood industry experts, such as the Wood Products Manufacturers Association, for general insights on board selection safety and usage.
Step 2: Layering the Cushioning
This is where the comfort comes in. We apply the foam first, then the batting.
Attaching the Foam
Lay your high-density foam onto the prepared board. Use spray adhesive made for upholstery or foam to lightly tack the foam to the board. You don’t need a ton—just enough to keep it from shifting while you cut.
Trim the foam so it matches the board size exactly. If you want soft, rolled edges (which look professional when you flip the fabric over), cut the foam about 1 inch larger than the board on all sides.
Wrapping with Batting
The batting is key for smoothing bumps and giving the surface a soft ‘pillowy’ feel before the fabric goes on. Lay your batting over the entire foam-covered board.
Flip the entire assembly (board, foam, batting) over so batting side is down. Pull the batting tightly around the edges of the board and use your staple gun to secure it to the back of the plywood. Always place staples every 1 to 2 inches to ensure smooth tension across the entire surface.
Step 3: Fabric Selection and Initial Wrapping
Fabric choice drastically affects the final look. Thicker fabrics like heavy velvet look luxurious, while tighter weaves like linen wear well.
Calculating Fabric Needs
You need enough fabric to cover the front completely, wrap around the sides (if you want side upholstery), and have plenty of excess underneath to staple securely.
A good rule of thumb is the final board dimensions PLUS twice the thickness of your layers (foam + batting) PLUS 6 to 8 inches of overlap on all sides for stapling.
The Initial Layout
Lay your chosen fabric face-down on a clean floor. Center the padded headboard assembly (foam side down) onto the fabric.
Start by stapling just the center top edge. Pull the fabric taut and staple the center bottom edge. Then, pull taut and staple the center left and center right edges. This creates the basic, non-tufted tension.
Step 4: Mapping Out the Tufting Grid
This is the most critical step for achieving that perfect diamond pattern. Precision now saves headaches later.
Determining Spacing
The distance between your buttons determines the size of your diamonds. Standard tufting patterns use spaces between 3 to 6 inches.
- Smaller spacing (3-4 inches) creates deeper, smaller diamonds—very traditional.
- Larger spacing (5-6 inches) creates a more modern, slightly shallower look.
Marking the Gridlines
Use a long, straight edge (like a T-square or level) and a washable fabric marker or tailor’s chalk.
- Measure the exact distance from the top edge where your first row of buttons should sit. Mark this line across the width of the headboard.
- Determine the spacing for your vertical lines. If you choose 4 inches apart, mark your first vertical line centered on the board.
- Crucially: Shift your next vertical line by half the spacing amount (2 inches) from the first line to create a staggered, diamond pattern, rather than a square grid.
- Mark every subsequent line based on this half-spacing rule.
Table 1: Common Headboard Tufting Depths and Spacings
| Aesthetic Goal | Button Spacing (Inches) | Recommended Foam Thickness (Inches) | Best For |
|---|---|---|---|
| Deep, Traditional (Chesterfield) | 3 to 4 inches | 3 to 4 inches | Velvet or heavy damasks |
| Balanced, Classic Look | 4 to 5 inches | 2 to 3 inches | Linen, standard upholstery |
| Modern, Shallow Tuft | 5 to 6 inches | 2 inches | Lightweight or patterned fabrics |
Step 5: Drilling the Pilot Holes
We need holes for threading the upholstery twine to anchor the buttons deep into the wood backing.
Safety Reminder: Always wear your safety glasses during drilling! You are drilling through fabric, foam, and thick wood.
- On your marked intersections, carefully use a long, thin drill bit (slightly wider than your upholstery twine).
- Drill straight through the fabric, foam, batting, and completely through the plywood backing board. Go slow!
- Check the back of the board. You should see a small exit point for every mark you made.
If you are worried about tearing the fabric when drilling, temporarily secure the marked fabric down with painter’s tape around the intersection points to reduce movement.
Step 6: The Art of Button Tying (The Tufting Process)
This is the step that defines the tufted look. It requires patience and strong hands, but you’ll get the hang of it quickly. We are essentially creating anchors for the buttons.
Threading the Twine
Cut a very long piece of upholstery twine—about 3 to 4 feet for your first button. Thread the twine through the eye of your extra-long upholstery needle (or directly onto the button if it has deep holes).
Anchoring the Buttons
- Push the needle and twine through the drilled hole, starting from the front of the headboard.
- On the backside of the board, pull the twine through until the button sits flush against the fabric on the front.
- Place a second button (or an upholstery anchor clip, depending on your kit) onto the two long strands of twine hanging from the back.
- Using pliers to get leverage, pull the twine extremely tightly. You want the fabric to pucker deeply around the button on the front.
- While holding the strong tension, wrap the twine tightly around itself several times directly against the back of the anchor button/clip.
- Take your remaining twine and tie a very secure knot (a double square knot works wonders).
- Trim the excess twine close to the knot.
Repeat this process for every single marking you made. Work systematically, perhaps row by row, to maintain consistent tension across the piece. A good place to check for reliable upholstery supplies and techniques is through established trade organizations.
Step 7: Finishing the Edges and Backing
Once all the buttons are tied, your headboard will look beautifully dented. Now, we clean up the edges and complete the professional back.
Securing the Loose Edges
If you left extra fabric on the sides, pull any remaining slack out, trying to keep the tension consistent with the tufting you just did. Staple the excess fabric firmly to the back of the plywood board. Take your time folding the corners neatly, similar to wrapping a gift.
Attaching the Back Covering (Dust Cover)
A dust cover (often made of thin black or natural-colored woven material called cambric) protects the back, hides the staples and knots, and keeps dust bunnies out.
Lay the headboard face down on the fabric. Cut the fabric so it overlaps the plywood by about 1 to 2 inches all around. Staple this cover material around the perimeter of the board. Keep it taut, but not so tight that it pulls on the tufting you just created.
Step 8: Mounting Your New Headboard
You’ve done the hard work! Now it’s time to show it off. Mounting methods depend on whether you attached a frame or are using wall mounts.
If you built a simple frame attachment:
- Ensure your wall studs align where you plan to attach the mounting hardware (if mounting directly to the wall).
- Use heavy-duty metal Z-clips or dedicated French cleat systems designed for furniture weight. Double-check the weight capacity of your chosen hardware. For heavy, deeply tufted headboards, consider professional installation assistants or mounting brackets rated for well over the estimated weight.
- Lift carefully (these are surprisingly heavy!) and secure it to your bed frame mounts or wall hardware.
Always refer to the manufacturer’s instructions for any mounting hardware you purchase for load-bearing guidelines, like those found on reputable hardware supplier websites, to ensure maximum safety.
Troubleshooting Common Tufting Headboard Issues
Even the best mechanics run into snagged bolts! Here are common beginner issues and simple fixes.
The “Loose Button” Problem: If a button feels loose the next day, it means your initial knot wasn’t tight enough, or the twine stretched slightly. Don’t panic. Carefully snip the twine close to the knot, use pliers to pull the slack out (re-tightening the pucker), and re-tie a new, extremely tight knot right over the old one.
The “Saggy Fabric”: This almost always happens down the middle if the initial tensioning (Step 3) wasn’t uniform. If it’s very bad, you may need to slightly loosen the knots near the sag, temporarily remove the button, re-pull the fabric tightly through the hole, and re-tie the button. Aim for wrinkles that lead toward the center buttons, not wrinkles pooling elsewhere.
Wavy Edges: If the edges look wavy instead of crisp after stapling, you pulled too hard on one side before securing the opposite side. Next time, focus 70% of your pulling effort on the corner diagonal to where you are currently stapling.
Caring for Your Newly Tufted Masterpiece
Now that you have a custom piece, keeping it looking new is easy. Think of fabric care like washing your car—gentle is best.
- Dusting: Use a feather duster or the soft brush attachment on your vacuum cleaner regularly to remove surface dust trapped in the tuft valleys.
- Spills: Blot immediately! Never rub, as rubbing pushes the spill deeper into the foam and batting. Check your specific fabric care tag for cleaning solutions (e.g., water-based vs. solvent-based cleaners).
- Longevity: If using a velvet fabric, gently steam the headboard once a year to fluff the nap (the soft fibers) back up.

Frequently Asked Questions (FAQs) for Beginner Tufting
Q1: Can I skip using foam and just use batting?
A: No, you should not skip the foam. Batting only softens the surface; high-density foam provides the necessary cushion and structure that allows the button to pull the fabric inward deeply, creating the tufted dimple.
Q2: Do I have to use upholstery buttons, or can I use regular buttons?
A: You must use upholstery buttons, which are designed to have holes deep enough to pass heavy upholstery twine through multiple times. Regular craft buttons are too shallow and will rip out easily.
Q3: How tall should my finished headboard be?
A: This is flexible! Most designers recommend the total height should be about 2/3rds the width of the bed. For a Queen bed (60 inches wide), try aiming for a total height between 50 and 65 inches for a dramatic look.
Q4: What if I don’t have a drill? Can I poke holes with something else?
A: For a sturdy plywood base, a drill is highly recommended for safety and accuracy. Trying to punch through plywood with a screwdriver or awl risks damaging your fabric and creates uneven holes. If you lack a drill, many large hardware stores will cut mounting slots into the backboard for you.
Q5: How do I ensure my diamond pattern is straight if my fabric shifts?
A: Before starting the final stapling (Step 3), mark the center point where the two main diagonals intersect. Ensure this center point on the fabric aligns perfectly with the center point on your board. Use this center point as your reference for all subsequent measurements.
Q6: Is it necessary to attach a decorative backer board (like buckram)?
A: It is highly recommended, especially if your bed will be visible from the sides or if the back of the headboard faces into the room. It gives a clean, tailored finish and adds an extra layer of rigidity to the structure.
Conclusion: You Built That Custom Style!
See? Tackling a big DIY project like learning how to tuft a headboard isn’t nearly as intimidating as it first appears. What once looked like a complicated, high-end furniture technique is now something you understand step by step — from building a solid backing board to drilling pilot holes, tightening upholstery twine, and forming those beautiful diamond patterns.
By carefully measuring your grid, securing high-density foam, and maintaining consistent tension while tying each button, you’ve essentially recreated a luxury showroom centerpiece at a fraction of the cost. More importantly, you didn’t just save money — you gained skill, confidence, and full creative control over your bedroom design.


