How to Shorten a Drawer Slide That Is Too Long
If a drawer slide is too long, first confirm the cabinet accepts the full slide length. If it does not, use the correct size or a slide type that the manufacturer says can be trimmed; most slides should not be cut. A bad fix can stop the drawer from closing fully, create binding, or leave the front out of square. This guide shows how to check fit, choose between repositioning, trimming, or replacement, and keep the drawer aligned.
What you’ll need


- Tape measure
- Square
- Screwdriver
- Drill and bits
- Pencil or fine marker
- Clamps
- Safety glasses
- Wax for wooden runners
- Clean cloth
How do you tell the slide is too long?
The slide is too long when cabinet depth, drawer-box depth, and slide length do not match, and the drawer bottoms out, binds, or stops short of full closure. Check the clear opening at the front and farther inside, then confirm the cabinet is square before changing hardware. Use the limiting dimension after the cabinet checks out.
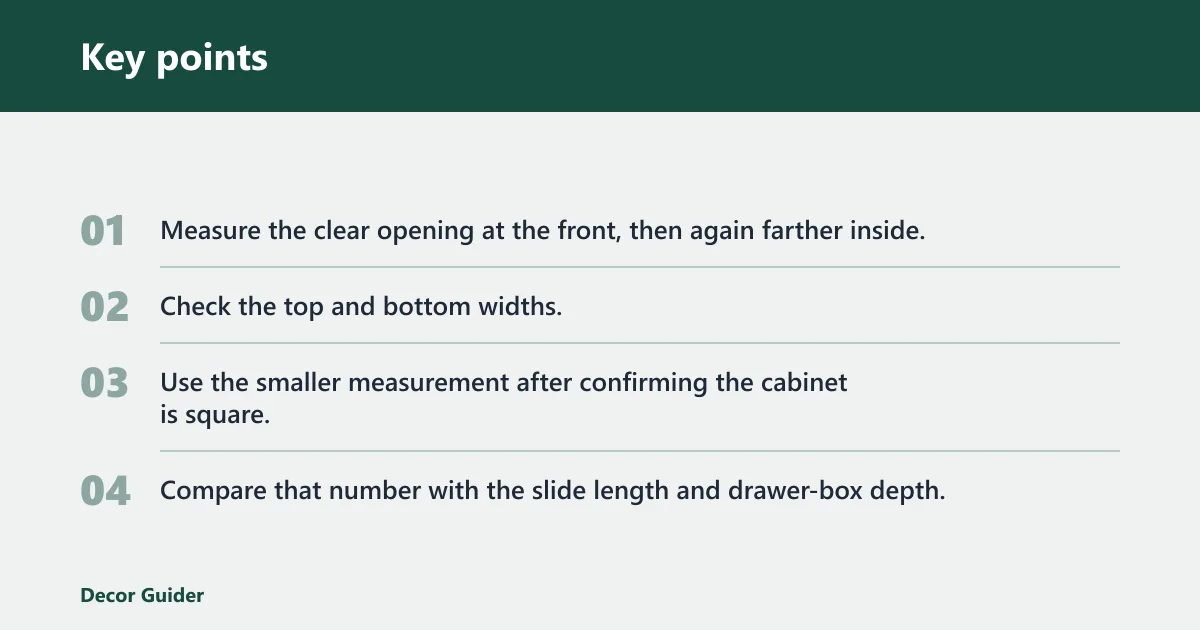
Measure the opening the right way
- Measure the clear opening at the front, then again farther inside.
- Check the top and bottom widths.
- Use the smaller measurement after confirming the cabinet is square.
- Compare that number with the slide length and drawer-box depth.
Common lengths include 10-inch, 22-inch, and 24-inch examples. A 24-in.-deep cabinet is a useful reference point when you compare those sizes. If the slide reaches the rear panel before the drawer front closes flush, the slide is too long for that cabinet geometry.
If a dresser opening measures about 22 inches at the front but 21-7/8 inches farther inside, a 22-inch slide may fit on paper. A bowed side panel or a square error can make it bind before full travel. The tighter inside number wins.
Look for the failure pattern
Bottoming out at the back usually means the slide length is longer than the usable depth. Binding often points to side clearance or square issues. A drawer that stops short can also mean the slide is installed too far forward or the rear stop is in the wrong place.
Can you shorten a drawer slide safely?
Only when the slide’s instructions or specifications say it can be trimmed or re-drilled. If the hardware does not explicitly allow that change, replace it with the correct length. Shortening works best when the overlength is modest and the slide type is designed for modification.
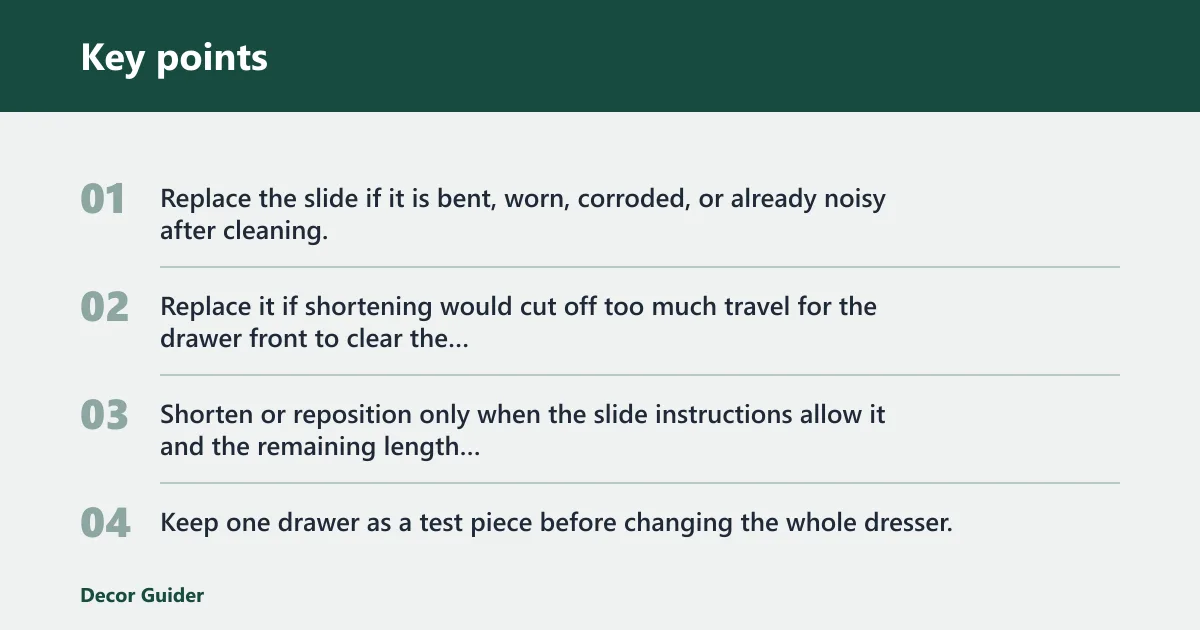
Use a replace-versus-shorten rule
- Replace the slide if it is bent, worn, corroded, or already noisy after cleaning.
- Replace it if shortening would cut off too much travel for the drawer front to clear the opening.
- Shorten or reposition only when the slide instructions allow it and the remaining length still supports full closure.
- Keep one drawer as a test piece before changing the whole dresser.
Undermount slides often allow adjustment in more than one direction, and they stay hidden when the drawer is open. That helps with alignment, but it does not make every model safe to trim. Ball-bearing slides use metal tracks and need clean races and aligned mounting for smooth travel, so they are more often repositioned than cut.
Set a practical rear setback
For common dresser repairs, a small rear setback is often safer than trimming the moving parts. A setback around 1/8 inch to 1/4 inch can give you room for screw heads and rear clearance. If the slide needs much more than that, buy the correct length instead.
Shortening is only for parts the manufacturer says are meant to be modified. Remove the drawer, clean the tracks, mark the new mounting point or cut line, then trim only the section that does not control the bearing path. After that, drill new holes, reinstall, and test full travel.
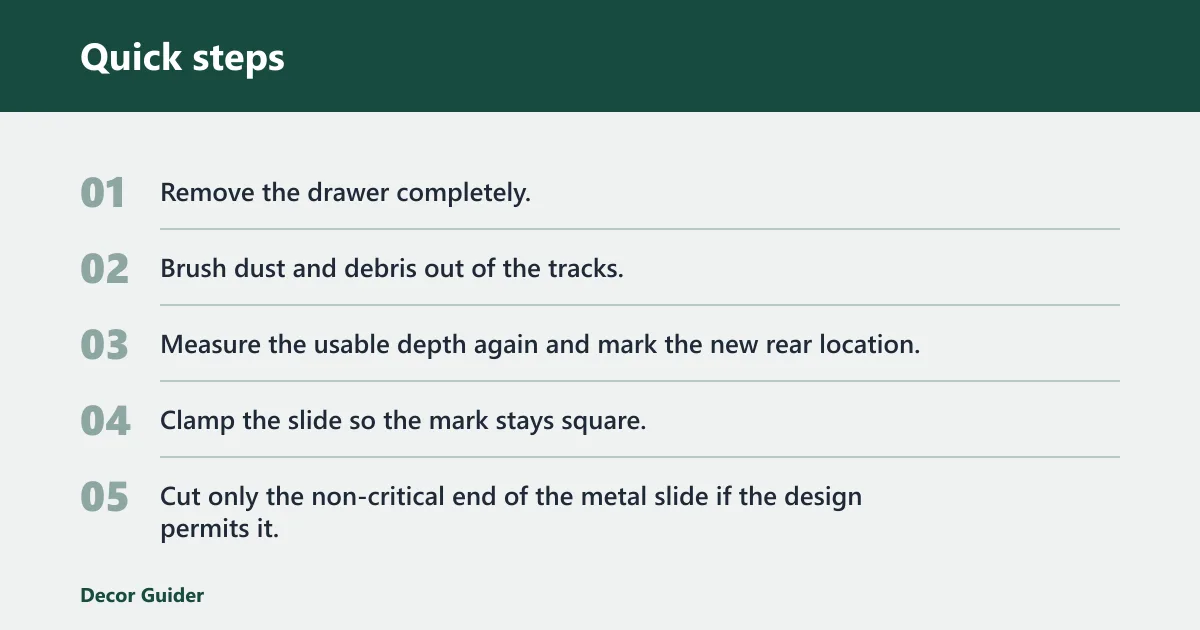
Follow a cut-and-redrill workflow
- Remove the drawer completely.
- Brush dust and debris out of the tracks.
- Measure the usable depth again and mark the new rear location.
- Clamp the slide so the mark stays square.
- Cut only the non-critical end of the metal slide if the design permits it.
- Drill new mounting holes with the slide held flat.
- Reinstall the slide and check for full closure.
Do not cut the bearing race, plastic cage, or soft-close mechanism unless the manufacturer says that part is meant to be altered. If the drawer face is still proud after the cut, move the rear mount, not just the front screws. That keeps the travel path straight.
What to do with wooden runners
Wooden runners are different. They are usually corrected by planing or sanding the contact points, then waxing the runner. For wooden runners, paraffin or candle wax is the listed option. Do not treat a wooden runner like a metal slide.
Drawer slide decision table
| Slide type | Symptom | Safe fix | Required tools | Maximum practical setback | Replace-vs-shorten recommendation |
|---|---|---|---|---|---|
| Side-mount drawer slides | Drawer bottoms out or stops short before closing | Move the rear mounting holes, then verify side clearance and square before tightening | Tape measure, square, screwdriver, drill, bits | About 1/8 inch to 1/4 inch | Shorten only if the slide is straight and the travel loss is acceptable; otherwise replace with the correct length |
| Undermount drawer slides | Drawer rubs, misaligns, or will not close flush | Adjust in all available directions before any cutting | Screwdriver, square, tape measure | Usually minimal; follow the maker’s adjustment range | Replace more often than shorten, since hidden hardware depends on exact geometry |
| Ball-bearing drawer slides | Rough travel, binding, or noisy movement | Clean races, reset alignment, and shift mounting points only if the rails stay parallel | Screwdriver, drill, square, clean cloth | About 1/8 inch if the rail still stays aligned | Replace if the race is worn or the slide length is far off; shortening is less forgiving |
| Wooden runners | Sticky travel from friction and dust | Clean and wax the runner; plane only high spots | Clean cloth, wax, scraper or plane | Very small; trim only localized rub points | Replace or rebuild if the runner is warped or badly worn |
What should you check after the slide fits?
After the slide fits, check alignment at the top and bottom, then verify that the drawer closes without side drag. The drawer should travel smoothly, stay square at the front, and stop cleanly. If it drifts open on its own, the mounting points or slope are still off.
Run the final fit check
- Slide the drawer in halfway and check the side gaps.
- Push it fully closed and inspect the front reveal.
- Open it again and look for rub marks at the top and bottom.
- Make one adjustment only, then recheck.
A common first-timer mistake is trimming one slide and leaving the paired side untouched. That creates a twist that shows up only near the back of travel. Test one drawer before batch cutting or drilling.
Suppose a dresser drawer closes almost fully, then binds on the last inch. If the left slide sits 1/16 inch high and the right sits low, the drawer front can rack even though the length seems correct. Fix the square first; the length may already be fine.
Common mistakes
Most bad results come from changing hardware before checking depth, clearance, and square. Another common problem is forcing a bent or worn slide back into service. If the slide is damaged, replacement is the safer choice.
- Cutting before confirming the limiting dimension
- Ignoring side clearance when the slide type needs it
- Assuming a 22-inch slide will fit every 22-inch opening
- Skipping the square check at the top and bottom
- Using the wrong lubricant for the slide material
- Trying to salvage worn bearings or bent rails
Manufacturer instructions govern total clearance. A common reference shows a 1-1/16 in. smaller opening and a 1 in. narrower drawer in some side-mount examples, but that is not a universal rule. Follow the slide spec sheet for the exact clearance and load rating.
Frequently asked questions
How long should my drawer slides?
The slide should fit the cabinet depth without bottoming out or stopping short. Choose the length that matches the cabinet and leaves the required rear clearance for the specific slide type.
How to remove soft close drawer slides
Open the drawer fully, look for release tabs or disconnect levers, and support the drawer while you disengage the members. If the unit is damaged or the geometry is off, replace it rather than forcing the damper.
Products related to this article
Sponsored / affiliate links. As an Amazon Associate I earn from qualifying purchases. I may earn additional commission from eligible campaigns.