
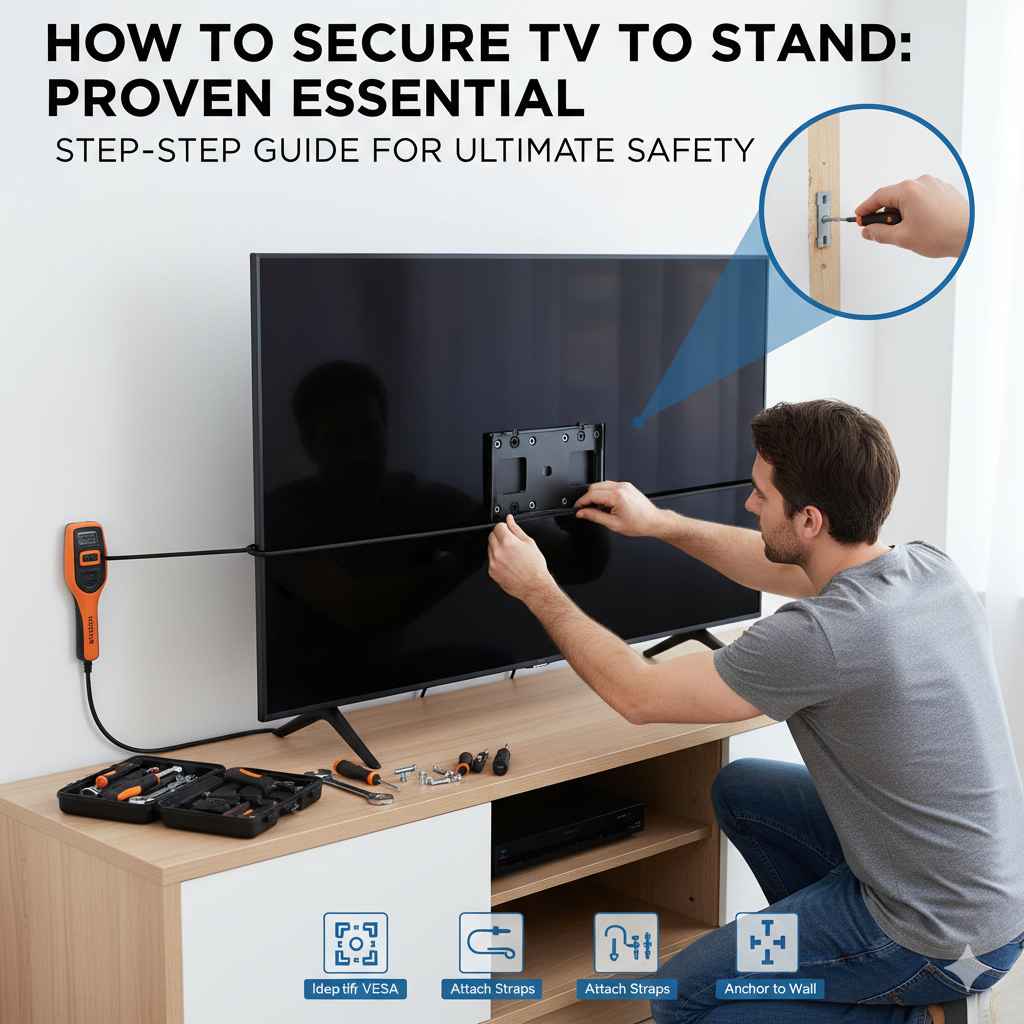
Securing your TV to its stand is essential for safety and stability. This process involves matching the correct VESA screws, using the provided hardware, and attaching the mounting bracket securely to the back of your TV before placing it on the stand base. Always check your TV manual for specific guidelines.
Have you ever looked at your big, beautiful new TV sitting precariously on its little feet and felt a twinge of worry? It happens to the best of us! Modern TVs are light, but they are also top-heavy. A simple bump or a curious pet can send an unsecured screen crashing down. That’s frustrating and expensive. The good news is that learning how to secure TV to stand is much easier than you think. I’ll walk you through every simple step, making sure your setup is rock-solid safe. Let’s get that screen firmly planted!
Why Securing Your TV to Its Stand is Non-Negotiable
As a guide who emphasizes safety first, I want to be clear: securing your TV isn’t just about keeping it neat; it’s about preventing serious accidents. Think of it like checking your lug nuts after rotating your tires—it’s a crucial safety step you shouldn’t skip.
The Danger of Unsecured Flat Screens
Modern flat-screen TVs (LED, QLED, OLED) are amazing pieces of technology, but they present a tipping hazard, especially in homes with children or pets. According to the U.S. Consumer Product Safety Commission (CPSC), unsecured furniture and televisions cause thousands of injuries every year. These aren’t just minor bumps; they can be serious accidents. When you secure the TV, you eliminate this risk.
- Child Safety: Kids love to climb or pull on things. A heavy TV falling is a major danger.
- Pet Safety: A playful dog might easily knock over a lightweight stand.
- Stability: If your stand is placed on thick carpet or an uneven floor, securing the TV prevents rocking or wobbling.
- Peace of Mind: Once it’s secure, you can enjoy your favorite shows without constant worry.
Understanding VESA Mounting Standards
Before we grab any tools, we need to talk about the language of TV mounting: VESA. This is the universal standard that dictates where the holes are drilled on the back of your television. It’s super important for compatibility.
The VESA pattern measures the distance between the mounting holes, horizontally by vertically, in millimeters (mm). Common sizes are 100x100mm, 200x200mm, or 400x400mm.
| VESA Pattern (mm) | Common TV Size Range | Mount Type |
|---|---|---|
| 100 x 100 | 20 to 32 inches | Small/Medium |
| 200 x 200 | 32 to 42 inches | Medium |
| 400 x 400 | 43 to 65 inches | Large |
| 600 x 400 | 65 inches and larger | Very Large |
Most modern TV stands that come with a mounting bracket system use this VESA pattern to connect the pedestal (the base) to the TV panel itself. If you are using the stand that came with the TV, the correct bracket hardware should be included.

Step 1: Gather Your Essential Tools and Hardware
Being prepared is half the battle won! You don’t need a full mechanic’s toolbox, but having the right gear makes the job smooth and quick. Remember, always unplug your television before starting any work.
What You Need for the Job
Here is a simple list of what should be within arm’s reach:
- The TV Stand Base and Pedestal: This is the actual piece that connects the TV to the surface.
- Mounting Hardware Pack: This usually came with your TV. Look for screws, washers, and the specific mounting plate or feet.
- Screwdrivers: Usually Phillips head. Check your TV manual to see if metric or standard sizing is needed.
- Soft Surface: A blanket, towel, or the box the TV came in works perfectly. This protects your screen.
- Measuring Tape: Just in case you need to verify VESA hole spacing.
- Small Bowl or Organizer: To keep all those tiny screws from rolling away!
Decoding the Screw Pack: Finding the Right Fit
This is where most beginners get stuck. TV manufacturers often provide several different sizes of screws (M4, M6, M8) because different TV models have different thread depths. Using a screw that is too long can damage the internal electronics of your TV—we absolutely want to avoid that!
Pro Tip: Always consult the manual that came with your TV or stand. It will specify which screw length (usually provided with a small plastic spacer) is right for your model. If you’ve lost the manual, reputable electronics support sites often provide downloadable PDFs. For example, look up your TV model number on the manufacturer’s support site or check resources like RTINGS.com for detailed technical specs, which often list VESA requirements.
Step 2: Preparing the Television Safely
We need to lay the TV face-down so we can access the back panel where the mounting holes are located. Safety and surface protection are key here.
Laying the Screen Down
- Unplug Everything: Make sure the power cord, HDMI cables, and any other wires are completely disconnected.
- Clear the Area: You need plenty of space—at least 3 feet around the TV—so you don’t knock anything over while maneuvering the screen.
- Create a Soft Bed: Lay a thick, clean blanket or the original foam packaging flat on your work surface (a large table or the floor).
- The Gentle Flip: With the help of another person (especially for TVs over 40 inches), carefully lift the TV and lay it screen-down onto the soft surface. It should rest evenly on its edges, not just the center.
Safety Check: Never put pressure on the screen itself. If you press too hard on the glass or plastic panel, you risk cracking it, even if it feels sturdy.
Step 3: Attaching the Mounting Brackets to the TV
The mounting bracket or plate is the piece that bridges the gap between the TV’s mounting holes and the actual stand pedestal. This bracket usually breaks down into two vertical pieces.
Attaching the Vertical Arms
Most stand systems require you to first attach two vertical arms or plates to the back of the TV, aligning them with the four VESA screw holes.
- Identify the Bracket Pieces: Your hardware kit should have two main vertical mounting brackets.
- Align the Bracket: Hold one bracket up to the back of the TV, lining up the holes. Check that the bracket is oriented correctly (some have an ‘up’ label or a specific orientation for tilting).
- Select the Screws and Spacers: Based on your manual, choose the correct screws. If the back of your TV is curved or has an uneven surface near the mounting area, you might need plastic spacers (little cylindrical pieces) between the bracket and the TV back. These ensure the bracket sits flush and doesn’t put pressure on internal components.
- Hand-Tighten First: Insert the screws and turn them a few times by hand until you feel resistance.
- Secure with a Screwdriver: Once all screws are started, use your screwdriver to tighten them firmly. Don’t overtighten! They should be snug, holding the bracket tightly against the TV, but stop turning when you feel solid resistance.
Repeat this process for the second vertical bracket on the other side. You should now have two rigid arms sticking out from the back of your TV, ready to connect to the stand base.
Step 4: Assembling and Securing the Stand Pedestal
Now we focus on the base that sits on your furniture. This part often requires joining the vertical support post to the flat base plate.
Building the Base
The assembly process varies widely between manufacturers. Some stands use a single central pedestal, while others use two feet placed far apart for better balance. Always refer to the diagram for your specific stand model.
- Identify Components: Separate the large flat base plate from the vertical support pole (the part the TV mounts onto).
- Join the Pole to the Base: Align the bottom of the pole with the corresponding slot or holes on the base plate. This connection often uses large, heavy-duty bolts supplied in the hardware bag.
- Use the Lock Washer: If a lock washer is provided, place it under the head of the bolt. This washer prevents the bolt from vibrating loose over time.
- Tighten Securely: Use the provided wrench or your own socket set to make these connections extremely tight. This base connection is critical for overall stability.
For heavy TVs, you might notice the base plate has specific markings or slots designed to distribute weight evenly. Ensure the base sits perfectly flat on your work surface during assembly.
Step 5: Connecting the TV to the Stand Pedestal
This is the final, exciting connection where the TV meets the stand! Remember, this step is usually easier with two people.
The Final Marriage
- Position the Stand: Place the assembled stand pedestal onto the soft surface near where the TV is resting, orienting the top of the pedestal correctly to meet the brackets on the TV back.
- Lift and Align: With your helper, carefully lift the TV. You need to hook the vertical brackets (that are attached to the TV) onto the mounting mechanism of the stand pedestal. Many modern stands have a simple hook-and-lock system.
- Check the Fit: Gently lower the TV until the brackets rest securely on the stand mechanism. Wiggle it slightly to ensure it’s seated properly in any tracks or slots.
- Secure with Locking Screws: This is the most crucial securing step for stand mounting. Most TV stands use specific locking screws that go through the vertical bracket and into the pedestal arm. These screws prevent the TV from being accidentally lifted off the stand.
- Tighten the Locks: Insert these locking screws (usually short, fat bolts) and tighten them firmly. This locks the TV to the stand mechanism.
If you are using the older “foot” style stand where two feet screw directly into the bottom of the TV, ensure those screws are the exact length specified by the manual and are fully tightened into the threaded inserts on the TV chassis.
Step 6: Final Placement and Safety Checks
The TV is now physically attached to the stand! Let’s put it in its final spot and ensure everything is stable.
Moving to the Final Location
- The Big Lift: With your helper, carefully lift the combined unit and move it to the intended location (TV stand, console table, etc.).
- Level Check: Place the TV down. Now, check the stability. Give the TV a very gentle nudge from the side. Does it wobble excessively? A little give is normal for a tall stand, but it should not rock violently.
- Positioning: Ensure the back of the TV stand is flush against the wall or as close as possible. This prevents the TV from being pushed too far forward, which increases the leverage and tipping risk.
The Importance of Tipping Restraints (Even with a Stand)
Even though we secured the TV to the stand, industry experts strongly recommend adding an anti-tip strap tethering the stand assembly to the wall. This is especially true if you have small children running around.
These restraints are inexpensive and incredibly effective. They are typically nylon straps or metal brackets that screw into the back of the TV stand base (or directly into the TV if you used a wall mount bracket) and then into a wall stud. To learn more about proper home anchoring techniques, you can refer to guidelines provided by organizations like the Consumer Product Safety Commission (CPSC).
Securing your TV to the stand provides lateral stability, but the wall tether prevents the entire unit from tipping forward if someone pulls on it unexpectedly.
Troubleshooting Common TV Stand Attachment Issues
Sometimes things don’t line up perfectly. Don’t panic! Here are quick fixes for common snags we run into when learning how to secure TV to stand.
Problem 1: The Screws Don’t Fit
The Fix: You likely have the wrong size. If the screw goes in halfway and then stops, it might be too large or the threading on the TV back is damaged. If it spins freely, it’s too small. Stop immediately. Compare the size you are using to the other screws in the kit. If none seem right, you may need to purchase a specific VESA screw kit (check online retailers for M6 or M8 TV mounting screws). Do not force it!
Problem 2: The Bracket Hits an Obstruction
The Fix: Some newer TVs have ventilation grilles, ports, or curved backs that interfere with a flat mounting plate. This is where the plastic spacers come in handy. If you don’t have the right size spacer, you might need to slightly reposition the vertical brackets to straddle the obstruction, provided this doesn’t compromise the four main screw points.
Problem 3: The TV Sits Crooked on the Pedestal
The Fix: This usually means the attachment on the stand pedestal is uneven, or you didn’t tighten the locking screws on both sides equally. Loosen the locking screws slightly, gently push the TV level, and then retighten the screws evenly, alternating sides (like tightening lug nuts on a wheel).
Problem 4: Missing Hardware
The Fix: If your new stand didn’t come with the necessary screws, or you bought a used TV missing its hardware, you need to source the correct VESA bolts. Take one of the existing (correctly sized) screws to a local hardware store that has a wide selection, or order a comprehensive VESA kit online based on your TV’s screen size and model.
Maintenance: Keeping Your TV Secure Over Time
Setting it up once is great, but long-term security requires periodic checks. Think of this like your 5,000-mile oil check—a quick inspection for reliability.
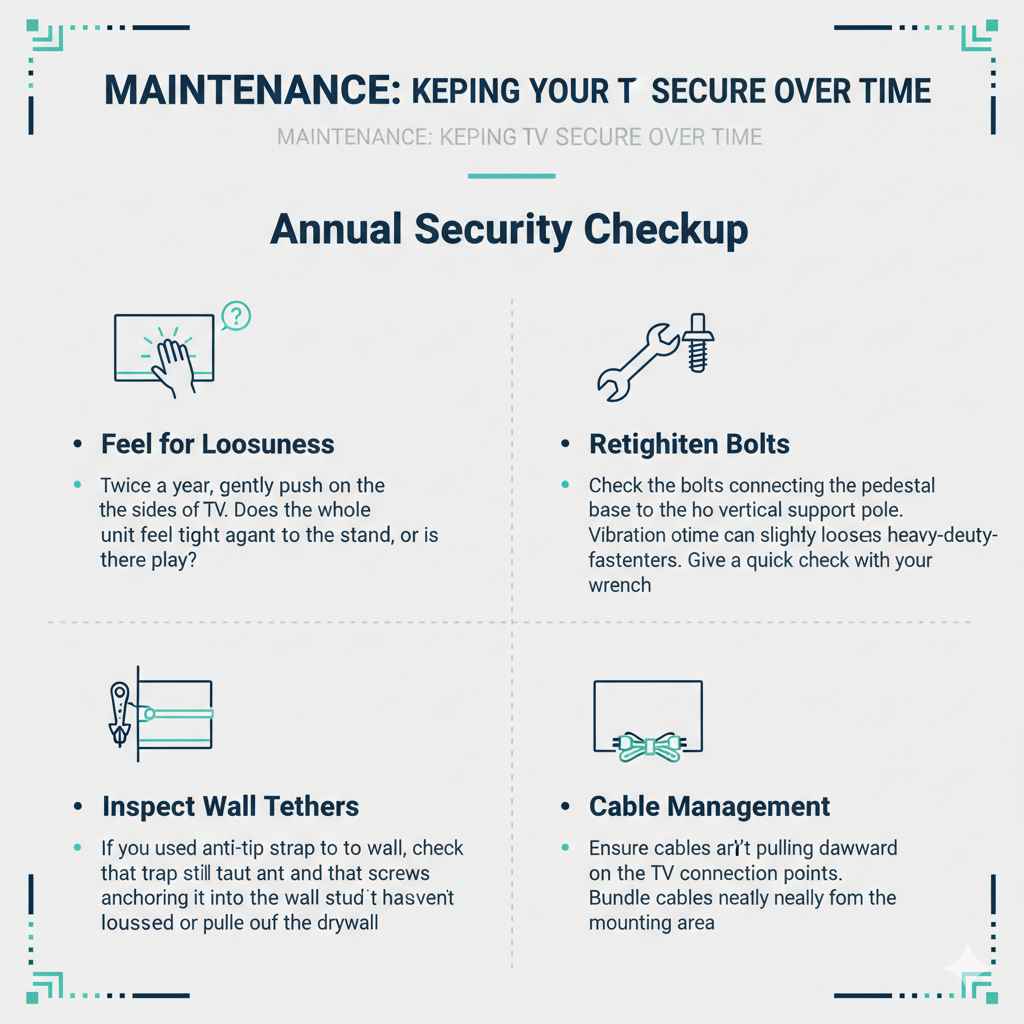
Annual Security Checkup
- Feel for Looseness: Twice a year, gently push on the sides of the TV. Does the whole unit feel tight against the stand, or is there play?
- Retighten Bolts: Check the bolts connecting the pedestal base to the vertical support pole. Vibration over time can slightly loosen these heavy-duty fasteners. Give them a quick check with your wrench.
- Inspect Wall Tethers: If you used an anti-tip strap to the wall, check that the strap is still taut and that the screws anchoring it into the wall stud haven’t loosened or pulled out of the drywall.
- Cable Management: Ensure cables aren’t pulling downward on the TV connection points. Bundle cables neatly away from the mounting area.
Frequently Asked Questions (FAQ)
Q1: Do I need tools if my TV stand came with a mounting kit?
A: Yes, you almost always need tools. While the hardware is provided, you typically need a Phillips head screwdriver and possibly a small wrench or socket set (usually 8mm or 10mm) to properly secure the pedestal base and the locking screws.
Q2: What happens if I use a screw that is too long when securing the bracket?
A: Using a screw that is too long can pierce through the back panel of the TV and damage sensitive internal components like circuit boards, leading to permanent failure of the television. Always use the correct length or utilize the provided plastic spacers.
Q3: Is it better to secure the TV to the stand or use a wall mount?
A: For ultimate stability and safety, a proper wall mount anchored directly into wall studs is the most secure option, especially if you have young children. However, securing the TV firmly to its accompanying stand base is the essential minimum requirement if you cannot wall mount.
Q4: My TV stand doesn’t have holes for screws on the back. How do I secure it?
A: If your stand uses two simple feet rather than a central pedestal, you must use the VESA mounting holes on the back of your TV to attach those feet securely. If your stand seems designed only to rest the TV on it without screws, it is likely an older, heavier design, but for modern flat screens, using the supplied hardware to lock the feet to the TV chassis is highly recommended for safety.
Q5: Can I use wood glue to keep the stand legs in place?
A: Absolutely not. Never use adhesives like wood glue or super glue on TV mounting hardware. If you ever need to move the TV, remove the stand, or repair it, glue will make the job nearly impossible and could cause you to damage the TV chassis while forcing it apart.
Q6: How tight should the screws be when attaching the bracket to the TV?
A: They should be snug enough that the bracket does not move at all when you try to wiggle it by hand, but stop before you feel heavy resistance. Overtightening can strip the threads or crack the plastic housing on the back of the TV.
Conclusion: Enjoying Your Safe Setup
Learning how to secure TV to stand might sound like a chore reserved for professional installers, but as we’ve walked through, it’s a straightforward process built on matching the right hardware and tightening things down securely. By taking the time to correctly identify your VESA pattern, lay the TV down safely, and make those crucial final locking connections, you’ve done more than just assemble furniture—you’ve protected a valuable piece of electronics and ensured the safety of everyone in your home.
Remember the key takeaways: always check the manual for screw sizing, use a soft surface when working, and never hesitate to ask a friend for help when lifting. With a firm connection to the stand and, ideally, a tether securing that stand to the wall, you can finally relax and focus on what matters: enjoying crystal-clear viewing, free from worry. You handled this like a pro!


