How to Make a Dresser Drawer Child-Proof
Use a two-step fix: repair loose drawers first, then anchor the dresser to the wall and add drawer stops or latches if the dresser can tip or open fully. If you skip the repair step, a child-proof lock can fail, drawers can pull out, and the dresser can tip. The CPSC’s furniture tip-over guidance emphasizes anchoring furniture to the wall and keeping tempting items off top surfaces, while the right hardware depends on the drawer’s construction and slide type. CPSC furniture tip-over guidance ASTM F2057 This guide shows how to match the method to the dresser’s construction and install the protection in the right order.
What you’ll need


- Screwdriver set
- Drill and drill bits
- Stud finder
- Level
- Measuring tape
- Replacement screws of the same thread type as the hardware you are installing
- Wall anchors matched to your wall type if you cannot fasten into a stud, plaster backing, or masonry as required by the hardware
- Furniture anti-tip strap or dresser anchor strap
- Cabinet or drawer safety latch
- Drawer stop or drawer limiter
- Wax for wood runners, or silicone spray for metal or plastic slides
- Vacuum or brush for dust and debris
Which child-Proofing method fits this dresser?
Drawer type and fit decide the fix. Wood runners, side-mount slides, undermount slides, and loose or sagging drawers all change what will hold. A lock on a misaligned drawer can slip, and a drawer stop cannot compensate for broken runners. Start with the drawer structure, then choose the lock, stop, or anchor that matches it. That approach lines up with the CPSC’s tip-over advice: secure the furniture first, then add access controls that fit the hardware. CPSC furniture tip-over guidance
| Drawer type | Child risk | Recommended lock/anchor | Tools needed | Install difficulty | Common failure points | Best for renters / old dressers / full-extension slides |
|---|---|---|---|---|---|---|
| Wood runners on an older dresser | Drawer sticks, then jerks open; child may keep tugging until the drawer comes free | Anchor strap plus interior latch if the drawer opens wide; add a drawer stop after repair | Screwdriver, wax, drill, stud finder | Moderate | Worn runners, out-of-square drawer box, latch mounted where the drawer gap can be pried | Best for old dressers; renter-friendly if you can use removable straps; not ideal for full-extension slides |
| Side-mount metal slides | Fast, full-extension pull-out creates a climb point and finger pinch risk | Anchor strap plus a drawer stop; use a latch only after the slide is aligned | Screwdriver, level, drill | Easy to moderate | Loose screws, bent slide member, drawer sag, stop mounted too far back | Best for full-extension slides; renter-friendly if the anchor is wall-mounted with proper fasteners |
| Undermount concealed slides | Drawer can look closed while the mechanism is misaligned and vulnerable to prying | Anchor strap plus a compatible drawer stop; use a latch only if the drawer front stays square | Screwdriver, square, drill | Moderate | Hidden wear, incorrect alignment, stop interfering with slide travel | Best for full-extension slides; less forgiving on old dressers; renter-friendly only if the cabinet face can take removable hardware |
| Loose or sagging drawer | Child can pull harder on the gap; the drawer may fall out or expose pinch points | Repair first, then anchor strap and latch; use a stop only after the drawer tracks true | Screwdriver, wood glue if needed, drill, level | Hard | Worn holes, stripped screws, broken runners, latch mounted on a shifting frame | Best for old dressers after repair; not a good fit for renters if the drawer needs major rebuild work |
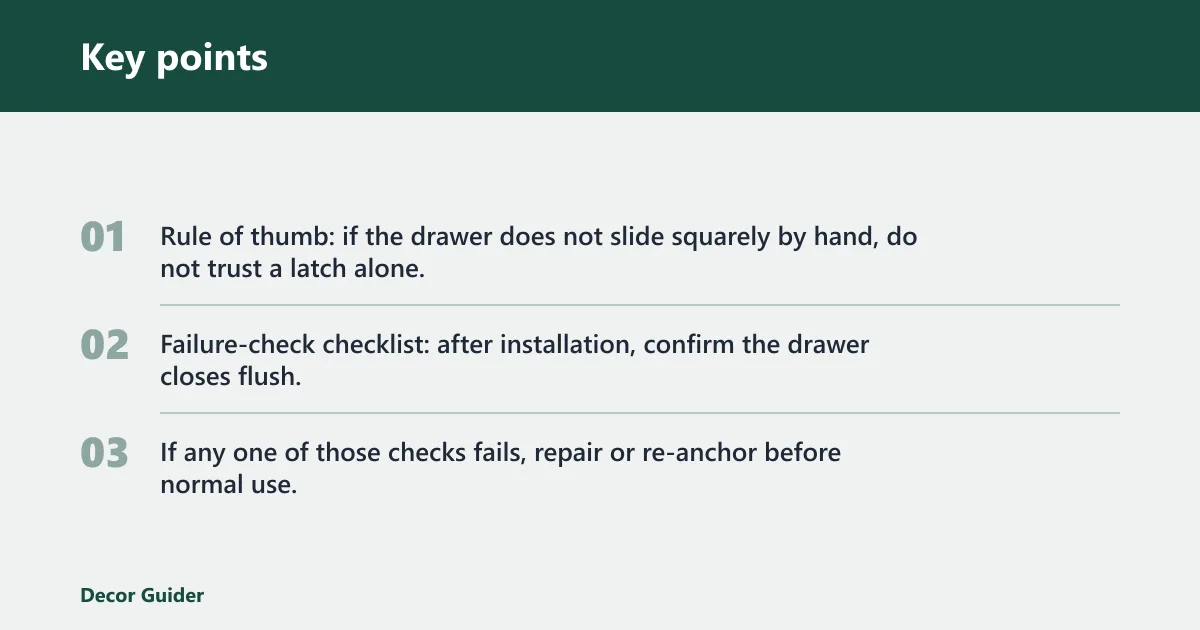
Rule of thumb: if the drawer does not slide squarely by hand, do not trust a latch alone. Fix the movement first.
Failure-check checklist: after installation, confirm the drawer closes flush, the latch catches without forcing, the stop prevents full pull-out, the dresser does not rock, the strap stays snug, and the hardware still holds after repeated tugs. If any one of those checks fails, repair or re-anchor before normal use.
How do I make a dresser drawer child-proof?
Start with the dresser’s construction, not the latch. Inspect the runners or slides, tighten hardware, anchor the dresser to the wall, then add a lock or stop that adults can open quickly. That order matters because a safety device on a loose drawer can fail under repeated tugging. Manufacturer instructions for the specific anti-tip kit and drawer lock matter here too, because compatibility and screw placement vary by product and slide type. CPSC furniture tip-over guidance
Choose the order: repair, anchor, then lock
Repair first so the drawer closes flush. Anchor next so the dresser cannot tip if a child climbs on an open drawer. Add the lock or stop last, because it works best when the drawer movement is straight and predictable. This sequence also fits the limits of furniture safety standards: a standard can define performance or spacing expectations, but it does not keep a dresser from tipping if it is not anchored or if the wall installation is wrong. ASTM F2057 STURDY Act context
- Open each drawer and check for rubbing, sagging, or a gap at one side.
- Tighten visible screws in the slide, runner, and case frame.
- Clean dust and debris from the track.
- Anchor the dresser to the wall before installing child locks.
- Install the lock or stop only after the drawer closes squarely.
Suppose a 6-drawer dresser in a nursery has one top drawer that binds on the left side. Fix that alignment first so the later latch works. If you skip that step, the child can pry on the crooked gap and defeat the hardware.
Should you anchor the dresser first?
Yes. A dresser anchor strap is the main anti-tip measure, especially for tall dressers and chests. Install it for the wall material you have and for the load the furniture will put on the fasteners. Lower drawers should hold heavier items, because that helps keep the center of gravity lower. CPSC guidance and STURDY-era testing both point to the same practical rule: anchoring is still required even when a dresser meets a safety standard for drawer access or stability. CPSC furniture tip-over guidance STURDY Act context
Check the wall type before you buy hardware
Match the anchor hardware to drywall, plaster, or masonry. For drywall, fasten into a stud when possible. For plaster, use hardware made for plaster walls and avoid relying on weak surface material alone. For masonry, use the fastener type made for that wall, not a drywall toggle. Use the manufacturer’s installation sheet for the anti-tip strap, because approved fasteners and hole spacing can differ from one kit to another.
Place the strap so the load is shared
Set the strap high enough on the dresser to resist forward tip, then fasten the wall side into a structurally sound point. Keep the strap snug, but do not twist it. The goal is to spread force across the hardware so the dresser cannot pivot forward. If the strap kit includes a bracket, use the bracket exactly where the instructions show; improvising can weaken the anchor path.
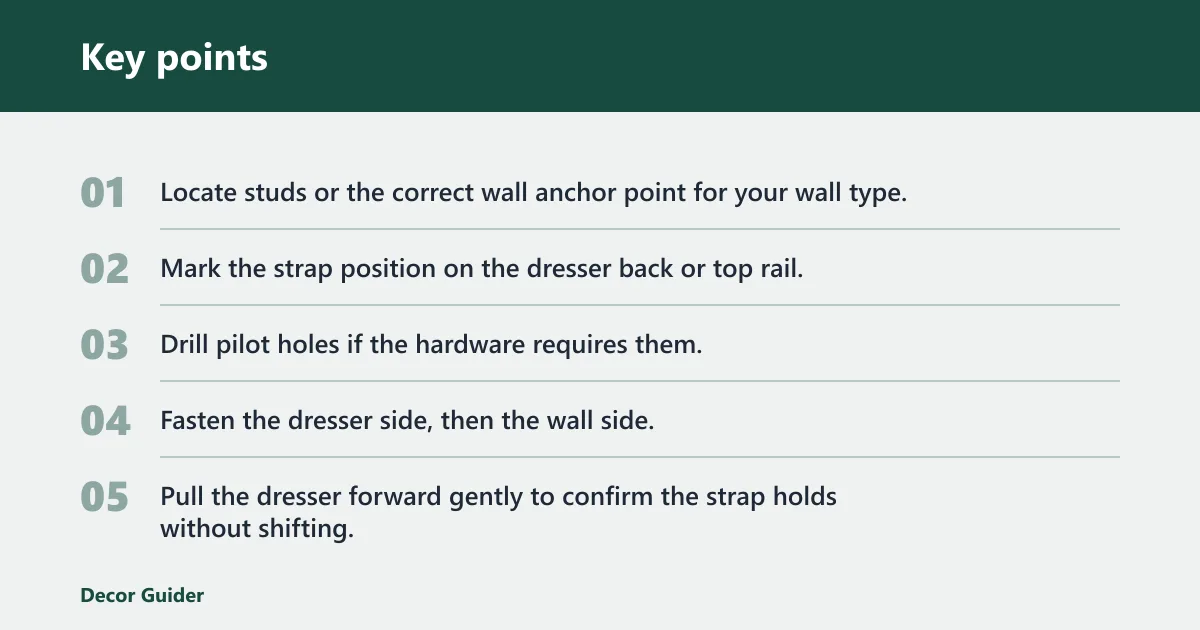
- Locate studs or the correct wall anchor point for your wall type.
- Mark the strap position on the dresser back or top rail.
- Drill pilot holes if the hardware requires them.
- Fasten the dresser side, then the wall side.
- Pull the dresser forward gently to confirm the strap holds without shifting.
IKEA says children’s dressers should still be anchored to the wall with the proper hardware, and that heavier items belong in lower drawers. It also warns against placing tempting items on top, which can encourage climbing.
What do cabinet and drawer safety standards cover?
Standards help define how furniture should perform, but they do not replace anchoring or product-specific installation. ASTM F2057 focuses on clothing storage units and tip-over performance expectations, while the STURDY Act pushed for stronger requirements after years of tip-over concerns. Those rules do not guarantee compatibility between a lock, slide, or wall anchor, so you still need to match the hardware to the dresser and the wall. ASTM F2057 STURDY Act context CPSC furniture tip-over guidance
What the standard does, and what it does not do
In practical terms, a furniture standard can set performance criteria for tipping resistance, drawer opening force, or unit stability under test conditions. It does not tell you that every latch will fit every slide, and it does not make a dresser safe if the wall fasteners are wrong. That is why the hardware maker’s instructions matter for anti-tip kits and drawer latches: the standard may help define the furniture category, but compatibility is a separate issue.
Why anchoring is still required
Anchoring is still required because standards do not prevent real-world misuse: a child can climb, a drawer can be left open, and a wall mount can fail if it is installed into the wrong substrate. The CPSC’s guidance remains simple for that reason: secure the furniture to the wall and keep heavy or tempting items out of reach. A dresser can meet a standard and still tip if it is not installed correctly.
How standards differ from lock and slide compatibility
Standards are about the furniture’s overall behavior; compatibility is about whether one part works with another part. A soft-close slide may meet its own design goals but still not accept a certain latch, and a drawer stop can interfere with travel if the slide geometry is different. Use the product literature for the slide and the lock, and do not assume a passing standard means the parts will match.
How do you repair sticky or loose drawers?
Sticky or loose drawers should be repaired before you add child safety hardware. Clean the tracks, tighten loose screws, realign the drawer box, and replace damaged runners or slides if the drawer still wobbles. A stop or latch depends on stable travel, so wear in the track can defeat the safety device. If the dresser has soft-close hardware, check the slide condition and alignment before you add any extra catch. soft-close drawer slides
Tighten, realign, or replace worn runners and slides
Wood runners often need wax to reduce drag. Metal slides need alignment on both sides, and worn ball-bearing slides may need replacement if they no longer travel evenly. Undermount slides are less forgiving, so check that both sides engage at the same point. If the drawer is so worn that the front shifts when pulled, repair that first; no latch can compensate for a failing slide path.
Test the drawer so the lock and stop will hold
Open and close the drawer several times after every change. It should move without rubbing and close flush without springing back open. If it still sticks, add no child lock yet. Fix the movement first or the lock will take the force instead of the slide.
Common first-timer mistake: adding a latch to a drawer that already sags at the front. That drawer may appear secure for a day, then the gap widens and the catch no longer meets cleanly.
How do you add a child lock and drawer stop?
Use a drawer child lock that adults can open quickly and that can tolerate repeated tugging without slipping. Choose an interior or exterior mount based on where your hand can reach fastest. Add a drawer stop if the drawer needs to stay in the frame and not pull all the way out. Follow the lock maker’s spacing and screw instructions exactly, because a drawer lock that works on one slide style may fail on another.
Pick interior or exterior lock placement that adults can reach fast
An interior mount hides the latch inside the cabinet or drawer frame, which can reduce casual grabbing. An exterior mount is faster to see and service. Either way, place it where an adult can release it one-handed in normal use, not behind a drawer side that forces awkward twisting. If the latch requires a specific gap or bracket position, use the manufacturer’s diagram rather than eyeballing it.
Set the stop so the drawer cannot come fully out or pinch fingers
A drawer stop should limit full removal without creating a pinch hazard. Position it so the drawer stops before it drops from the slides, but still opens far enough for daily use. If needed, adjust in about 2 to 3 mm increments and recheck the pull-out distance after each change. On full-extension slides, confirm that the stop does not interfere with the slide’s travel path or soft-close mechanism.
- Hold the latch in place and mark the screw holes with the drawer fully closed.
- Install the latch so the catch meets cleanly without forcing the drawer shut.
- Mount the stop at the point where the drawer still clears the front but cannot come free.
- Open and close the drawer five times to confirm the latch releases smoothly.
- Pull firmly on the handle and the side gap to verify the hardware resists repeated tugging.
Soft-close drawer slides may reduce slam force, but they are not a substitute for a child lock. They still need correct alignment and proper installation, and they do not keep a child from opening the drawer.
Common mistakes
Most failures come from ignoring the dresser’s build. A lock on a worn wood runner or bent slide can fail. A strap installed with the wrong wall fastener can loosen. A stop placed too far back can let the drawer come out enough to pinch fingers or expose a climb point. Standards and product labels do not fix those installation errors.
- Using a lock on a misaligned drawer: repair the runner or slide first.
- Skipping anchoring on tall or heavy dressers: use a dresser-to-wall anchoring kit matched to the wall type.
- Installing hardware without a final tug-and-open test: test each drawer with repeated pulls.
- Putting heavy items in upper drawers: move them lower to reduce tip risk.
- Leaving tempting items on top: clear the surface so it does not invite climbing.
- Mounting a stop where fingers can pinch: leave enough clearance for safe opening and closing.
The same source notes that some children’s dressers include adjustable feet, and that a good choice should still work as a child grows. Rounded handles are meant for tiny hands, but handle shape does not replace anchoring or a latch.
Frequently asked questions
What kind of child safety lock works on dresser drawers?
Choose a cabinet or drawer safety latch with either interior or exterior mounting, depending on where adults need access fastest. It should hold under repeated tugging and close cleanly even after normal drawer use. Check the manufacturer’s listing for slide compatibility before buying. That compatibility step matters as much as the lock style, because a good latch on the wrong slide still fails.
How do I stop my child from opening dresser drawers?
Use a latch on the drawers most likely to be opened, then anchor the dresser so the whole unit cannot tip. Keep heavier items in lower drawers and avoid placing tempting objects on top. If a child can still reach the drawer gap, recheck the alignment and add a stop. The safest result comes from combining access control with anti-tip protection, not from relying on one or the other.
Should I anchor a dresser to the wall for child safety?
Yes. A dresser anchor strap is the key anti-tip step, especially for tall dressers and chests. Match the hardware to drywall, plaster, or masonry, and fasten it to a structurally sound point. A lock alone does not prevent tip-over, and a standard alone does not keep the furniture on the wall. CPSC furniture tip-over guidance
Are drawer locks better than anti-tip straps for dressers?
No. They solve different problems. A drawer lock limits access to the contents, while an anti-tip strap prevents the entire dresser from falling forward. For child safety, use the strap first, then add locks or stops where needed. The CPSC’s guidance treats anchoring as the priority because the tip-over hazard is often the most serious. CPSC furniture tip-over guidance
How do I child-proof old dresser drawers that stick or fall off track?
Repair the drawer before you install any safety hardware. Tighten loose screws, clean the track, lubricate wood runners with wax or metal slides with silicone spray, and replace damaged parts if needed. If the drawer still drops or binds, do not rely on a latch alone. Older dressers often need repair plus anchoring before any child-proofing device can work consistently.
How do I remove child proof dresser drawers?
Open the drawer as far as the stop allows, then release the latch according to its mounting style. Some latches need a hidden tab pressed from inside the frame; others need the exterior catch lifted. If the drawer still will not come free, check for a second stop before forcing it. Manufacturer instructions are the safest guide here because release methods differ by product and slide design.
Products related to this article
Sponsored / affiliate links. As an Amazon Associate I earn from qualifying purchases. I may earn additional commission from eligible campaigns.