How to Line Dresser Drawers with Contact Paper
Line dresser drawers with contact paper by measuring the drawer bottom, cutting the liner 1/8 inch smaller than the inside dimensions, and smoothing it from one edge to the other. If you skip that fit, the liner bubbles, shifts, and can leave sticky residue or torn corners when you remove it. This guide covers measuring, cutting, applying, trimming, and cleaning up so the liner stays flat and comes out cleanly later.
What you’ll need


- Contact paper with a smooth, wipeable surface
- Measuring tape or ruler
- Straightedge
- Scissors or a utility knife
- Paper for a template
- Credit card, plastic squeegee, or folded cloth for smoothing
- Optional: painter’s tape for holding a template in place
- Optional: mild soap, water, and a dry cloth for cleaning the drawer before lining
Do you need to remove the drawer first?
You do not always need to remove the drawer, but removing it can make corner work easier and give you better access to chips, dust, and rough veneer. For a quick fit check, leave the drawer in place. For drawers with tight front lips, damaged corners, or side walls you want to line, take it out.
Check the drawer interior first
Look at the bottom panel, side walls, front lip, and back corners before you cut anything. Wipe away dust, then let the surface dry completely so the adhesive can grip. If the wood feels rough or shows chipped veneer, clean it first and line only the sound areas. Contact paper sticks best to a flat, dry surface.
Decide whether to line the bottom only
Bottom-only lining works well for light use, jewelry, socks, or drawers that only need wipeable protection. Add side strips if items slide around, scuff the walls, or leave marks near the front lip. A full wrap looks tidier, but it takes more careful measuring and corner trimming.
What is the best way to measure drawer liners before cutting?
A common method is to measure the inside width and depth of the drawer bottom, then make a paper template before you cut the contact paper. That reduces waste and helps you account for front lips, rounded corners, and any drawer that is not perfectly square. Measure the opening, not the outside of the drawer.
Make a template before you cut
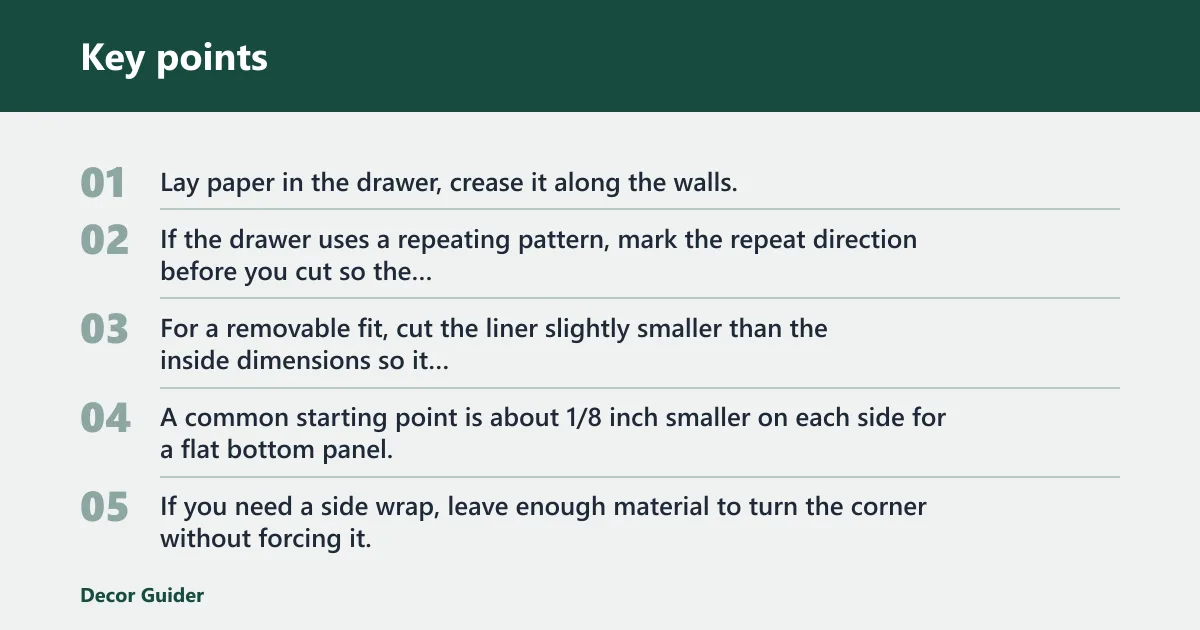
Lay paper in the drawer, crease it along the walls, and trim the paper until it fits the bottom panel cleanly. Mark which edge is the front. If the drawer uses a repeating pattern, mark the repeat direction before you cut so the print runs the way you want.
Add only a small cut allowance
For a removable fit, cut the liner slightly smaller than the inside dimensions so it does not bunch at the corners or ride up the front lip. A common starting point is about 1/8 inch smaller on each side for a flat bottom panel. If you need a side wrap, leave enough material to turn the corner without forcing it.
How do you line dresser drawers with contact paper?
Start at one edge, press the liner down slowly, and smooth it across the bottom so trapped air moves outward instead of staying under the sheet. If the drawer will see heavier use, press the contact paper down the bottom first, then add the sides in separate strips so the fit stays cleaner at the corners.
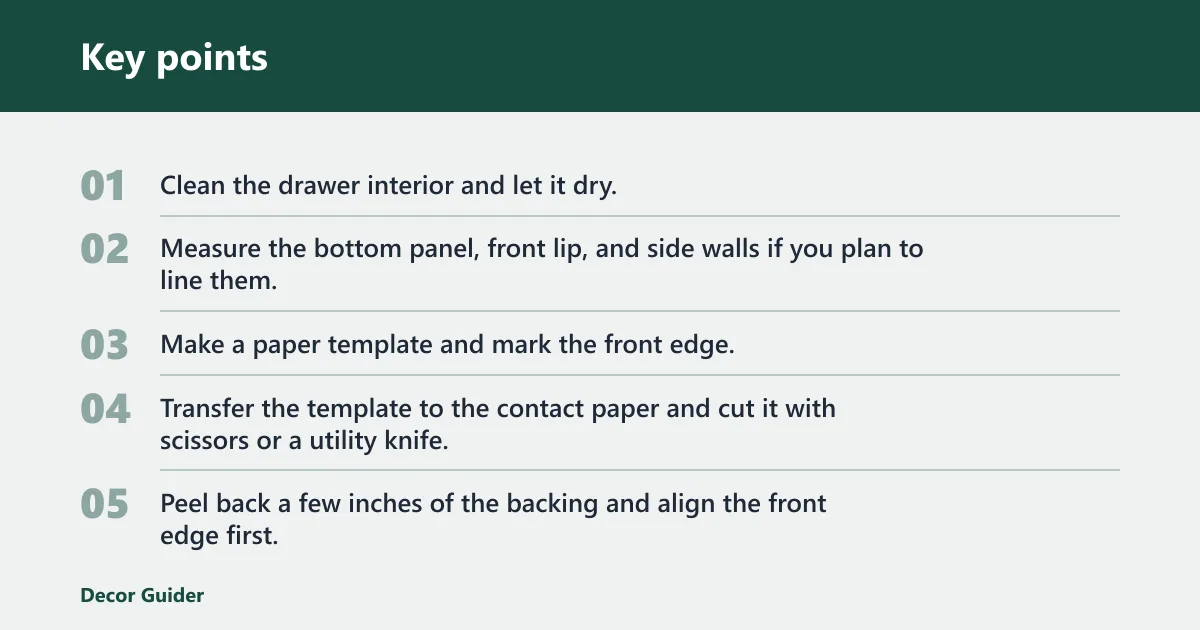
- Clean the drawer interior and let it dry.
- Measure the bottom panel, front lip, and side walls if you plan to line them.
- Make a paper template and mark the front edge.
- Transfer the template to the contact paper and cut it with scissors or a utility knife.
- Peel back a few inches of the backing and align the front edge first.
- Press from the center outward with a credit card, squeegee, or folded cloth.
- Stop at each corner, lift slightly if needed, and reset the sheet before it wrinkles.
- Trim the edges so the liner stops short of the walls by the amount you planned.
Use the right smoothing motion
Use firm, short strokes instead of long sweeping passes. That keeps the sheet from stretching while you push air out. Near a wall or lip, use the corner of a credit card or a folded cloth to press the liner into the edge. A utility knife can clean up excess after the sheet is seated.
Handle bubbles before they set
If a bubble appears, lift that section and re-lay it while the backing is still partly exposed. For a stubborn pocket, press from the center of the bubble toward the nearest open edge. Suppose a 12-inch-wide drawer bottom has a bubble near the back left corner; lift that corner strip, reset it, and smooth it again before trimming.
How to line the bottom and sides cleanly
Bottom-only lining is easiest to remove later and usually leaves the least residue. Side strips make sense when the drawer holds sharp-edged items, brushes, tools, or accessories that scrape the walls. The cleaner the cut at the front lip and back corners, the less likely the liner is to bunch or peel.
Cut corners so they lie flat
At each corner, cut a small diagonal relief rather than forcing the material to fold into itself. That keeps the front lip and back wall from lifting. If the drawer has chipped veneer, stop the liner just short of the damaged spot so the adhesive does not bridge loose wood.
Match the pattern at seams
Pattern direction matters. If the print has a strong repeat, line up the main panel first, then cut the side strips so the visual flow stays consistent. Decorative contact paper comes in both patterns and solid colors, so you can choose a look that hides seams or makes them less noticeable.
Picture a shallow top drawer lined with a small geometric print. If the repeat runs side to side instead of front to back, the pattern can look shifted the moment the drawer opens. Mark the repeat first, then cut so the print faces the same direction across every visible panel.
Drawer lining sizing table
| Drawer type | Measurement method | Cut allowance | Corner treatment | Fix for common problems |
|---|---|---|---|---|
| Shallow jewelry drawer | Measure inside width and depth of the bottom panel only | 1/8 inch smaller on each side | Diagonal relief cuts at all four corners | Bubble: lift and reset. Short cut: add a narrow patch strip. Peeling edge: press with a cloth and trim loose adhesive |
| Clothing drawer with smooth walls | Measure bottom, then each side wall if you want a wrap | Bottom panel plus enough to turn up the wall, then trim flush | Fold only where the wall is straight; cut relief at front lip | Bubble: smooth from center outward. Short cut: replace with a new sheet. Peeling edge: clean the wall and re-press |
| Drawer with rounded front lip | Trace the inside shape onto paper first | Cut to the trace, then trim 1/16 to 1/8 inch back from the lip | Short corner snips, not a hard fold | Bubble: warm the sheet lightly with hand pressure and reset. Short cut: extend with a matching strip. Peeling edge: stop the liner before the curve |
| Rough wood or chipped veneer | Measure the cleanest flat area only, after dusting | Leave extra only if the surface is uneven enough to need trimming later | Avoid forcing the liner into damaged corners | Bubble: lift and re-lay over a smoother section. Short cut: use a full replacement piece. Peeling edge: clean and dry the area before reapplying |
| Moisture-prone drawer | Measure after the drawer is fully dry | Keep the fit snug but not tight | Seal only the flat bottom; avoid heavy overlap at corners | Bubble: wait until fully dry before reapplying. Short cut: patch only if the drawer stays dry. Peeling edge: remove the old piece and replace it |
Common mistakes
The biggest mistakes are cutting too tight, skipping the template, and trapping dust under the sheet. Rough veneer and moisture can also keep contact paper from lying flat. If the liner reaches the wall too hard, it will buckle at the front lip or peel at the corners later.
Cutting too tight
If the liner exactly matches the drawer interior, it has nowhere to relax when you press it into place. Leave the small allowance you planned, then trim after it is seated. A tight cut is more likely to wrinkle than a piece that is slightly undersized.
Skipping the template
Template paper saves material when the drawer has odd corners or a rounded front. One user recommendation is to make a pattern from paper before cutting the roll, and that advice is especially useful for patterned contact paper where a bad cut also wastes the print match.
Ignoring residue and removal
Contact paper is adhesive-backed, so later removal can leave residue if it is pressed onto raw or damaged wood. To remove it, lift a corner slowly and peel back at a low angle. If adhesive remains, warm the area slightly and wipe it with a cloth before relining.
A common first-timer mistake is lining a chipped drawer without cleaning the loose fibers first. In that case, the liner can hold only to the weak edge, then peel when the drawer opens and closes. Trim back to sound wood, or line only the flat center panel if the damage is too rough.
Can you use wrapping paper instead of contact paper in drawers?
Yes, but wrapping paper is lighter and usually less durable for drawer use than contact paper or wallpaper. It can work for seasonal storage, gift wrap supplies, or drawers that get very light use. If you want a smoother wipeable surface, contact paper is the stronger choice.
Is wallpaper better than wrapping paper for drawer liners?
Wallpaper is heavier than wrapping paper and can be used to line dresser drawers. Some wallpaper is washable, which makes cleanup easier than with plain wrapping paper. It is also a good way to use leftover or discounted rolls from paint stores when you want a low-cost liner with more body.
How to line dresser drawers with wrapping paper
Measure the drawer, make a template, and cut the paper slightly smaller than the bottom panel so it lies flat. Because wrapping paper tears more easily, keep it to the drawer bottom rather than wrapping the walls. Use a dry sheet or a tiny amount of removable tape at the corners if you need to keep it in place.
How do you clean contact paper drawer liners after spills?
Wipeable contact paper cleans with a damp cloth and mild soap for most spills. Dry the liner right away so moisture does not creep under the edges. If the spill is sticky, wipe gently rather than scrubbing hard, which can lift seams and make the corners peel sooner.
How do you line drawers with contact paper without ruining the wood?
Use clean, dry wood, keep the sheet slightly undersized, and avoid forcing adhesive into cracks or chipped veneer. If you want the liner to come out later with less risk, do not flood the back with paste or glue. One comment thread warns that glue and paste can leave residue, and some people avoid them entirely by simply laying the paper down.
How do you line drawers if you want a cheap alternative to store-bought liners?
Contact paper is often cheaper than proprietary drawer liners, especially for multiple drawers. Wallpaper from discounted rolls is another economical option, and leftover rolls can cover several drawers. For the lowest cost, choose a plain solid color and reserve patterned paper for visible drawers where the finish matters most.
Frequently asked questions
Do you need to remove drawers to line them?
No, but removing the drawer makes it easier to work around corners and inspect damage. Leave it in place for a quick fit check, then pull it out if the drawer has a tight lip, rough veneer, or side walls that need separate strips. Clean and dry the interior either way.
How do you keep contact paper from bubbling in drawers?
Peel the backing gradually, start at one edge, and smooth from the center outward. If a bubble appears, lift that section and reset it before it sets. A credit card or plastic squeegee helps push air toward the nearest open edge without stretching the sheet.
What should you use to smooth contact paper into drawer corners?
A credit card, plastic squeegee, or folded cloth works well for corners because each one applies firm pressure without tearing the liner. Use short strokes and stop before the corner bunches. If needed, make a small diagonal relief cut so the paper can sit flat.
Products related to this article
Sponsored / affiliate links. As an Amazon Associate I earn from qualifying purchases. I may earn additional commission from eligible campaigns.
 Livelynine 197 x 24 Inch Wide Wood Contact Paper Kitchen Cabinet Desk Countertop Paper Kitchen Cabinet Wallpaper Wood Adhesive Paper for Furniture Waterproof Black Walnut Wood Grain Vinyl Wrap
 48x354inch Extra Wide Dark Brown Wood Grain Wallpaper Walnut Contact Paper Peel and Stick Countertop Paper Air Guide Slot Design Matte Thick Self-Adhesive Waterproof Furniture Sticker Wood Vinyl Wrap