
To hang pots and pans in your kitchen, the genius method is to use a wall-mounted rail system. Find wall studs for support, mark a level line, and drill pilot holes. Secure the rail with screws, add S-hooks, and hang your cookware. This method saves cabinet space, keeps pots accessible, and adds a stylish, professional look to your kitchen.
Are your kitchen cabinets a jumbled mess of pots and pans? Do you have to pull everything out just to find the one lid you need? You are not alone. This is one of the most common kitchen frustrations. Finding the right pan shouldn’t feel like a treasure hunt. It can be noisy, awkward, and just plain annoying.
Why Hang Your Pots and Pans? The Big Benefits
Before we grab our tools, let’s talk about why hanging your cookware is such a game-changer. It’s more than just a storage solution; it’s a kitchen upgrade that makes your daily routine smoother and more enjoyable. Taking your pots and pans out of the cabinet and putting them on display has some amazing perks.
First and foremost, you reclaim precious cabinet space. Lower cabinets are often deep, dark, and hard to organize. By moving your bulky pots and pans out, you free up that space for small appliances, mixing bowls, or other items that are easier to stack. Suddenly, your kitchen feels bigger and less cluttered.
Hanging your cookware also puts everything right where you need it. Imagine grabbing the exact skillet you want without bending down and digging through a pile. It makes cooking faster and more efficient. Everything is visible and within arm’s reach, just like in a professional chef’s kitchen. Plus, it helps protect your pans from scratches and dings that happen when they are stacked on top of each other.
- Saves Valuable Cabinet Space: Frees up lower cabinets for other kitchen essentials.
- Easy Access and Convenience: No more digging! Grab what you need instantly.
- Protects Your Cookware: Prevents the scratches, dents, and wear that come from stacking.
- Adds Style and Charm: Creates a professional, organized look in your kitchen.
- Helps Pans Dry: Allows air to circulate, which is great for cast iron and other pans that need to dry thoroughly.

Choosing Your Genius Method: Three Popular Ways to Hang Cookware
There isn’t just one way to hang your cookware. The “genius method” for you depends on your kitchen layout, your style, and how much you want to display. Let’s look at three fantastic options, from the classic ceiling rack to the super-versatile pegboard.
Method 1: The Classic Ceiling Pot Rack
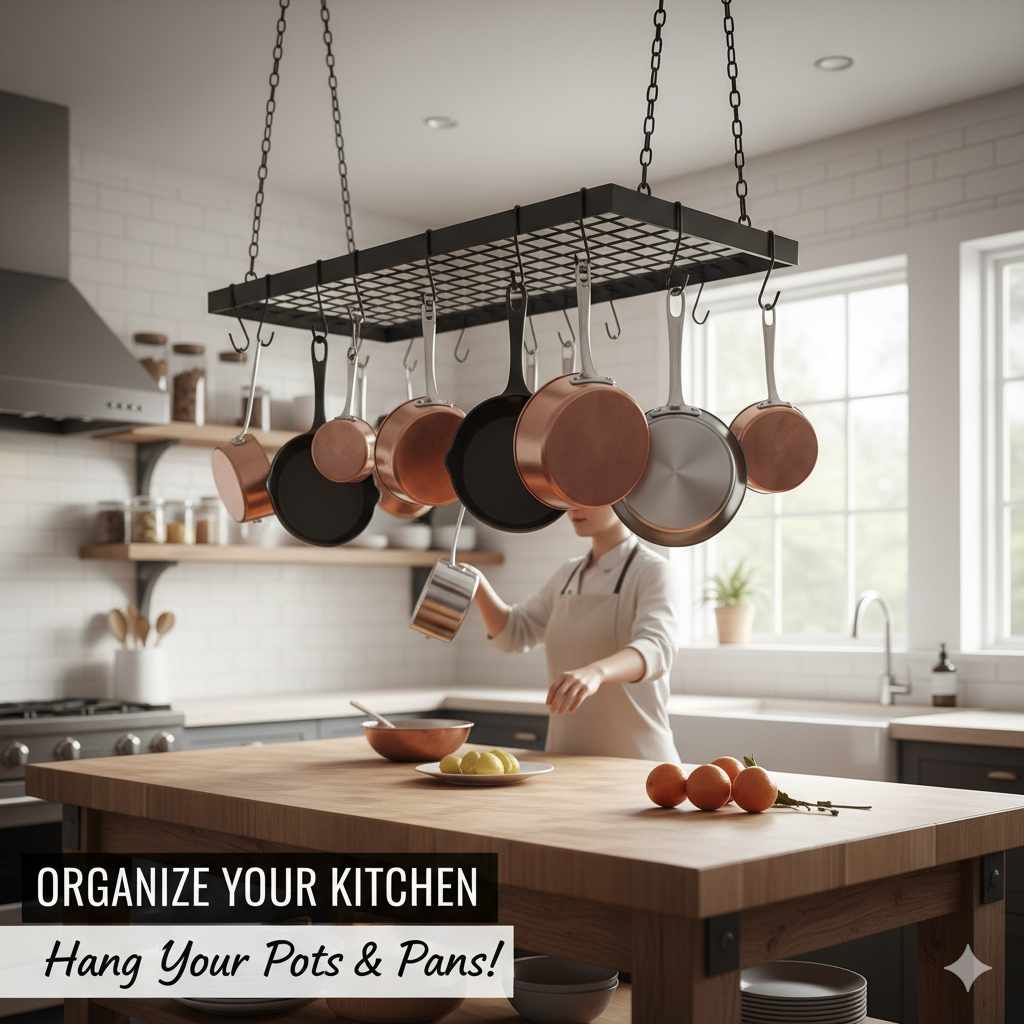
A ceiling pot rack is a bold statement piece. It hangs from the ceiling, usually over a kitchen island or peninsula. This option is perfect for kitchens with high ceilings and a central workspace. It keeps everything you need right above your prep area, making you feel like a professional chef. However, installation can be more complex, as you must anchor it securely into ceiling joists to support the weight.
Method 2: The Space-Saving Wall-Mounted Rail
This is our top pick for most kitchens, and it’s the method we’ll detail in our step-by-step guide. A wall-mounted rail is a simple bar or rod that attaches to the wall. You use S-hooks to hang your pots, pans, and even utensils. It’s incredibly versatile, fits in almost any kitchen, and is perfect for small spaces. You can install a long rail over your stove or a short one on a small, empty patch of wall.
Method 3: The Creative Pegboard Wall
A pegboard offers the ultimate in customizable storage. You can arrange hooks and shelves in any configuration you like, making it perfect for not just pots and pans but also lids, utensils, and even small herb pots. It’s a fun, creative solution that can cover an entire wall or just a small section. Pegboards add an industrial-chic or a charmingly rustic vibe to your kitchen, depending on the material and color you choose.
| Hanging Method | Best For | Installation Difficulty | Estimated Cost |
|---|---|---|---|
| Ceiling Pot Rack | Kitchens with islands and high ceilings | Hard (Requires finding ceiling joists) | $75 – $300+ |
| Wall-Mounted Rail | Almost any kitchen, especially small spaces | Easy to Moderate | $20 – $100 |
| Pegboard Wall | Customizable storage and creative displays | Moderate (Requires framing for stability) | $50 – $200 |
Before You Start: Planning Your Project Like a Pro
A little bit of planning makes any DIY project go smoothly. Before you drill any holes, taking a few minutes to think through the details will save you time and ensure you get a result you love. It’s all about measuring twice and drilling once!
Step 1: Pick the Perfect Spot
Walk around your kitchen and think about where a pot rack would be most useful. The best location is usually near your stove or main food prep area. This keeps your cookware handy while you’re cooking. Look for an empty stretch of wall. Make sure the spot you choose is not in a high-traffic path where someone might bump into the hanging pans. Also, consider height—you want to be able to reach the pans easily without them hanging too low and getting in your way.
Step 2: Know Your Wall (or Ceiling) Type
The most important part of this project is making sure your rack is secure. To do that, you need to anchor it into something solid. Most modern homes have walls made of drywall attached to wooden studs. These studs are the strong framework inside your wall. You want to screw your rack directly into these studs. If your home is older, you might have plaster walls, which can be more brittle. Some kitchens have brick or tile backsplashes, which require special drill bits. The key is to find the studs, as they provide the best support.
Step 3: Gather Your Tools and Materials
Having everything you need on hand before you start makes the job much easier. There’s nothing worse than having to stop midway through to run to the hardware store. Here’s a basic list of what you’ll need for installing a wall-mounted rail.
- Pot Rack or Rail System: Choose the style and size that fits your space.
- Stud Finder: An electronic stud finder is the easiest way to locate the wooden supports in your wall.
- Power Drill: For drilling pilot holes and driving screws.
- Drill Bits: You’ll need a bit slightly smaller than your screws for pilot holes.
- Level: A 2-foot level is perfect for ensuring your rail is perfectly straight.
- Tape Measure: For measuring height and spacing.
- Pencil: For marking your drill spots.
- Screws and Wall Anchors: Your kit will likely come with these, but it’s good to have extras. We’ll talk more about anchors below.
The Genius Method: A Step-by-Step Guide to Installing a Wall-Mounted Rail
Ready to get started? We’re going to focus on the wall-mounted rail, as it’s the most beginner-friendly and versatile option. This process is simple, and you can easily do it in under an hour. Just follow these steps, and you’ll have a beautiful and functional pot rack in no time.
Find and Mark the Studs: Turn on your electronic stud finder and slide it across the wall where you plan to install the rail. Most stud finders will beep or light up when they find the edge of a stud. Mark each edge with your pencil. Studs are typically 16 inches apart. Finding at least two studs to anchor into is ideal for a strong hold.
Position and Level the Rail: Hold the rail up to the wall at your desired height. Place your level on top of it. Adjust the rail until the bubble in the level is perfectly centered. This ensures your rack won’t be crooked. A good height is usually high enough to keep pans out of your way but low enough for you to reach them easily.
Mark Your Drill Holes: Once the rail is level and positioned over the studs you marked, use your pencil to mark the wall through the screw holes in the rail’s mounting brackets. Set the rail aside. You should now have small pencil marks on the wall exactly where you need to drill.
Drill Pilot Holes: Choose a drill bit that is slightly smaller in diameter than your screws. Drilling a pilot hole first makes it much easier to drive the screw in straight and prevents the wood stud from splitting. Carefully drill a hole on each of your pencil marks.
Install Wall Anchors (If Needed): What if one of your mounting holes doesn’t line up with a stud? This is where wall anchors come in. A wall anchor expands behind the drywall to create a secure hold. To install one, you typically drill a slightly larger hole, tap the plastic anchor in until it’s flush with the wall, and then drive the screw into it. For heavy items like pots, always try to hit a stud. Use anchors only as a secondary option. You can find more details on choosing the right ones from a trusted resource like The Home Depot’s guide on wall anchors.
Secure the Rail to the Wall: Hold the rail up to the wall again, aligning its holes with your pilot holes (and any anchors). Using your power drill, drive the screws through the mounting brackets and into the wall. Make them snug, but don’t overtighten, as this could damage the drywall or the bracket.
Add the Hooks and Hang Your Pans!: Once the rail is firmly attached, slide your S-hooks onto it. Now for the fun part—hang your pots and pans! Arrange them by size or by how often you use them. Step back and admire your new, beautifully organized kitchen.
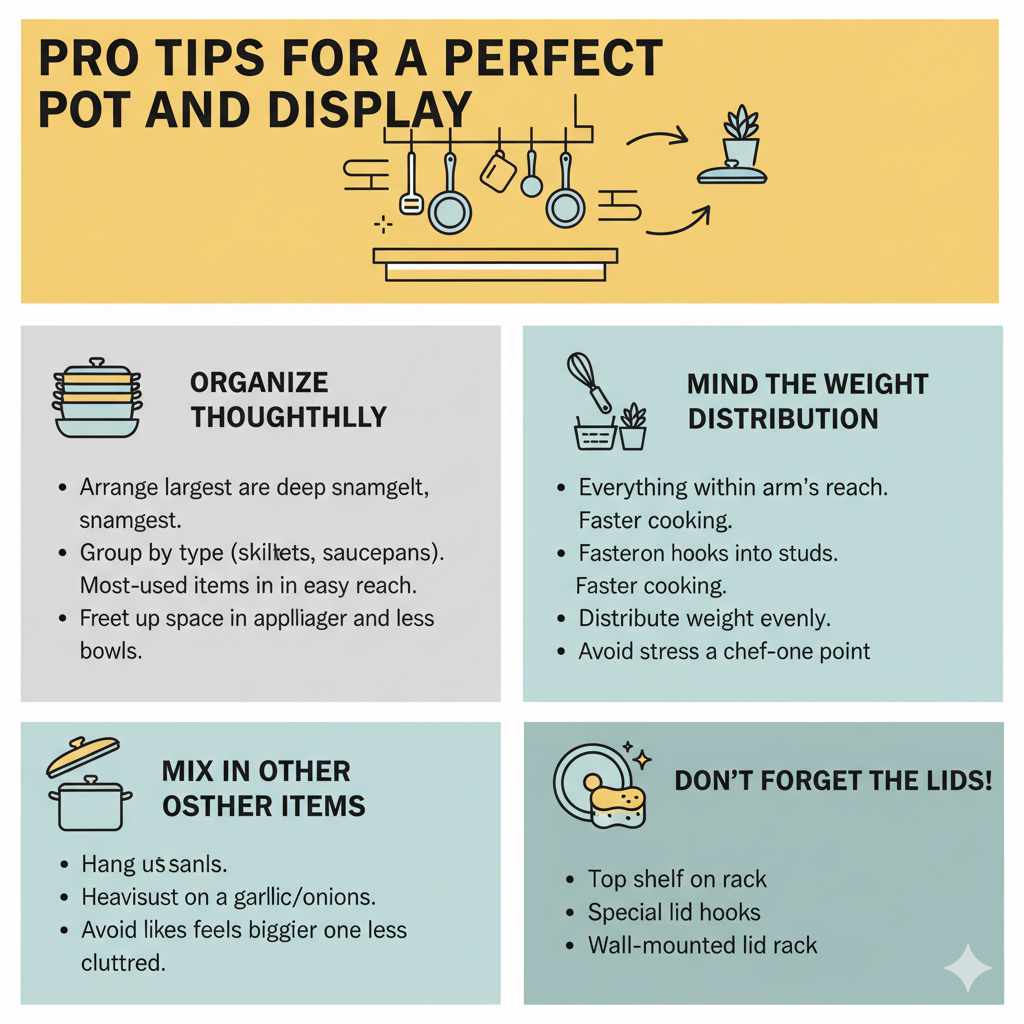
Pro Tips for a Perfect Pot and Pan Display
Your pot rack is up, but how do you make it look less like clutter and more like a curated display? With a few simple tips, you can turn your functional storage into a stunning design feature.
- Organize Thoughtfully: Don’t just hang pans randomly. Try arranging them from largest to smallest for a clean, tapered look. Alternatively, you could group them by type—skillets in one section, saucepans in another. Place your most-used pans in the easiest-to-reach spots.
- Mix In Other Items: Your rack isn’t just for pans. Hang a few of your favorite utensils, a small wire basket for garlic and onions, or even a small potted herb like basil or parsley. This adds visual interest and makes your rack even more useful.
- Mind the Weight Distribution: Place your heaviest items, like cast iron skillets, on hooks that are secured directly into a stud. Distribute the weight as evenly as possible along the rail to avoid putting too much stress on any one point.
- Keep Them Clean: Since your cookware is on display, you’ll want to keep it clean. Pans hanging near the stove can collect a bit of grease. Wipe them down regularly. A clean pot rack with sparkling pans looks much better than a dusty, grimy one.
- Don’t Forget the Lids: What about the lids? Some pot racks come with a top shelf for lids. You can also buy special hooks that hold lids, or install a separate, small lid rack on the wall or inside a cabinet door.
Safety First: What to Keep in Mind
A falling pot is no joke. Safety should always be your top priority with any home project, especially one that involves hanging heavy objects over your head or workspace. A properly installed pot rack is perfectly safe, but cutting corners can lead to problems.
Always pay close attention to the weight limit specified by the manufacturer of your pot rack. Don’t overload it. Remember that the weight of the pans adds up quickly, especially with heavy cast iron. The most critical safety step is securing the rack into studs or joists. Drywall alone is not strong enough to hold the weight. For general home project safety guidelines, you can refer to resources like the U.S. Consumer Product Safety Commission, which provides information on keeping your home safe.
After installation, give the rack a firm tug to make sure it’s completely solid. Periodically check the screws to ensure they haven’t loosened over time. A little bit of caution goes a long way in ensuring your beautiful new pot rack is also a safe one.
| Common Mistake | How to Avoid It |
|---|---|
| Using only drywall anchors | Always locate and screw into studs whenever possible for maximum support. |
| Overloading the rack | Check the manufacturer’s weight limit and don’t exceed it. Hang your heaviest pans over studs. |
| Hanging it in a walkway | Install the rack in a low-traffic area, like over a counter or stove, to prevent accidents. |
| Mounting it crooked | Use a level during installation to ensure the rack is perfectly horizontal. |
Frequently Asked Questions (FAQ)
Here are answers to some common questions you might have about hanging your pots and pans.
What if I can’t drill into my walls?
If you’re a renter or simply don’t want to make holes, you have options! Consider a sturdy freestanding baker’s rack, which offers shelves and hooks for hanging. You can also use heavy-duty magnetic hooks on the side of your refrigerator for lighter pans and utensils.
How high should I hang my pot rack?
A good rule of thumb is to hang it high enough so that the bottom of the longest-hanging pan is above head height for the tallest person in your household. You also want to be able to comfortably reach the hooks without a step stool. Typically, the bottom of the pans should end up about 6 feet from the floor.
Can I hang cast iron pans?
Absolutely! Cast iron looks fantastic on display. However, it is very heavy. Make sure your rack is securely mounted into studs or ceiling joists and that you check the total weight limit. It’s best to hang heavy cast iron on hooks that are directly supported by a mounting bracket screwed into a stud.
What’s the best way to clean a pot rack?
For most metal pot racks, a simple wipe-down with a damp cloth and a little bit of mild dish soap is all you need. If it’s greasy from being near the stove, a degreasing spray can help. Be sure to dry it thoroughly to prevent rust.
Will hanging damage my pots and pans?
No, quite the opposite! Hanging pots and pans by their handles is much better for them than stacking. Stacking can cause scratches, scrapes, and chips, especially on non-stick surfaces. Hanging keeps them separated and protected.
How do I find a stud in the wall?
The easiest way is with an electronic stud finder, which you can buy at any hardware store. You can also use the tap test: tap along the wall and listen for the sound to change from hollow to a solid thud. Studs are also often located next to electrical outlets and light switches.
Conclusion: Enjoy Your Tidy, Stylish Kitchen
You did it! By taking a little bit of time to install a hanging pot rack, you’ve completely transformed your kitchen storage. No more noisy, frustrating searches for the right pan. Instead, your cookware is organized, accessible, and beautifully displayed, ready for your next culinary creation.
This project proves that you don’t need to be an expert to make a huge improvement in your home. With a few simple tools and a clear plan, you can tackle clutter and create a space that is both more functional and more enjoyable to be in. So step back, admire your handiwork, and get ready to enjoy the ease and style of your newly organized kitchen.


