Building your own chaise lounge might sound tricky, especially if you’re new to DIY projects. Many people think it requires special skills or lots of fancy tools. But really, it’s more about following simple steps. This guide is here to make the process easy for anyone. We’ll break down everything you need to know. Get ready to learn How to Build a Chaise Lounge (Easy DIY Guide) with confidence!
Creating Your Own Chaise Lounge Furniture
This section will walk you through the exciting process of building your very own chaise lounge. We’ll cover everything from selecting the right materials to putting it all together. You’ll discover that with a few basic tools and some clear instructions, you can create a beautiful and comfortable piece of furniture for your home. Making a chaise lounge yourself offers a rewarding experience and a custom item that fits your style.
Gathering Your Building Materials
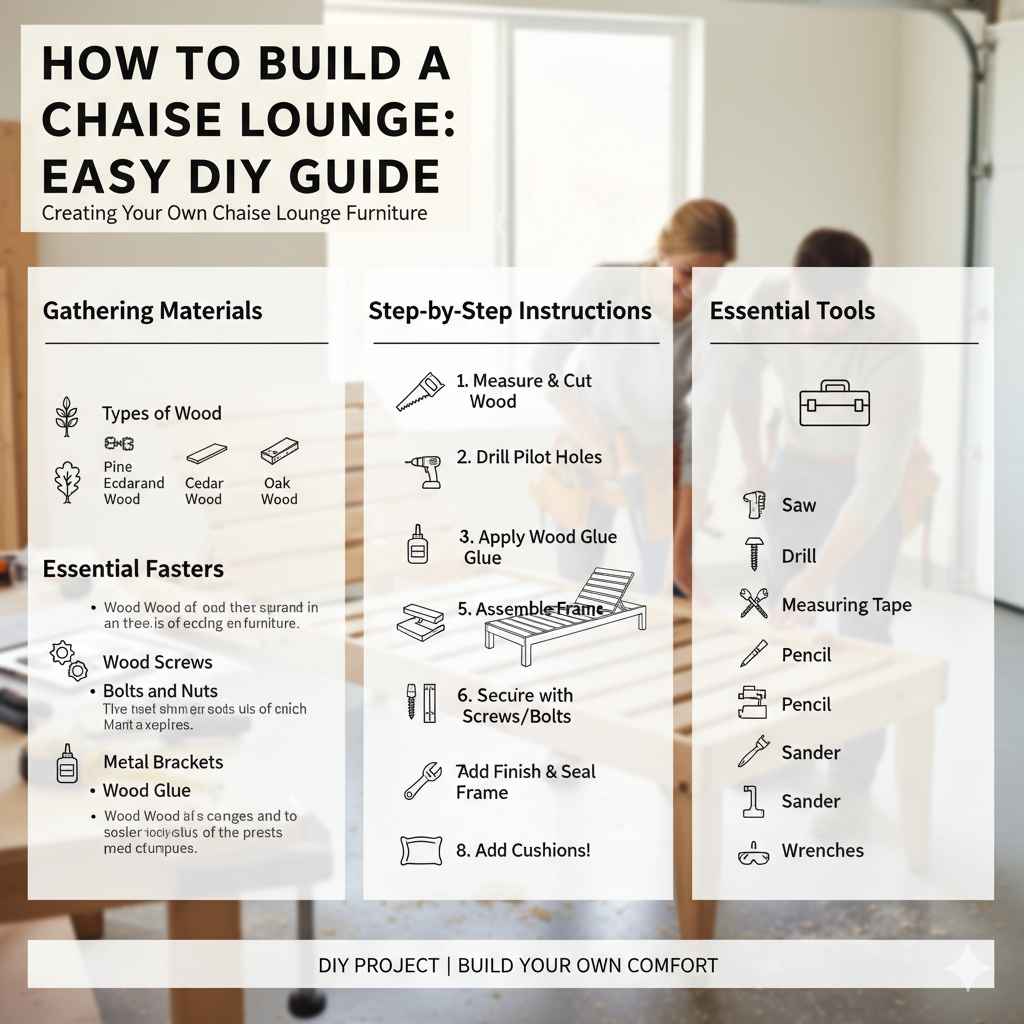
Before you start cutting wood or screwing things together, it’s important to have all your supplies ready. This makes the building process much smoother. You’ll need wood for the frame, cushions for comfort, and fasteners to hold it all in place. Choosing good quality materials will ensure your chaise lounge is sturdy and lasts a long time.
Types of Wood to Consider
When building a chaise lounge, the wood you choose makes a big difference. It affects durability, cost, and how easy it is to work with.
Pine Wood
Pine is a soft wood that is readily available and inexpensive. It is easy to cut and sand, making it a great choice for beginners. However, pine can dent and scratch more easily than harder woods. It’s important to seal pine well to protect it from moisture.
Cedar Wood
Cedar is a durable wood that is naturally resistant to insects and rot. It has a pleasant aroma and a beautiful reddish-brown color. Cedar is a bit more expensive than pine but offers better longevity, especially if the chaise lounge will be used outdoors. It is also relatively easy to work with.
Oak Wood
Oak is a very hard and strong wood. It is extremely durable and can withstand a lot of wear and tear. Oak has a beautiful grain pattern. However, it is heavier, more expensive, and harder to cut and drill than softer woods like pine. You’ll need sturdier tools for oak.
Essential Fasteners and Hardware
The connections you make are vital for a strong chaise lounge. Using the right screws, bolts, and brackets ensures your project stays together.
Wood Screws
These are the most common fasteners for wood projects. They come in various lengths and types, like deck screws (which are good for outdoor use) and drywall screws (which are less recommended for furniture). Always choose screws long enough to go through both pieces of wood you are joining, but not so long they poke out.
Bolts and Nuts
For very strong connections, especially where weight will be applied, bolts are a good choice. You’ll typically need a bolt, a washer, and a nut. This method provides a very secure joint that can be tightened.
Wood Glue
Wood glue adds significant strength to any joint secured with screws or nails. Apply a thin, even layer to both surfaces before joining them. Wipe away any excess glue that squeezes out before it dries, as it can be hard to remove later.
Metal Brackets
Corner brackets and mending plates can reinforce joints. They are particularly useful for areas that will bear a lot of stress, like where the backrest meets the seat.
Designing Your Chaise Lounge Blueprint
A good plan is the first step to a successful build. You need to decide on the size and style of your chaise lounge before you buy any materials. Thinking about where it will go and who will use it will help you choose the right dimensions. Having a simple drawing will guide you through each step.
Measuring for Comfort and Space
The size of your chaise lounge should be comfortable for the people who will use it and fit the space you have. A typical chaise lounge is about 6 to 7 feet long, which allows someone to stretch out fully. The width usually ranges from 2 to 3 feet. Consider the height of the seat from the ground, too; about 15 to 18 inches is standard and easy to get on and off.
Length
Think about the tallest person who will use the chaise lounge. You want them to be able to lie down without their feet hanging off too much. Adding an extra 6 inches to the height of your tallest user is a good rule of thumb for total length.
Width
A wider chaise lounge offers more space and comfort. If you want to be able to shift positions easily or even sit with someone else for a short time, aim for a width of 30 inches or more.
Height
The height of the seat from the floor should be comfortable for sitting down and standing up. If you plan to use it outdoors, consider how it will look relative to other outdoor furniture.
Sketching Your Design Elements
It’s helpful to draw out your idea. You don’t need to be an artist. A simple sketch showing the main parts and their measurements is enough. This visual guide will be very useful when you start cutting and assembling your wood.
Basic Frame Shape
Draw the overall shape of your chaise lounge. This usually involves a long base for the seat and a slightly raised section for the back. You might also want to add legs or a solid base.
Backrest Angle
Decide how you want the backrest to recline. Most chaise lounges have a back that can be adjusted to a few different angles for reading or lounging. You can build this in by making the backrest attach to the base with a simple hinge or a system of notches.
Armrests (Optional)
Some chaise lounges have armrests, while others do not. If you want armrests, sketch how they will attach to the sides of the main frame. They can be simple planks of wood extending from the sides.
Constructing the Chaise Lounge Frame
This is where your chaise lounge starts to take shape. Following your blueprint, you’ll cut your wood and begin assembling the main structure. Take your time with each step to ensure everything is measured correctly and fits snugly.
Building the Base Frame
The base is the foundation of your chaise lounge. It needs to be strong and stable to support the entire structure and anyone sitting on it.
Cut your lumber to the desired lengths for the sides and ends of the base frame. For example, if you want a 6-foot long chaise lounge, you might cut two pieces at 72 inches and two pieces at 24 inches for the outer frame.
Attach the end pieces to the sides to form a rectangle. Use wood glue and wood screws. For added strength, you can use corner brackets on the inside of the frame.
Add cross supports inside the frame. These will help prevent the base from sagging over time. Space them evenly along the length of the frame.
Attaching the Backrest Supports
The backrest needs to be securely attached to the base frame. This connection will bear a lot of weight and stress.
Cut two pieces of wood to serve as the main supports for the backrest. These will connect the base to the backrest itself. The length of these supports will determine how high your backrest sits.
Attach these supports to the rear of the base frame. Angle them slightly backward to provide a natural reclining position for the backrest. Use strong screws and wood glue.
Consider adding angled braces from the bottom of these backrest supports to the base frame for extra stability.
Adding Legs or a Solid Base
For a chaise lounge that sits off the ground, you’ll need legs. If you prefer a grounded design, you can build a solid base with planks or plywood.
If using legs, cut them to your desired height. You can buy pre-made furniture legs or make your own from sturdy wood.
Attach the legs securely to the corners and possibly the middle of the base frame. Use strong bolts or heavy-duty brackets. Ensure the legs are plumb (perfectly vertical) so the chaise lounge sits evenly.
If creating a solid base, you can build a box frame and cover it with plywood or attach wide planks to the bottom of your main frame.
Assembling the Chaise Lounge Components
With the main frame built, it’s time to put the remaining pieces in place. This includes the backrest, any armrests, and any adjustable mechanisms. Precision is key here to ensure everything functions smoothly and looks good.
Constructing and Attaching the Backrest
The backrest is a critical part of the chaise lounge for comfort. It should be well-supported and at a comfortable angle.
Build a rectangular frame for the backrest. The dimensions should fit within the backrest supports you attached to the base.
Add horizontal or vertical slats, or cover it with plywood, depending on your design. Leave small gaps between slats if using them, or ensure the plywood is smooth.
Attach the backrest frame to the backrest supports. You can screw it directly into the supports if you have a fixed angle. For an adjustable backrest, you’ll need to create a hinge or a system of notches and pegs.
Incorporating an Adjustable Backrest Mechanism
An adjustable backrest greatly enhances the usability of your chaise lounge. There are several ways to achieve this.
Hinge System
You can attach the backrest to the base supports using heavy-duty hinges. This allows the backrest to fold down flat. To hold it at different angles, you can add simple props or wooden stops that the backrest can lean against.
Notch System
Alternatively, you can create a series of notches on the backrest supports. A piece of wood attached to the backrest can then slot into these notches to hold it at various positions.
Ratchet Mechanism
For a more sophisticated adjustable backrest, you could research furniture ratchet mechanisms. These are often found in adjustable beds and offer multiple secure positions.
Adding Optional Armrests and Finishing Touches
Armrests provide extra comfort and a finished look. Consider how they will attach and what height will be most comfortable.
Cut pieces of wood for your armrests. These can be simple planks, or you can shape them for a more ergonomic feel.
Attach the armrests securely to the sides of the chaise lounge frame. Ensure they are level and at a comfortable height for resting arms. You might use brackets or embed them into the frame itself.
Sand all surfaces smooth. This is crucial for comfort and appearance, especially on areas you’ll be touching.
Paint, stain, or seal the wood. Use a finish appropriate for whether the chaise lounge will be indoors or outdoors. Exterior finishes offer protection against weather and UV rays.
Adding Cushions for Ultimate Comfort
The frame is built, but a chaise lounge isn’t complete without comfortable cushions. This is where you can really customize the look and feel of your piece.
Choosing Cushion Materials
The type of fabric and filling for your cushions will impact their comfort, durability, and how they hold up to the elements.
Outdoor Fabrics
If your chaise lounge will be outside, opt for fabrics designed for outdoor use. These are typically made from acrylic or polyester and are resistant to water, UV rays, and mildew. Look for names like Sunbrella or Outdura.
Indoor Fabrics
For indoor use, you have a wider range of choices. Cotton, linen, or even velvet can be used, depending on your style and how much wear the cushions will get. Consider stain-resistant treatments for durability.
Foam Filling
High-density foam is ideal for cushions. It provides good support and retains its shape over time. You can buy foam in sheets and cut it to size or order custom-made cushions from an upholstery shop. Dacron batting can be wrapped around the foam for a softer, more rounded edge.
Measuring and Creating Custom Cushions
Getting the right size and fit for your cushions is important for both appearance and comfort.
Measure the seating area and the backrest precisely. Make sure to account for any curves or angles in your frame. It’s often best to measure after the frame is fully built.
Add a little extra to your measurements for a fuller cushion that fits snugly without being too tight. A common practice is to add 1 inch to the length and width of each cushion dimension.
Cut your chosen foam to the dimensions you calculated. Wrap the foam with a layer of polyester batting. This softens the edges and gives the cushion a more finished look.
Measure and cut your fabric. You’ll need enough fabric for the top and bottom of the cushion, plus enough to go around the sides (the loft of the foam). Remember to account for seams and a zipper or closure.
Sew the fabric pieces together. Attach a zipper along one edge for easy removal of the cushion cover for cleaning.
Securing Cushions to the Frame
To prevent cushions from sliding around, especially outdoors, you’ll need a way to secure them.
Velcro Straps
Attach strips of Velcro to the underside of the cushions and the chaise lounge frame. This is a simple and effective way to keep cushions in place.
Ties
Sew fabric ties onto the back or sides of the cushions. These can then be tied around the frame of the chaise lounge.
Non-Slip Fabric
Consider using a non-slip fabric on the underside of the cushions themselves. This can offer enough friction to keep them from moving significantly.
Maintaining Your Homemade Chaise Lounge
Once your beautiful chaise lounge is built and ready to enjoy, a little care will keep it looking great for years to come. The type of maintenance will depend on where you keep it and what materials you used.
Cleaning and Protecting the Frame
Keeping the wooden frame clean and protected is essential. This is especially true if it’s an outdoor piece.
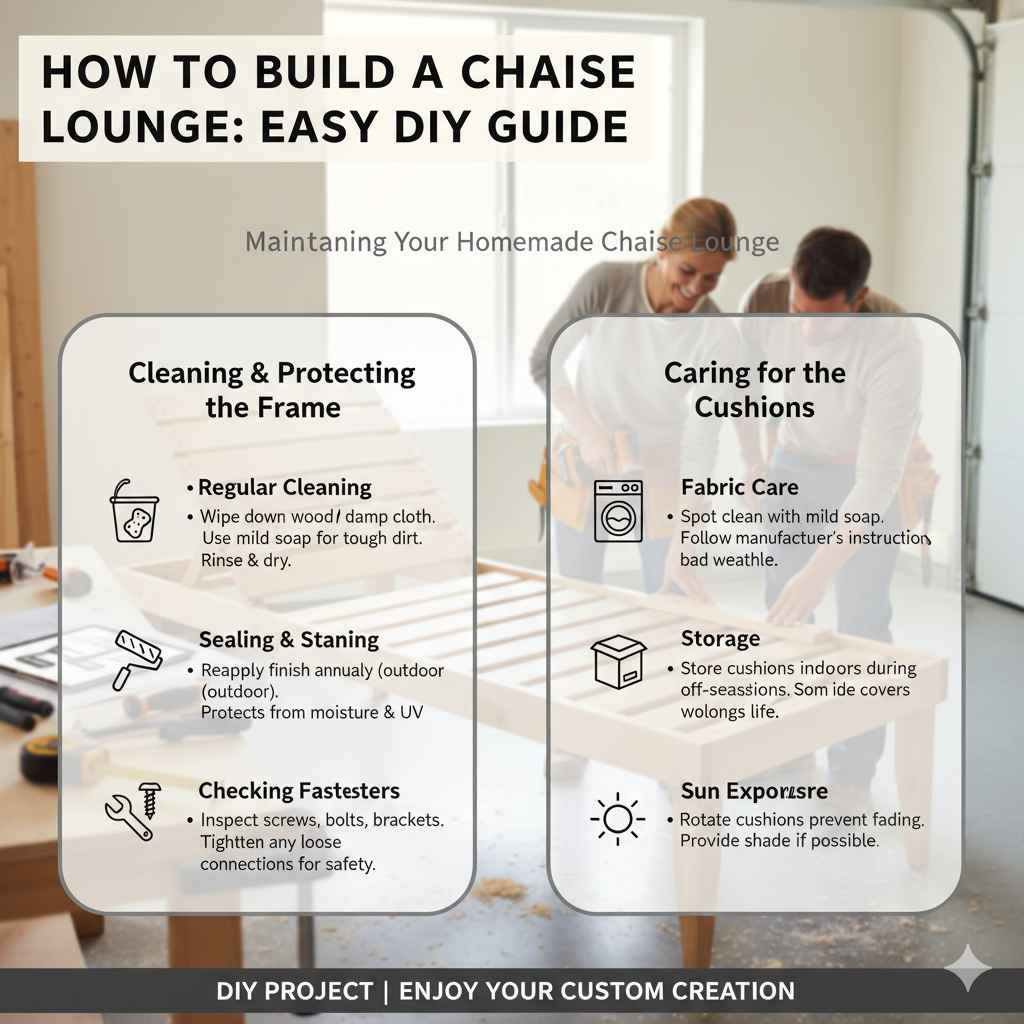
Regular Cleaning
Wipe down the wooden frame with a damp cloth periodically to remove dust and debris. For tougher dirt, use a mild soap and water solution, then rinse and dry thoroughly.
Sealing and Staining
If you used wood that needs sealing or staining, reapply the finish every year or two, especially for outdoor furniture. This protects the wood from moisture, UV rays, and temperature changes.
Checking Fasteners
Periodically inspect all screws, bolts, and brackets. Tighten any that have become loose. This is crucial for maintaining the structural integrity of your chaise lounge.
Caring for the Cushions
Cushions add comfort but also require care to stay fresh and clean.
Fabric Care
Follow the manufacturer’s cleaning instructions for your cushion fabric. Most outdoor fabrics can be spot cleaned with mild soap and water. Some covers are removable and machine washable.
Storage
During off-seasons or periods of bad weather, consider storing your cushions indoors to protect them from the elements and prolong their life.
Sun Exposure
While outdoor fabrics are UV resistant, prolonged direct sunlight can eventually cause fading. Rotating cushions or providing some shade can help.
How to Build a Chaise Lounge (Easy DIY Guide) Frequently Asked Questions
Question: What are the basic tools needed to build a chaise lounge
Answer: You will need a tape measure, a saw (hand saw or power saw), a drill with various bits, a screwdriver, sandpaper, wood glue, and fasteners like wood screws or bolts. Safety glasses and gloves are also important.
Question: Can I build a chaise lounge without woodworking experience
Answer: Yes, this guide is designed for beginners. By following the step-by-step instructions and using simple techniques, you can successfully build a chaise lounge even with limited experience.
Question: How long does it typically take to build a chaise lounge
Answer: The time can vary depending on your skill level and the complexity of your design. A simple chaise lounge can often be built in a weekend, perhaps 10-20 hours of work.
Question: Is it cheaper to build a chaise lounge than to buy one
Answer: Often, yes. Building it yourself can save money, especially if you choose less expensive materials. It also allows you to customize it exactly to your liking.
Question: Can a homemade chaise lounge be used outdoors
Answer: Absolutely. By using weather-resistant wood like cedar or treated pine and outdoor-specific fabrics for cushions, your DIY chaise lounge can be perfect for your patio or garden.
Summary
You’ve learned How to Build a Chaise Lounge (Easy DIY Guide) step-by-step. We covered selecting materials, designing your plan, constructing the frame, adding comfort with cushions, and maintaining your creation. Building a chaise lounge yourself is achievable and rewarding. Enjoy your custom-made relaxation spot!