

Achieving comfortable shade on your balcony is easy! You can effectively add shade to your balcony using renter-friendly solutions like roll-up blinds, cantilever umbrellas, or DIY fabric canopies. We cover the best, clearest, and safest methods for instant relief from the sun.
Is your balcony just too bright? You’ve got a great outdoor space, but when the sun hits just right, it becomes unusable. That intense afternoon heat can ruin balcony coffee or evening relaxation. Dealing with balcony shade can seem complicated if you rent your place or don’t want major construction. Don’t let the heat chase you inside! This easy guide shows you simple, proven ways to get relief right now. We will walk through step-by-step instructions for installing shade solutions that fit almost any budget and situation. Ready to reclaim your outdoor space? Let’s get started on making your balcony cool and comfortable.
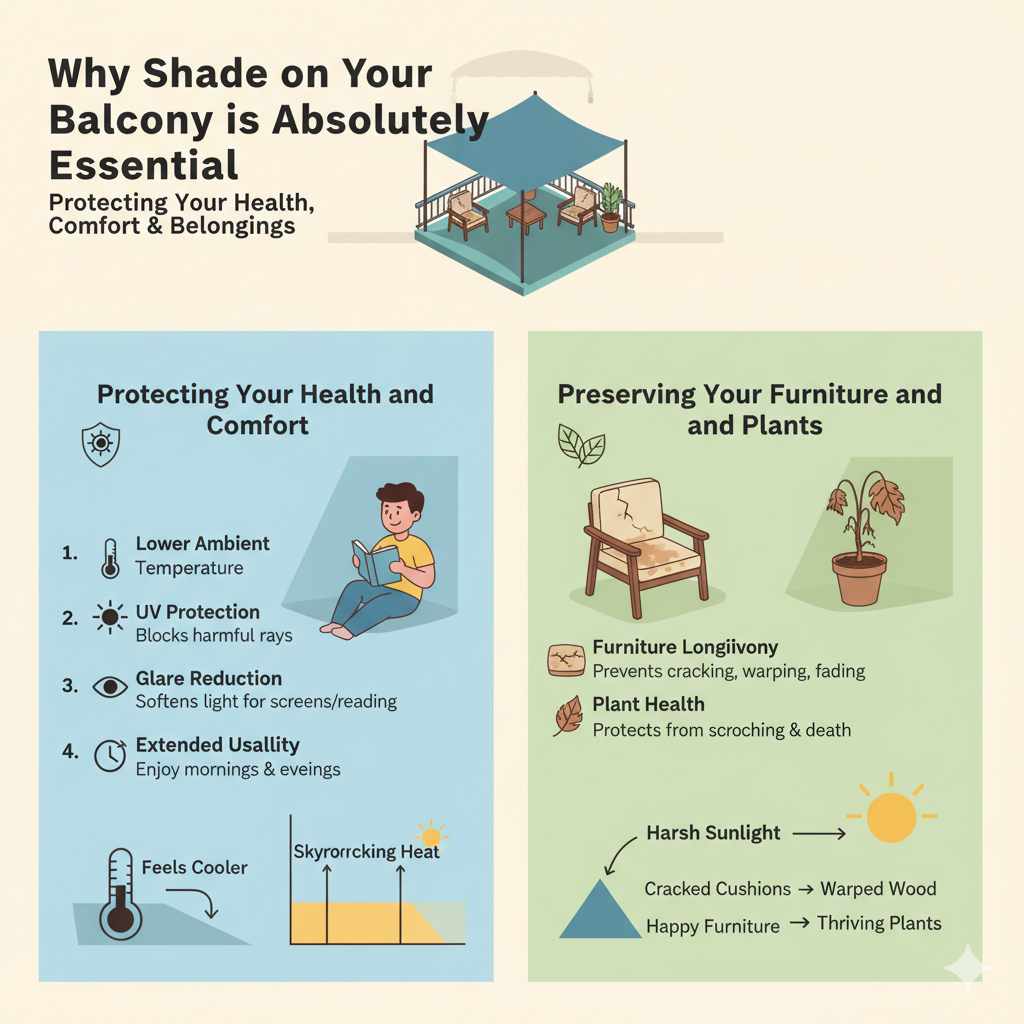
Why Shade on Your Balcony is Absolutely Essential
Before we dive into the “how-to,” let’s quickly confirm why shading your small outdoor spot is so important. It’s not just about comfort; it’s about safety and protecting your belongings.
Protecting Your Health and Comfort
When the sun beats down, the surface temperature of your balcony area skyrockets. This direct exposure can lead to discomfort very quickly.
Think about sitting out there on a 90-degree day with direct sun. You absorb that heat rapidly. Having shade helps lower the ambient temperature, making the space feel dramatically cooler.
- UV Protection: Direct sun exposure carries harmful UV rays. Shade blocks a significant portion of this, protecting your skin.
- Glare Reduction: Too much sun makes reading or using screens impossible. Shade creates a softer, workable environment.
- Extended Usability: With shade, you can enjoy your balcony earlier in the morning and later in the evening during summer months.
Preserving Your Furniture and Plants
The heat doesn’t just affect you; it damages everything else sitting outside.
Plastic cushions crack, wood warps, and paint fades under constant, harsh sunlight. Plants, which you might be trying to grow, can scorch and die if they aren’t protected from intense midday rays.
Choosing the Right Shade Solution: Know Your Options
The best way to add shade depends on two main things: how much sun you get, and whether you are allowed to drill into structures (like if you rent). We’ve broken this down into renter-friendly (non-permanent) and owner-friendly (more robust) options.
Category 1: Renter-Friendly Shade Solutions (No Drilling Required)
If you are worried about security deposits or leasing agreements, these solutions use gravity, tension, or existing railings for support.
1. The Mighty Cantilever Umbrella
This is often the best flexible option for renters. A cantilever umbrella is mounted on a base that sits on the floor, but the shade arm extends over the balcony space. This means you don’t need to drill into the ceiling or walls.
How it works: The heavy base (often filled with water or sandbags) anchors the pole, allowing the canopy to be positioned freely over your seating area.
- Pros: Highly adjustable; can be moved easily; provides very large coverage.
- Cons: Requires significant floor space for the base; bases must be weighted heavily for stability.
2. Tension-Rod or Clamp-On Awning Arms
These products use spring tension or strong clamps to affix themselves to existing vertical railings or balcony supports.
If you already have sturdy metal balcony railings, you may find clip-on solar screens designed to attach directly to the existing guardrail. Always check that your railing is strong enough to handle the tension or weight.
3. Freestanding Shade Sails (Triangular/Square)
You can create a shade triangle or square by anchoring one or two corners to your building structure (if allowed, perhaps using heavy-duty hooks screwed into external window frames if permitted) and anchoring the other corners to heavy existing planters or patio furniture.
For a purely renter-friendly setup, you can use heavy, weighted planters (like large terracotta pots filled with concrete mix) as temporary anchors for the tension ropes.
Category 2: Permanent and Semi-Permanent Solutions (Better for Owners)
If you own your unit or have landlord permission to install hardware, these often provide the cleanest and most durable shade.
4. Retractable Awnings (Wall or Ceiling Mounted)
These are the gold standard for balcony shade. They attach securely to the exterior wall above your balcony door or directly to the ceiling above the balcony. When you want shade, you crank a handle or push a button, and the fabric rolls out.
When you don’t need them, they roll up neatly, often disappearing into a stylish metal cassette, protecting the fabric from weather—a great feature for longevity.
We always recommend checking local building codes or Homeowners Association (HOA) guidelines before installing anything attached to the building façade. Regulations regarding exterior modifications can be strict. For guidance on safe installation fasteners in masonry, consulting resources like those provided by the National Association of Home Inspectors can be helpful for understanding structural load requirements.
5. Fixed Pergola Kits or Balcony Covers
These are usually wooden or aluminum frames built directly onto the balcony floor and secured to the building. They offer a structure over which you can secure shade fabric or wooden slats.
This works best for wider balconies where the structure won’t impede walking space.
Step-by-Step Guide: Installing a Simple Fabric Canopy (The Beginner Favorite)
For most people looking for an effective, attractive, and relatively easy shade solution, a simple tensioned shade sail or rectangular fabric canopy offers the best balance. Let’s focus on how how to add shade to balcony using this flexible method.
Tools and Materials You Might Need
Gathering everything first makes the job smooth. Adapt this list based on whether you are using existing structures or need freestanding anchors.
- Shade Fabric: Measured correctly for the area you want to cover (usually HDPE mesh fabric).
- Anchor Points: Sturdy eye bolts (if drilling into wood/masonry) OR heavy-duty clamps (if attaching to railings).
- Ropes/Cables: Weather-resistant bungee cords or durable, UV-stabilized rope.
- Tensioning Hardware: Turnbuckles (these are crucial for getting the sail tight).
- Safety Gear: Work gloves and safety glasses.
- Measuring Tape and Pencil.
- Drill and appropriate bits (If anchoring to the building structure).
Step 1: Measure and Plan Your Coverage Area
Measure the dimensions of the area you want to shade. Shade sails work best when installed at an angle, not flat.
A key concept here is the “tension angle.” For rain runoff and maximum tautness, each anchor point should be at least 1 to 2 feet higher than the point it connects to. This means you need three or four anchor points at different heights.
Step 2: Install Your Anchor Points
This is the most critical step for safety and longevity. The anchors must hold the fabric’s tension, especially when wind picks up.
Option A: Drilling into the Structure (For Owners Only)
If your balcony has an overhang or ceiling joists that run parallel to the building:
- Mark where you want the corners of your sail to attach. Ensure these points are directly into structural wood beams or solid masonry, not just siding or drywall.
- Use a masonry drill bit (for brick/concrete) or a standard wood bit (for beams). Drill pilot holes slightly smaller than your eye bolts.
- Screw in heavy-duty galvanized or stainless steel eye bolts. Seal the penetration point with exterior-grade silicone caulk to prevent water intrusion into your home structure.
Option B: Using Railings and Heavy Planters (For Renters)
If you cannot drill, you must rely on existing railings or weighted elements:
- Identify the strongest points on your existing railing system.
- Use high-strength metal carabiners or heavy-duty U-bolts designed to clamp securely around the railing posts. Do not attach only to thin horizontal bars.
- For corner points that need ground support, use extremely heavy planters (filled adequately with gravel and concrete) to act as ground anchors. Secure the rope from the sail corner to a sturdy loop installed on the planter itself. Remember: Wind creates immense uplift force.
Step 3: Attach the Shade Fabric
Most good shade fabrics come with reinforced webbing and metal rings (grommets) at the corners.
Attach the ropes or bungee cords to the grommets. Start with the highest anchor points first to establish the necessary downward slope.
Step 4: Tensioning for a Smooth Finish
This step determines if your shade looks professional or saggy. This is where turnbuckles shine.
A turnbuckle is a device with two threaded ends that screws together. As you tighten the middle section, it pulls the two ends closer, creating incredible tension on the rope.
- Attach one end of the turnbuckle to the anchor point (the eye bolt or clamp).
- Attach the other end of the turnbuckle to the rope running from the sail corner.
- Slowly tighten the turnbuckle. You should see the fabric pull tight and smooth out. Stop tightening when the fabric is taut—too much tension can strain the anchors.
Comparing Shade Materials: What Blocks the Sun Best?
Not all shade fabric is created equal. The material directly impacts how much heat and light you block.
Look for the Ultraviolet Protection Factor (UPF) rating. Like sunscreen for your fabric, a higher UPF means better blockage. While UPF ratings are more common for clothing, high-quality outdoor materials are rated for UV blockage.
| Material Type | Typical UV Blockage | Best Use Case | Notes on Durability |
| :— | :— | :— | :— |
| HDPE Mesh (Knitted) | 90% – 96% | General sunscreens, sails | Great airflow, resists mildew. Needs good tensioning. |
| Woven Polyester (Treated) | 98% – 99% | Permanent awnings, solid covers | Very weather-resistant, less airflow (can trap heat underneath). |
| Reed/Bamboo Roll-Up | 60% – 80% | Aesthetic screening, partial shade | Very renter-friendly, offers privacy but less dense shade. |
| Vinyl/PVC (Solid Fabric) | 100% UV Block | High rain protection, solid roofs | Can get hot underneath; requires a good slope for water runoff. |
Creative and Small-Space Shade Innovations
If your balcony is tiny or uniquely shaped, standard umbrellas might not work. Here are some clever ideas for tight spots.
1. Privacy Screens with Built-in Shade
Instead of just a shade cloth over the top, consider adding vertical shade elements. You can buy tall, narrow privacy screens made of faux ivy or slatted wood that you place upright along the edges.
These screens block the harsh, low-angle sun that comes in during the early morning or late afternoon, which overhead shade often misses.
2. The Single Pole Market Umbrella
If you only need shade directly over your small bistro table, use a small (5-foot to 7-foot) market umbrella that has a small, heavy round base that fits between two chairs. They don’t offer huge coverage, but they pinpoint shade exactly where you need it for one or two people.
3. Hanging Fabric Drapes or Curtains
This method relies on existing structures, usually a pergola or an overhead fixture installed by the owner. If you have a sturdy rod or wire running along the outer edge of your balcony ceiling, you can hang outdoor-rated fabric curtains.
This offers a wonderful, breezy, resort-like feel. Just ensure the curtains are tied back securely using strong cleats when strong winds are forecast. For instructions on properly anchoring hardware into exterior wood siding or eaves, review guides from reliable sources on secure outdoor mounting techniques.
Safety First: Wind, Weight, and Fasteners
When adding permanent shade, you are essentially adding a sail to the side of your building. Wind catching that sail can generate serious force. Safety should always come before aesthetics.
The Wind Load Consideration
Wind lift is the biggest danger. A simple breeze can vibrate a loose shade fabric, causing anchor points to loosen over time. A strong gust can rip unsecured items right off the balcony.
For Cantilever Umbrellas: Never use an umbrella larger than what the manufacturer recommends for residential use on a balcony. Always ensure the base is weighted according to the manual. If you live in a high-wind area, consider bracing the pole against a solid wall or railing using strong nylon strapping—but only if this doesn’t damage the structure.
Weight Limits and Drilling
If you are drilling into your building, you must ensure the structure can handle the load. A single, properly installed, heavy-duty eye bolt in a supporting wooden beam might hold hundreds of pounds vertically. However, the lateral (sideways and upward) pulling force from wind on a shade sail is much higher.
If you are unsure about the load-bearing capacity of your building materials, stick to non-invasive solutions like umbrella stands or weighted planters.
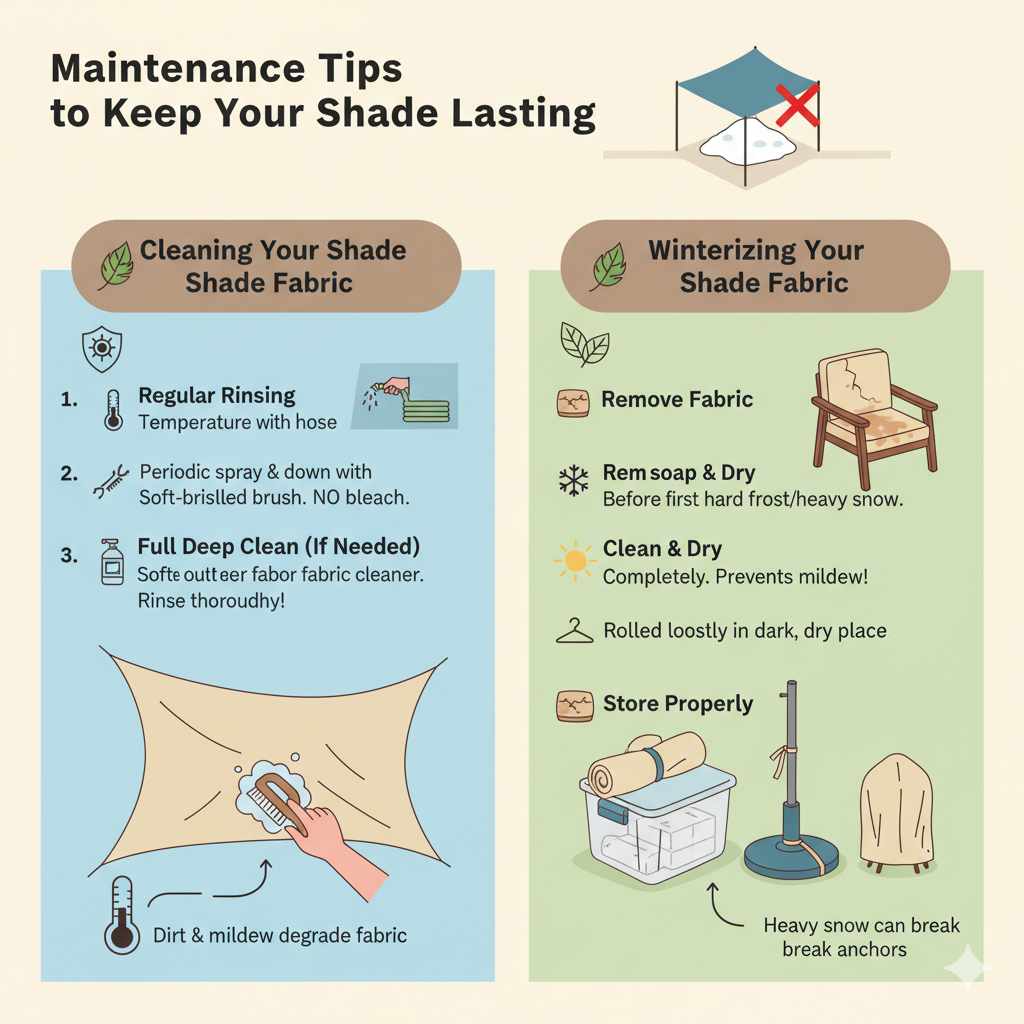
Maintenance Tips to Keep Your Shade Lasting
Even the best shade setup requires a little TLC, especially since it constantly faces sun, rain, and pollution.
Cleaning Your Shade Fabric
Dirt and mildew can degrade the material rapidly.
- Regular Rinsing: Most HDPE mesh sails only need a periodic spray-down with a garden hose to remove surface dust.
- Spot Cleaning: Use a mild solution of water and dish soap (never harsh bleach or abrasive cleaners) for tough spots. Gently scrub with a soft-bristled brush.
- Full Deep Clean (If needed): Remove the fabric entirely, lay it flat on a clean tarp, and use a dedicated outdoor fabric cleaner following the manufacturer’s directions. Always rinse thoroughly.
Winterizing Your Shade
If you live where winters are harsh or snowy, you must take shade down. Leaving fabric stretched tight during a heavy snow adds dangerous weight that can break anchors or sag the material permanently.
- Remove fabric completely before the first hard frost.
- Clean and dry the fabric completely before storing it. Storing wet fabric encourages mildew, which destroys material rapidly.
- Store the fabric rolled loosely in a dark, dry place (like a storage tote).
- If you use heavy bases (umbrellas or planters), secure them so they cannot blow over during winter storms.
Frequently Asked Questions (FAQ) for Balcony Shade
Q1: Can I put a large umbrella on a small balcony?
A: Yes, but carefully. A large, cantilevered umbrella lifts the canopy over the seating area, which is great, but the base still takes up floor space. Measure your seating area plus the required footprint for the umbrella’s heavy base before buying.
Q2: What is the easiest shade solution if I rent my apartment?
A: The easiest and most effective renter-friendly solution is usually a high-quality cantilever umbrella, provided you can safely weight the base. If you have sturdy metal railings, attachable shade screens that clip on are also excellent.
Q3: How much sun does a typical shade sail block?
A: Most quality outdoor shade sails made of HDPE mesh block between 90% and 96% of UV radiation. They cool the area significantly, but keep in mind they block light, not heat entirely—the material itself can absorb some heat.
Q4: Do I need to worry about water pooling on the shade fabric?
A: Absolutely! If you install a sail or cover flat, water will pool, stretching the material and potentially causing it to tear or supporting structure failure. Always use a slope of at least 10 degrees (about 1 foot of drop for every 10 feet of span) for rain runoff.
Q5: Are solar screens better than solid canvas for balconies?
A: Solar screens (mesh) are generally better for airflow, which is crucial on small, hot balconies. Solid canvas blocks more rain but can trap hot air underneath. Choose mesh if cooling is your main goal; choose treated canvas if rain protection is essential.
Q6: How do I prevent my shade sail ropes from fraying?
A: Use UV-resistant rope or marine-grade bungee cords. More importantly, ensure the ropes are running through turnbuckles or hardware correctly, so they aren’t rubbing harshly against sharp metal edges which causes friction and wear.
Bringing It All Together: Enjoying Your Shaded Oasis
Adding shade to your balcony doesn’t require calling in a construction crew or risking your security deposit. Whether you opt for the flexibility of a cantilever umbrella or secure a sturdy, angled shade sail, the goal is simple: create a comfortable, cool outdoor room.
We showed you that how to add shade to balcony involves careful planning of anchor points and choosing material appropriate for your living situation—especially whether you rent or own. Remember to prioritize safety by ensuring all anchors, especially on windy days, can handle the strain. Take your time measuring, use those turnbuckles to get the tension just right, and enjoy the immediate difference. With just a


