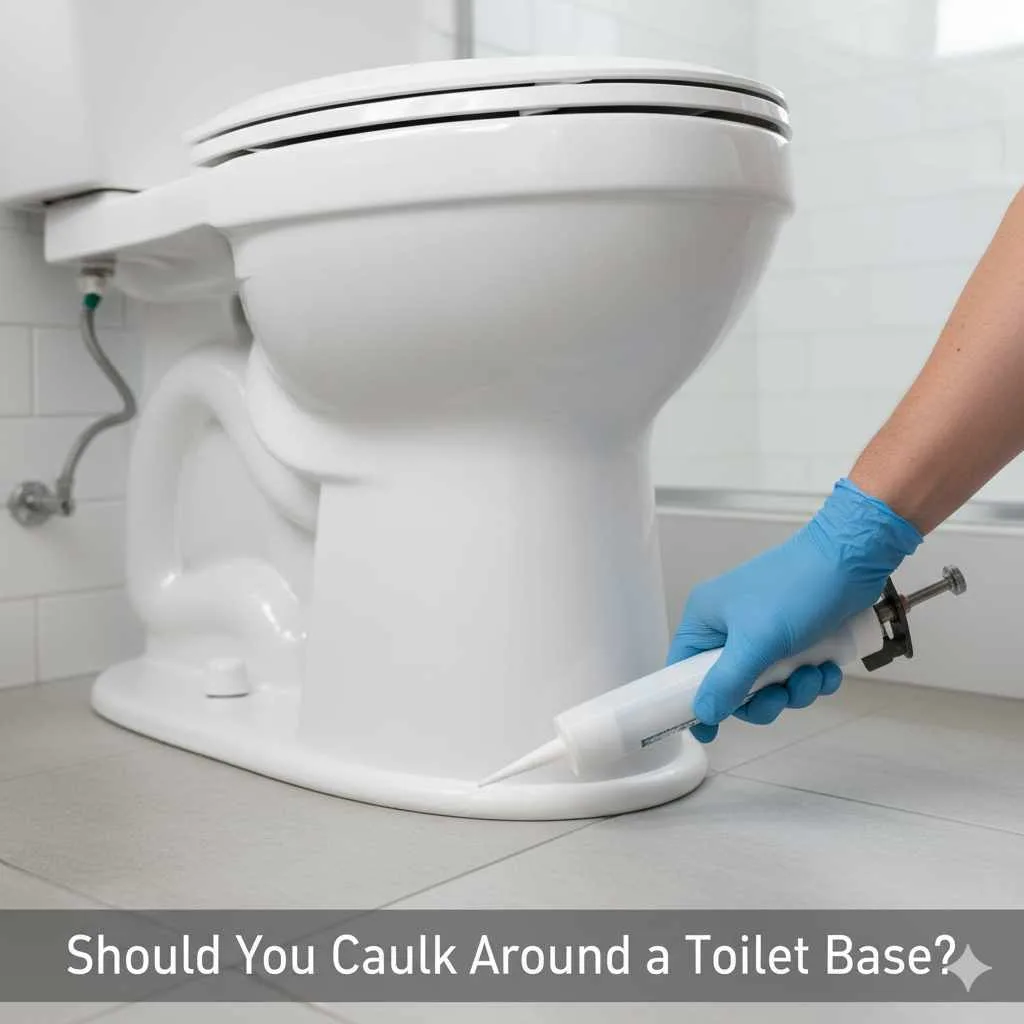
Yes, you absolutely should caulk around a toilet base! It’s a simple DIY step that prevents leaks, hides imperfections, and adds a polished, finished look to your bathroom. This guide will show you exactly why and how to do it with confidence.
Your bathroom can feel like a sanctuary, a place to refresh and unwind. Sometimes, though, little details can disrupt that calm. If you’ve noticed a small gap between your toilet base and the floor, you might wonder what’s the best way to handle it. It’s a common sight, and thankfully, a very easy fix. You don’t need to be a plumbing pro to solve it! This guide is here to make the process clear and simple, giving you the confidence to tackle it yourself and create a cleaner, more beautiful bathroom. We’ll walk through everything you need to know, step by step, so you can achieve that perfect, finished look.
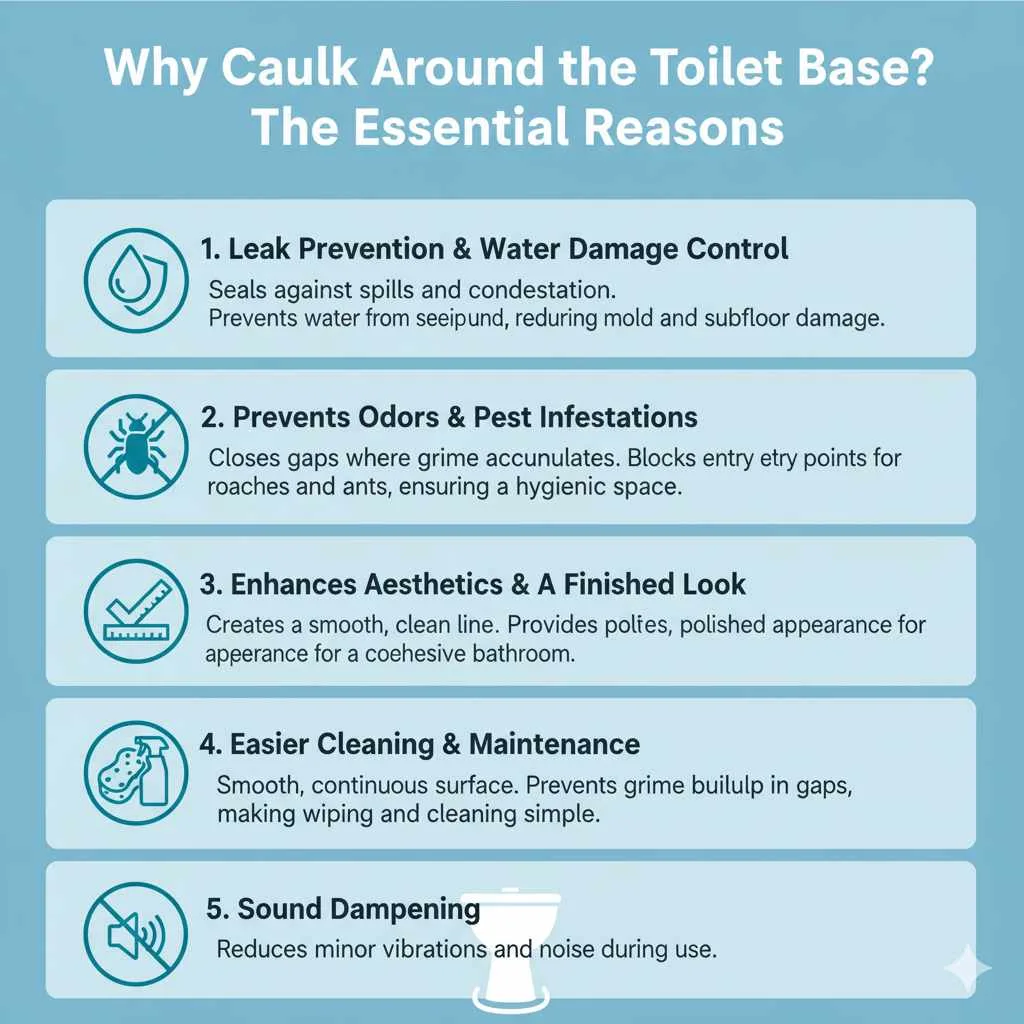
Why Caulk Around the Toilet Base? The Essential Reasons
Many homeowners and renters wonder if adding caulk around the base of their toilet is truly necessary. The answer is a resounding yes! It’s not just about aesthetics; it’s about preventing potential problems and ensuring a cleaner, more hygienic bathroom. Let’s dive into the key benefits:
1. Leak Prevention and Water Damage Control
The primary reason to caulk around your toilet base is to create a seal that prevents water from seeping underneath. Toilets are connected to water supply lines and use water for flushing, and while the wax ring is the main seal between the toilet and the drain, the base-to-floor seal plays a crucial role in managing any minor leaks or condensation that might occur.
Over time, even small, unseen leaks can travel under the toilet. If left unchecked, this moisture can be a breeding ground for mold and mildew, which are not only unsightly but also detrimental to your health and can cause structural damage to your floor and subfloor. Caulk acts as a barrier, directing spills and condensation outward and onto the surface of your floor, where they can be easily seen and wiped up.
For instance, a small leak from a worn wax ring might go unnoticed if the gap around the toilet is sealed. If the base is not caulked, any water can freely escape and spread across the floor, alerting you to the issue. However, the consensus among plumbing experts and building codes often leans towards a specific approach to this. While some experts recommend leaving a small gap for water to escape and indicate a problem, many homeowners prefer the aesthetic and protective benefits of caulking. It’s a balancing act between visual perfection and early leak detection. Understanding the role of the wax ring, which sits between the toilet flange and the toilet bowl, is key here. The wax ring is the primary seal for the drain. Caulk around the base primarily addresses spills and condensation, not the main drain seal. If you suspect a leak from the wax ring, caulking might mask the immediate problem while the underlying issue persists.
2. Preventing Odors and Pest Infestations
The gap between the toilet base and the floor can become a trap for all sorts of unpleasant things. Hair, dust, cleaning solution residue, and even small debris can accumulate in this space, leading to lingering odors. Without caulk, these particles are harder to clean thoroughly, and they can contribute to a less-than-fresh bathroom smell.
Furthermore, these hidden crevices can attract pests like roaches and ants. They find shelter and a potential food source in the accumulated grime. A sealed gap makes it much harder for these unwanted visitors to find their way in and establish a home. By closing off these entry points with caulk, you create a less inviting environment for both odors and pests, contributing to a more hygienic and pleasant bathroom space.
3. Enhancing Aesthetics and a Finished Look
Let’s be honest, a small, uneven gap between your toilet and the floor isn’t exactly a design statement. It can make even a beautifully renovated bathroom look unfinished. Caulk bridges this gap, creating a smooth, clean line that seamlessly connects the toilet to the floor.
This simple addition provides a professional and polished appearance, giving your bathroom a more cohesive and elegant feel. It’s one of those subtle touches that elevate the overall look of your space. Think of it like framing a picture – the frame completes the artwork. Similarly, caulk completes the installation of your toilet, making it look neat, tidy, and intentionally designed.
4. Easier Cleaning and Maintenance
Cleaning the area around the base of a toilet can be a chore. If there’s a gap, water and cleaning solutions can get trapped, making it difficult to wipe away grime effectively. This can lead to buildup and potential staining over time.
When the base is caulked, you create a smooth, continuous surface. This makes wiping down the floor around the toilet much simpler. Spills and cleaning water are directed away from the gap, preventing them from pooling or getting stuck where they can’t be easily reached. This not only saves you time but also ensures a more thorough clean, contributing to a healthier bathroom environment.
5. Sound Dampening
While not the primary reason, caulking can offer a minor benefit in dampening sound. The slight vibration or noise that might occur during toilet use could be subtly reduced with the added seal around the base.
Understanding the Different Types of Caulk for Your Bathroom
Choosing the right caulk is important for a successful project, especially in a moisture-prone area like the bathroom. Not all caulks are created equal! Here’s a breakdown of the best options and what to look for:
Silicone Caulk
Pros: Excellent water resistance, flexible, durable, and adheres well to various surfaces like porcelain, tile, and fiberglass. It’s often the go-to for wet areas because of its superior ability to withstand moisture and prevent mold/mildew growth.
Cons: Can be trickier to work with for beginners because it’s very sticky and difficult to clean up once it dries. It also doesn’t paint over well, so you need to choose a color that matches your project or be prepared for the caulk line to be visible.
Best for: Areas with constant high moisture, like shower seams, bathtub edges, and sometimes toilet bases if you prioritize maximum waterproofing.
Acrylic Latex Caulk (with or without Silicone)
Pros: Much easier to apply and clean up with water. It’s flexible and paints over beautifully, making it ideal for color matching. Many formulas now include mildewcides, making them suitable for bathrooms.
Cons: Not as waterproof or flexible as pure silicone. May require reapplication more frequently in very wet environments compared to silicone.
Best for: General household sealing projects, including trim, windows, doors, and frequently, toilet bases where ease of use and paintability are desired.
“Kitchen & Bath” or “Mildew-Resistant” Caulk
These are usually acrylic latex or silicone caulks specially formulated for bathrooms. They contain additives to inhibit the growth of mold and mildew, which is essential in a humid bathroom environment.
Recommendation for Toilet Base: For most DIYers, a high-quality “Kitchen & Bath” acrylic latex caulk with mildew resistance is the ideal choice. It offers a good balance of water resistance, ease of use, and the ability to paint if needed, while still providing the necessary protection against mold in a bathroom setting. If you want the absolute best water barrier and don’t mind a bit more challenge in application and cleanup, pure silicone is also a great option, especially in 100% silicone formulas.
Tools and Materials You’ll Need
Gathering your supplies before you start makes the process smooth and enjoyable. Here’s what you’ll need to caulk around your toilet base like a pro:
Essential Tools:
- Caulk Gun: Look for one with a smooth-rod trigger for easier application. A dripless model is a plus!
- Caulk Tube: Choose the type of caulk recommended for your project (e.g., “Kitchen & Bath” acrylic latex or silicone).
- Utility Knife or Caulk Removal Tool: For cutting the caulk tube nozzle and removing old caulk.
- Putty Knife or Scraper: To scrape away any old caulk or debris.
- Damp Cloths or Sponges: Essential for smoothing and cleaning up excess caulk.
- Paper Towels: For drying and final touch-ups.
- Rubbing Alcohol (Isopropyl Alcohol): For cleaning the area to ensure good adhesion.
- Painter’s Tape (Optional but Recommended): For creating a perfectly straight caulk line.
- Gloves: To protect your hands.
- Bucket of Water: For rinsing cloths and tools.
Optional but Helpful:
- Caulking Tool Kit: These often include various shaped tools for smoothing caulk to a perfect finish.
- Small Brush: For cleaning grout lines before caulking.
- Drop Cloth: To protect your floor from any drips.
Step-by-Step Guide to Caulking Your Toilet Base
Ready to get started? Follow these simple steps, and you’ll have a perfectly caulked toilet base in no time. Remember, patience is key, and a little practice goes a long way!
Step 1: Prepare the Area – Cleanliness is Key!
This is perhaps the most crucial step for ensuring your caulk adheres properly and lasts. A clean surface is a happy surface for caulk!
Remove Old Caulk (If Necessary): If there’s already caulk around the base, you’ll need to remove it. Use a utility knife or a dedicated caulk removal tool to carefully slice and peel away the old material. A putty knife or scraper can help tackle stubborn bits. Ensure you get as much of the old caulk off as possible; new caulk won’t stick well to old caulk.
Clean Thoroughly: Once old caulk is gone (or if you’re starting fresh), it’s time for a deep clean. Use a bathroom cleaner to scrub away any soap scum, grime, or mildew from the toilet base and the surrounding floor. Pay special attention to the gap itself. Rinse the area well with plain water and let it dry completely. For best results, wipe the ceramic base of the toilet and the floor edge where the caulk will go with rubbing alcohol. This removes any remaining residues that could interfere with adhesion. Ensure everything is bone dry before proceeding.
Step 2: Prepare the Caulk Tube
Cut the Nozzle: Take your caulk tube and your utility knife. Most caulk tubes have a “trigger” mechanism inside; you’ll want to cut the plastic tip just before this trigger. This ensures the caulk will flow when you gun it. For a bead of caulk around the toilet base, you typically want a small opening. Start by cutting at a 45-degree angle to create a narrow opening. You can always cut it a bit wider if needed, but you can’t make it smaller!
Puncture the Inner Seal: Most caulk guns have a long metal rod that can be used to puncture the inner seal of the caulk tube. Insert this rod into the nozzle opening and push to break the seal. Some tubes have a pull-tab seal you can remove.
Step 3: Load the Caulk Gun
Pull back the caulk gun’s plunger rod. Insert the caulk tube into the gun, making sure it’s seated firmly. Release the plunger rod by pressing the small lever at the back of the gun. Some caulk guns have a “dripless” feature, which means you just need to release pressure with a slight squeeze of the rear lever when you stop.
Step 4: Apply the Caulk (The “Bead”)
This is where patience really pays off. Aim for a consistent, smooth bead of caulk.
Test First: It’s a good idea to practice applying a bead on a piece of scrap cardboard or newspaper first. This helps you get a feel for the pressure needed on the trigger and the speed of movement.
Start Applying: Position the tip of the caulk nozzle at a 45-degree angle to the gap where the toilet meets the floor. In one steady motion, apply consistent pressure to the caulk gun’s trigger and move the gun slowly and steadily around the base of the toilet. Try to apply the caulk in a continuous bead, avoiding starts and stops as much as possible.
Tips for a Smooth Bead:
- Move the gun at a consistent speed.
- Maintain consistent trigger pressure.
- Keep the nozzle at the same angle.
- Don’t worry too much about perfection on your first try; the next step fixes most issues!
Step 5: Smooth the Caulk Bead
This step is what transforms a messy application into a clean, polished finish. Work in small sections, as caulk begins to skin over relatively quickly.
Using Your Finger: Dip your finger in water (for latex caulk) or a soapy water solution (for silicone caulk, though some prefer plain water). Lightly run your moistened finger along the bead of caulk. This pushes the caulk into the gap and smooths the surface. Wipe off the excess caulk from your finger onto a damp cloth or paper towel after each pass.
Using a Caulking Tool: If you have a caulking tool kit, choose a tool with a profile that matches the desired bead shape. Lightly dampen the tool and drag it along the caulk line to create a perfectly uniform bead. Again, excess caulk should be removed with a damp cloth.
Using Painter’s Tape (Optional): For an extra-neat finish, apply painter’s tape to the floor and the toilet base, leaving a clean gap for the caulk. Apply caulk, smooth it, and then carefully peel off the tape immediately while the caulk is still wet. This leaves a super-straight line.
Step 6: Clean Up
It’s important to clean up any excess caulk before it dries. For latex caulk, use a damp cloth and water. For silicone caulk, mineral spirits or a specialized silicone caulk remover might be necessary, though often a damp cloth while it’s very fresh can work. Ensure all tools used are cleaned thoroughly.
Dispose of any waste properly.
Step 7: Allow to Cure
Let the caulk cure according to the manufacturer’s instructions. This usually takes at least 24 hours, but can be longer for some silicone types or in humid conditions. During this time, avoid using the toilet if possible, and keep the bathroom well-ventilated. A properly cured caulk will be firm to the touch and no longer tacky.
Table: Caulk Types at a Glance
Here’s a quick comparison to help you decide which caulk is best for your toilet base project:
| Caulk Type | Water Resistance | Ease of Use | Paintable | Flexibility | Typical Application |
|---|---|---|---|---|---|
| Pure Silicone | Excellent | Difficult | No | Excellent | High moisture areas, showers, tubs |
| Acrylic Latex | Good | Easy | Yes | Good | General purpose, trim, windows, doors |
| “Kitchen & Bath” Formula (Latex/Silicone Blend) | Very Good | Easy to Moderate | Yes (depending on blend) | Very Good | Bathrooms, kitchens, high humidity areas |
When NOT to Caulk Around the Toilet Base
While caulking is generally recommended, there are a few specific situations where it might be better to leave a gap or consult a professional:
1. Evidence of a Leaking Wax Ring
If you notice water pooling around the base of the toilet after flushing, or if you detect a sewage smell, this is a strong indicator that the wax ring seal between the toilet and the drain pipe is failing. Caulking over this issue will not fix the problem and could actually hide the leak, potentially leading to more significant water damage under the floor. In this case, the toilet needs to be removed and the wax ring replaced. For guidance on this, you might consult resources like EPA‘s water efficiency tips, which indirectly touch upon proper toilet maintenance for water conservation and preventing waste due to leaks.
2. Structural Floor Issues
If your floor around the toilet feels soft, spongy, or uneven, there might be underlying rot or damage. Caulking the base will only cover up this problem. It’s crucial to address any structural issues with the floor before sealing the toilet. This would require professional assessment and repair.
3. Specific Building Codes or Manufacturer Recommendations
While less common for residential settings, always be aware of any specific guidelines provided by your home builder or toilet manufacturer. Some might have particular recommendations for sealing that differ from general practice. For general plumbing and building standards, you can refer to resources like the International Code Council (ICC), though their detailed codes are often complex and more relevant to professional contractors.

Frequently Asked Questions (FAQ)
Q1: How much caulk do I need for one toilet base?
A standard 10.3 oz caulk tube is more than enough for one toilet base. You’ll likely have plenty left over for other small projects!
Q2: What color caulk should I use?
White is a popular choice as it matches most toilet bases and grout. However, you can also find clear caulk, or caulk in colors like almond or gray. Consider the overall color scheme of your bathroom.
Q3: How long does caulk last around a toilet base?
With proper application and if using a good quality, mildew-resistant caulk, it can last anywhere from 5 to 10 years or even longer. Inspect it periodically for signs of cracking, peeling, or mildew growth, and reapply if needed.
Q4: Can I caulk over existing caulk?
It’s strongly advised against caulking over old caulk. New caulk won’t adhere well to the old material, leading to premature failure and a messy appearance. Always remove old caulk completely first.
Q5: How do I get a really smooth caulk line?
Practice makes perfect! Use painter’s tape for a guided line, apply a consistent bead, and then use a damp finger or a specialized caulking tool dipped in water to smooth it. Wipe off excess caulk frequently.
Q6: What if I make a mistake while caulking?
Don’t worry! If the caulk is still wet, you can easily wipe it away with a damp cloth (for latex) or appropriate solvent (for silicone) and start again. If it has started to skin over, you can use your caulk removal tool to scrape it off and reapply.
Conclusion
And there you have it! Caulking around your toilet base might seem like a small detail, but as we’ve seen, it’s a powerful step in protecting your bathroom, keeping it clean, and giving it that finished, polished look you’ll love. By following these simple steps, you’ve equipped yourself with the knowledge and confidence to tackle this DIY project with ease.
Remember, a little attention to detail can make a big difference in the overall comfort and appearance of your home. You’ve taken a step towards a more beautiful and well-maintained bathroom. Enjoy the smooth, clean lines and the peace of mind that comes with a job well done!