How to Strap Down Outdoor Furniture Cushions
Many outdoor furniture cushions use 2-point straps or quick-release ties. For windy areas, choose UV-resistant 1-inch webbing; non-slip grippers are commonly used only for light breezes or low-traffic seating. If you secure cushions poorly, they blow off, shift into wet spots, and wear out faster from rubbing and sun exposure. This guide covers strap types, anchor points, fitting steps, and the best setup for cushions you remove often.
What you’ll need


- UV- and weather-resistant webbing or replacement strap kit
- Buckles, cam buckles, or quick-release hardware
- Needle, heavy polyester thread, and seam ripper for retrofit work
- Measuring tape
- Fabric chalk or removable marker
- Scissors or webbing cutter
- Hook-and-loop tape for low-wind add-on use
- Non-slip cushion backing or grip pads
- Optional anchor point hardware for frames, slats, or legs
Match the fastening method to the furniture shape and the wind load. A 22 x 24 x 6 inch deep-seat cushion on a windy deck generally needs more restraint than an 18 inch chair pad on a sheltered porch. Use straps as the main anchor, then add grip or ties only when the setup is low risk.
- Measure the cushion and frame. Check width, depth, and thickness, then note where the straps can pass around legs, slats, or a rail. Common sizes include 24 x 24 x 6 inch seat cushions and 60 x 18 x 3.5 inch bench cushions, which need different strap paths.
- Pick the anchor points. Use two fixed points per cushion when possible, spaced so the cushion cannot twist. Frames, legs, slats, and dedicated anchors all work if they sit low enough to keep the strap from sliding off.
- Set the strap tension. Tighten until the cushion no longer shifts when pushed sideways, but do not crush the fill. A cam buckle or ratchet-style tensioning system gives firmer hold than a loose knot, which matters on exposed patios.
- Check the release path. If you remove cushions daily, choose quick-release hardware and leave enough free strap length to unclip without pulling stitching. For daily use, fast removal matters more than maximum tension.
- Test the wind side first. Face the strap toward the prevailing wind side of the patio. A balcony or rooftop usually needs more secure attachment than a sheltered deck because lift can build under the cushion edge.
- Recheck after the first gust. Push the cushion at the corners and along the front edge. If it shifts, add about 2 inches of tension at a time and recheck instead of over-tightening in one pull.
Suppose a 24 x 24 x 6 inch seat cushion sits on a metal chair with a slick finish. A strap alone may stop lift, but a silicone-dot backing under the seat helps keep the cushion from skating when someone sits down and stands up. The strap still does the real holding.
Cushion retention table
| Wind exposure | Cushion style | Recommended strap or tie type | Installation difficulty | Likely failure mode |
|---|---|---|---|---|
| Light breeze, sheltered patio | Chair cushion, 18 inch square or similar | Hook-and-loop add-on at corners or underside tabs | Low | Peeling, edge lift, or dirt reducing grip |
| Moderate wind, partial exposure | Dining chair or deep-seat cushion | 2-point sewn ties or retrofit tie loops | Medium | Slip-through at knots or seam tear-out |
| Gusty, exposed deck | Deep-seat cushion, 22 x 24 x 6 inch | UV-resistant 1-inch webbing with buckle tensioning | Medium to high | Webbing stretch, buckle slippage, or frame wear |
| Balcony or rooftop | Bench cushion, 60 x 18 x 3.5 inch | Two strap runs plus backup ties at corners | High | Lift at the long edge, twist, or anchor pullout |
| Low wind, frequent removal | Back cushion or light lounge pad | Quick-release ties with non-slip backing | Low | Slippage during sitting, not wind lift |
Which strap method fits your patio?
Choose the simplest method that still matches the wind exposure. Low-wind, removable setups can use hook-and-loop as an add-on, but exposed decks, balconies, and rooftops need a real strap anchor. Deep-seat sofas, benches, and loungers usually need longer webbing and at least two secure paths.
Low-wind, removable setups
For a screened porch or a sheltered chair set, use hook-and-loop fasteners on cushion corners or underside tabs. This works best when the cushion already fits the seat closely and you remove it often for cleaning. It is an add-on, not the main anchor in gusty weather.
Exposed decks, balconies, and rooftops
On exposed areas, use adjustable-length webbing with buckles or cam-style tensioning. Attach it to the frame, a leg, or a slat so the strap cannot slide free. Adhesive-backed fixings are a weak choice here because heat, moisture, and UV exposure can break the bond.
Deep-seat sofas, benches, and loungers
Long cushions collect more wind under the front edge, so one tie is rarely enough. A 60 x 18 x 3.5 inch bench cushion or a lounger pad usually needs two strap runs, one near each end, to stop twisting. Add backup corner ties if the seat has a broad, flat surface.
How do you add straps to cushions?
Add straps at the stress points, not at the soft center of the cushion. Sewn-in ties work best when you can open the cover, while retrofit loops suit cushions that were not built with ties. Reinforce the seam or the hardware can rip out under repeated pull.
Sewn-in tie points
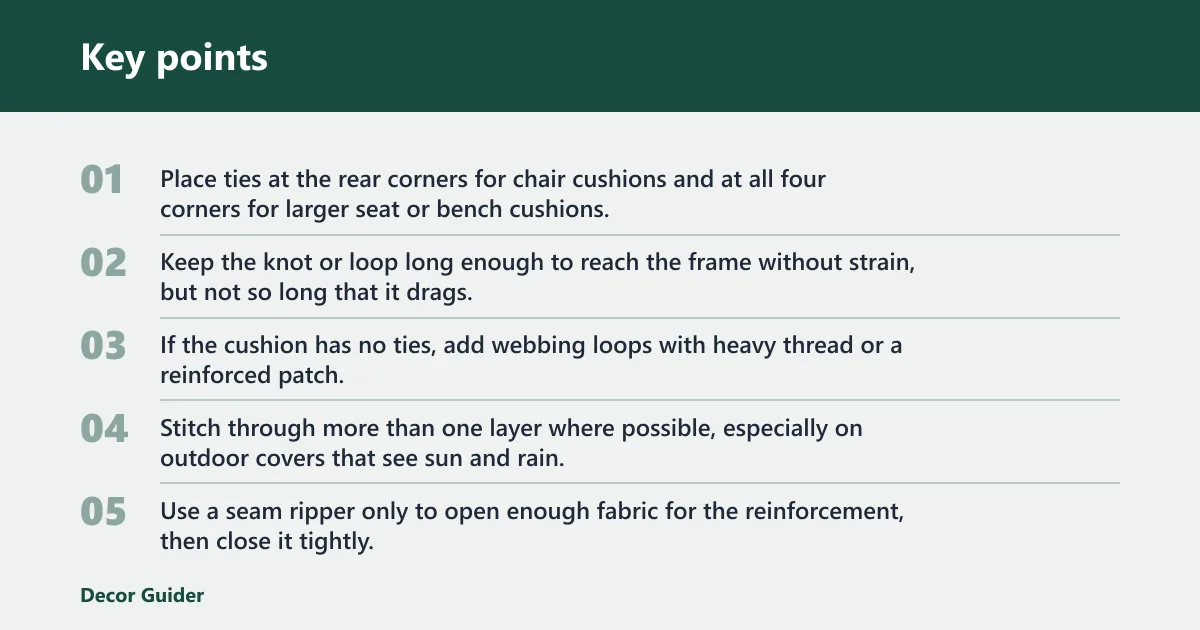
Place ties at the rear corners for chair cushions and at all four corners for larger seat or bench cushions. Keep the knot or loop long enough to reach the frame without strain, but not so long that it drags. Short knots reduce snagging and seam pull.
Retrofit tie loops
If the cushion has no ties, add webbing loops with heavy thread or a reinforced patch. Stitch through more than one layer where possible, especially on outdoor covers that see sun and rain. Use a seam ripper only to open enough fabric for the reinforcement, then close it tightly.
Corner placement and seam reinforcement
Put the loop where the cushion edge bends most during use. That usually means the back corners on a dining chair and the outer corners on a bench pad. Outdoor seams need reinforcement because wind load often starts as a small tug and then becomes repeated tear stress.
A common first-timer mistake is putting one long tie in the center of a cushion and expecting it to hold in wind. Center ties can let the corners lift and flip. Two corner ties or a two-point strap layout does a better job because it controls rotation as well as lift.
How to secure outdoor furniture cushions from wind
Use the strongest anchor your furniture allows, then add friction only as backup. Wind security depends on exposure, not just cushion size. A sheltered porch can manage with ties or grip backing, but a rooftop or open balcony needs a strap that connects to the frame, legs, slats, or an anchor point.
- Face the windward edge. Position the cushion so the tightest anchor sits on the side that takes the prevailing wind. This lowers the chance of edge lift under the front seam.
- Use two-point restraint. Run straps or ties at two points instead of one. Two anchors resist twist, which is often the first movement before a cushion slides off.
- Add grip under the seat. Place non-slip backing on wicker, metal, or wood seats where the cushion contacts the frame. That reduces sliding during normal sitting, but it does not stop strong gusts.
- Increase tension gradually. Tighten by 2 inches per adjustment, then recheck each corner. This keeps the fabric from overstretching and reduces seam stress.
Common mistakes
Most failures come from using the wrong fastening for the wind load. Hook-and-loop alone is weak in gusty weather. Adhesive-backed tabs can loosen in heat or moisture. Non-slip backing helps with movement during sitting, but it will not hold a cushion on an exposed rooftop.
- Using one center tie on a deep cushion
- Skipping seam reinforcement on retrofit loops
- Choosing cotton-like ties that absorb water and weaken
- Fastening to a slippery rail instead of a fixed frame or leg
- Leaving wet cushions strapped down so moisture stays trapped
Say your bench cushion is 60 x 18 x 3.5 inches and sits on a slatted wood frame. If the front edge still rises after tying, the problem is usually the anchor path, not the fill. Move the strap to the lower slat and keep the run short so it cannot slide upward.
How do you keep cushions dry and clean?
Drainage matters as much as retention. Water-resistant, waterproof, splash-proof, and UV-resistant materials all help, but trapped moisture causes mildew. Remove the cushion after rain when possible, let it drain flat, and store it dry. Some covers are removable for washing, which makes upkeep easier.
Drainage after rain
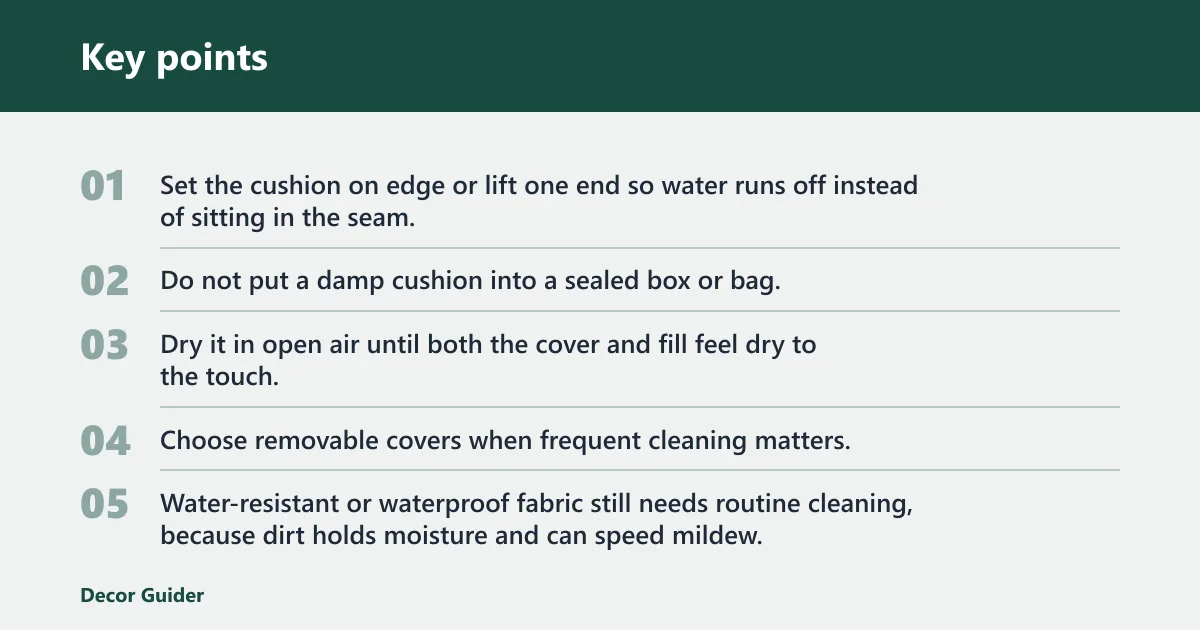
Set the cushion on edge or lift one end so water runs off instead of sitting in the seam. If the cushion is marketed as waterproof for heavy downpours, it still needs drainage because water can collect at the stitching and underneath the cover.
Drying before storage
Do not put a damp cushion into a sealed box or bag. Dry it in open air until both the cover and fill feel dry to the touch. That matters most for dense seat and bench cushions, where trapped moisture takes longer to leave the center.
Removable covers and washability
Choose removable covers when frequent cleaning matters. Acrylic covers with a resin fibre sandwich fill are common in outdoor cushions, and some designs are removable for washing. Water-resistant or waterproof fabric still needs routine cleaning, because dirt holds moisture and can speed mildew.
For storage, keep cushions in a dry, ventilated container when they are not in use. A waterproof storage bin helps during long wet spells, but the cushion should go in only after it is fully dry.
Products related to this article
Sponsored / affiliate links. As an Amazon Associate I earn from qualifying purchases. I may earn additional commission from eligible campaigns.