
To successfully put your TV on a stand, you must first unpack everything safely, check the VESA mounting pattern against your TV stand’s hardware, assemble the stand base (if necessary), and then secure the TV bracket to the back of the television using the correct screws—all while having a helper and a soft surface ready.
Setting up a brand-new television or moving an old one onto a new piece of furniture can feel daunting. You look at the huge, flat screen, the little screws, and the confusing instruction manual, and suddenly, you wish a professional was on call. Don’t worry! Putting your TV securely on its dedicated stand is a straightforward job that anyone can handle. We will break down this setup into easy, safe steps. You do not need special tools or advanced skills. Follow along, and you will have your big screen stable and ready for movie night very quickly. Let’s start by gathering what you need for a secure setup.
Tools and Preparation: Setting the Stage for Success
Before we even think about lifting the TV, preparation is key. Think of this like preparing your car for an oil change—getting the right tools and clearing the area makes everything smoother and safer. Rushing this part is how people scratch their screens or strip screws.
What You Will Need
Most TV stand kits come with the necessary hardware, but it’s smart to have these basics on hand. This list helps ensure you aren’t halfway through the process searching for a screwdriver.
- Phillips Head Screwdriver (Medium Size): This is the workhorse for almost all TV mounting. Make sure the tip is sharp and fits snugly into the screw heads provided with the stand.
- The Included Hardware Kit: This usually contains the bracket arms, screws (M4, M6, or M8), washers, and sometimes spacers. Keep all pieces separate and organized.
- Soft Surface Protection: This is non-negotiable! Use the original TV box’s foam or a thick, clean blanket laid out on a large, flat surface (like a dining table or the floor).
- A Helper: Modern TVs are thin, but they are large and awkward. For any TV over 40 inches, always get another person to help lift and hold the screen steady. Safety first!
- Measuring Tape: Useful for confirming VESA standards and setting the final height.

Understanding VESA: The Connection Standard
This might sound technical, but VESA is just the standard pattern of four screw holes on the back of your TV. It ensures that aftermarket mounts and stands fit correctly. If you are using the stand that came with your TV, it should match perfectly. If you bought a universal stand, you must check this.
VESA measurements are listed as Width x Height in millimeters (mm). For example, a 400×200 VESA pattern means there are 400mm between the left/right holes and 200mm between the top/bottom holes.
Quick Check: Look on the back of your TV or check the TV’s manual for the VESA size. Compare this to the specifications provided with your new stand or mount. This step prevents you from trying to force screws into the wrong holes.
Step 1: Unpacking and Identifying Components
Take your time here. Electronics are delicate, and the protective packaging is designed to prevent damage during shipping. We want to maintain that protection as long as possible.
- Clear Your Workspace: Move all unnecessary furniture out of the way. You need plenty of room to lay the TV face-down safely.
- Unbox Carefully: Open the TV box. If it came in a box with foam inserts, the easiest way to remove the TV is often to cut the securing straps and then carefully lift the box up and off the TV while it is still resting on the protective base or foam.
- Lay the TV Down: With your helper, gently lay the TV screen-side down onto your pre-prepared soft surface. Place it near the edge of the table or floor so you can comfortably work around the back of the TV.
- Identify Stand Parts: Empty the stand hardware bag. You should have:
- The Base Plate (The wide part that sits on the furniture).
- The Mounting Columns/Brackets (These attach directly to the TV).
- Screws, Washers, and Spacers.
Step 2: Assembling the TV Mounting Bracket
This is the section that connects the TV to the stand, whether it’s a central column or two side arms. Always refer to the specific diagram in your stand’s instruction manual, as every brand (like Sanus or Rocketfish) has slightly different hardware.
Attaching the Vertical Arms
Most modern flat-screen TVs require two vertical arms or brackets to be screwed onto the back panel.
- Find the VESA Holes: Locate the four threaded holes on the back of your TV.
- Select the Right Screws: This is crucial. TVs use different thread sizes (M4, M6, M8). Your stand kit will provide several options. If you use a screw that is too long, you risk damaging internal components. If you use one that is too short, the mount will be loose.
- Test the Fit: Take one of the provided screws and gently insert it into the hole. It should thread smoothly. If it feels forced or doesn’t catch after a few turns, try the next size up or down.
- Using Spacers: Some curved TVs or TVs with input ports situated behind the mounting area require plastic or metal spacers. These ensure the bracket sits flush without blocking ports. If the screw doesn’t sit flush, try a spacer.
- Secure the Arms: Align one vertical arm with two of the VESA holes. Have your helper hold the arm steady. Use your screwdriver to insert and gently tighten the screws. Do not over-tighten! They should be snug—firm enough that they don’t wiggle, but not so tight that you risk cracking the plastic casing. Repeat for the second arm.
Pro Tip: Once the arms are attached, test them gently by wiggling them. They should feel rock-solid relative to the TV back. If they move, tighten the corresponding screw just a quarter turn more.
Step 3: Constructing the Stand Base
While some very small TVs have a single simple peg stand, most larger sets use a two-part base: a metal spine or column and a wide footprint plate.
Follow the stand manufacturer’s instructions precisely here. This part usually involves:
- Attaching the main support column (if applicable) to the large base plate using larger bolts.
- Ensuring any protective plastic caps or rubber feet are placed on the bottom of the base to prevent scratching your furniture.
This base needs to be sturdy. If the base feels wobbly on your workbench, it will definitely wobble once it has a heavy TV on it. Double-check all bolts connecting the base pieces.
| Hardware Item | Typical Purpose | Key Consideration |
|---|---|---|
| Small, Flat Head Screws (M4/M6) | Attaching brackets to the TV back panel. | Match the thread size exactly (check manual). |
| Washers | Distributing the pressure of the screw head. | Use them unless instructed otherwise. |
| Spacers (Plastic/Metal) | Creating gap for ports or curved backs. | Essential for flush mounting on certain models. |
| Large Bolts | Assembling the base plate and support column. | Tighten these securely, as they bear all the weight. |
Step 4: Connecting the TV to the Assembled Stand
This is the moment where you need your helper the most. You are now connecting the two main assemblies: the bracketed TV and the stand base.
- Position the Stand: Place the assembled stand base near the TV. Ensure it is oriented correctly (the viewing side of the base should face forward).
- Prepare for the Lift: Both you and your helper should approach the TV from the sides. Grab the TV gently by the frame or the protective packaging foam if it’s still partially around it. Lift evenly.
- Flip and Align: Carefully flip the TV upright. Place it so the mounting brackets (attached in Step 2) hover directly over the corresponding connection points on the stand column/spine.
- Engage the Connection: Gently lower the TV onto the stand connection points. Most stands have hooks, slots, or screw holes that align perfectly with the bracket arms you attached earlier.
- Secure the Final Fasteners: Once the arms are seated, you will use the final set of screws or locking clips provided by the stand manufacturer to lock the arms onto the stand column. This often involves inserting screws from the side or bottom of the column into the arms. Tighten these securely, but avoid straining the TV casing.
Important Note on Lifting: Never apply pressure directly to the glass or panel of the screen itself. Always lift and hold the TV by its sturdy metal or plastic frame edges.
Step 5: Final Placement and Safety Checks
The TV is now attached to the stand. Before you plug everything in and start streaming, we need to ensure stability, especially if you have curious kids or pets around.
Positioning the TV
With your helper, carefully lift the entire assembly and place it on your intended piece of furniture (the TV console or media stand).
Height Check: The center of the screen should ideally be at eye level when you are seated. If the stand places the TV too high or too low, you might need to adjust the bracket height on the stand column (if your model allows) or consider using a lower console. You can find more information about optimal viewing angles from ergonomic studies, such as those found through university resources focusing on display ergonomics.
Securing Against Tipping (Anti-Tipping Straps)
This is the most critical safety step, often overlooked. A falling TV can cause severe injury or death, especially to small children who might pull on cables or try to climb the stand.
Most reputable stand manufacturers include anti-tipping straps (tethers) designed to anchor the TV frame to the back of the furniture or directly into a wall stud. Even if you think your TV is heavy enough not to tip, using these straps is essential for responsible ownership.
How to Install Anti-Tipping Straps
- Identify the anchor points on the back of the TV’s mounting bracket.
- Attach one end of the strap securely to the bracket using the short provided screw.
- Move the TV console against the wall where you want it.
- Hold the loose end of the strap taut against the wall, marking the spot where it hits the wall stud (use a stud finder for accuracy).
- Drill a pilot hole into the stud, and then secure the strap to the wall using the long wall anchor screw.
This connection creates a triangle of safety, keeping the TV stable even if significant force is applied to the top corners.
Troubleshooting Common Stand Setup Issues
Even when following directions, small hiccups happen. Here is how to troubleshoot the most common issues when you try to put a TV on a stand.
Issue 1: The Screws Don’t Fit the Back of the TV
The Fix: This is almost always a VESA mismatch or using the wrong screw size. Stop trying to force it. Re-check your TV manual for the precise VESA size (e.g., 300×300). Then, look at your hardware kit and match the screw diameter (M4, M6, etc.) and length. If none of the provided screws seem right, you may need to purchase a specific VESA hardware pack tailored for your TV brand.
Issue 2: The TV Tilts Forward or Backward on the Stand
The Fix: This means the connection points between the vertical arms and the stand column are not fully locked. Go back to Step 4. Look for locking levers, thumb screws, or small set screws on the column itself where the arms slide in. Tighten these down hard. If the tilt is still off, check if you used necessary spacers when attaching the arms to the TV back in Step 2. A missing spacer on one side will cause an imbalance.
Issue 3: The Stand Base is Wobbly
The Fix: This usually happens during Step 3 assembly. Lay the TV/stand combo back down carefully. Check every large bolt connecting the base plate to the support column. Often, one bolt is slightly loose. Tighten them all firmly in a crisscross pattern (like tightening lug nuts on a car tire) to ensure even pressure.
Issue 4: Wires Won’t Reach the Ports After Mounting
The Fix: This is common with TV stands that place the screen very low. If you have a stand that allows height adjustment, raise the TV slightly. If the height is fixed, consider using angled HDMI adapters or shorter, high-quality cables to manage the bulk behind the screen. Cable management is easier before the final placement against the wall.
Making the Most of Your New Setup: Cable Management
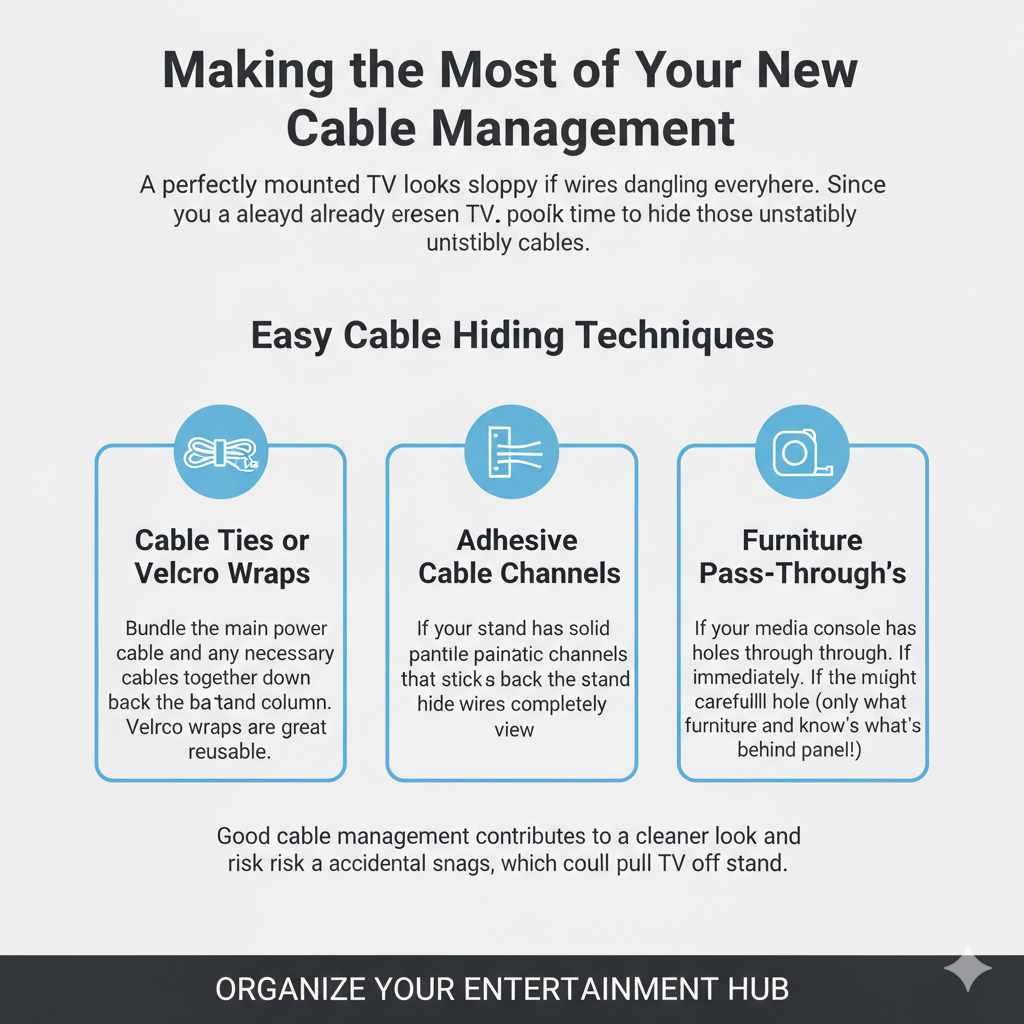
A perfectly mounted TV looks sloppy if wires are dangling everywhere. Since you have already secured the TV, now is the perfect time to hide those unsightly cables.
Easy Cable Hiding Techniques
- Use Cable Ties or Velcro Wraps: Bundle the main power cable and any necessary HDMI/Optical cables together neatly down the back of the stand column. Velcro wraps are great because they are reusable.
- Adhesive Cable Channels: If the stand has a solid back panel, you can buy paintable plastic channels that stick to the back of the stand and hide the wires completely from view.
- Furniture Pass-Throughs: If your media console has holes for wires, feed them through immediately. If it doesn’t, you might need to carefully drill a hole (only if you own the furniture and know what’s behind the panel!).
Good cable management contributes to a cleaner look and reduces the risk of accidental snags, which could pull the TV off the stand.
FAQ: Beginner Questions About TV Stand Installation
Q1: Do I have to use the screws that came with the stand?
A: Yes, usually. The stand manufacturer provides screws specifically sized for their mounting brackets and designed not to damage your specific VESA pattern holes. Always use their hardware for attaching the brackets to the TV.
Q2: How tight should the screws attaching the bracket to the TV be?
A: They should be snug—tight enough that the bracket doesn’t wiggle, but stop before you feel heavy resistance. Over-tightening can crack the plastic housing or strip the internal threads, which is a serious problem.
Q3: Can I put a TV that is larger than the stand is rated for?
A: No, this is unsafe. TV stands are rated for maximum weight and sometimes maximum diagonal screen size. Exceeding the weight rating puts you and your equipment at serious risk of collapse and injury.
Q4: What are spacers for when mounting the TV bracket?
A: Spacers are small pieces of plastic or metal used when the back of your TV is not perfectly flat. They ensure the mounting bracket sits evenly, preventing pressure points, and often create room for cables or ports located behind the mounting holes.
Q5: Is it okay to lay the TV screen down directly on the floor?
A: It is best practice to never place the screen directly onto the floor or table. Always use the original packaging foam, a thick blanket, or a soft, clean carpet to prevent scratches or pressure cracks on the panel.
Q6: What if I threw away the original TV box?
A: You can use a large, heavy comforter or sleeping bag spread over a dining table. The goal is to create a very soft, flat surface that distributes any weight evenly across the screen area while you work on the back.
Conclusion: Enjoying Your Confidently Set-Up Television
You have successfully navigated the setup process! Putting your TV on its stand is a perfect example of a DIY task that looks complicated but breaks down into simple, sequential steps when you take your time. Remember the core principles: protect the screen, verify your hardware (especially the VESA screws), and always use a helper for lifting.
By taking the time to ensure the brackets are snug and the anti-tipping straps are anchored securely, you have created a safe, stable centerpiece for your entertainment space. Pat yourself on the back! You handled the technical details perfectly, and now you can relax and enjoy the view, confident that your equipment is properly supported.


