
Quick Summary:
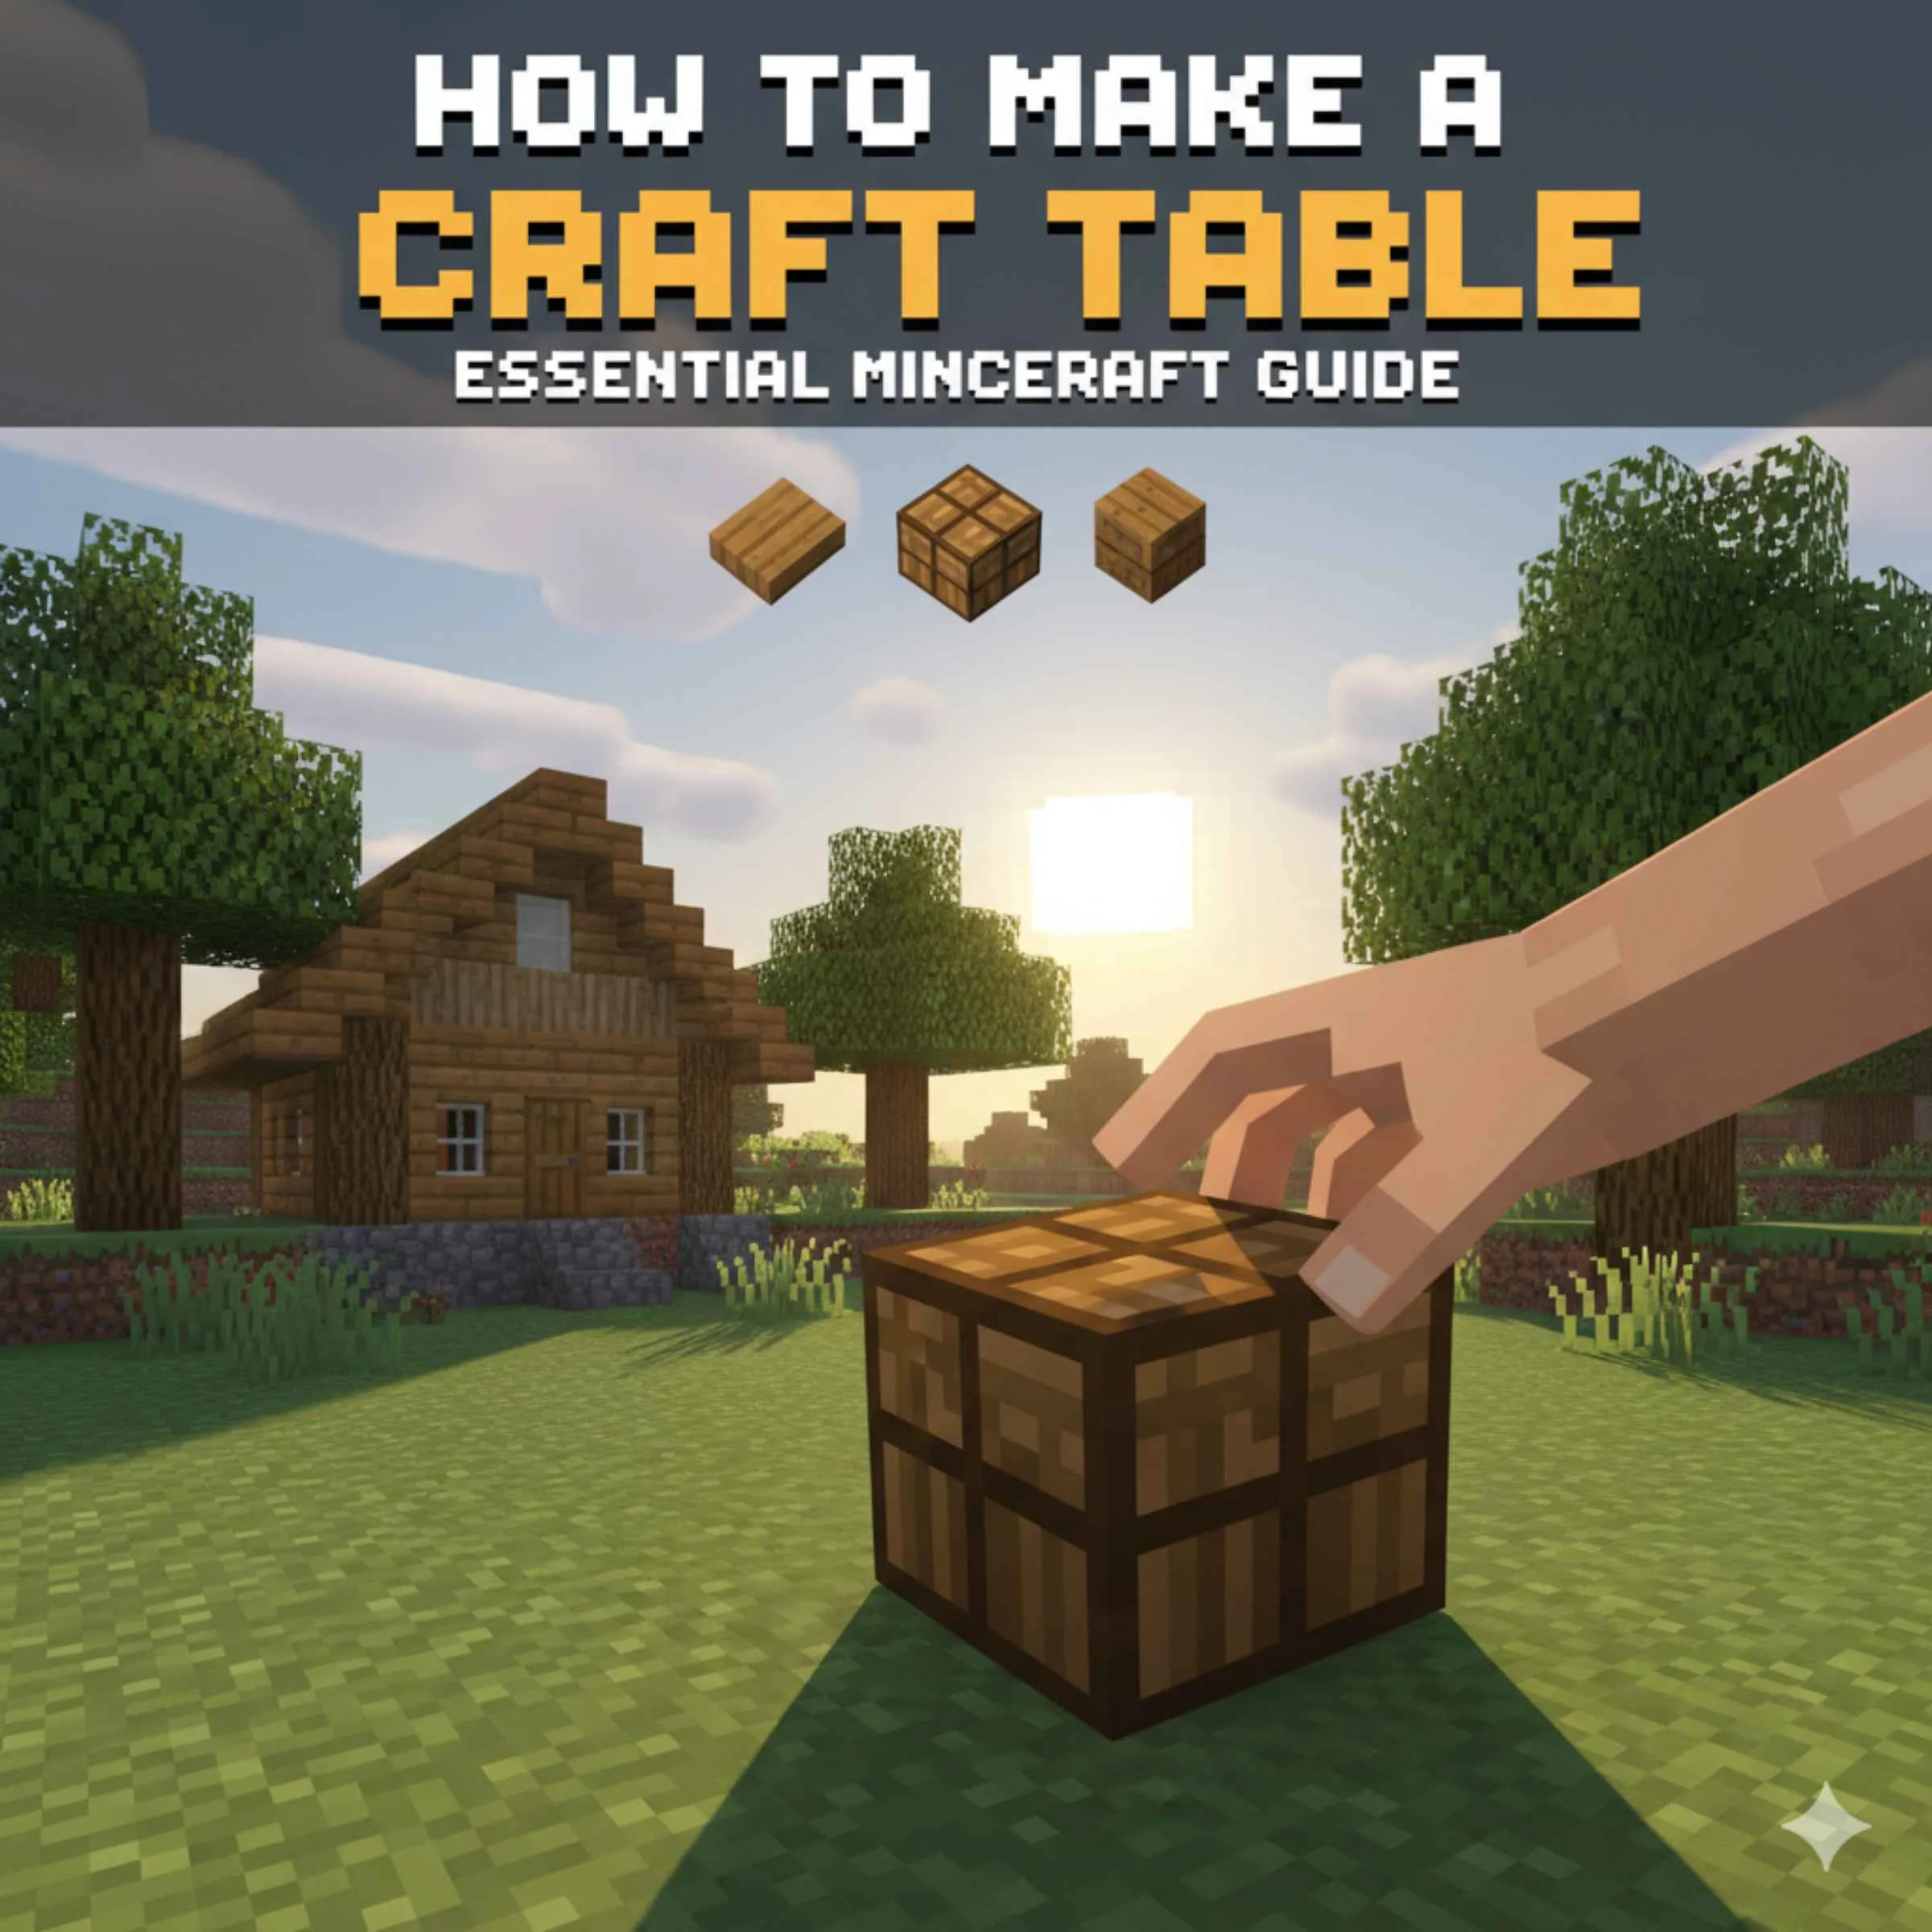
Making a Craft Table in Minecraft is your first crucial step to survival and progress. You only need four Wooden Planks of any type. Simply place them in your 2×2 inventory crafting grid, and you’ll instantly create the essential Crafting Table.
Welcome to Minecraft, adventurer! You’ve just spawned into a brand-new world, and things might seem a little… basic. You can punch trees, gather resources, but what’s next? The very first thing you need to do is create a Crafting Table. It’s like your workbench, letting you make almost everything else in the game, from tools and weapons to shelter and armor. Without it, your Minecraft journey really can’t begin. Don’t worry, it’s super simple! We’ll walk through exactly how to get this vital item, so you can start building, crafting, and surviving like a pro. Let’s get started on building your foundation of awesome Minecraft creations!
Your First Step to Crafting: The Crafting Table
So, you’ve just booted up a new Minecraft world. You’re standing there, looking at a world full of possibilities, but you can’t do all that much with just your bare hands. You can break wood by punching trees, but what do you do with that wood? The answer lies in the heart of Minecraft’s crafting system: the Crafting Table. This is the single most important block you’ll craft early on. It expands your crafting capabilities from a 2×2 grid in your inventory to a 3×3 grid, allowing for a massive amount of new recipes.
Why is the Crafting Table So Important?
Think of the Crafting Table as your gateway to anything beyond the absolute basics. Your inventory only has a small 2×2 crafting grid. This is enough to make Plank types, sticks, and torches, but that’s about it. To make better tools like an iron pickaxe, to craft furnaces, chests, beds, or even your first wooden sword, you absolutely need that larger 3×3 grid a Crafting Table provides.
It’s the foundation block. Every significant crafting recipe in Minecraft uses or builds upon something that requires a Crafting Table. Mastering how to make and use it is the first real skill you’ll learn, and it’s surprisingly easy. Let’s break down exactly what you need and how to get it done.
Gathering Your First Materials: Wood!
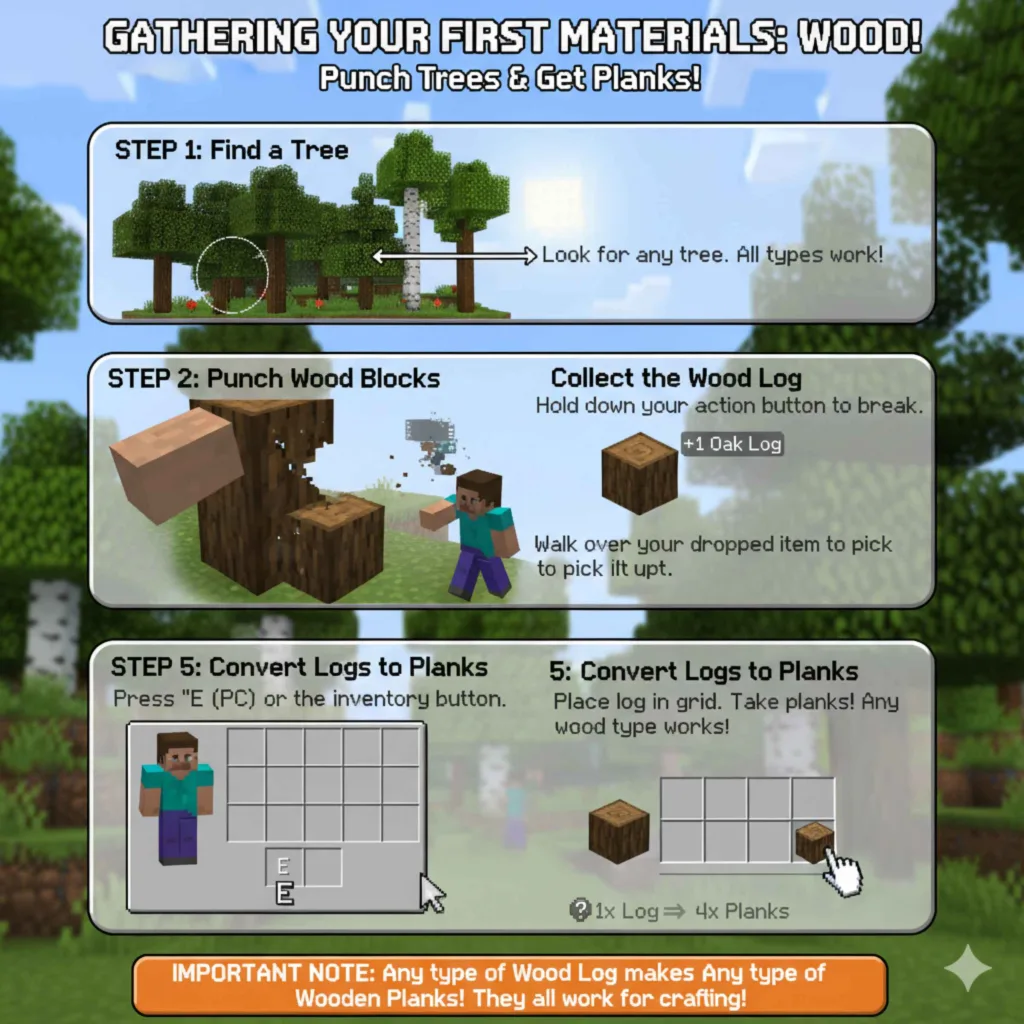
The process of making a Crafting Table is wonderfully straightforward, and it all starts with trees. You’ll see them everywhere in most Minecraft biomes. Grab your hands and start punching!
Step 1: Find a Tree
Look around your spawn point for any kind of tree – Oak, Birch, Spruce, Jungle, Acacia, Dark Oak. They all work the same for this initial step.
Step 2: Punch the Wood Blocks
Walk up to the trunk of a tree and hold down your left mouse button (or your primary action button on a controller/touchscreen). Your character will start to break the wood block. Keep at it! Your bare hands are slow, but they’ll get the job done for this first wood block.
Step 3: Collect the Wood Log
Once broken, the wood block will pop out as an item. Walk over it to automatically pick it up. You’ll need at least one log for this recipe.
Step 4: Open Your Inventory
Press the ‘E’ key on your keyboard (or your inventory button on other platforms). You’ll see your character and, to the top-right of your screen, a 2×2 crafting grid. This is where the magic begins.
Step 5: Convert Logs to Planks
Drag the Wood Log you collected from your inventory into one of the four slots in your 2×2 crafting grid. You’ll see an output slot appear to the right. This slot will show Wooden Planks. Take the Wooden Planks out and move them into your inventory. One Wood Log will yield four Wooden Planks.
Important Note: It doesn’t matter what type of wood log you use; Oak Logs will make Oak Planks, Birch Logs will make Birch Planks, and so on. For the Crafting Table, any type of Wooden Plank works!
Crafting the Crafting Table
You’ve got your Wooden Planks. Now it’s time to assemble them into your very first Crafting Table. This recipe is incredibly simple and uses just four planks.
Step 1: Access Your Inventory Crafting Grid
Make sure your inventory screen is open (press ‘E’). You should have your 2×2 crafting grid visible.
Step 2: Place Wooden Planks in the Grid
Take four Wooden Planks from your inventory. Place one plank in each of the four slots of the 2×2 crafting grid. You should fill the entire 2×2 area with planks.
Step 3: Collect Your Crafting Table
As soon as you place the fourth plank, a picture of a Crafting Table will appear in the output slot to the right of the grid. Click on the Crafting Table to move it into your inventory. Congratulations, you’ve made a Crafting Table!
Here’s a visual representation of the recipe:
| Slot 1 | Slot 2 | Output |
|---|---|---|
| Wooden Plank | Wooden Plank | Crafting Table |
| Wooden Plank | Wooden Plank |
Where to Place Your Crafting Table
Now that you have it, you need to place it in the world to use it. Pick the Crafting Table up from your hotbar (select it using your number keys or scroll wheel) and right-click on the ground where you want it to go. It will appear as a block in the world.
For early-game survival, placing it near your spawn point or a soon-to-be shelter is a good idea. You might even want to place it inside your first basic shelter for safekeeping.
Using Your Crafting Table
Using the Crafting Table is just as easy as making it. Once you’ve placed it in the world, walk up to it and right-click.
This will open up a new interface. The most important difference is that this interface gives you access to a 3×3 crafting grid. This larger grid is essential for most of the game’s crafting recipes. You’ll see a list of discovered recipes on the left side of the screen, which can be a huge help as you explore new crafting possibilities.
Common First Crafts with Your New Table
With your Crafting Table, you can now make all sorts of essential items. Here are a few things you should aim to craft next:
- Sticks: You’ll need these for almost all tools and weapons. Craft them by placing two Wooden Planks vertically in your crafting grid (either inventory or table).
- Wooden Pickaxe: This is your first real tool. It allows you to mine Stone. Craft it with three Wooden Planks across the top row and two Sticks in the middle column below the planks.
- Stone Tools: Once you have a Wooden Pickaxe, you can mine Stone. Then, use Stone (Cobblestone) and Sticks at your Crafting Table to make Stone Pickaxes, Stone Swords, Stone Axes, and Stone Shovels. These are much more durable and faster than wooden tools.
- Furnace: Essential for smelting ores, cooking food, and making glass. Craft it using 8 Cobblestone blocks arranged in a circle, leaving the center slot empty.
- Chest: For storing your extra items. Craft it using 8 Wooden Planks arranged in a circle, similar to the Furnace.
Understanding Crafting Grid Layouts
Almost every recipe in Minecraft follows a specific pattern or “shape” in the crafting grid. Some recipes are shapeless (like planks from logs), but most require you to place items in a particular arrangement. This is why the 3×3 grid of the Crafting Table is so powerful.
For example, to make a pickaxe, you need a horizontal line of three materials across the top and a vertical line of two sticks below the middle item. To make a sword, you need one material on top, and two sticks directly below it.
Here’s a quick look at some basic tool recipes:
Basic Tool Crafting Recipes
| Item | Grid Layout | Materials Needed |
|---|---|---|
| Wooden Pickaxe | PPP
S
S
| 3 Wooden Planks, 2 Sticks |
| Stone Pickaxe | CCC
S
S
| 3 Cobblestone, 2 Sticks |
| Wooden Sword | P
P
S
S
| 2 Wooden Planks, 1 Stick |
| Stone Sword | C
C
S
S
| 2 Cobblestone, 1 Stick |
The letters in the grid represent:
- P = Wooden Plank
- C = Cobblestone
- S = Stick
You’ll quickly learn to recognize these patterns as you play more. Consulting a crafting guide or the in-game recipe book (if available in your version) can be helpful!
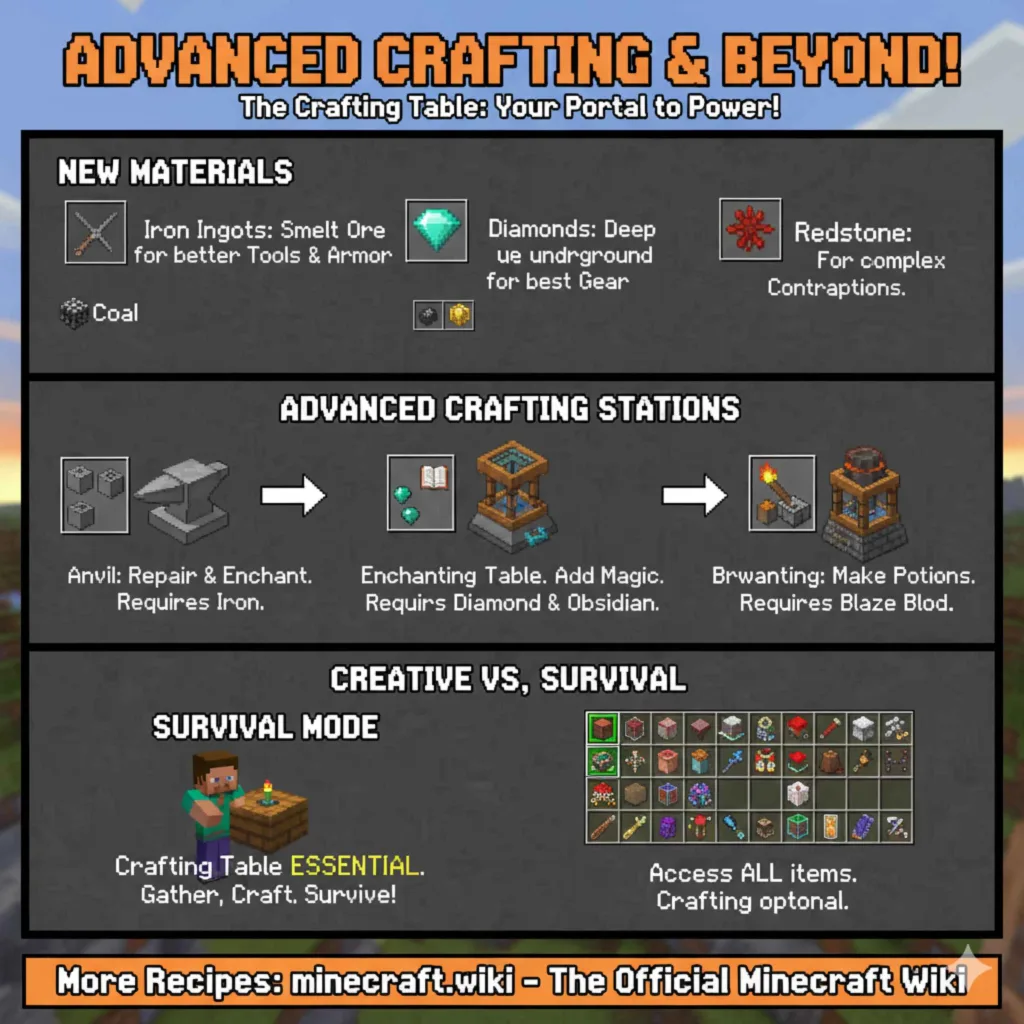
Advanced Crafting and Beyond
Once you’ve mastered the basics, the Crafting Table is your portal to increasingly complex and powerful items. As you explore, you’ll find new materials that unlock new recipes. For example:
- Iron Ingots: Smelt Iron Ore in a Furnace to get Iron Ingots. These can be used with Sticks to craft iron tools and armor, which are far superior to stone.
- Diamonds: Found deep underground, diamonds are used for the best tools, weapons, and armor available without enchantments.
- Redstone: Used for complex contraptions and machinery.
- Various Ores: Coal for torches, Gold for specialized tools, and so on.
The Crafting Table is also where you’ll combine certain items with others to create more advanced blocks or items. For instance:
- Anvil: Used for repairing items and applying enchantments. Requires Iron Blocks.
- Enchanting Table: Allows you to add magical properties to your gear. Requires Diamonds and Obsidian.
- Brewing Stand: For making potions. Requires a Blaze Rod and Cobblestone.
You can find a comprehensive list of all Minecraft crafting recipes on wikis like the official Minecraft Wiki maintained by Mojang, which is a fantastic resource for any player, new or old. They often have updated information on every item and block in the game. You can access it at minecraft.wiki.
Creative vs. Survival Crafting
It’s worth noting that the Crafting Table is primarily a tool for Survival mode. In Creative mode, you have access to every item in the game directly from your inventory. However, the mechanics of crafting remain the same if you were to choose to make items using a table in Creative mode, which can be a fun way to practice recipes or build structures that incorporate crafting stations.
Frequently Asked Questions About Making a Crafting Table
Q1: What is the crafting table made of in Minecraft?
A1: The Crafting Table is made from 4 Wooden Planks. Any type of Wooden Plank will work, regardless of the tree it came from.
Q2: Do I need a crafting table to make the crafting table?
A2: No, you do not! You craft the first Crafting Table using the 2×2 crafting grid available in your personal inventory screen.
Q3: Can I break the crafting table and pick it up?
A3: Yes, you can. If you break a placed Crafting Table (it takes a few hits), it will drop as an item that you can pick up and place again elsewhere.
Q4: What’s the difference between the inventory crafting grid and the crafting table grid?
A4: The inventory crafting grid is a 2×2 grid, allowing for only a few basic recipes. The Crafting Table provides a 3×3 grid, which is necessary for almost all advanced and essential crafting recipes in the game.
Q5: What’s the very first thing I should craft after making a crafting table?
A5: Most players recommend crafting sticks first, then immediately using those sticks and planks to make a wooden pickaxe. This allows you to start mining stone.
Q6: How do I get wood logs?
A6: You get wood logs by breaking down trees. In Survival mode, you can do this by punching them with your bare hands, though using an axe is much faster and more efficient.
Q7: Can I make a crafting table if I don’t have any wood?
A7: No, wood is essential for making Wooden Planks, which are the only ingredient for a Crafting Table. You must be able to acquire wood logs first.
Conclusion: Your Crafting Adventure Begins!
You’ve now learned the fundamental skill that underpins your entire Minecraft experience: how to make and use a Crafting Table. It’s a simple process, starting with punching a tree and ending with this powerful block that unlocks so much of the game’s potential. From your very first wooden pickaxe to the most complex machines you might build later on, the need for a Crafting Table is constant.
Don’t be afraid to experiment! The beauty of Minecraft is in discovery. Use your new Crafting Table to make tools, weapons, armor, and the essential building blocks for your base. As you gather more resources and encounter new materials like iron, diamonds, and redstone, your Crafting Table will be the place where you turn those raw materials into the items that will help you survive, explore, and thrive in this vast, blocky world. Happy crafting!


