
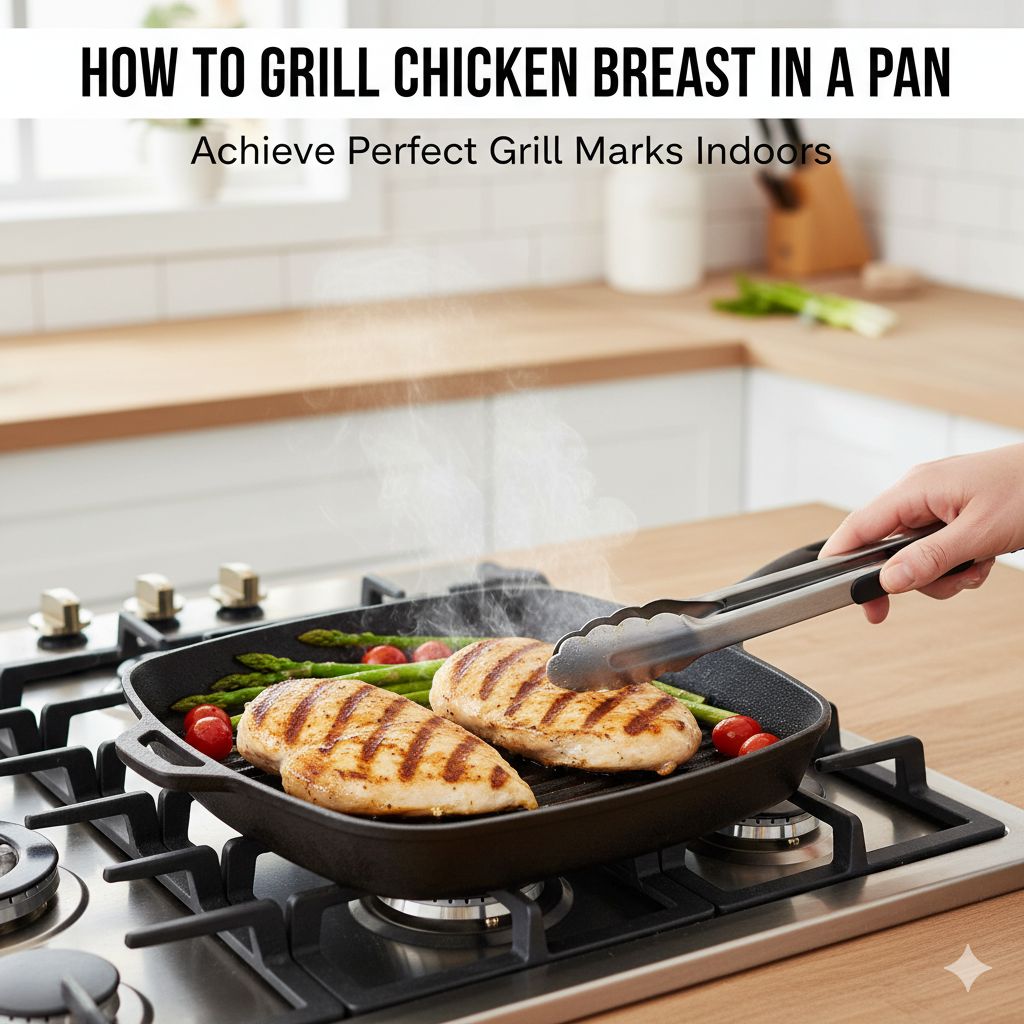
To grill chicken breast in a pan, first pound the chicken to an even thickness. Season it well. Heat a grill pan over medium-high heat with a little oil. Cook the chicken for 5-7 minutes per side, without moving it, until golden brown with clear grill marks. Use a meat thermometer to ensure it reaches an internal temperature of 165°F (74°C). Let it rest for 5-10 minutes before slicing.
Have you ever cooked a chicken breast, only for it to turn out dry, rubbery, or tough? It is a very common problem in the kitchen. Many people struggle to get that perfectly juicy result. You want chicken that is tender and full of flavor, not something you have to chew forever.
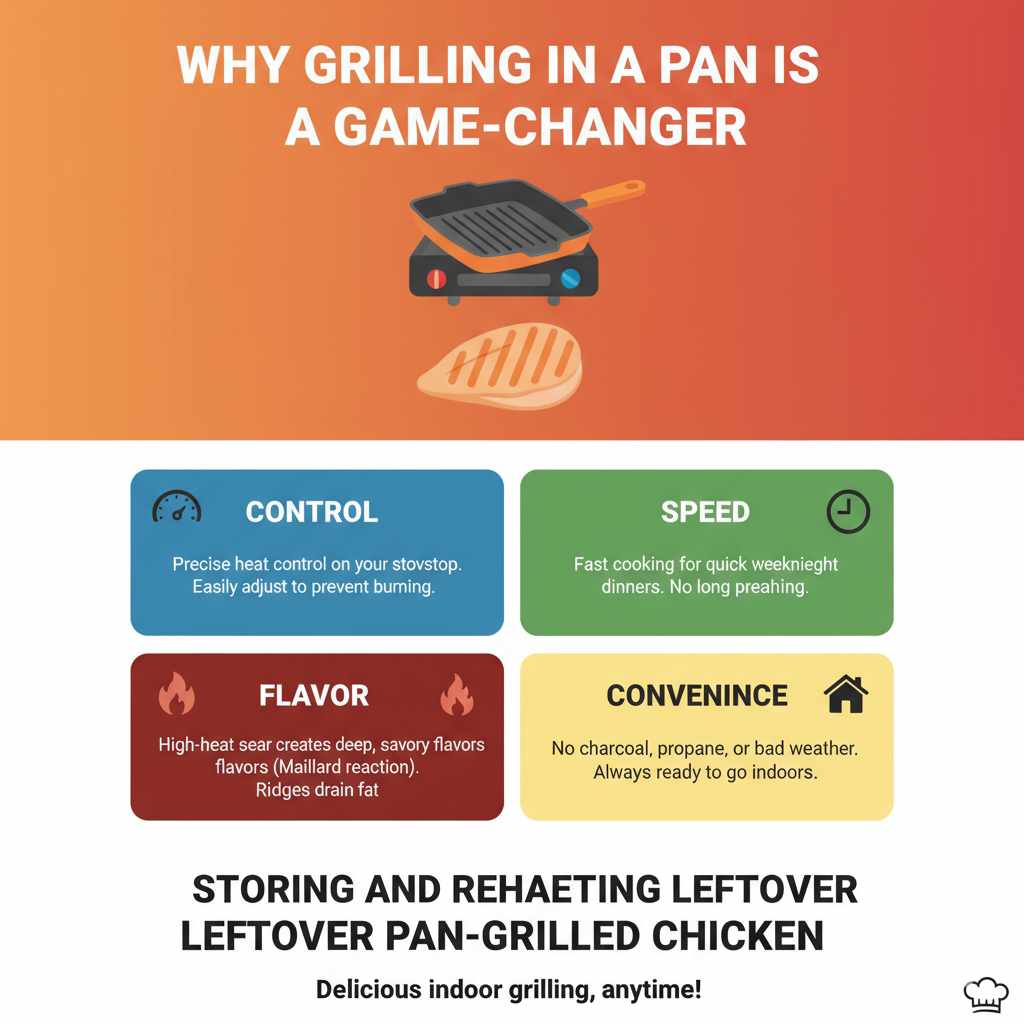
Why Grilling in a Pan is a Game-Changer
You might think “grilling” has to happen outside over flames. But using a grill pan on your stovetop offers amazing benefits. It brings the delicious flavor and beautiful look of grilling indoors. This means you can enjoy it any time, no matter the weather.
Here’s why this method is so great for beginners and pros alike:
- Control: Your stovetop gives you precise control over the heat. You can easily turn it up or down to prevent burning while ensuring the chicken cooks through.
- Speed: Pan-grilling is fast. It’s perfect for a quick weeknight dinner when you don’t have hours to cook.
- Flavor: The high heat of the pan creates a beautiful sear on the outside of the chicken. This process, called the Maillard reaction, creates deep, savory flavors that are simply delicious. The ridges on a grill pan also help fat drain away.
- Convenience: No need to worry about charcoal, propane tanks, or bad weather. Your trusty stovetop is always ready to go.
The Essential Tools for Pan-Grilled Perfection
You don’t need a lot of fancy equipment to make amazing pan-grilled chicken. A few basic tools will set you up for success. Having the right gear makes the process smooth and easy.
- A Grill Pan: A cast-iron grill pan is the best choice. Cast iron holds heat incredibly well and distributes it evenly. This gives you those beautiful, dark grill marks. If you don’t have cast iron, a heavy-bottomed non-stick pan will also work.
- Tongs: Long-handled tongs are your best friend here. They let you flip the chicken without piercing the meat. Piercing it with a fork lets all the delicious juices escape.
- Instant-Read Meat Thermometer: This is the most important tool on the list. It is the only way to know for sure when your chicken is perfectly cooked and safe to eat. No more guessing!
- Cutting Board and Knife: You’ll need these for prepping the chicken and for slicing it after it rests. It’s a good idea to have a separate cutting board just for raw meat to prevent cross-contamination.
- Meat Mallet or Rolling Pin: This is used to pound the chicken to an even thickness. A heavy pan or even a wine bottle can work in a pinch.
- Paper Towels: For patting the chicken dry before seasoning. A dry surface helps create a better sear.
Choosing the Right Chicken Breast
The journey to perfect chicken starts at the grocery store. The type of chicken you buy makes a big difference. Look for boneless, skinless chicken breasts that are fresh and plump.
Pay attention to the size. Many chicken breasts sold in packages are very large and thick on one end. This uneven thickness is a major reason chicken cooks poorly. The thin end gets dry and overcooked while the thick end is still raw. We will fix this in the preparation step, but starting with medium-sized breasts (around 6-8 ounces each) can help.
If you use frozen chicken, make sure to thaw it completely before you start. The best way to do this is to let it sit in the refrigerator overnight. Thawing it in the microwave can create hot spots and start to cook the chicken unevenly.
The Secret to Juicy Chicken: Preparation is Everything
Great pan-grilled chicken doesn’t just happen. A few simple preparation steps make all the difference. These steps might seem small, but they are the secret behind chicken that is juicy and tender every single time. Do not skip them!
Step 1: Pounding for Even Thickness
This is the most critical step for juicy chicken. Chicken breasts are naturally thicker on one end and thinner on the other. If you cook them as is, the thin part will be dry before the thick part is cooked through.
Pounding the chicken to a uniform thickness of about 1/2 to 3/4 of an inch solves this problem completely. Every part of the breast will cook at the same rate.
- Place the chicken breast inside a large zip-top bag or between two pieces of plastic wrap. This keeps your kitchen clean.
- Use a meat mallet, rolling pin, or the bottom of a heavy pan to gently pound the thickest part of the chicken.
- Work your way from the center outwards until the entire breast is an even thickness. Be gentle; you want to flatten it, not tear it apart.
Step 2: The Magic of Brining (Optional but Recommended)
Have you ever wondered how restaurants get their chicken so incredibly moist? Often, the secret is a simple brine. Brining is soaking the chicken in a saltwater solution. This helps the chicken retain more moisture during cooking.
A quick 30-minute brine can make a huge difference. Here’s a simple recipe:
- Mix 4 cups of lukewarm water with 1/4 cup of salt.
- Stir until the salt is completely dissolved.
- Place your pounded chicken breasts in the brine, making sure they are fully submerged.
- Let them soak for 30 minutes to an hour in the refrigerator. Do not brine for more than a few hours, as the chicken can become too salty.
- After brining, remove the chicken, rinse it with cold water, and pat it completely dry with paper towels.
Step 3: Seasoning Like a Pro
Now for the fun part: adding flavor. Before you season, make sure the chicken is very dry. Pat it down with paper towels. A dry surface is key to getting a great sear.
First, lightly coat the chicken with olive oil or another high-heat oil. This helps the seasonings stick and prevents the chicken from sticking to the pan.
You can use a simple seasoning or get creative. A generous amount of salt and black pepper is a classic for a reason. Here are some simple ideas:
- Simple & Classic: Salt, black pepper, garlic powder, onion powder.
- Smoky: Smoked paprika, cumin, chili powder, salt, and pepper.
- Herby: Dried oregano, dried thyme, rosemary, salt, and garlic powder.
Sprinkle the seasoning evenly on all sides of the chicken. Don’t be shy!
The Step-by-Step Guide to Pan-Grilling Chicken
With your chicken prepped and ready, it’s time to cook. Follow these steps carefully for a flawless result.
- Preheat Your Pan: Place your grill pan on the stove over medium-high heat. Let it get hot for about 5 minutes. A hot pan is essential for a good sear. If you sprinkle a drop of water on it, it should sizzle and evaporate instantly.
- Add the Oil: Add about one tablespoon of a high-heat oil like avocado, canola, or grapeseed oil. Swirl it around to coat the bottom of the pan. The oil should shimmer when it’s hot enough.
- Place the Chicken in the Pan: Carefully place the seasoned chicken breasts in the hot pan. You should hear a loud sizzle. If you don’t, your pan isn’t hot enough. Don’t overcrowd the pan. Cook in batches if needed. Leave some space between each piece.
- Let It Sear (Do Not Touch!): This is important. Let the chicken cook for 5-7 minutes without moving it at all. Resisting the urge to peek or move it allows the crust and grill marks to form.
- Flip and Cook the Other Side: After 5-7 minutes, use your tongs to flip the chicken. The first side should be golden brown with dark grill marks. Cook the second side for another 5-7 minutes.
- Check the Temperature: Now it’s time for your meat thermometer. Insert it into the thickest part of the chicken breast. According to the U.S. Department of Agriculture, poultry is safe to eat when it reaches a minimum internal temperature of 165°F (74°C). Pull the chicken from the pan once it hits this temperature to avoid overcooking.
- Rest the Chicken: This final step is just as important as pounding the chicken. Transfer the cooked chicken to a clean plate or cutting board. Cover it loosely with foil and let it rest for 5-10 minutes. This allows the juices to redistribute throughout the meat, keeping it moist and tender. If you cut into it right away, all the juice will run out onto your plate.
Cooking Times and Temperatures: Your Cheat Sheet
Cooking time can vary based on the thickness of the chicken and the heat of your stove. This is why a meat thermometer is so essential. However, this chart can give you a good starting point.
Remember, these are estimates. Always cook to temperature, not to time.
| Chicken Breast Thickness | Estimated Cooking Time Per Side | Target Internal Temperature |
|---|---|---|
| 1/2 inch | 4-6 minutes | 165°F (74°C) |
| 3/4 inch | 6-8 minutes | 165°F (74°C) |
| 1 inch | 8-10 minutes | 165°F (74°C) |
Common Mistakes to Avoid for Perfect Chicken Every Time
Even with the best instructions, it’s easy to make a few common mistakes. Knowing what to watch out for will help you get it right on your first try.
| Common Mistake | How to Fix It |
|---|---|
| Cooking Cold Chicken | Let the chicken sit at room temperature for 15-20 minutes before cooking. This helps it cook more evenly. |
| Overcrowding the Pan | Cook in batches. Leaving space between pieces allows them to sear instead of steam, creating a better crust. |
| Moving the Chicken Too Much | Leave it alone! Let the chicken sit undisturbed for at least 5 minutes per side to develop beautiful grill marks and a flavorful crust. |
| Not Using a Thermometer | Guessing leads to dry or undercooked chicken. An instant-read thermometer is the only way to guarantee perfectly cooked, safe chicken. |
| Skipping the Rest | Always rest your chicken for 5-10 minutes. This is the secret to a juicy final product. Don’t skip this step! |
Flavor Variations: Easy Marinades and Rubs
Once you master the basic technique, you can experiment with endless flavor combinations. Marinades and rubs are a great way to add a new twist to your pan-grilled chicken.
Simple Lemon Herb Marinade
This marinade is bright, fresh, and perfect for salads or pasta.
- 1/4 cup olive oil
- Juice of 1 lemon
- 2 cloves garlic, minced
- 1 teaspoon dried oregano
- 1 teaspoon dried thyme
- Salt and pepper to taste
Whisk all ingredients together. Pour over your pounded chicken breasts and marinate for at least 30 minutes and up to 4 hours in the refrigerator.
Smoky Paprika Rub
This rub gives the chicken a deep, smoky flavor that’s almost like cooking on a real barbecue.
- 1 tablespoon smoked paprika
- 1 teaspoon garlic powder
- 1 teaspoon onion powder
- 1/2 teaspoon cumin
- 1/2 teaspoon black pepper
- 1 teaspoon salt
Mix all the spices together. Pat the chicken dry, rub with a little oil, and then coat generously with the spice rub on all sides.
Garlic & Soy Marinade
This marinade adds a savory, umami-rich flavor that’s fantastic with rice and vegetables.
- 1/4 cup soy sauce
- 2 tablespoons honey or maple syrup
- 2 cloves garlic, minced
- 1 tablespoon rice vinegar
- 1 teaspoon grated ginger
Combine all ingredients in a bowl. Marinate the chicken for 30 minutes. Because of the sugar in the honey, be sure to watch the chicken closely as it can burn more easily.
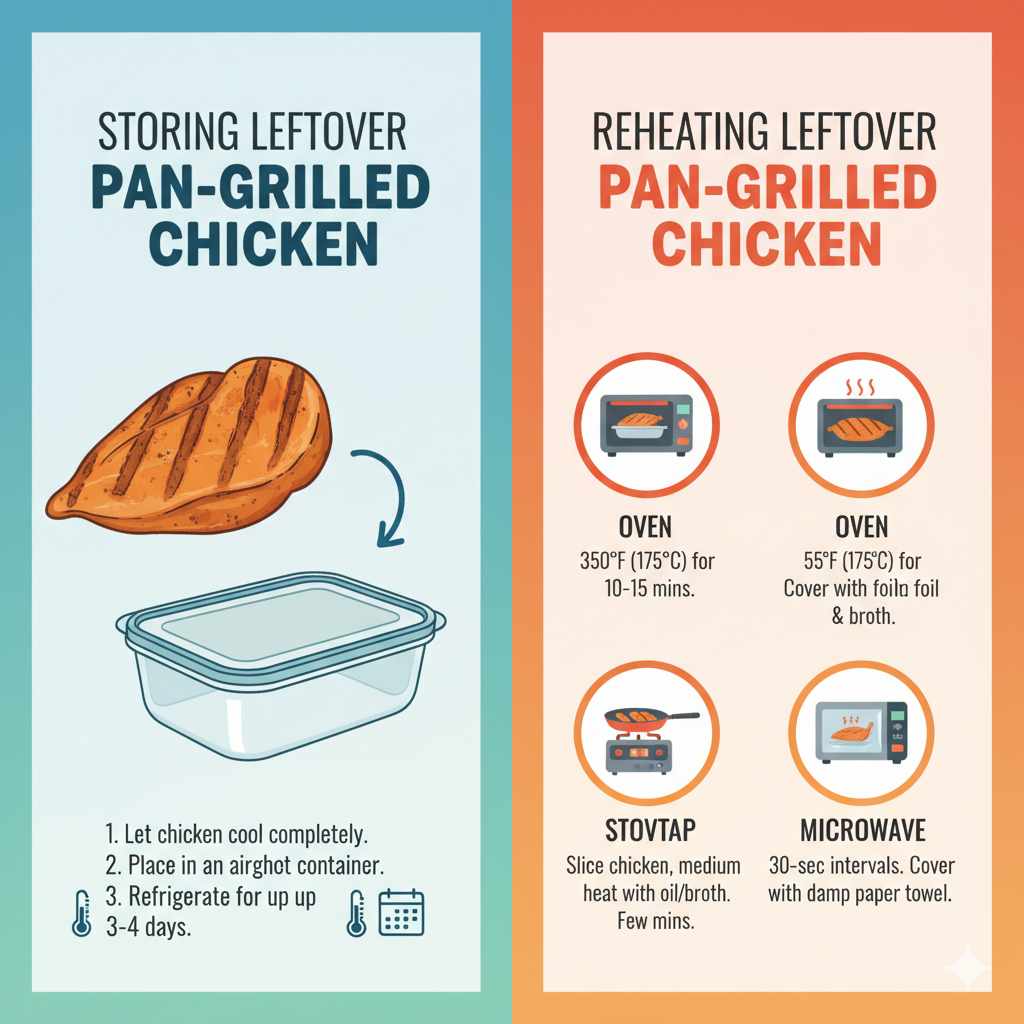
Storing and Reheating Leftover Pan-Grilled Chicken
Leftover chicken is great for meal prep, salads, sandwiches, and more. To store it properly, let the chicken cool down completely. Then, place it in an airtight container in the refrigerator for up to 3-4 days.
Reheating chicken without drying it out can be tricky. Here are the best ways:
- Oven: Place the chicken in a baking dish with a splash of chicken broth or water. Cover with foil and bake at 350°F (175°C) for 10-15 minutes, or until warmed through.
- Stovetop: Slice the chicken and add it to a pan over medium heat with a little oil or broth. Heat for just a few minutes until warm.
- Microwave: This is the fastest method but also the most likely to dry it out. Place the chicken on a plate, cover it with a damp paper towel, and heat in 30-second intervals until it’s warm.
Frequently Asked Questions (FAQ)
Can I use a regular frying pan instead of a grill pan?
Yes, absolutely! You won’t get the classic grill marks, but the method is the same. A heavy-bottomed skillet, especially cast iron, will work perfectly. It will still give you a fantastic sear and juicy result.
How do I know if my pan is hot enough?
A simple test is the water drop test. Flick a tiny drop of water onto the pan’s surface. If it sizzles and evaporates immediately, the pan is hot and ready. You can also see the oil shimmer lightly just before it starts to smoke.
Why did my chicken stick to the pan?
There are three common reasons for sticking. First, the pan wasn’t hot enough when you added the chicken. Second, you tried to flip it too soon, before a good crust could form. Third, you didn’t use enough oil. Make sure the pan is properly preheated and oiled, and be patient before flipping.
Can I use this method for chicken thighs?
Yes, this method works wonderfully for boneless, skinless chicken thighs. Since thighs are naturally more fatty and moist, they are very forgiving. They may need a minute or two longer to cook per side. As always, use a meat thermometer to check for an internal temperature of 165°F (74°C).
What is the best oil to use for pan-grilling?
You need an oil with a high smoke point because you’re cooking at medium-high heat. Great choices include avocado oil, grapeseed oil, canola oil, or light olive oil. Extra virgin olive oil has a lower smoke point and can burn, so it’s best saved for dressings.
My chicken is cooked on the outside but raw inside. What went wrong?
This usually means your heat was too high. The outside of the chicken cooked very quickly and started to burn before the inside had a chance to cook through. Try lowering the heat to medium. Also, make sure you pounded the chicken to an even thickness, as this is a major cause of uneven cooking.
How do I clean my cast-iron grill pan after cooking?
To clean a cast-iron pan, let it cool slightly. While it’s still warm, use a stiff brush and hot water to scrub away any food bits. Avoid using soap, as it can strip the pan’s seasoning. After cleaning, dry it completely and wipe a very thin layer of cooking oil inside to protect it from rust.
Conclusion: Your New Go-To Method for Perfect Chicken
Cooking a perfect chicken breast in a pan doesn’t have to be a mystery. You now have the proven, step-by-step method to get it right every single time. By following these simple but crucial steps—pounding for evenness, seasoning well, preheating your pan, and most importantly, using a meat thermometer and letting it rest—you can say goodbye to dry, boring chicken forever.
This technique is more than just a recipe; it’s a foundation. Once you feel confident with the basics, you can explore new spices, marinades, and flavors. You have the power to create a delicious, healthy, and satisfying meal any night of the week, right on your stovetop. So go ahead, grab your pan, and get ready to impress yourself and anyone you’re cooking for. You’ve got this!


