Gallery Wall Layout Calculator
Start with 2 to 3 inches between frames, keep the full arrangement centered at eye level, and leave 6 to 8 inches above a sofa or console. Uneven spacing makes one side read heavier than the other, and it can lead to extra nail holes. This guide shows how to turn wall width, furniture width, frame sizes, and spacing into a gallery wall layout plan before you hang anything.
How is this calculated?
Press Calculate to see the math with your numbers.
What to measure first



Measure the wall, the furniture below it, and the outside dimensions of every frame before you choose a layout. Use the widest usable wall area, not just the painted section, and record each frame’s full outer size, including the mat and frame edge if both are part of the finished look.
That order matters because the gallery wall has to fit the wall, relate to the furniture, and leave room for consistent spacing. Skip one measurement, and the plan may look balanced on paper but fail on the wall.
Wall width and usable width
Start with the total wall width, then subtract anything that interrupts the hanging area: windows, doors, vents, outlets, sconces, or fixed hardware. The remaining span is your usable width. That number tells you if you can build one grouped arrangement or need to split the art into sections.
For a blank wall, measure from edge to edge at the height where the gallery wall will sit. For a wall with trim or built-ins, use the open span that the frames can actually occupy. A wall art size calculator is useful here because it checks art size against wall dimensions before you buy anything too small.
Furniture width below the wall
If the wall sits above a sofa, console, headboard, or table, measure the furniture width first. Balanced arrangements usually span 60 to 75% of the furniture width, which keeps the wall art from looking undersized.
This rule is especially useful above long sofas and narrow consoles. If the art is much narrower than the furniture, the composition reads as floating too high and too small. If it is much wider, the wall can feel crowded.
Frame sizes and outer dimensions
Write down the outer size of each frame, not the print size inside it. Standard print sizes such as 8×10, 11×14, 16×20, 18×24, and 24×36 are a useful starting point, but the finished frame may be larger once matting and borders are included.
That difference matters for spacing math. A grid layout depends on exact outside dimensions, and mixed-size arrangements need the real size of each piece to keep the spacing even.
How big should the gallery wall be?
A good gallery wall size comes from the furniture width, the usable wall width, and the amount of blank wall you want left around the grouping. Above furniture, use 60 to 75% of the furniture width as the target span. On open walls, size the arrangement so it looks intentional rather than tiny in the middle of a large blank surface.
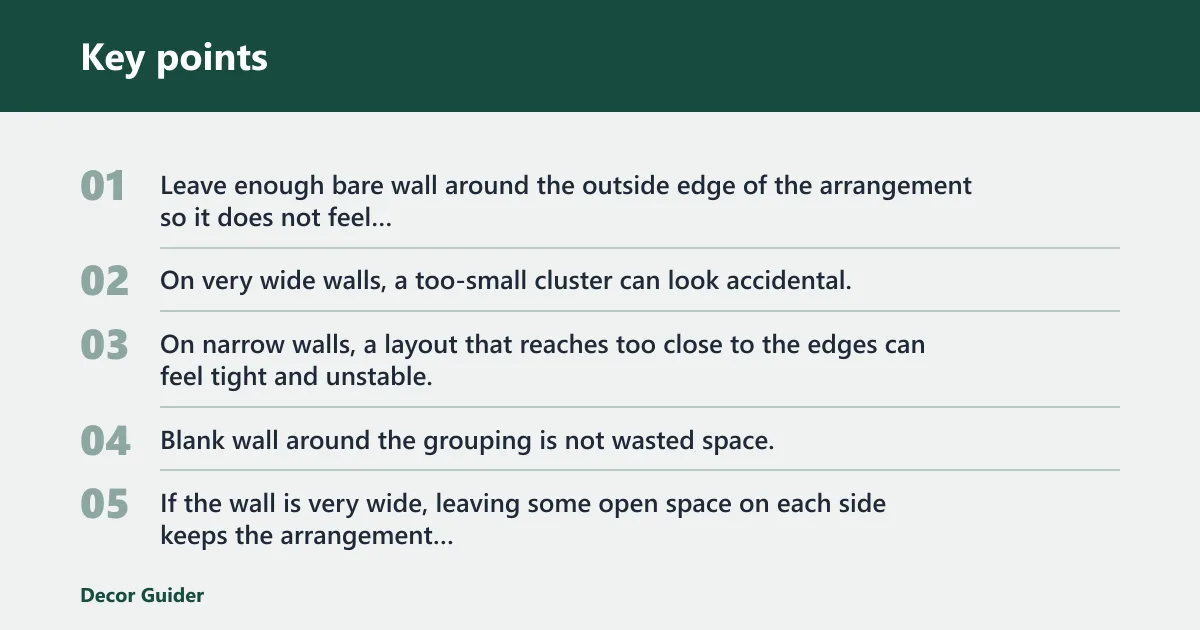
Leave enough bare wall around the outside edge of the arrangement so it does not feel crowded or stuck to the edges. On very wide walls, a too-small cluster can look accidental. On narrow walls, a layout that reaches too close to the edges can feel tight and unstable.
Leave blank wall around the arrangement
Blank wall around the grouping is not wasted space. It is the frame around the frame. If the wall is very wide, leaving some open space on each side keeps the arrangement from reading like a postage stamp in the center.
A common first-timer mistake is to fill every available inch above a sofa with art. That usually leaves no breathing room between the furniture and the wall edges, and the arrangement can look heavy.
Choose a layout size for open walls
On a wall with no furniture below it, the museum-height standard gives you a starting center line at 57 inches. From there, choose a layout width that fits the open wall and the number of pieces you want to use. Most gallery walls use 3 to 9 pieces, with a maximum of 12 in the calculator.
If the room has tall ceilings, the wall art can sit a little higher than a low-room arrangement, but the center of the grouping should still feel anchored rather than drifting upward.
Which layout fits your wall?
Choose the layout type after you know the measurements. Grid layouts work best for matching frames. Salon-style clusters suit mixed sizes. Linear, staircase, and pair or trio arrangements fit long, narrow, or transitional walls. The right choice depends on the wall shape, the furniture below it, and how much visual order you want.
Grid for matching frames
A grid needs the same size artwork or photos, with precise alignment and equal gaps. It is the easiest layout to measure because every row and column follows the same size and spacing. Use it when the wall is rectangular and the frames are nearly identical.
Salon-style cluster for mixed sizes
A salon-style cluster works well when the frames differ in size, subject, or orientation. PureWow recommends mixing works of various size and quality, and a consistent color palette helps the group feel deliberate rather than random. Keep the outer edges of the cluster controlled so the interior variety does not turn into visual clutter.
Linear, staircase, and pair or trio arrangements
Linear arrangements work on long walls, hallways, and above low furniture when you want one strong horizontal line. Staircase layouts follow a stair angle and step upward in measured increments. Pair and trio arrangements suit smaller walls or narrow furniture zones where a full gallery wall would feel too large.
These layouts still need the same measurement logic. The difference is how the pieces move across the wall, not whether the spacing or center line matters.
How far apart should frames be?
Keep frame spacing at 2 to 3 inches, or 5 to 8 cm, between pieces. Use the same gap across the arrangement so the grouping reads as one unit. That spacing is wide enough to separate the frames and narrow enough to keep the wall from feeling fragmented.
If the frames are very small, you can tighten the gap slightly, but the spacing should still look deliberate and even. Large changes in gap size make a wall feel pieced together instead of planned.
Use the same gap across the grouping
Consistent spacing is what makes a gallery wall read as a single composition. If one gap is 2 inches and the next is 5 inches, the eye stops at the breaks instead of moving through the whole arrangement. That effect is strongest on grid layouts, but it matters in clusters too.
Adjust spacing for very small frames
Very small frames can be spaced a bit closer together if the goal is to avoid a loose, scattered look. Still, keep the gap regular from piece to piece. When the spacing varies, the wall can look accidental even if the frames are beautiful.
Gallery wall layout worksheet
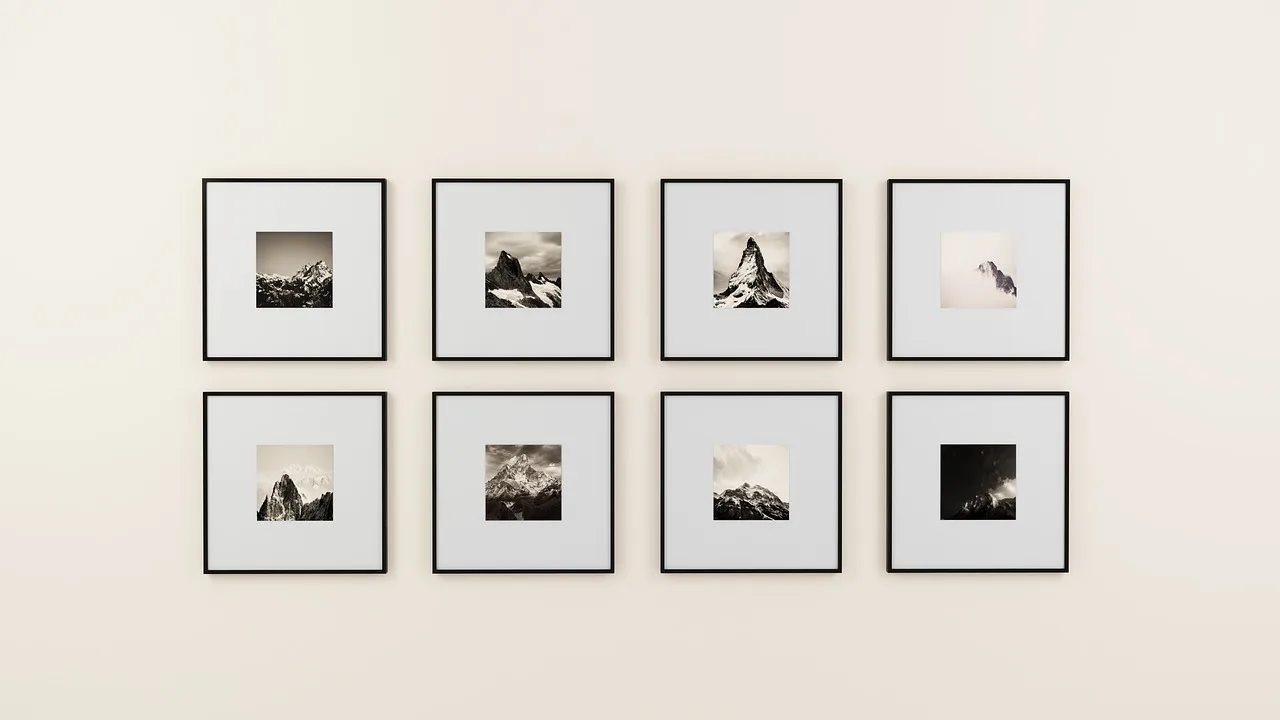
Use this worksheet before making nail marks. It turns the wall width, furniture width, frame sizes, spacing, and center height into a to-scale plan and a nail-height formula for each frame. The calculator keeps the math in the browser and sends nothing anywhere.
| Wall width | Furniture width | Frame sizes | Target spacing | Target center height | Bottom-row clearance | Final nail-height formula | Troubleshooting note |
|---|---|---|---|---|---|---|---|
| 96 in | 84 in sofa | 2 frames at 16×20, 2 frames at 11×14 | 2.5 in | 57 in or centered to furniture | 7 in above sofa | Top of frame minus hang-wire drop = nail height | Sofa wall: keep the grouping about 60–75% of sofa width |
| 72 in | 60 in console | 3 frames at 11×14 | 2 in | 57 in or slightly lower over furniture | 6 in above console | Nail height = measured top anchor line minus hanger offset | Console wall: leave open space on both sides if the wall is wider than the furniture |
| 120 in | No furniture | 6 frames mixed sizes | 3 in | 57 in center line | None | Use the center point of each frame to place the arrangement | Open wall: keep the group centered, not pressed against one side |
| 90 in | 80 in bed | 4 frames at 18×24 and 2 at 11×14 | 2.5 in | 57 in adjusted to headboard height | 8 in above headboard | Nail height = frame height + clearance + hanger offset | Bed wall: do not let the lowest frame hit the headboard line |
| 48 in | Narrow hall | 2 frames at 8×10 | 2 in | 57 in if wall is open | None or minimal | Keep nail marks centered on the hallway sightline | Narrow hall: use fewer pieces and tighter grouping |
- Measure the usable wall width.
- Measure the furniture width below the wall, if there is furniture.
- List every frame’s outer dimensions.
- Choose 2 to 3 inches for spacing.
- Set the center height at 57 inches on open walls, or use 6 to 8 inches above furniture.
- Lay the frames out on paper or in an on-page diagram at full size.
- Mark the top anchor points, then convert each one into a nail-height position.
Use paper templates or a floor layout before drilling. Decoist advises paper templates for size and spacing, and a to-scale diagram makes it easier to compare frame positions before anything goes on the wall. That step is especially helpful for mixed-size groups and staircase walls.
How the nail-height formula works
The hanging height calculator turns each frame position into a nail mark by accounting for the frame’s outer size and its hanger point. Start with the target center height or the furniture clearance, then translate that into the top anchor line for each frame. The nail mark sits where the hardware will catch the frame at the correct height.
Say your sofa is 84 inches wide and the gallery wall uses four frames in a two-by-two grid. If the layout spans about 60 to 75% of the sofa width, the arrangement will look tied to the furniture instead of floating too small above it. The exact nail marks still come from each frame’s measured hanger offset.
Where should the center line sit?
On open walls, use 57 inches as the eye-level center standard. Above furniture, the group usually sits lower so the bottom row stays 6 to 8 inches above the top of the sofa, console, headboard, or table. Very tall rooms can tolerate a slightly higher placement, but the arrangement should still feel anchored to the room, not lifted into empty space.
Open walls and tall rooms
For a blank wall, the center line at 57 inches gives you a clear starting point. In a taller room, the art can rise a little if the furniture, doorways, or ceiling height call for it, but the grouping should keep its visual center close to eye level.
Walls above furniture
Above furniture, the bottom frame should sit 6 to 8 inches above the top edge. That spacing keeps the wall art close enough to belong with the furniture while leaving enough air so the pieces do not crowd each other.
Picture a 72-inch console with a 3-piece linear arrangement above it. If the bottom frame sits only 2 inches above the console, the wall can feel cramped. Move it to 6 to 8 inches above the top, and the whole grouping reads more cleanly.
How do you place nail marks without extra holes?
Build a paper template at full size, mark the top anchor first, and transfer each frame position from the worksheet. That approach cuts down on trial-and-error holes because you can check the whole layout before making the first mark. It also helps when the wall has vents, outlets, or existing hardware.
Build and place paper templates
Cut paper to each frame’s outer size, label it, and tape the templates to the wall with low-tack tape. Move them until the spacing, center line, and furniture clearance look right. Once the layout works, mark the nail points directly from the templates.
Handle off-center windows, vents, and outlets
If a window is off-center, center the arrangement on the usable wall area or on the furniture below it, not on the window trim. If a vent or outlet blocks one piece, shift the entire group slightly rather than forcing one frame into an awkward pocket of wall.
Existing hardware can become part of the plan if it lines up with the new arrangement. If it does not, the paper-template stage is where you decide whether to move the art, not the hanger.
Frequently asked questions
How far apart should gallery wall frames be?
Keep the gaps at 2 to 3 inches, or 5 to 8 cm, and keep that spacing consistent across the whole arrangement. Equal gaps help the wall read as one unit. Larger differences in spacing make the grouping feel uneven, even when the frames themselves are well chosen.
Where should a gallery wall sit above a sofa or console?
Place the bottom row 6 to 8 inches above the furniture top, and aim for the arrangement to span about 60 to 75% of the furniture width. That keeps the wall art connected to the piece below it without crowding the furniture or leaving the wall looking too sparse.
How do I size frames for a blank wall before buying?
Use the wall width and the 57-inch center standard to set the overall size, then check that the final grouping is not too small for the open wall. Standard print sizes such as 8×10, 11×14, 16×20, 18×24, and 24×36 help you compare options before you buy.
What is the best hanging height for a gallery wall?
For an open wall, 57 inches is the standard eye-level center. Above furniture, the best height is usually lower, with 6 to 8 inches between the furniture top and the bottom of the lowest frame. The right height depends on the room and on what sits below the art.
How do I plan a gallery wall without making extra nail holes?
Make a full-size paper template or on-page diagram first, then transfer only the confirmed nail points to the wall. Measure the wall, furniture, and frame sizes, choose the spacing, and test the layout on paper before drilling. That sequence cuts down on guesswork and rework.
What layout works best for mixed-size frames?
Salon-style clusters usually work best for mixed-size frames because they let different shapes and sizes sit together without forcing perfect alignment. Keep the spacing even and the color palette consistent so the mix feels deliberate. A grid is better only when the frames match in size and shape.
Products related to this article
Sponsored / affiliate links. As an Amazon Associate I earn from qualifying purchases. I may earn additional commission from eligible campaigns.