
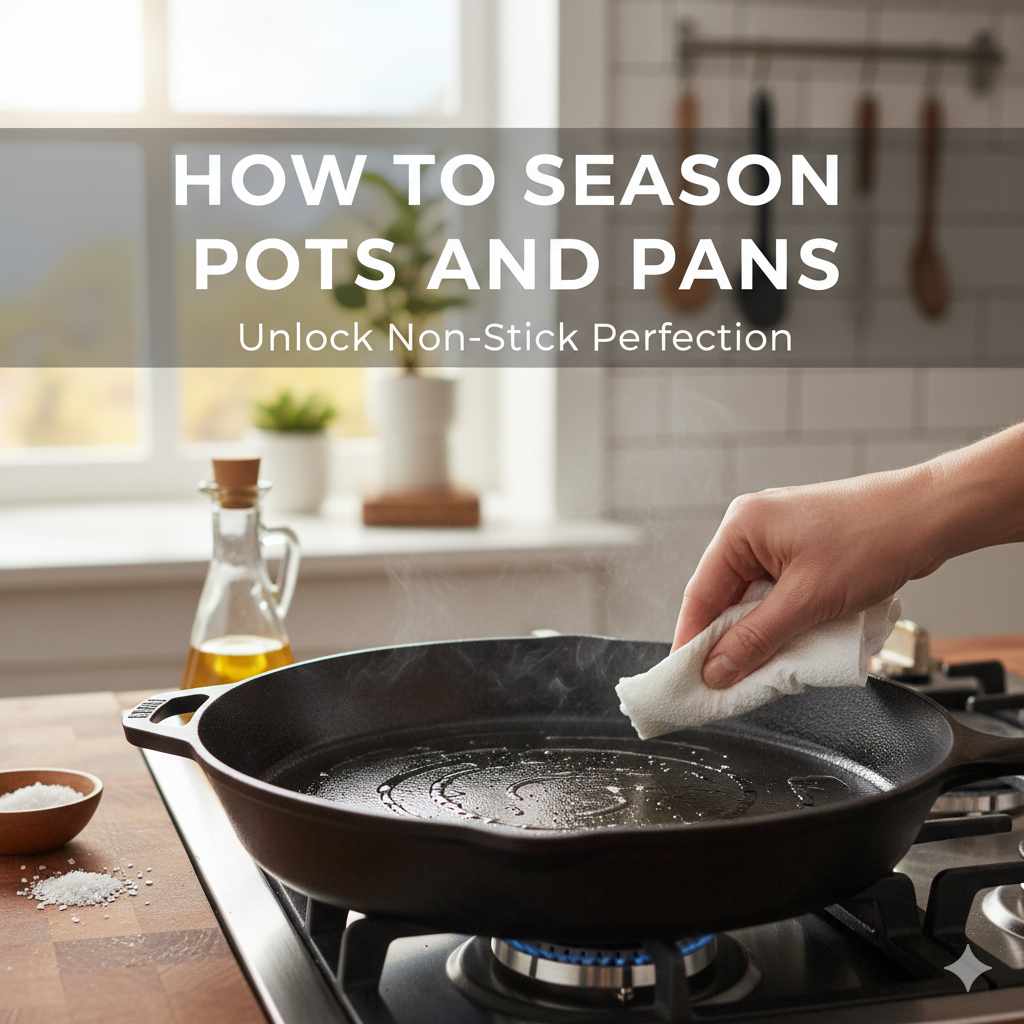
Seasoning a pan means bonding a thin layer of cooking oil to the metal surface through heat. This process, called polymerization, creates a natural, rust-proof, non-stick finish. To season, clean and dry the pan, apply a very thin coat of high-smoke-point oil, wipe it nearly dry, and bake it upside down for one hour.
Hey everyone, Dustin here. I usually spend my days under the hood of a car, talking about engine oil, rust prevention, and getting parts to work together smoothly. But the other day, I was in the kitchen, and it hit me: taking care of a good cast iron or carbon steel pan isn’t so different from taking care of a classic car. Both need a protective coating to prevent rust and perform at their best. Forget that factory finish; we’re going to build a custom surface that will last for years.
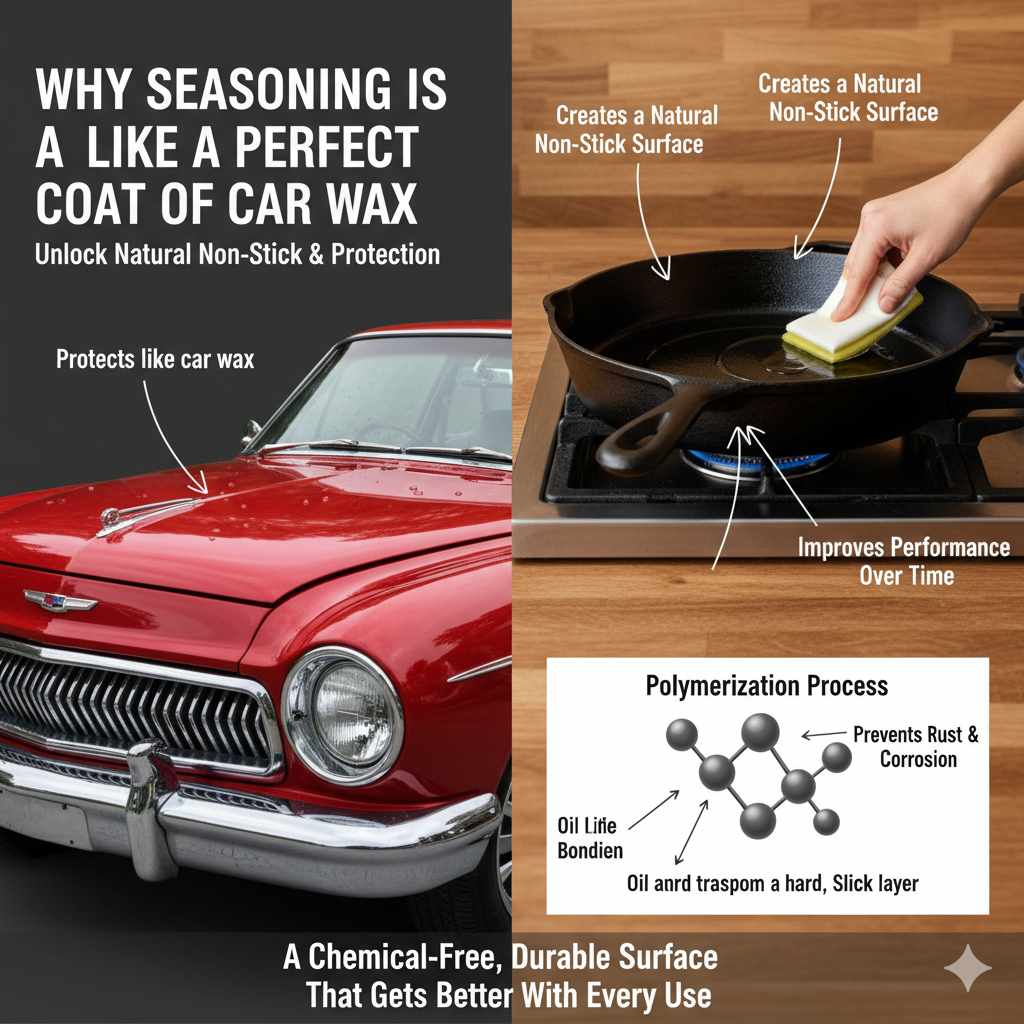
Why Seasoning is Like a Perfect Coat of Car Wax
Before we grab our tools, let’s talk about why we do this. You wouldn’t leave a car’s bare metal exposed to the rain, right? You need that layer of primer, paint, and clear coat to protect it. Seasoning does the same thing for your pans. It’s a simple process with some big-time benefits.
- Creates a Natural Non-Stick Surface: When you heat oil on metal, it undergoes a process called polymerization. The oil molecules bond together and to the pan, forming a hard, slick surface. This is the original, chemical-free non-stick coating. A well-seasoned pan lets food slide right off, just like water beading off a freshly waxed hood.
- Prevents Rust and Corrosion: Cast iron and carbon steel are tough, but they’re mostly iron. And what does iron do when it meets air and moisture? It rusts. The layer of seasoning creates a barrier that seals out moisture, stopping rust before it can even start. It’s the ultimate rust-proofing for your kitchen.
- Improves Performance Over Time: Unlike a synthetic non-stick pan that wears out, a seasoned pan gets better with every use. Each time you cook with fats or oils, you add microscopic layers to the seasoning. It’s like an engine that runs smoother the more it’s properly broken in.
What Pans Need Seasoning? (And Which Ones Don’t)
Not every tool in your garage needs the same treatment, and the same goes for your kitchen. Before you start, you need to identify what kind of pan you’re working with. Trying to season a pan that doesn’t need it is like trying to put motor oil in your gas tank—it won’t end well.
| Cookware Material | Does It Need Seasoning? | Quick Explanation |
|---|---|---|
| Cast Iron | Absolutely, Yes! | This is the classic candidate. It’s prone to rust and needs a strong seasoning layer to become non-stick and protected. |
| Carbon Steel | Yes, a Must-Do | Very similar to cast iron. It’s a favorite in professional kitchens and relies completely on seasoning for its non-stick properties and rust prevention. |
| Stainless Steel | Optional, but can help | Stainless steel doesn’t rust, so seasoning is not for protection. However, a light seasoning can help reduce sticking, though it’s not a permanent layer like on cast iron. |
| Coated Non-Stick (Teflon) | Absolutely Not! | These pans already have a chemical non-stick coating. High heat can damage this coating and release harmful fumes. Never try to season them. |
| Aluminum / Anodized Aluminum | No | These materials don’t rust and are not designed to be seasoned. Heat can warp the pans and it won’t create a lasting non-stick surface. |
| Enameled Cast Iron | No | The enamel coating is a type of glass. It acts as the protective, non-reactive layer. Seasoning won’t bond to it and is not necessary. |
The Essential Toolkit: Your “Grease Monkey” Gear
Every job requires the right tools. You wouldn’t try to change a tire with a dinner fork. Luckily, seasoning a pan doesn’t require a trip to the auto parts store. You probably have everything you need right in your kitchen.
- Your Pan: A new or old cast iron or carbon steel pan that needs some love.
- Soap and Water: We’ll only use this for the initial deep clean.
- Scrubber or Steel Wool: For removing any rust or old, flaky seasoning. Think of this as your rust remover.
- Lint-Free Cloths or Paper Towels: You need something that won’t leave little fibers behind. Old t-shirts work great.
- A Good “Motor Oil”: Your high-smoke-point cooking oil. We’ll get into the best types below.
- An Oven: This is our “curing” station where the magic happens.
- Heavy-Duty Oven Mitts: Safety first! These pans get extremely hot.
- A Baking Sheet: To catch any potential drips in the oven.
Choosing the Right “Motor Oil” for Your Pan
Just like you choose a specific type of oil for your car’s engine, the oil you choose for seasoning matters. The key is the smoke point—the temperature at which an oil starts to break down and smoke. For seasoning, you need to heat the oil past its smoke point to trigger polymerization.
Using an oil with a low smoke point (like extra virgin olive oil) will create a lot of smoke in your kitchen before it gets hot enough to cure properly. You need an oil that can handle the high heat. Here’s a quick comparison of some popular choices.
| Oil Type | Approx. Smoke Point | Pros | Cons |
|---|---|---|---|
| Grapeseed Oil | 420°F (216°C) | Neutral flavor, relatively inexpensive, creates a good, hard finish. A great all-around choice. | Can be harder to find than other oils. |
| Canola / Vegetable Oil | 400°F (204°C) | Very affordable and widely available. Gets the job done reliably. | The finish might not be as durable as some other options over the long term. |
| Avocado Oil | 520°F (271°C) | Extremely high smoke point, making it very forgiving. Neutral flavor. | Can be very expensive. |
| Flaxseed Oil | 225°F (107°C) | Creates the hardest, most durable seasoning layer, almost like an enamel. | Expensive, low smoke point means it polymerizes easily but can also be prone to flaking if not done perfectly. |
| Shortening / Lard | 370°F (188°C) | The traditional choice. Very cheap and effective, builds a slick surface quickly. | Not suitable for vegetarians. Can go rancid if the pan isn’t used often. |
For more details on cooking oils and their properties, you can check out resources from university extension programs, like this guide on fats and oils from North Dakota State University.
Dustin’s Pick: For beginners, I recommend Grapeseed or Canola oil. They are affordable, easy to work with, and create a fantastic finish without much fuss.
The Step-by-Step Guide: Your “Tune-Up” for a Perfect Pan
Alright, let’s get our hands dirty. Follow these steps exactly, and you’ll have a perfectly seasoned pan that’s ready for the road… or, well, the stove. We’ll break it down into simple stages.
Step 1: The “Degreaser” Phase – Clean It Down to Bare Metal
You can’t paint over rust, and you can’t season over gunk. We need to start with a clean surface. If your pan is brand new, it likely has a factory coating to prevent rust during shipping. If it’s an old pan, it might have rust or a weak, flaky layer of old seasoning.
- Wash Thoroughly: For this one time only, use hot, soapy water. Use a stiff brush or the abrasive side of a sponge to scrub the entire pan, inside and out, including the handle.
- Remove Rust: If you see any rust, use steel wool or a scouring pad to scrub it away completely. You need to get back to the clean, silver-colored bare metal underneath.
- Rinse Well: Rinse the pan completely to remove all soap residue and debris.
Step 2: The “Dry Run” – Get It Bone Dry
Water is the enemy of seasoning. Even a tiny bit of moisture can turn into steam under the oil, preventing it from bonding to the metal. A towel won’t get it dry enough.
- Initial Towel Dry: Give it a quick wipe with a cloth or paper towel.
- Heat on the Stove: Place the pan on a burner over low-to-medium heat for a few minutes. You’ll see any remaining moisture evaporate. When it’s completely dry and slightly warm to the touch (be careful!), you’re ready for the next step.
Step 3: The “Oil Change” – Apply a Thin Coat
This is the most important—and most misunderstood—part of the process. The goal is to apply a microscopic layer of oil. Too much oil is the number one mistake people make. It will pool and harden into a sticky, spotty mess.
- Add a Little Oil: While the pan is still warm, add about a teaspoon of your chosen high-smoke-point oil.
- Spread It Everywhere: Use a lint-free cloth or a folded paper towel to rub the oil all over the entire pan. Cover the cooking surface, the outside walls, the bottom, and the handle. Every single part of the metal should have a thin sheen of oil.
Step 4: The “Wipe Down” – Buff It Out Like New
This is the secret step. Once the pan is coated, you’re going to wipe it all off. It sounds crazy, but it’s the key to a perfect finish.
- Grab a Clean Cloth: Take a fresh, clean, lint-free cloth or paper towel.
- Wipe and Buff: Now, wipe off all the oil you just applied. Pretend you made a mistake and are trying to remove it all. Buff the pan until it looks dry and dull. Don’t worry, there’s still an incredibly thin layer of oil in the microscopic pores of the metal. This is exactly what you want.
Step 5: The “Curing” Process – Time for the Heat Treatment
Now we’re going to bake that thin layer of oil onto the pan, turning it from a liquid into a hard, solid coating. This is like the baking process in a professional auto body shop that cures the paint.
- Preheat Your Oven: Set your oven to a temperature that’s above the smoke point of your oil. A good general temperature is 450-500°F (230-260°C).
- Position the Pan: Place the pan upside down on the middle rack of the oven. Placing it upside down prevents any tiny excess oil droplets from pooling on the cooking surface.
- Add Protection: Place a baking sheet or a piece of aluminum foil on the rack below to catch any drips (though if you wiped it down properly, there shouldn’t be any).
- Bake for One Hour: Let the pan bake for a full hour. Your kitchen might get a little smoky, so turn on your exhaust fan or open a window. This is the smell of a successful seasoning!
Step 6: The “Cool Down” and “Repeat Coats”
The job isn’t quite done yet. A proper cool-down is important for durability.
- Turn Off the Oven: After the hour is up, simply turn off the oven.
- Let It Cool Inside: Do not remove the hot pan. Let it cool down completely inside the oven. This slow, gradual cooling helps the seasoning layer set properly and prevents the pan from warping due to a sudden temperature change (thermal shock).
- Inspect Your Work: Once cool, your pan should have a smooth, dark, semi-matte finish. It shouldn’t be sticky or oily to the touch.
- Repeat for Best Results: One coat is good, but three or more is even better. A single coat of paint doesn’t offer much protection, right? The same is true here. Repeat steps 3 through 6 three to five times to build a tough, slick, and durable foundation.
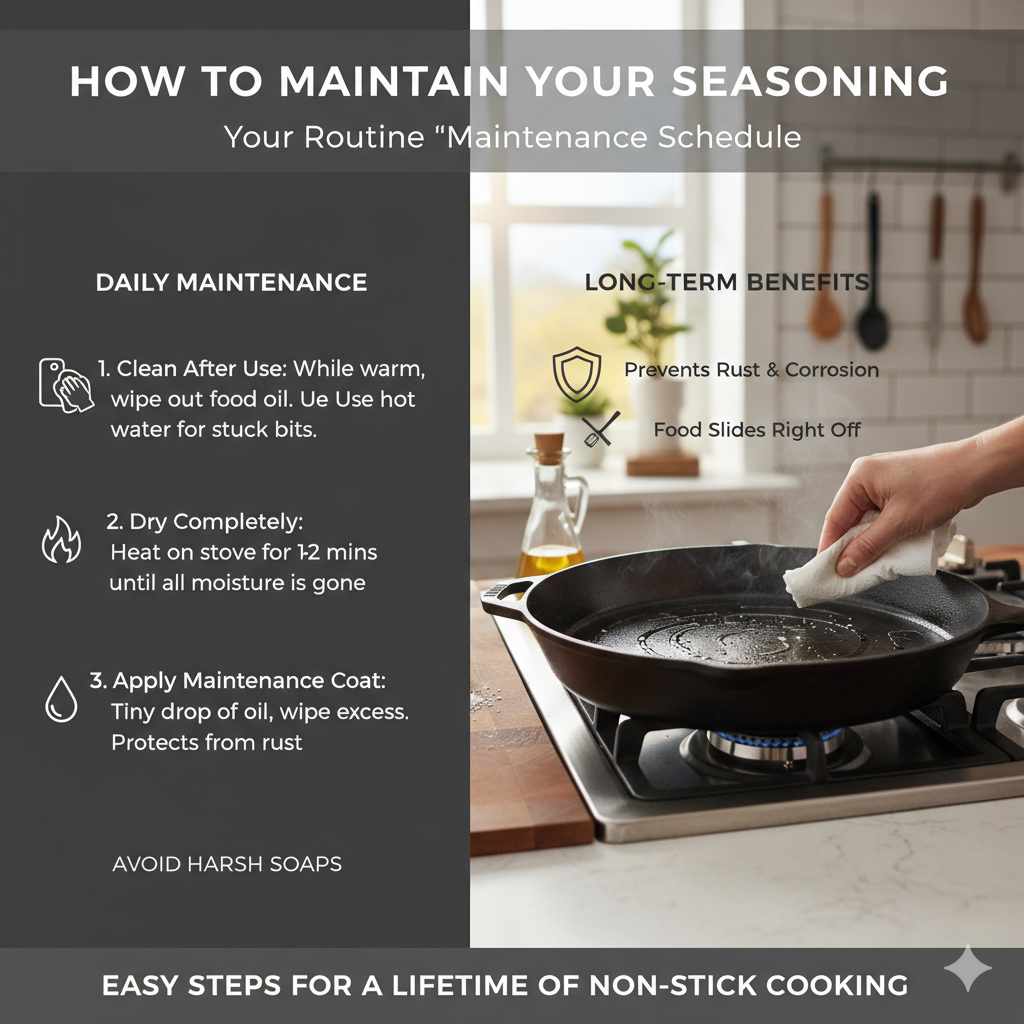
How to Maintain Your Seasoning: Your Routine “Maintenance Schedule”
You wouldn’t get an oil change and then never check your dipstick again. A seasoned pan needs a little bit of ongoing care to keep it in top condition. Don’t worry, it’s easy.
- Cleaning After Use: The best way to clean is right after cooking while the pan is still warm. Use a paper towel to wipe out any excess food and oil. For stuck-on bits, use hot water and a non-abrasive scraper or brush. Avoid harsh soaps, as they can strip the seasoning you worked so hard to build.
- Always Dry Completely: After rinsing, always dry your pan immediately. The best way is to put it back on the stove over low heat for a minute or two until all moisture is gone.
- Apply a Maintenance Coat: While the pan is still warm from drying, add a tiny drop of oil (just a few drops is plenty) and wipe it around the cooking surface with a paper towel. Wipe off any excess. This protects it from moisture in the air until its next use.
Frequently Asked Questions (FAQ)
What do I do if my pan gets rusty?
Don’t panic! It’s like finding a small rust spot on a car fender—totally fixable. Just scrub the rust off completely with steel wool until you see bare metal. Then, wash the pan and start the seasoning process from Step 1, applying a few coats to build the protection back up.
Is it really okay to never use soap on my seasoned pan?
Once your pan is well-seasoned, a tiny bit of mild soap and water won’t kill it. The polymerized oil is very durable. However, for daily cleaning, hot water and a good scrub are usually all you need. Avoiding soap helps preserve the top layers of seasoning. Never put it in the dishwasher—that’s the equivalent of a paint stripper for your pan.
Help! My seasoning turned out sticky. What went wrong?
Stickiness is the number one sign that you used too much oil. The excess oil didn’t fully polymerize, leaving a gooey residue instead of a hard coating. The fix is to bake the pan again in the oven at 500°F for another hour. The high heat should help cure that sticky layer. If it’s really bad, you may need to scrub it off and start over.
How do I know when my pan is perfectly seasoned?
A well-seasoned pan will have a dark, even, semi-glossy finish. It will feel smooth to the touch, not oily or sticky. The ultimate test is performance: when you can fry an egg on it with minimal oil and it slides right out, you’ve achieved seasoning perfection.
Can I season my pan on the stovetop instead of the oven?
Yes, but the oven method is better for a complete and even initial seasoning. The stovetop method is great for quick touch-ups. To do it, just heat the pan on a burner, apply a very thin layer of oil, and heat it until it starts to smoke lightly. Let it cool and repeat. This primarily seasons the cooking surface, while the oven method seasons the entire pan.
Is it safe to season my pan indoors?
Yes, but be prepared for some smoke and odor. It’s a normal part of the process. Make sure your kitchen is well-ventilated. Turn on your range hood exhaust fan, open some windows, or even point a small fan out a window to help clear the air.
What’s the difference between seasoning and just oiling a pan?
Oiling a pan is just wiping it with oil. Seasoning is a chemical process. It uses high heat to transform that liquid oil into a solid, plastic-like layer that is bonded to the metal. It’s the difference between wiping your dashboard with a cloth and applying a permanent protective coating.
Conclusion: Your Pan is Ready for the Long Haul
There you have it. Just like tuning up an engine or applying a perfect coat of wax, seasoning your pan is a simple bit of maintenance that pays off in a huge way. It’s not about being a professional chef; it’s about understanding how your tools work and taking care of them so they take care of you. By transforming that piece of metal into a slick, protected, high-performance cooking machine, you’ve done more than just follow a recipe—you’ve built something that will last a lifetime.
So next time you pull out that skillet, you can feel that same pride you get from a well-maintained car. It’s reliable, it performs beautifully, and you know you’re the one who made it that way. Now get in the kitchen and enjoy the ride.


