DIY Panelled Headboard Tutorial: Build a Custom Upholstered Headboard
You’ve seen the photos online: a bedroom with a tall, upholstered headboard that looks like it cost a thousand dollars. You check the price tag on a similar one and immediately close the browser tab. The good news? You can build something that looks just as good for a fraction of the cost. The better news? You don’t need a massive sheet of plywood, a truck to haul it, or a workshop full of tools.
This guide focuses on the panel method. Instead of wrestling with one giant board, you build smaller individual panels and mount them to the wall. It’s easier to handle, cheaper to buy materials for, and gives you the freedom to arrange them in a grid that fits your space perfectly. You’ll learn exactly what materials to buy, how to cut and upholster each panel, and three different ways to mount the finished product—including options that won’t damage rental walls.

MAQQL
MAQQL Wall-Mounted Upholstered Headboard Panels, Light Gray…
- Customizable Wall-Mounted Upholstered Headboard Panels Transform your bedroom with this set of 9 light gray faux leather headboard…
- Comfortable, Silent Design for Relaxation Designed for ultimate comfort, these upholstered headboard panels are filled with high e…
- DIY Installation with Flexible Arrangement Options These lightweight wall-mounted panels are perfect for DIY installation, giving…
As an Amazon Associate I earn from qualifying purchases.
If you want a shortcut that still gives you the custom look, consider the MAQQL Wall-Mounted Upholstered Headboard Panels. These pre-made light gray faux leather panels measure 24×12 inches and come in a pack of nine. You can arrange them to fit a queen or king bed without cutting a single piece of fabric.
Why Build a Panelled Headboard? (Benefits Beyond Looks)
A padded headboard does more than make your bed look finished. If you sit up to read or watch TV, it saves your neck and shoulders from pressing against a hard wall. The foam padding absorbs sound, which matters if your bed shares a wall with a noisy room or a busy street. A 1-inch layer of high-density foam cuts noticeable echo, and a full upholstered panel acts as a mild acoustic panel.
The panel approach also solves a practical problem: getting materials into your home. A standard king headboard measures 76 inches wide. A solid piece of plywood that size is awkward to carry through doorways and hallways, especially in older homes with narrow stairs. Individual panels, typically 24 inches wide or smaller, fit in a car and move easily.
There’s a cost angle too. You can buy smaller pieces of plywood or MDF, which are cheaper per sheet than one large board. If you make a mistake, you only ruined one panel, not the entire project.
Materials and Tools: The Complete Shopping List
Here’s what you need to gather before you start. The quantities depend on your bed size, which we’ll cover right after.
- Plywood or MDF panels (see options below)
- High-density foam padding (2-inch thickness for comfort, 1-inch for a slimmer profile)
- Polyester batting (one layer, 1-inch thick)
- Upholstery fabric (woven cotton or linen blends work best for beginners)
- Spray adhesive
- Staple gun with 1/4-inch staples
- Scissors or a sharp utility knife
- Electric drill with a 3/16-inch drill bit (for mounting)
- Drywall anchors and screws
- Measuring tape and pencil
Panel Options (MDF, Plywood, Foam Board)
Your choice of base material affects weight, durability, and how well it holds staples.
Plywood (1/2-inch) is the most reliable choice. It holds staples firmly, doesn’t warp, and handles the weight of foam and fabric without bending. Sand the edges before wrapping to avoid snags. It’s not the cheapest option, but it’s the most forgiving.
MDF (1/2-inch) is cheaper and completely smooth, which gives a crisp, clean look under fabric. The downsides: it’s heavy, and it can crumble at the edges if you drive staples too close to the border. It also doesn’t like moisture. Fine for a bedroom, less ideal for a humid climate.
Foam board (1/2-inch) is the lightweight option. You can cut it with a utility knife, and it’s easy to mount on drywall. But staples don’t hold well in foam board—they pull out easily. You’ll need to use strong adhesive to attach the fabric instead. This works for a temporary headboard or a rental, but it won’t last as long as wood.
Fabric and Foam Quantity Calculator (Queen vs. King)
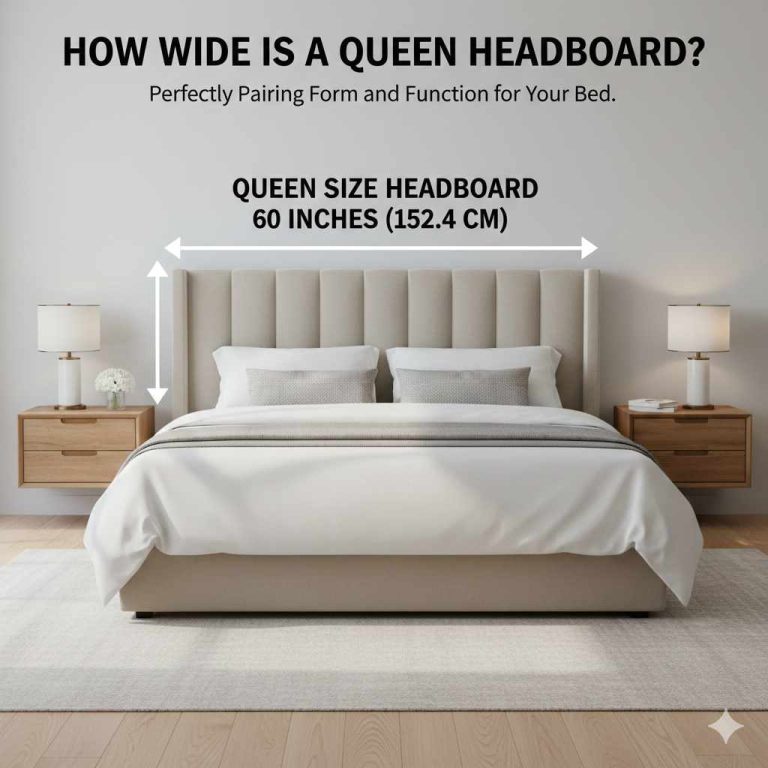
Measure your bed frame first. A standard queen mattress is 60 inches wide; a king is 76 inches. Your headboard should be the same width as the mattress, or slightly wider if you want an overhang. Height is your choice—24 inches is a common minimum, 36 inches looks more dramatic.
For a queen bed with a 60×24-inch headboard made from three 20-inch panels: you need three pieces of plywood at 20×24 inches, three pieces of foam the same size, and 2.5 yards of 54-inch-wide fabric. That allows 6 inches of extra fabric on each side for wrapping.
For a king bed with a 76×24-inch headboard made from four 19-inch panels: you need four pieces of plywood at 19×24 inches, four pieces of foam, and 3.5 yards of fabric. The extra width covers the additional panel and gives you room for error.
Batting comes in rolls. Buy 2 yards for a queen, 3 yards for a king. You’ll use more than you think because it compresses when you wrap it around the edges.
How to Measure and Cut Your Panels Perfectly
Measure your bed frame’s width first. Don’t trust the mattress label—they vary. Run the tape measure across the actual frame. Write that number down.
Decide on your panel count. Three panels for a queen, four for a king is a good starting point. Divide the total width by the number of panels. If your queen frame measures 61 inches, each panel should be 20.33 inches. Round to 20.25 inches and adjust the outer panels slightly if needed.
Cut your plywood with a circular saw or a table saw. If you don’t own either, most home improvement stores cut wood to size for free. Have them cut the panels while you’re there—it saves you the hassle and gives you straight, clean edges.
Before you cut foam, lay it flat and mark your dimensions with a marker. Cut foam with an electric carving knife—it sounds odd, but it works better than scissors and leaves a clean edge. A serrated bread knife also works in a pinch.
Step-by-Step: Upholstering Your Panels
Lay out all your materials on a large, clean surface. A dining table or the floor works. This process is repetitive—once you finish one panel, the rest go faster.
Step 1: Attaching Foam and Batting
Spray adhesive on the face of the plywood panel. Wait 30 seconds for it to get tacky, then press the foam onto the wood. Smooth it out from the center to the edges to remove air bubbles. Let it dry for 10 minutes.
Lay your batting over the foam. Pull it tight around the edges and staple it to the back of the plywood. Start with one staple in the center of each side, then work outward. Don’t stretch the batting too hard—you want it snug, not tight enough to distort the foam.
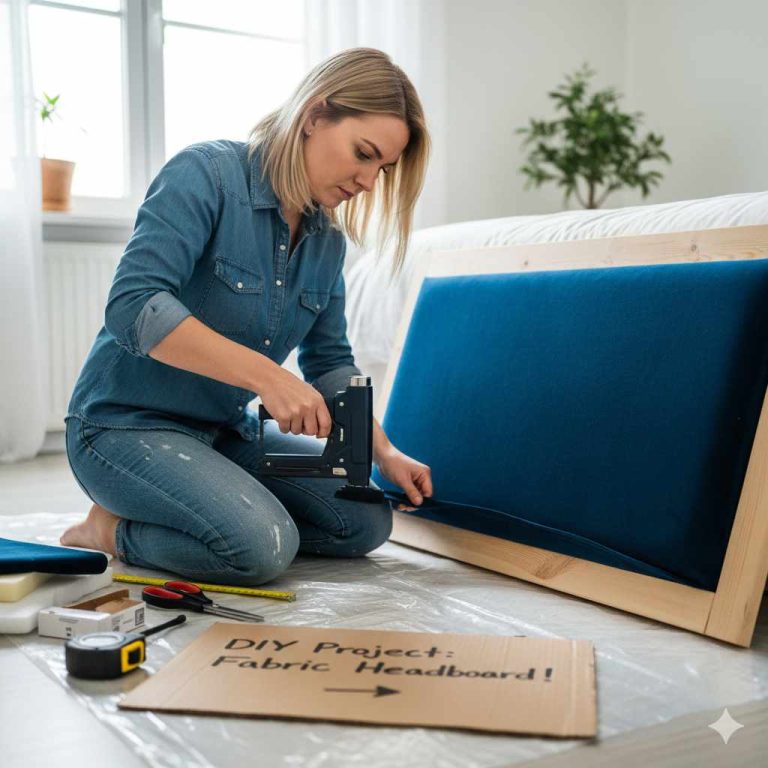
Step 2: Wrapping Fabric and Staple Technique
Place the panel face-down on your fabric. Make sure the fabric pattern is straight. Pull the fabric over the top edge and staple it to the back of the plywood, about 1 inch from the edge. Do the same on the bottom edge, then the sides.
Work in this order: top center, bottom center, left center, right center. Then move outward, adding staples every 2 inches. Always pull the fabric taut before each staple. Smooth the fabric with your palm as you go to prevent wrinkles.
Space staples about 1/2 inch apart along the edges for a secure hold. It’s tedious, but it prevents the fabric from pulling loose over time.
Step 3: Perfect Corners (Square and Curved)
Square corners are the hardest part. The trick is to fold, not cut. Pull the fabric tight over the corner, then fold it flat against the side of the panel. Staple the fold. Then fold the remaining fabric over the top and staple it down. You’ll get a clean, flat corner without bulk.
For curved corners—if you rounded your panels with a jigsaw—the technique changes. Make small snips in the fabric along the curve, about 1 inch apart. Cut up to the edge of the plywood, but not beyond. Then pull each tab tight and staple. The snips allow the fabric to conform to the curve without puckering.

How to Mount Your Headboard (3 Methods Compared)
Your mounting method depends on your wall type, whether you rent, and how permanent you want this to be.
Wall-Mounted (Rental-Friendly)
This is the most common method. Mark your panel positions on the wall with a pencil. Use a stud finder to locate studs—if you hit one, use a 2-inch wood screw. If not, use a drywall anchor rated for 25 pounds. Each panel needs at least two anchors, one at the top and one at the bottom. For a 24-inch panel, use three: top, middle, bottom.
Attach the panels directly to the wall, or mount them on a horizontal wood strip that you screw into the studs. The strip method is more secure and makes it easier to keep panels level.
Frame-Attached
If your bed frame has pre-drilled headboard holes, you can bolt the panels directly to the frame. This works best with a solid wood frame. Attach a horizontal 1×4 board to the back of your panels, then bolt that board to the frame. You’ll need to remove the mattress to access the holes. It’s more work, but the headboard won’t move independently of the bed.
Lean-Against (No-Drill Option)
For a truly temporary setup, build a freestanding frame. Attach your panels to a piece of 3/4-inch plywood cut to your headboard dimensions, then add two 2×4 legs that extend down behind the bed. The weight of the mattress and box spring holds the legs in place. This method requires no wall damage and lets you move the headboard whenever you want.
| Method | Difficulty | Time | Wall Damage | Best For |
|---|---|---|---|---|
| Wall-Mounted | Easy | 1 hour | Several screw holes | Homeowners, permanent setup |
| Frame-Attached | Moderate | 2 hours | None | Solid wood bed frames |
| Lean-Against | Moderate | 2-3 hours | None | Renters, frequent movers |
Design Variations: From Classic to Modern
Once your basic panels are up, you can dress them up. The panel method makes customization easy because you can vary each piece.
Button Tufting vs. Nailhead Trim
Button tufting adds a classic, tailored look. You’ll need a button kit and upholstery thread. Mark your button positions on the foam before covering it with fabric. After wrapping, pull the thread through the fabric and foam, then through the plywood, and tighten. It’s time-consuming—each button takes about 10 minutes—but the result looks store-bought.
Nailhead trim is faster and easier. Buy a roll of nailhead trim and a hammer. Tap the nails along the edge of each panel, spacing them evenly. It adds a crisp border and hides any imperfect edges. This is a great option if your fabric wrapping isn’t perfect.
Multi-Panel Grid Layouts
You’re not limited to a single row. A 2×3 grid of smaller panels creates a tall, dramatic headboard. Use 12×12-inch panels for a checkerboard effect, or mix sizes for an asymmetrical look. The modular nature of panels makes this easy to plan and install. Just remember that more panels mean more seams, so keep your fabric pattern consistent across all of them.
Common Mistakes and How to Fix Them
Fabric sagging happens when you didn’t pull the fabric tight enough during stapling. The fix is simple: remove the staples on the sagging edge, pull the fabric taut, and re-staple. You’ll see staple holes in the fabric, but they’re usually hidden by the frame or the wall.
Foam shifting occurs when the spray adhesive didn’t bond properly. If you feel the foam move under the fabric, you need to redo that panel. Peel the fabric back, reapply adhesive, and press the foam down firmly. Let it cure for a full hour before wrapping.
Wrinkles at the corners are almost always caused by cutting fabric instead of folding it. If you already cut, you can’t undo it. For future panels, remember the fold technique. For a quick fix, tuck the cut edge under and staple it down—it won’t be perfect, but it’ll be less noticeable.
Panels that don’t line up are a measurement issue. Check your level before committing to all the screws. If one panel is slightly off, loosen its screws and shim it with a thin piece of cardboard behind the panel before tightening again.
Cost Breakdown and Time Estimate
Here’s a realistic budget for a queen-size project, assuming you buy everything new.
- Plywood or MDF: $25–$40
- Foam padding: $30–$50
- Batting: $10–$15
- Fabric: $30–$60 (depends on the material)
- Spray adhesive: $10
- Staples and screws: $10
- Total: $115–$185
Compare that to a store-bought upholstered headboard, which typically runs $300–$800. You save money even if you need to buy a staple gun ($25) and drill bits ($10).
Time-wise, plan for a weekend. Cutting and prepping materials takes 2 hours. Upholstering each panel takes about 45 minutes. Mounting takes 1–2 hours. A first-timer should budget 6–8 hours total. The second time you do it, you’ll cut that in half.
Frequently Asked Questions
What is the best foam thickness for a headboard?
2 inches is the sweet spot for comfort. It gives enough padding to lean against without feeling like a pillow. 1-inch foam works if you want a slimmer profile, but you’ll feel the plywood edge when you press against it. Anything thicker than 3 inches is overkill and makes the fabric wrapping harder.
Can I use a regular staple gun or do I need an upholstery one?
A manual staple gun works, but your hand will tire after a few panels. An electric staple gun is worth the extra $30—it drives staples flush and saves you an hour of work. A pneumatic stapler is overkill for this project unless you already own one.
How do I clean a fabric headboard?
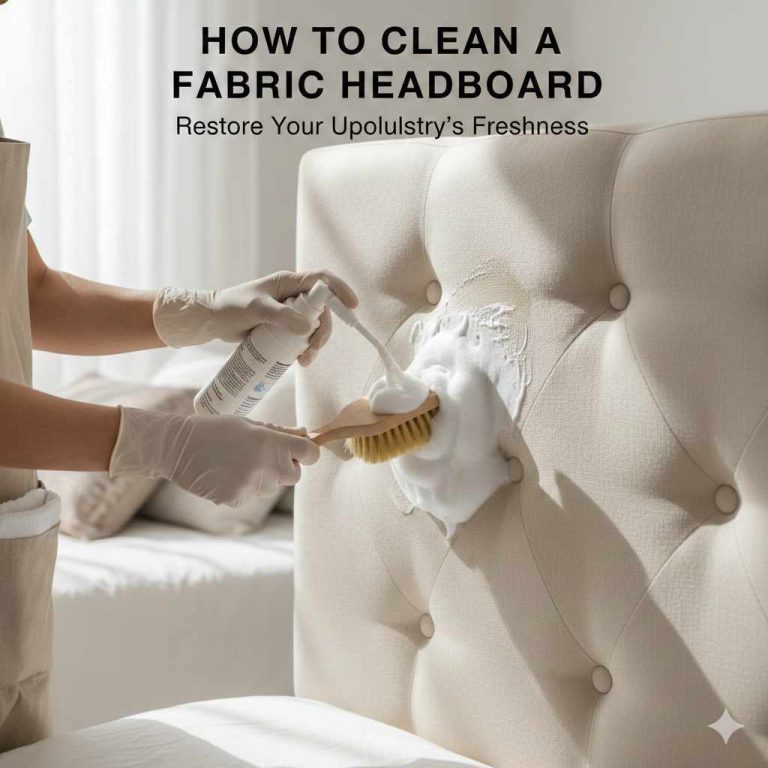
Vacuum it weekly with a brush attachment to remove dust. For spills, blot immediately with a damp cloth and mild soap. Don’t scrub—it’ll push the stain deeper into the foam. For stubborn stains, a fabric cleaner spray works, but test it on an inconspicuous spot first.
Will the panels stay up on plaster walls?
Plaster is harder than drywall and cracks easily. Use a masonry bit to drill pilot holes, then use toggle bolts instead of regular drywall anchors. Toggle bolts distribute the weight better and won’t pull out. Avoid hammering anything into plaster—it’ll crumble.
Can I make this project without a drill?
You can, but it’s not fun. A screwdriver works for the mounting screws, but you’ll need a hammer and nail to make pilot holes in the wall. For the panels themselves, you could use heavy-duty adhesive strips rated for 20+ pounds, but they’re less reliable than screws. Borrow a drill from a neighbor—it’s worth it.
Final Thoughts
Building a panelled headboard is one of those projects that looks intimidating until you break it into steps. The panel method keeps every step manageable: small cuts, small pieces of fabric, and simple mounting. You don’t need advanced woodworking skills or expensive tools.
- Use 1/2-inch plywood for the best balance of weight and staple-holding power.
- Measure your actual bed frame, not the mattress label, before cutting anything.
- Cut foam with an electric carving knife for clean edges.
- Staple from the center outward to keep fabric smooth.
- Fold corners—don’t cut them—for a professional finish.
- Use the lean-against method if you’re renting or move often.
- Budget $115–$185 and a weekend; you’ll save hundreds compared to store-bought.
If you’re looking for a faster alternative, check out our tufting guide for a more traditional look. And if you’re already thinking about other bedroom upgrades, our canopy bed ideas might give you some inspiration for your next project. For more wall decor inspiration, browse our backdrop ideas.
Products related to this article
Sponsored / affiliate links. As an Amazon Associate I earn from qualifying purchases. I may earn additional commission from eligible campaigns.