How to Decorate a Balcony with String Lights
Use railing clips on metal or wood railings, adhesive outdoor hooks on smooth walls, and only outdoor-rated cords with GFCI protection; keep the lights around the balcony perimeter, not across the walking path. Bad mounting can peel paint, trip a breaker, or leave cords exposed to rain and foot traffic. This guide covers the safest hanging method by balcony material, then shows how to plan a layout that looks intentional. For outdoor use, follow the light manufacturer’s installation instructions and weather rating, and use GFCI-protected outdoor receptacles or a portable GFCI device where appropriate (manufacturer installation docs; CPSC electrical safety guidance; NEC outdoor receptacle/GFCI requirements).
Which light type should you buy?
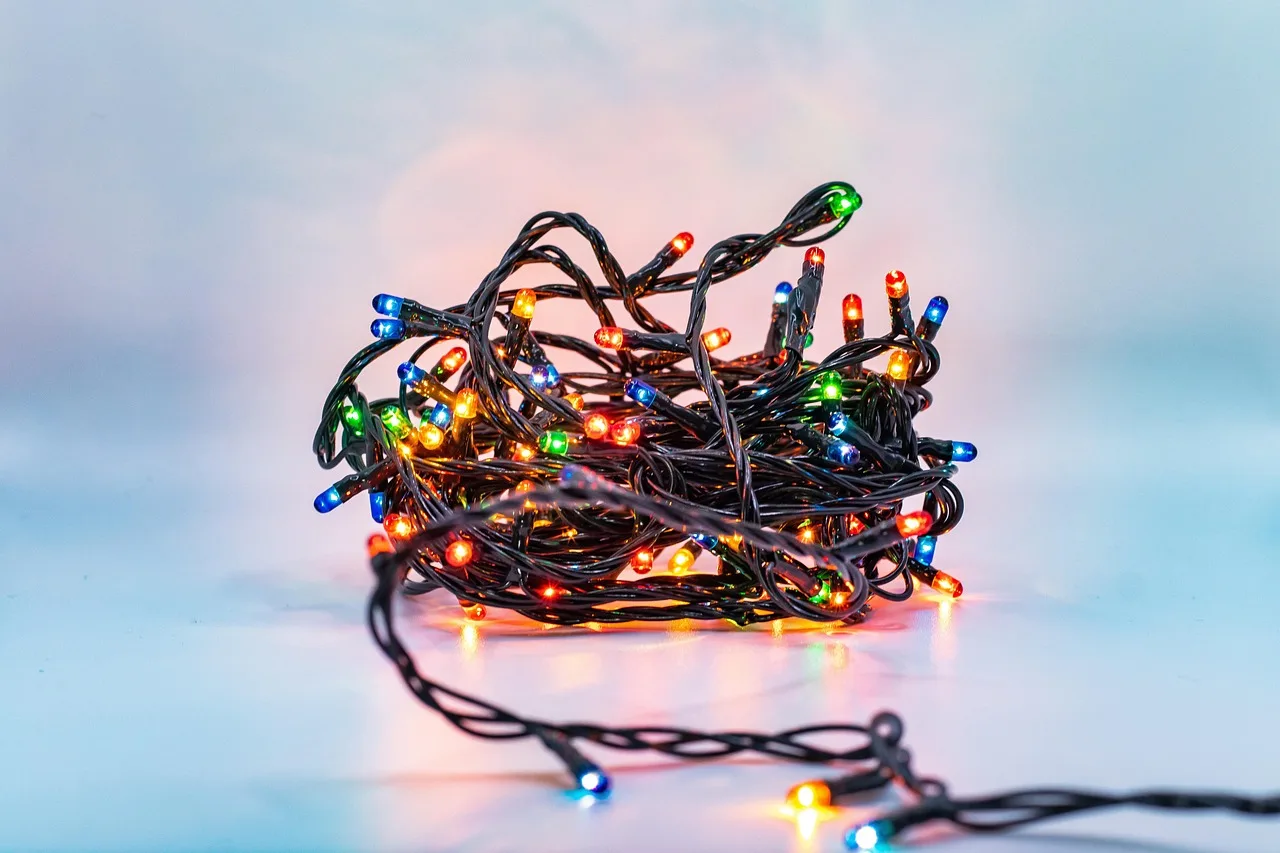


Choose outdoor-rated LED string lights for most apartment balconies. LEDs run cooler and use less power than incandescent strands, which matters on a small balcony with limited power access and closer contact with railings or fabric furniture. For wet or exposed balconies, verify the product’s intended use by reading the package and installation sheet rather than assuming a single universal IP threshold fits every model; manufacturer instructions control the actual placement limits and weather exposure (manufacturer installation docs; CPSC outdoor-light guidance).
LED vs. incandescent
LED is the safer default for most renters. Incandescent strands can run hotter and usually draw more power, so they are less forgiving on long runs or crowded railings. If you want a softer look, choose warm white LED bulbs instead of switching to a hotter light source.
Plug-in, solar, or battery power
Plug-in lights work best when you have an outdoor outlet or a clean window cord path. Solar lights depend on steady sun exposure, which many balconies do not get for enough of the day. Battery lights avoid cords, but you need to plan for battery replacement frequency before you hang anything high. If you use a plug-in strand, keep the cord within the manufacturer’s allowed length and do not daisy-chain beyond the stated limit; extension cords should be outdoor-rated, sized for the load, and positioned so they do not create a trip hazard or sit in standing water (manufacturer installation docs; CPSC extension-cord safety).
Warm white and shatterproof options
Warm white bulbs usually read calmer against brick, painted walls, and evening glass reflections. Shatterproof bulbs are a practical pick near railings or overhead runs, because a dropped bulb on a small balcony is harder to recover and more annoying to replace.
What to check on the package before you buy
Look for outdoor use, a strand length that matches your measured span, and connectors that fit the mounting method you plan to use. Check whether the set is approved for damp or wet locations, because balconies with direct weather exposure need products designed for that environment. Keep the bulbs in a separate box until installation is done so they do not crack before they are hung (manufacturer installation docs; UL/ETL listing guidance; CPSC outdoor-light safety).
How do you map the layout?
Measure the balcony first, then decide where the lights should live: railing, perimeter, or overhead. A planned layout avoids a sagging span, blocked sightlines, and cords that cross the walking path.
| Balcony type | Best mounting method | Risk level | Estimated difficulty | Power option |
|---|---|---|---|---|
| Metal railing | Railing clips with a perimeter or wrap run | Low | Easy | Plug-in near an outdoor outlet; solar only if sun is strong |
| Wood railing | Railing clips or screw eye hooks where allowed | Low to medium | Easy to moderate | Plug-in if the cord can reach cleanly; battery for short accent runs |
| Glass panel | Adhesive hooks on approved smooth edges or a freestanding support | Medium to high | Moderate | Plug-in with a window cord path or battery lights |
| Stucco wall | Screw eye hooks only if the wall material allows it; avoid adhesive on rough stucco | High | Moderate to hard | Plug-in if a safe path exists; battery if wall mounting is limited |
| Covered balcony | Adhesive hooks, screw eye hooks, or ceiling anchors on the overhang | Low to medium | Easy to moderate | Plug-in is usually the cleanest option |
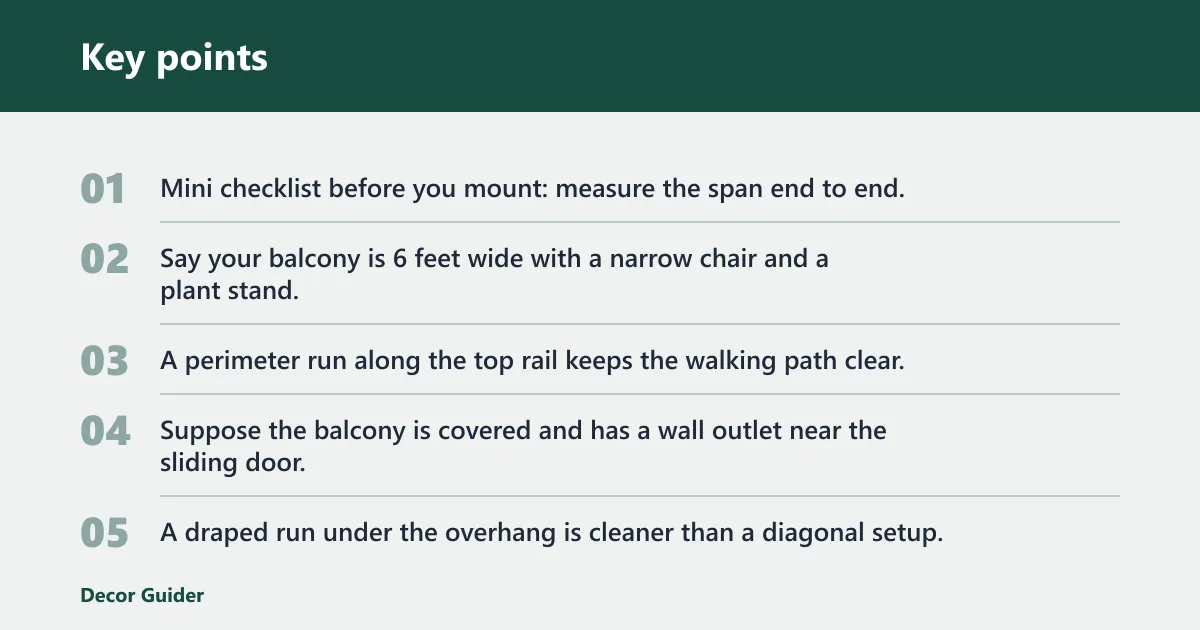
Mini checklist before you mount: measure the span end to end; note the distance from the light path to the nearest outlet; confirm headroom so doors, windows, and tall chairs still clear the strand; check direct sun exposure if you are considering solar; and review lease, HOA, or building restrictions before drilling, sticking, or clipping anything permanent (manufacturer installation docs; landlord/building-rule caveats; CPSC outdoor electrical safety).
Say your balcony is 6 feet wide with a narrow chair and a plant stand. A perimeter run along the top rail keeps the walking path clear, while an overhead strand would cut into headroom and sightlines.
Suppose the balcony is covered and has a wall outlet near the sliding door. A draped run under the overhang is cleaner than a diagonal setup, because the cord can stay close to the power source instead of crossing open space. If you are deciding between plug-in, solar, or battery, start with your power access and sun exposure before you buy anything; that is usually the fastest way to narrow the choice.
How do you pick a mounting method by surface?
Match the mount to the balcony material. Metal and wood railings usually take clips well, smooth walls can take adhesive hooks, and covered ceilings can support draped runs if the structure is already there or an allowed anchor can be installed. Follow the hardware maker’s weight and surface instructions; no hook is universal, and even “no-drill” products depend on the surface finish, moisture, temperature, and the actual strand weight (manufacturer installation docs; CPSC outdoor-light safety).
Railing clips, adhesive hooks, screw eye hooks, and D-ring clips
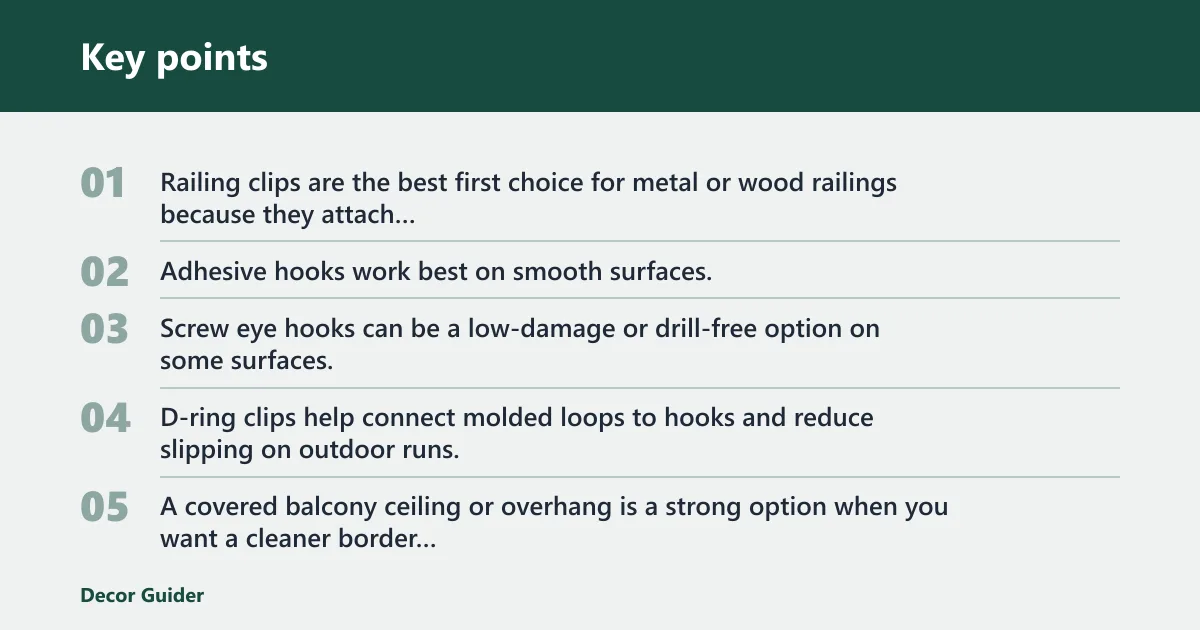
Railing clips are the best first choice for metal or wood railings because they attach without drilling and are easier to remove for renters. Adhesive hooks work best on smooth surfaces, but they are less reliable on rough stucco and can fail with moisture. Screw eye hooks can be a low-damage or drill-free option on some surfaces, but only when the wall material is compatible and the manufacturer allows that installation method. D-ring clips help connect molded loops to hooks and reduce slipping on outdoor runs.
Balcony ceiling and overhang mounting
A covered balcony ceiling or overhang is a strong option when you want a cleaner border light or a small canopy effect. Use only anchors that are approved for the ceiling material, and keep the run tucked close to the edge so the strand does not reduce headroom. If the overhang is exposed to wind or direct rain, choose hardware and lights that are specifically approved for that location rather than assuming an outdoor label covers every condition (manufacturer installation docs; outdoor wet-location guidance).
How do you route power safely?
Use the shortest safe path from the lights to the power source. Outdoor receptacles should be GFCI-protected, covered, and weather-resistant when exposed to the elements, and extension cords should be outdoor-rated and placed so they are not pinched in doors or left where water can collect. If you must bridge a gap, follow the manufacturer’s maximum run length and do not overload the circuit with additional high-draw devices (manufacturer installation docs; NEC outdoor receptacle/GFCI requirements; CPSC extension-cord safety; fire-safety guidance).
Outdoor outlets and GFCI protection
An outdoor outlet with GFCI protection is the preferred power source for plug-in balcony lights. If the balcony does not have one, use only a code-compliant temporary setup approved for outdoor use, and do not run a standard indoor extension cord through a window or door gap where it can be damaged. A GFCI reduces shock risk if moisture gets into the system, but it does not replace the need for weather-rated lights, cords, and connectors (NEC/CPSC guidance; manufacturer installation docs).
Extension-cord limits and wet-location cautions
Keep the extension cord as short as practical and within the load limit printed on the cord and light set. Avoid coiling excess cord under rugs or planters, and never place plugs, adapters, or connections where they can sit in puddles or spray. If the balcony is fully exposed, select lights and accessories that the manufacturer explicitly allows for wet locations; an outdoor label alone does not always mean every connection point is wet-location rated (manufacturer installation docs; CPSC extension-cord safety).
How do you install them step-by-step?
Once the light type, mounting method, and power path are decided, installation should be straightforward. Work slowly, check the surface twice, and test the entire run before you commit to final placement.
- Confirm lease rules, building rules, and any neighbor restrictions before attaching anything.
- Install the chosen anchors with the least invasive method that still fits the surface.
- Attach the strand with railing clips, loops, or D-ring clips so the line does not slide.
- Keep each connection snug, then leave a little give so wind does not pull the strand loose.
- Route the cord to the outlet or power pack without crossing the doorway or the floor path.
- Add support every 4 to 5 bulbs, then recheck the tension after the first night outside.
In practice, the safest way to finish the job is to test the strand on the ground first, then hang it, then plug it into the protected outdoor source only after every connector is dry and seated correctly. If any section sags, shift the clips instead of stretching the strand tighter; overstretching puts stress on the bulbs, sockets, and anchor points (manufacturer installation docs).
What common mistakes should you avoid?
These are the failures that usually make balcony lights look improvised, or make them stop working early.
- Using indoor-only lights outside. Buy outdoor-rated strands only.
- Choosing adhesive on rough or damp surfaces. Reserve adhesive hooks for smooth, dry areas.
- Ignoring lease or building rules. Check written restrictions before installing hooks or cords.
- Skipping outlet, sun, or battery planning. Decide the power source before you buy the strand.
- Leaving long spans unsupported. Add anchors or clips so the line does not sag in wind.
- Running cords across walk paths. Keep cables tight to the wall, railing, or overhang.
A common first-timer mistake is buying about a 24-foot strand for a 10-foot balcony and hoping the extra length will “work itself out.” That usually leaves a heavy loop in the center, so the better fix is to remeasure, choose a shorter strand, and add support every 4 to 5 bulbs. Another frequent issue is assuming every outdoor setup can use the same hardware; balcony material, moisture, and access to a protected outlet all change the safest choice (manufacturer installation docs; CPSC outdoor-light safety).
The cleanest setup is usually one clear line with one visual anchor: a railing wrap, a top-perimeter run, or a short overhead border. Keep the layout symmetrical when possible, because small balconies look cluttered fast when lights drift across the center or hang at uneven heights.
What a planned layout prevents
A planned layout prevents three common problems: the strand sags in the middle, the cord crosses a walkway, or the bulbs compete with the view from inside the apartment. If the balcony is used year-round, keep the run simple and durable. If it is holiday-only, a more decorative border can work as long as it still respects the railing and power source.
Products related to this article
Sponsored / affiliate links. As an Amazon Associate I earn from qualifying purchases. I may earn additional commission from eligible campaigns.