
Boil first, then pan-fry! The easiest way to cook perfect, crispy skillet potatoes is by par-boiling them slightly before searing them in hot oil. This ensures the inside is fluffy while the outside gets that golden, satisfying crunch every time.
Tired of potatoes that are either burnt on the outside and raw in the middle, or soggy messes when you try to pan-fry them? You are not alone! Getting that perfect texture—crispy, golden exterior with a creamy, soft interior—can feel like a mystery. But mastering how to cook potatoes in a skillet is simple once you know the right tricks. Think of this like tuning up your favorite engine; a little preparation goes a long way. We are going to walk through easy, foolproof steps that guarantee delicious results every single time. Get ready to ditch the oven and learn the skillet secret!
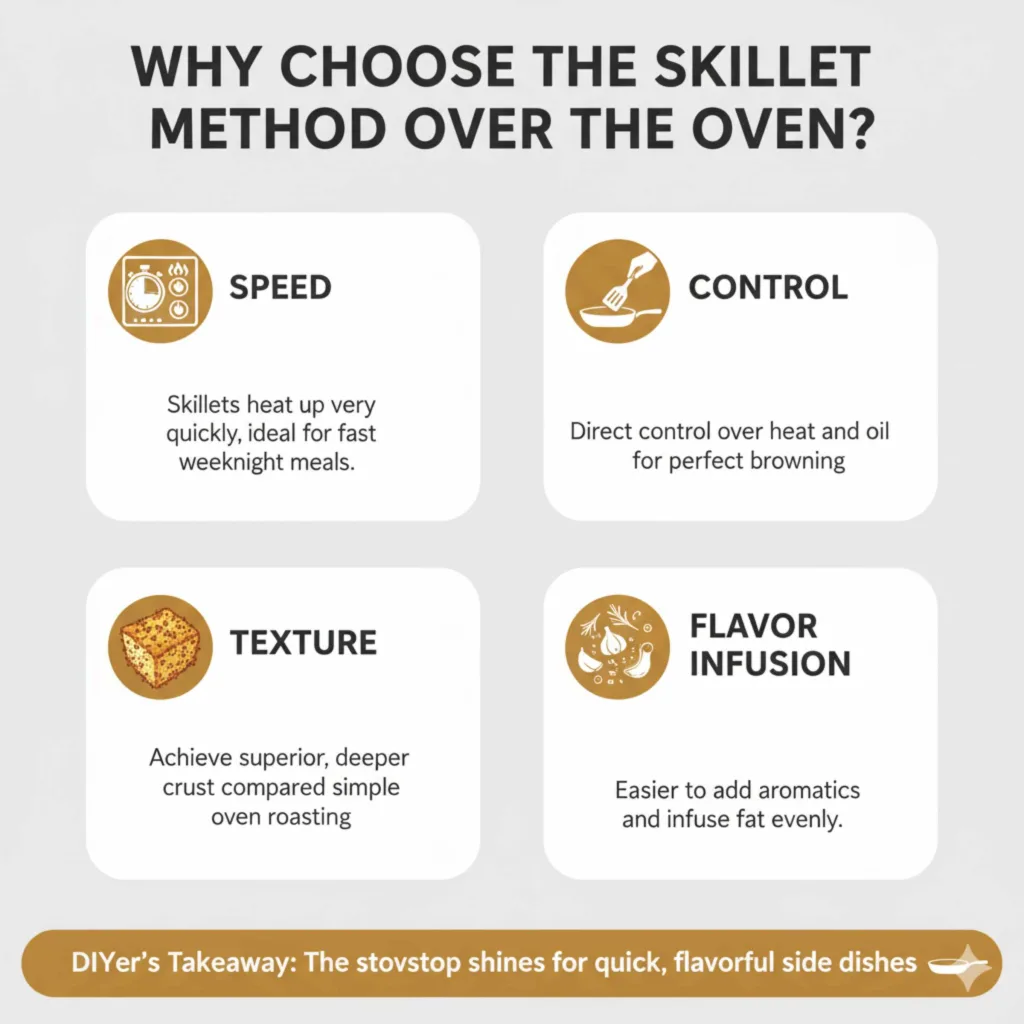
Why Choose the Skillet Method Over the Oven?
When we talk about cooking potatoes, the oven usually gets the spotlight. But for everyday use, the skillet method is fantastic. Imagine needing a quick side dish after work—preheating a large oven takes time. A skillet gets hot fast!
Here is why the stovetop shines for side dishes:
- Speed: Skillets heat up very quickly, making them ideal for fast weeknight meals.
- Control: You have direct control over the heat and oil, letting you watch and adjust for perfect browning.
- Texture: When done right, skillet potatoes often achieve a superior, deeper crust compared to simple oven roasting.
- Flavor Infusion: It’s easier to add aromatics like garlic, herbs, and onions directly to the pan base to infuse the fat and coat the potatoes evenly.

The Secret Weapon: Par-Boiling
If you skip this step, your potatoes might cook unevenly. Par-boiling (cooking them partially in boiling water first) is the game-changer that gives you reliability. It softens the inside just enough so that when they hit the hot oil, they brown immediately without needing to cook through slowly.
A good rule of thumb to remember, much like checking your tire pressure before a long drive, is that your vegetables should be firm but yielding slightly when poked with a fork after boiling. You want them almost done, but not falling apart.
Step 1: Gathering Your Tools and Ingredients
Before we start turning the ignition, let’s make sure we have everything on the workbench. Having your gear ready prevents panic mid-cook when things start sizzling.
Essential Equipment List
You don’t need fancy gear, just reliable tools.
- Sturdy Skillet: A 10- or 12-inch cast iron skillet is the gold standard because it holds heat beautifully. If you don’t have cast iron, a heavy-bottomed stainless steel skillet works well too.
- Large Pot: For the initial boiling step.
- Slotted Spoon or Spider Strainer: For safely removing the cooked potatoes from the water and the oil.
- Sharp Knife and Cutting Board.
- Tongs: Helpful for turning the potatoes once they are browning.
The Core Ingredients
Selecting the right potato matters almost as much as how you cook it. We need a variety that holds its shape well after boiling.
| Ingredient | Recommended Type | Why We Use It |
|---|---|---|
| Potatoes | Yukon Gold or Red Potatoes | Waxy texture holds shape better after boiling; less likely to turn mushy. |
| Fat | High-Heat Oil (Canola, Vegetable, Grapeseed) + Butter (optional) | Oil for high-heat searing; butter adds flavor near the end. |
| Seasoning | Kosher Salt, Freshly Ground Black Pepper | Simple foundation for flavor. |
| Aromatics | Garlic Cloves, Fresh Rosemary or Thyme | Adds deep, savory complexity while frying. |
Step 2: Preparation – Chopping and Par-Boiling
This preparation phase is the foundation of achieving that perfect crust. Treat this like checking the oil and coolant levels before a long road trip—it ensures smooth performance.
A. Preparing the Potatoes
For the best surface area to crisp up, stick to uniform shapes. Cubes or evenly sliced rounds work best.
- Washing: Scrub your potatoes well under cool water. Peeling is optional; the skin adds great texture and nutrients!
- Chopping: Cut the potatoes into uniform pieces, about 1 to 1.5 inches cubes. Uniformity is key; if pieces are different sizes, they cook at different rates.
- Rinsing (Optional but Recommended): After chopping, give the pieces a quick rinse in cold water. This removes excess surface starch, which can make them stick together or turn gummy rather than crispy.
B. The Critical Par-Boil
We are aiming for about 70% cooked through. This takes practice, but don’t worry—overcooking slightly here won’t ruin the final product, but undercooking guarantees raw centers.
- Water Setup: Place the chopped potatoes in your large pot. Cover them with cold water, leaving about an inch of water above the potatoes.
- Salt the Water: Add a generous pinch of salt to the water. This seasons the potatoes from the inside out.
- Boil: Bring the water to a rolling boil over high heat. Once boiling, reduce heat slightly to maintain a steady boil.
- Timing: Boil for about 5 to 8 minutes. Start checking after 5 minutes using a sharp fork or paring knife. It should slide into the potato easily, but the potato should still feel firm and maintain its shape. If it crumbles, you’ve gone too far!
- Draining and Drying: Immediately drain the potatoes very thoroughly in a colander. Let them sit for 5 minutes to steam dry. For extra credit, gently shake the colander when they are drained. This roughs up the edges slightly, creating more surface area for crisping!
Step 3: The Searing Stage – Getting the Crust
This is where the magic happens. High, consistent heat is non-negotiable here. An unevenly heated pan (like a worn-out exhaust manifold) leads to spotty cooking.
A. Heating the Skillet
We need the pan hot—but not smoking—before the potatoes go in. A common mistake is adding the fat or the potatoes to a cold pan.
- Preheat: Place your cast iron or heavy skillet over medium-high heat. Let it preheat for 3 to 5 minutes.
- Add Oil: Add enough cooking oil so that it thinly coats the bottom of the pan, perhaps 3 to 4 tablespoons, depending on the size of your skillet. The oil should shimmer slightly when hot, but definitely not smoke violently.
B. Searing Phase One: Setting the Crust
Do not overcrowd the pan! Overcrowding drops the temperature instantly, steams the potatoes, and gives you soft results. If you must cook a large batch, do it in two smaller batches.
- Add Potatoes: Carefully place the dried, par-cooked potatoes into the hot oil in a single layer. Try not to drop them directly onto each other.
- Resist Moving: This is the hardest part for beginners. Do not stir for the first 5 to 7 minutes. You must let the natural crust form. If you move them too soon, that beautiful potential crust sticks to the pan.
- Checking the First Side: After about 7 minutes, use a spatula to gently lift one or two potatoes. Look for a deep, golden-brown color.
- Flipping: Once the first side is golden, flip or toss the potatoes to expose new surfaces to the hot metal. Let them sear undisturbed for another 5 minutes.
Step 4: Flavor Infusion and Finishing
Now that the structural integrity (the crispiness) is established, it’s time to build the flavor profile—like tuning the electronic systems on your vehicle for peak performance.
A. Introducing Aromatics
We add these later because harsh herbs like rosemary or delicate items like minced garlic burn quickly under high searing heat.
- Reduce Heat: Once the potatoes are mostly browned on all sides (about 15 minutes total cooking in the oil), reduce the heat to medium-low.
- Add Garlic/Herbs: Add 2 to 3 smashed garlic cloves and a few sprigs of fresh rosemary or thyme to the pan.
- Butter Splash (Optional): If desired, add a tablespoon of butter now. The butter will brown quickly, coating the potatoes with a rich, nutty flavor.
- Gentle Tossing: Gently toss the potatoes for 1 to 2 minutes, ensuring they pick up the flavor from the melted butter and infused oil. Watch the garlic; remove it immediately if it starts to turn too dark brown, as it will taste bitter.
B. Final Judgment and Seasoning
At this point, the potatoes should be tender inside (thanks to the boil) and crispy outside (thanks to the sear).
- Test Doneness: Pierce the largest piece with a fork. It should slide in with almost no resistance.
- Final Seasoning: Turn off the heat. Taste one! Now is the time to add your final sprinkle of Kosher salt and freshly cracked black pepper. Adding salt after cooking ensures the flavor pops on the exterior without drawing moisture out during the frying process.
Tips for Elevating Your Skillet Potatoes (Expert Tuning)
Once you master the basic technique, you can start customizing. These small adjustments can take your side dish from good to incredible.
Varying Your Fats
Changing the oil impacts the flavor significantly. Try using rendered bacon fat or duck fat instead of vegetable oil for an exceptionally rich taste. According to food science principles, utilizing fats with different smoke points allows for varied temperature management during different cooking stages.
The Vinegar Flash
For a bright, tangy contrast to the richness, try this technique near the very end:
- Push the potatoes to one side of the hot skillet.
- Add a splash (about 1 teaspoon) of sherry vinegar or apple cider vinegar into the exposed hot metal.
- It will sizzle violently—this is good! Quickly toss everything to coat the potatoes in the steam and vinegar essence.
Best Potatoes for Skillet Cooking Quick Reference
| Potato Type | Best For | Why? |
|---|---|---|
| Yukon Gold | Crisp exterior, creamy interior | Medium starch; doesn’t fall apart easily during the boil/fry cycle. |
| Red Bliss | Holding shape, less mushy | Very low starch content; holds shape perfectly, though the inside isn’t as fluffy as Yukon Gold. |
| Russet (Idaho) | Maximum interior fluffiness (Use with caution) | High starch means they break apart easily. Best if you dice them small and don’t boil for long. |
Common Beginner Pitfalls and How to Avoid Them (Troubleshooting)
Even the best mechanics encounter unexpected issues. If your potatoes aren’t behaving, check these common problems:
- Problem: Potatoes are Sticking Badly.
- Fix: The pan wasn’t hot enough, or you moved them too soon. Ensure your oil shimmers and wait a full 5–7 minutes before attempting to turn them.
- Problem: Potatoes are Browned but Hard in the Middle.
- Fix: You under-boiled them. Try covering the skillet with a lid for 3–5 minutes after browning to trap steam and finish cooking the interior gently.
- Problem: Potatoes are Soggy and Greasy.
- Fix: Too much oil, or the pan temperature was too low. Drain off excess oil halfway through searing, and increase that heat!
- Problem: Aromatics Burned Before Potatoes Finished.
- Fix: Add delicate ingredients (like minced garlic) only in the last 2 minutes of cooking, or use less powerful heat sources. If using large garlic cloves, smash them lightly and remove them once their flavor has infused.
Remember, cooking is about chemistry and physics, just like maintaining your car. Understanding the interaction between heat, moisture, and fat is the key to success here.
Pairing Your Perfect Skillet Potatoes
These crispy beauties are versatile. They work just as well supporting a main dish as they do as the star of breakfast. Think of them as the dependable chassis supporting whatever structure you build on top.
Dinner Pairings
These potatoes integrate beautifully alongside quality proteins:
- Thin-cut pork chops.
- Seared steak (skillet steak, perhaps?).
- Baked or pan-fried white fish, like cod or tilapia.
- Roasted chicken, served right alongside the drippings.
Breakfast and Brunch Combinations
This is where skillet potatoes truly shine:
- Hash Style: Mix in diced onions, bell peppers, and leftover shredded corned beef while frying for a full hash.
- Topped: Serve under two perfectly fried eggs, allowing the yolk to coat the crispy edges.
- Cheese Melt: Sprinkle shredded cheddar or Monterey Jack over the potatoes in the last minute of cooking, cover the pan until melted, and serve immediately.
For more insights into home cooking basics, reliable resources like the basic cooking guidelines from university extension programs—similar to checking safety standards from organizations like the National Highway Traffic Safety Administration (NHTSA) for automotive safety—provide excellent, research-backed foundations for any skill.
Frequently Asked Questions (FAQ) About Skillet Potatoes
Q1: Can I skip the boiling step entirely?
A: You can, but the results will be less reliable. If you skip boiling, you must chop the potatoes very small (dime-sized rounds) and cook them over low heat under a lid for a long time (perhaps 20-30 minutes) until soft, then remove the lid and raise the heat to crisp. The boil method is much faster.
Q2: What is the best oil to use for the initial sear?
A: Use an oil with a high smoke point, like canola, vegetable, or grapeseed oil. Save fats like olive oil or butter for the final flavor infusion, as they burn too quickly at the high temperatures needed for searing.
Q3: Can I use Russet potatoes?
A: Yes, but be very careful! Russets have a high starch content and tend to fall apart easily once boiled. If you use them, par-boil for only 4–5 minutes maximum, and rinse them really well after cutting to remove surface starch.
Q4: How much oil do I really need in the pan?
A: For a 10-inch skillet, start with 3 tablespoons of oil. The bottom should be coated, but it shouldn’t look like deep-frying. Excess oil will steam the potatoes rather than crisp them.
Q5: Why are my potatoes sticking to my stainless steel pan?
A: Stainless steel requires perfect temperature control. Make sure the pan is hot before the oil goes in, and the oil is hot before the potatoes go in. Also, do not disturb the potatoes for at least 6 minutes on the first side to allow a natural release from the metal.
Q6: How long does the whole process take?
A: Under 30 minutes total. About 8–10 minutes for par-boiling, 5 minutes for draining/roughing up, and about 15 minutes total of searing and flavoring in the skillet.
Conclusion: Driving Towards Crispy Perfection
Congratulations! You now possess the proven roadmap for cooking truly incredible potatoes in a skillet. We started with the belief that achieving that perfect balance of fluffy interior and shattering crisp exterior was hard, comparing the process to diagnosing a complex engine fault. But by using the two-step method—a quick par-boil followed by a hot, patient sear—you neutralize the common problems beginners face.
Leave a Reply