
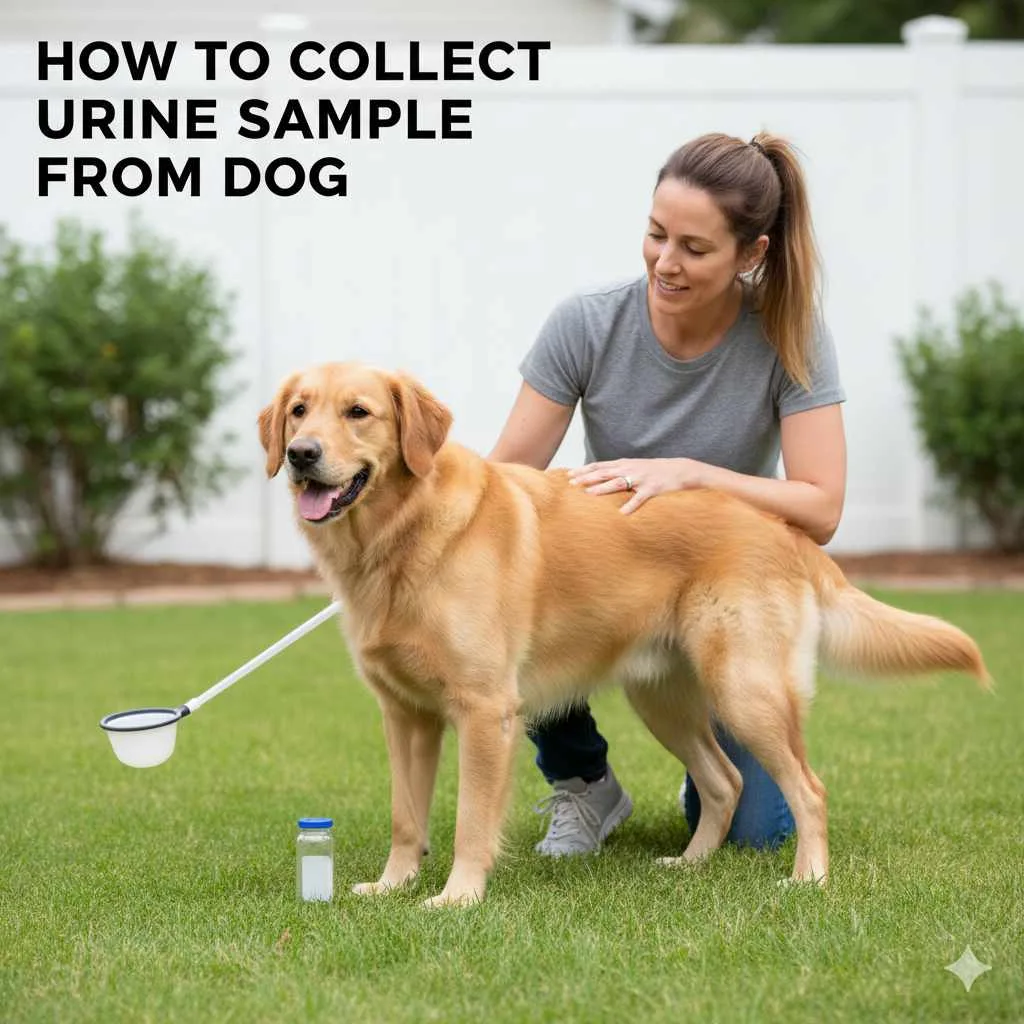
Collecting a urine sample from your dog can be straightforward with the right preparation and techniques. This guide provides simple, effective methods to get a clean sample for your veterinarian, ensuring accurate testing and peace of mind. You’ll learn the best tools, when to collect, and how to handle it with ease.
Gathering a urine sample from your dog might sound like a challenge, but with a little planning, it’s totally doable! Sometimes, your veterinarian needs a fresh sample to check for health issues like infections or diabetes. If you’ve ever been asked to provide one, you might have wondered if you’re doing it right. Don’t worry! This guide is here to make the process easy and stress-free for both you and your furry friend.
We’ll walk through simple steps, helpful tips, and the best supplies to have on hand. By the end, you’ll feel confident you can collect a clean, useful sample every time. Let’s get started on making this task a breeze!
Why Your Vet Needs a Dog Urine Sample
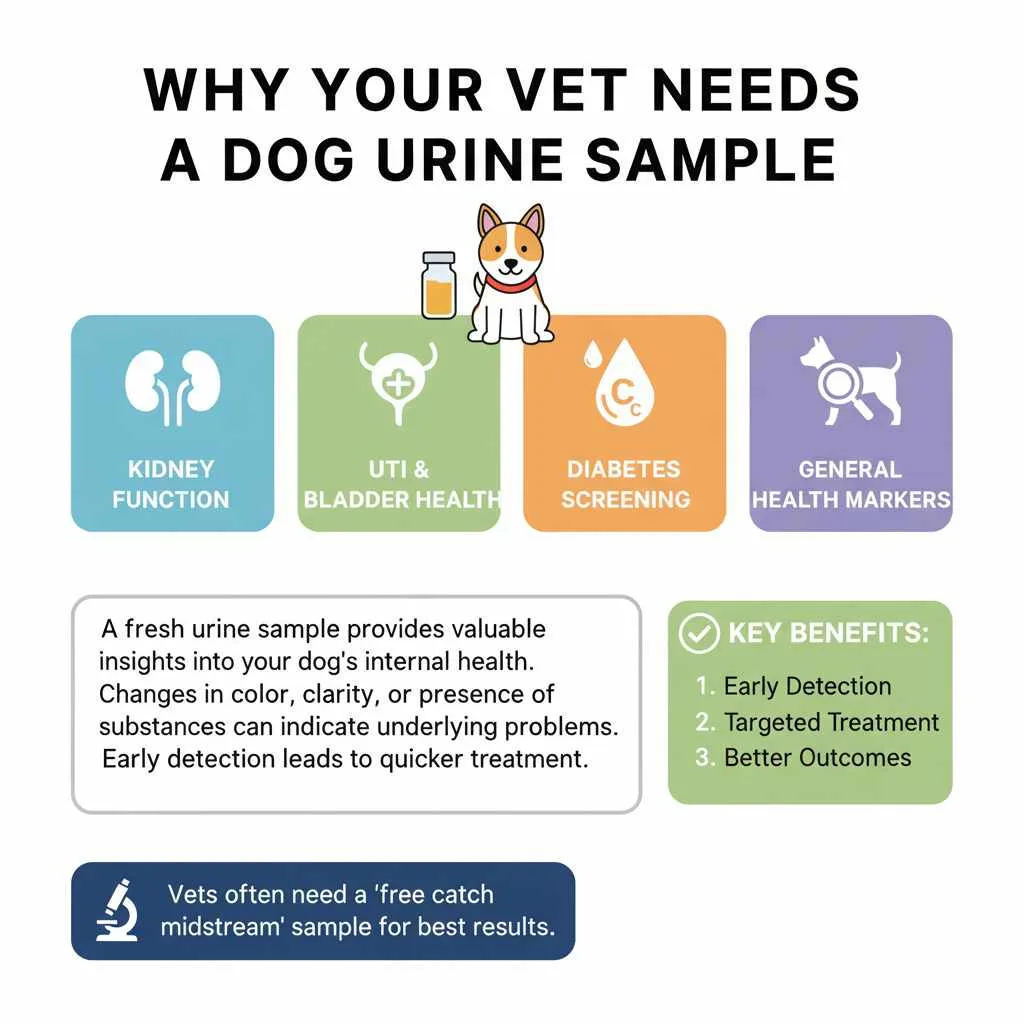
Urine analysis is a key diagnostic tool for veterinarians. It offers a non-invasive way to assess a dog’s kidney function, detect urinary tract infections (UTIs), identify bladder stones, check for diabetes, and monitor various other health conditions. A fresh urine sample provides valuable insights into your dog’s internal health that might not be apparent through a physical exam alone.
For example, changes in urine color, clarity, odor, or the presence of certain substances like proteins, glucose, or crystals can all indicate underlying problems. Early detection through urine testing can lead to quicker treatment and better outcomes for your beloved pet. Your vet will often specify if they need a particular type of sample, like a “free catch midstream” sample, which is typically the cleanest and most representative.
When is the Best Time to Collect a Dog Urine Sample?
The timing of urine collection can significantly impact the sample’s quality and what it can reveal. Ideally, you want to collect the first urine of the day. This “first morning void” is often more concentrated, meaning it contains a higher density of substances that veterinarians look for, such as proteins or cells. This concentration makes abnormalities more apparent.
Another important consideration is to collect the sample before your dog has had excessive water or eaten a large meal, as this can dilute the urine. If possible, collecting the sample during a routine walk after your dog has been holding their urine for a while is also a good strategy. Your veterinarian will usually guide you on the best timing based on your dog’s specific health concerns.
Essential Supplies for Collecting a Dog Urine Sample
Having the right tools makes the job much easier and helps ensure the sample is clean and uncontaminated. Here’s a list of items that will come in handy:
- Collection Container: This should be a clean, sterile container. Your veterinarian often provides these, which are ideal because they are specifically designed for medical samples. If you’re using your own, opt for a new, unused plastic container with a secure lid. A clean glass jar can also work in a pinch, but plastic is generally preferred for its durability and lighter weight.
- Gloves: Disposable gloves are essential for hygiene and to prevent contamination of the sample.
- Leash: To keep your dog close and controlled during the collection process.
- Treats: For rewarding your dog afterward, making the experience more positive.
- A Shallow Pan or Dish (Optional): Some owners find it easier to catch urine by holding a shallow disposable container or foil pan underneath their dog as they urinate.
- Micro-Sponge (Specialized Tool, if available): These are specially designed, highly absorbent sponges that can collect urine from a surface and then be squeezed into a sterile container. They are particularly useful for male dogs.
- Ice Pack or Cooler (if transporting): If you can’t get the sample to your vet immediately, keeping it cool is vital for preserving its integrity.
Remember, cleanliness is paramount! Any residue or contaminants in your collection container can interfere with the lab tests. If you’re unsure about the cleanliness of a container, it’s always best to get a new one from your vet.
Proven Techniques for Collecting a Dog Urine Sample
There are several effective methods for collecting a urine sample from your dog, often referred to as a “free catch” sample. The goal is to capture urine directly as it is being released. Here are the most common and successful techniques:
1. The “Free Catch Midstream” Method
This is the preferred method as it collects a clean sample that is less likely to be contaminated by bacteria from the skin or genital area. It involves capturing urine once the dog has started urinating.
Steps:
- Prepare: Gather your supplies and put on your disposable gloves. Have your sterile collection container (with the lid open and ready) and leash.
- Find the Right Spot: Take your dog outside to an area where they typically urinate.
- Wait for Urination: Wait for your dog to assume the urinating posture. For male dogs, this is usually lifting a leg; for female dogs, it’s crouching.
- Intercept the Stream: As soon as your dog begins to urinate, position the open collection container beneath their stream. Aim to catch the “midstream” portion of the urine, meaning you let the first dribble go and then collect from the middle flow.
- Collect Enough: Try to collect at least a few milliliters of urine. A general guideline is about 5-10 ml for most tests, but your vet will specify the amount needed.
- Secure the Sample: Once you have enough, carefully remove the container and immediately screw the lid on tightly.
- Clean Up: Clean up thoroughly.
- Reward: Give your dog plenty of praise and a treat for their cooperation!
This method requires patience and good timing. Don’t get discouraged if you don’t succeed on the first try; it often takes a few attempts to get the hang of it.
2. Using a Shallow Container or Pan
This technique is similar to the free catch but uses a wider, shallower container or even a disposable aluminum foil pan, which can sometimes be easier to maneuver under your dog.
Steps:
- Preparation: Wear gloves and have your sterile collection container and leash ready. Place the clean, shallow pan or foil dish on the ground near where your dog usually urinates.
- Encourage Urination: Take your dog outside. Sometimes, walking them in a new area or increasing their excitement can encourage them to urinate.
- Catch the Urine: As your dog begins to urinate, try to position the pan directly underneath their stream. This is often easier with female dogs who squat.
- Transfer to Sterile Container: Once you have a sufficient amount of urine in the pan, carefully pour it into the sterile collection container provided by your vet and secure the lid.
- Reward: Praise and treat your dog.
This method can be less intrusive for some dogs and might make it easier to catch the urine, especially for owners of larger breeds or dogs who are hesitant to be directly approached while urinating.
3. Using a Micro-Sponge (for Male Dogs)
For male dogs, especially those who are difficult to collect from directly, a specialized micro-sponge can be very effective. These sponges are made of a material that absorbs urine without breaking down, and they can be squeezed to transfer the urine into a sterile container.
Steps:
- Obtain the Sponge: You’ll need to ask your veterinarian for one of these specialized sterile sponges.
- Prepare: Have your sterile collection container ready with the lid open and wear gloves.
- Hold the Sponge: As your male dog lifts his leg to urinate, carefully position the sponge directly under the stream of urine. The sponge will quickly absorb the urine.
- Squeeze into Container: Once the sponge has collected enough urine (you’ll see it become saturated), carefully remove it and squeeze the urine from the sponge into the medical collection container.
- Secure and Reward: Close the container tightly and reward your dog.
This method is often less intimidating for the dog and can be more successful than trying to aim a cup directly under the stream.
4. Cystocentesis (Veterinary Procedure)
This method is performed by a veterinarian or veterinary technician, not typically by pet owners at home. It involves using a sterile needle and syringe to collect urine directly from the bladder. This yields the cleanest sample, free from contamination, and is often used when a sterile sample is crucial for specific diagnostic tests, such as for bacterial cultures. If your vet suggests cystocentesis, it means they need the highest quality sample possible for accurate results.
Tips for Success and Minimizing Contamination
Collecting a clean urine sample is crucial for accurate results. Here are some tips to help you achieve this:
- Hygiene First: Always wash your hands thoroughly before and after the process. Wear disposable gloves to prevent transferring germs from your hands to the container or sample.
- Sterile Container is Key: Use a sterile container provided by your vet whenever possible. If using your own, ensure it’s brand new and has never been used or washed with soap (soap residue can interfere with tests).
- Avoid Contamination: Try not to let the collection container touch your dog’s fur, skin, or the ground. Any bacteria from these sources can contaminate the sample.
- Collect “Midstream”: As mentioned, letting the first bit of urine go and collecting from the middle of the stream helps avoid contamination from the urethra and external genital area.
- Freshness Matters: Aim to deliver the sample to your vet as soon as possible, ideally within an hour. If you must store it, refrigerate it immediately. However, prolonged refrigeration can affect certain test results, so check with your vet. Samples are typically good for up to 24 hours if refrigerated, but fresher is always better.
- Calm Environment: Try to collect the sample when your dog is relaxed. A stressed dog may not urinate, or may hold it. Gentle encouragement and praise can go a long way.
- Don’t Chase: Avoid chasing your dog with the container, as this can make them anxious and less likely to urinate.
- Observe Your Dog: Learn your dog’s habits. Knowing their usual potty routine will help you be prepared.
Transporting the Urine Sample to Your Veterinarian
Once you’ve successfully collected the urine sample, getting it to your vet promptly and properly is the next critical step. The condition of the sample can change rapidly once it’s out of the dog’s body, and these changes can affect the accuracy of the test results.
Refrigeration Guidelines
If you cannot deliver the sample to your veterinarian within an hour or two of collection, refrigeration is usually recommended. Place the sealed, labeled container in your refrigerator. Most urine samples can be kept refrigerated for up to 24 hours for standard urinalysis tests. However, some specific tests may have different requirements, so it’s always best to confirm with your vet. For bacterial cultures, prompt delivery is crucial.
When you deliver a refrigerated sample, inform the clinic staff. They may want to warm it slightly to room temperature before running certain tests, as very cold urine can sometimes affect measurements.
Labeling the Sample
Proper labeling is essential. Make sure the container is clearly marked with:
- Your dog’s full name
- Your last name
- The date and time of collection
This information helps the veterinary clinic accurately record and process the sample, ensuring it’s associated with the correct patient. Some vets may provide pre-labeled containers, which is even more convenient.
Delivery Tips
Promptness is Key: The sooner the sample reaches the lab or clinic, the more accurate the results will be. If possible, plan your collection time to coincide with a scheduled appointment or a time the clinic is open and can receive samples directly.
Use a Cooler (Optional but Recommended): If you’re transporting the sample a longer distance or it’s a particularly hot day, placing the sealed container in a small cooler bag with an ice pack can help maintain its temperature until you reach the clinic.
What to Do If You Can’t Collect a Sample
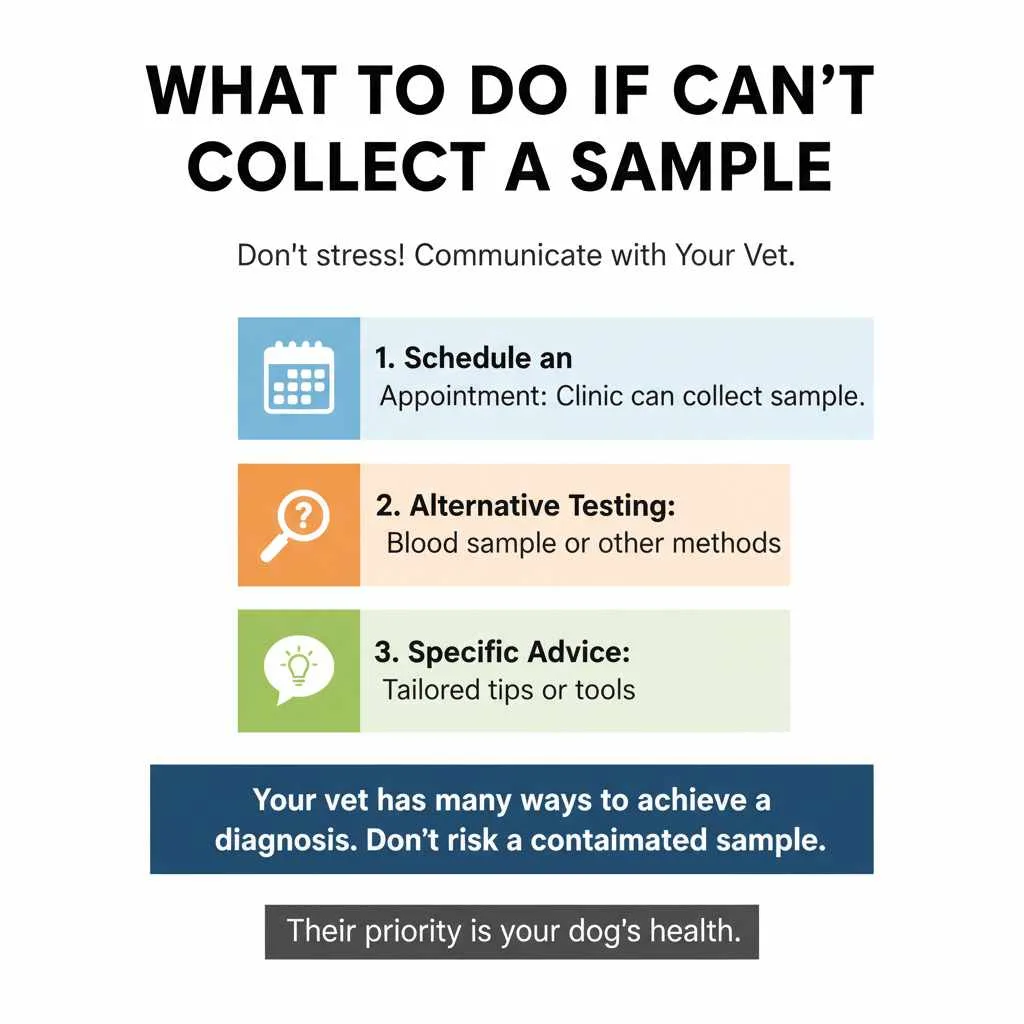
If you’ve tried various methods and are consistently struggling to collect a urine sample from your dog, don’t stress! This is a common challenge for many pet owners. The most important thing is not to cause your dog undue stress or anxiety.
Communicate with Your Vet: The best course of action is to call your veterinarian’s office. Explain the difficulties you are encountering. They have several options:
- Schedule an Appointment: You can bring your dog into the clinic at a time when they might be able to collect the sample themselves. They are experienced with various techniques, including cystocentesis if necessary.
- Alternative Testing: Depending on the suspected condition, your vet might suggest alternative diagnostic tests that don’t require a urine sample or can be performed with a blood sample.
- Specific Advice: They might offer more tailored advice or provide specific tools like a micro-sponge to help you succeed.
It’s far better to admit you’re having trouble and work with your vet than to collect a contaminated sample that yields inconclusive or misleading results. Your vet’s priority is your dog’s health, and they have many ways to achieve a diagnosis.
Common Urinalysis Parameters
Once you’ve successfully collected and delivered a urine sample, your veterinarian will analyze it. Here are some common parameters they might check and what they can indicate:
| Parameter | What it Measures | Potential Implications |
|---|---|---|
| Color | Hue of the urine (pale yellow, yellow, dark yellow, brown, red) | Pale: dilute urine, excessive water intake. Dark: concentrated urine, dehydration, certain medications. Red/Brown: blood, myoglobin, or certain toxins. |
| Clarity/Turbidity | How clear or cloudy the urine is | Clear: normal. Cloudy: presence of cells, crystals, bacteria, or mucus. |
| Specific Gravity (SG) | Concentration of urine (kidney’s ability to concentrate urine) | Low: kidneys not concentrating well (e.g., kidney disease, diabetes insipidus). High: concentrated urine (e.g., dehydration, fever). |
| pH | Acidity or alkalinity of urine | Can indicate diet, metabolic state, or predisposition to certain types of bladder stones. |
| Protein | Presence and amount of protein | Trace to small amounts can be normal. Higher amounts may indicate kidney disease, infection, or inflammation. |
| Glucose | Sugar content | Normally absent. Presence indicates potential diabetes mellitus or kidney issues. |
| Ketones | Byproducts of fat metabolism | Presence can indicate uncontrolled diabetes (diabetic ketoacidosis), starvation, or certain metabolic disorders. |
| Bilirubin | Breakdown product of red blood cells | Small amounts can be normal in dogs, but higher levels can indicate liver disease or red blood cell destruction. |
| Blood (Occult/Microscopic) | Presence of red blood cells | Can indicate infection, inflammation, stones, trauma, or other urinary tract issues. |
| Crystals | Microscopic crystalline structures | Certain types and amounts can indicate a predisposition to bladder stones or indicate metabolic disorders. Find out more at Merck Veterinary Manual on Bladder and Urethral Stones. |
| Cells (RBCs, WBCs, Epithelial Cells) | Red blood cells, white blood cells, and lining cells | Increased numbers can signal infection, inflammation, or bleeding in the urinary tract. |
| Bacteria | Presence of bacteria | Indicates a urinary tract infection, especially when accompanied by white blood cells. |
This table provides a glimpse into the information a urinalysis can offer. Your veterinarian will interpret these results in the context of your dog’s overall health, clinical signs, and history.
Frequently Asked Questions About Collecting Dog Urine Samples
Q1: Can I just collect urine from the ground after my dog pees?
A1: While it might seem easy, urine collected from the ground is highly likely to be contaminated with dirt, bacteria, and other substances. This contamination can interfere with test results. It’s always best to try and catch it directly using one of the methods described, or use a sterile container or micro-sponge.
Q2: My dog won’t pee when I take them out with a container. What can I do?
A2: Try a different approach. Let your dog outside without the container for a bit to let them relax, then try to approach with the container as they start to go. Sometimes, a change of scenery or a slightly more exciting walk can encourage urination. If it’s still difficult, don’t force it; call your vet for advice or to schedule a clinic visit.
Q3: How much urine do I need to collect?
A3: For most routine tests, 5-10 milliliters (about 1-2 teaspoons) is sufficient. Your veterinarian will let you know if a larger or smaller amount is needed for a specific test. It’s better to collect a little more than too little.
Q4: My dog is peeing in the house, and I can catch it there. Is that okay?
A4: If your dog is reliably urinating indoors, this can be an opportunity. Ensure the floor is clean. You can try to gently guide a sterile container or a shallow pan under them as they squat. However, be extremely cautious of contamination from the floor or any cleaning products used. A sample caught indoors might still need to be evaluated for contamination by your vet.
Q5: What if my dog licks the container or the urine?
A5: Try to prevent this by being quick and steady with the collection. If your dog does lick the container, it’s best to discard that sample and try again with a fresh, sterile container. This is especially important if contamination with saliva is a concern for the test.
Q6: Can I use a Ziploc bag to collect the urine?
A6: It’s not ideal. Ziploc bags are not sterile and can be a source of contamination. They also don’t offer a rigid structure for easy collection. It’s strongly recommended to use sterile containers provided by your vet or new, unused plastic containers with tight-fitting lids.
Conclusion
Collecting a urine sample from your dog can be a manageable task with the right knowledge and a little practice. Remember, the goal is to obtain a clean, fresh sample that accurately reflects your dog’s health. By preparing with the right supplies, choosing the most suitable technique like the “free catch midstream” method, and focusing on hygiene, you can significantly increase your chances of success.
Don’t hesitate to communicate with your veterinarian. They are your best resource for specific instructions, providing sterile containers, and helping you if you encounter difficulties. A successful sample collection contributes valuable information to your dog’s veterinary care, helping to ensure they stay happy and healthy. You’ve got this!


