
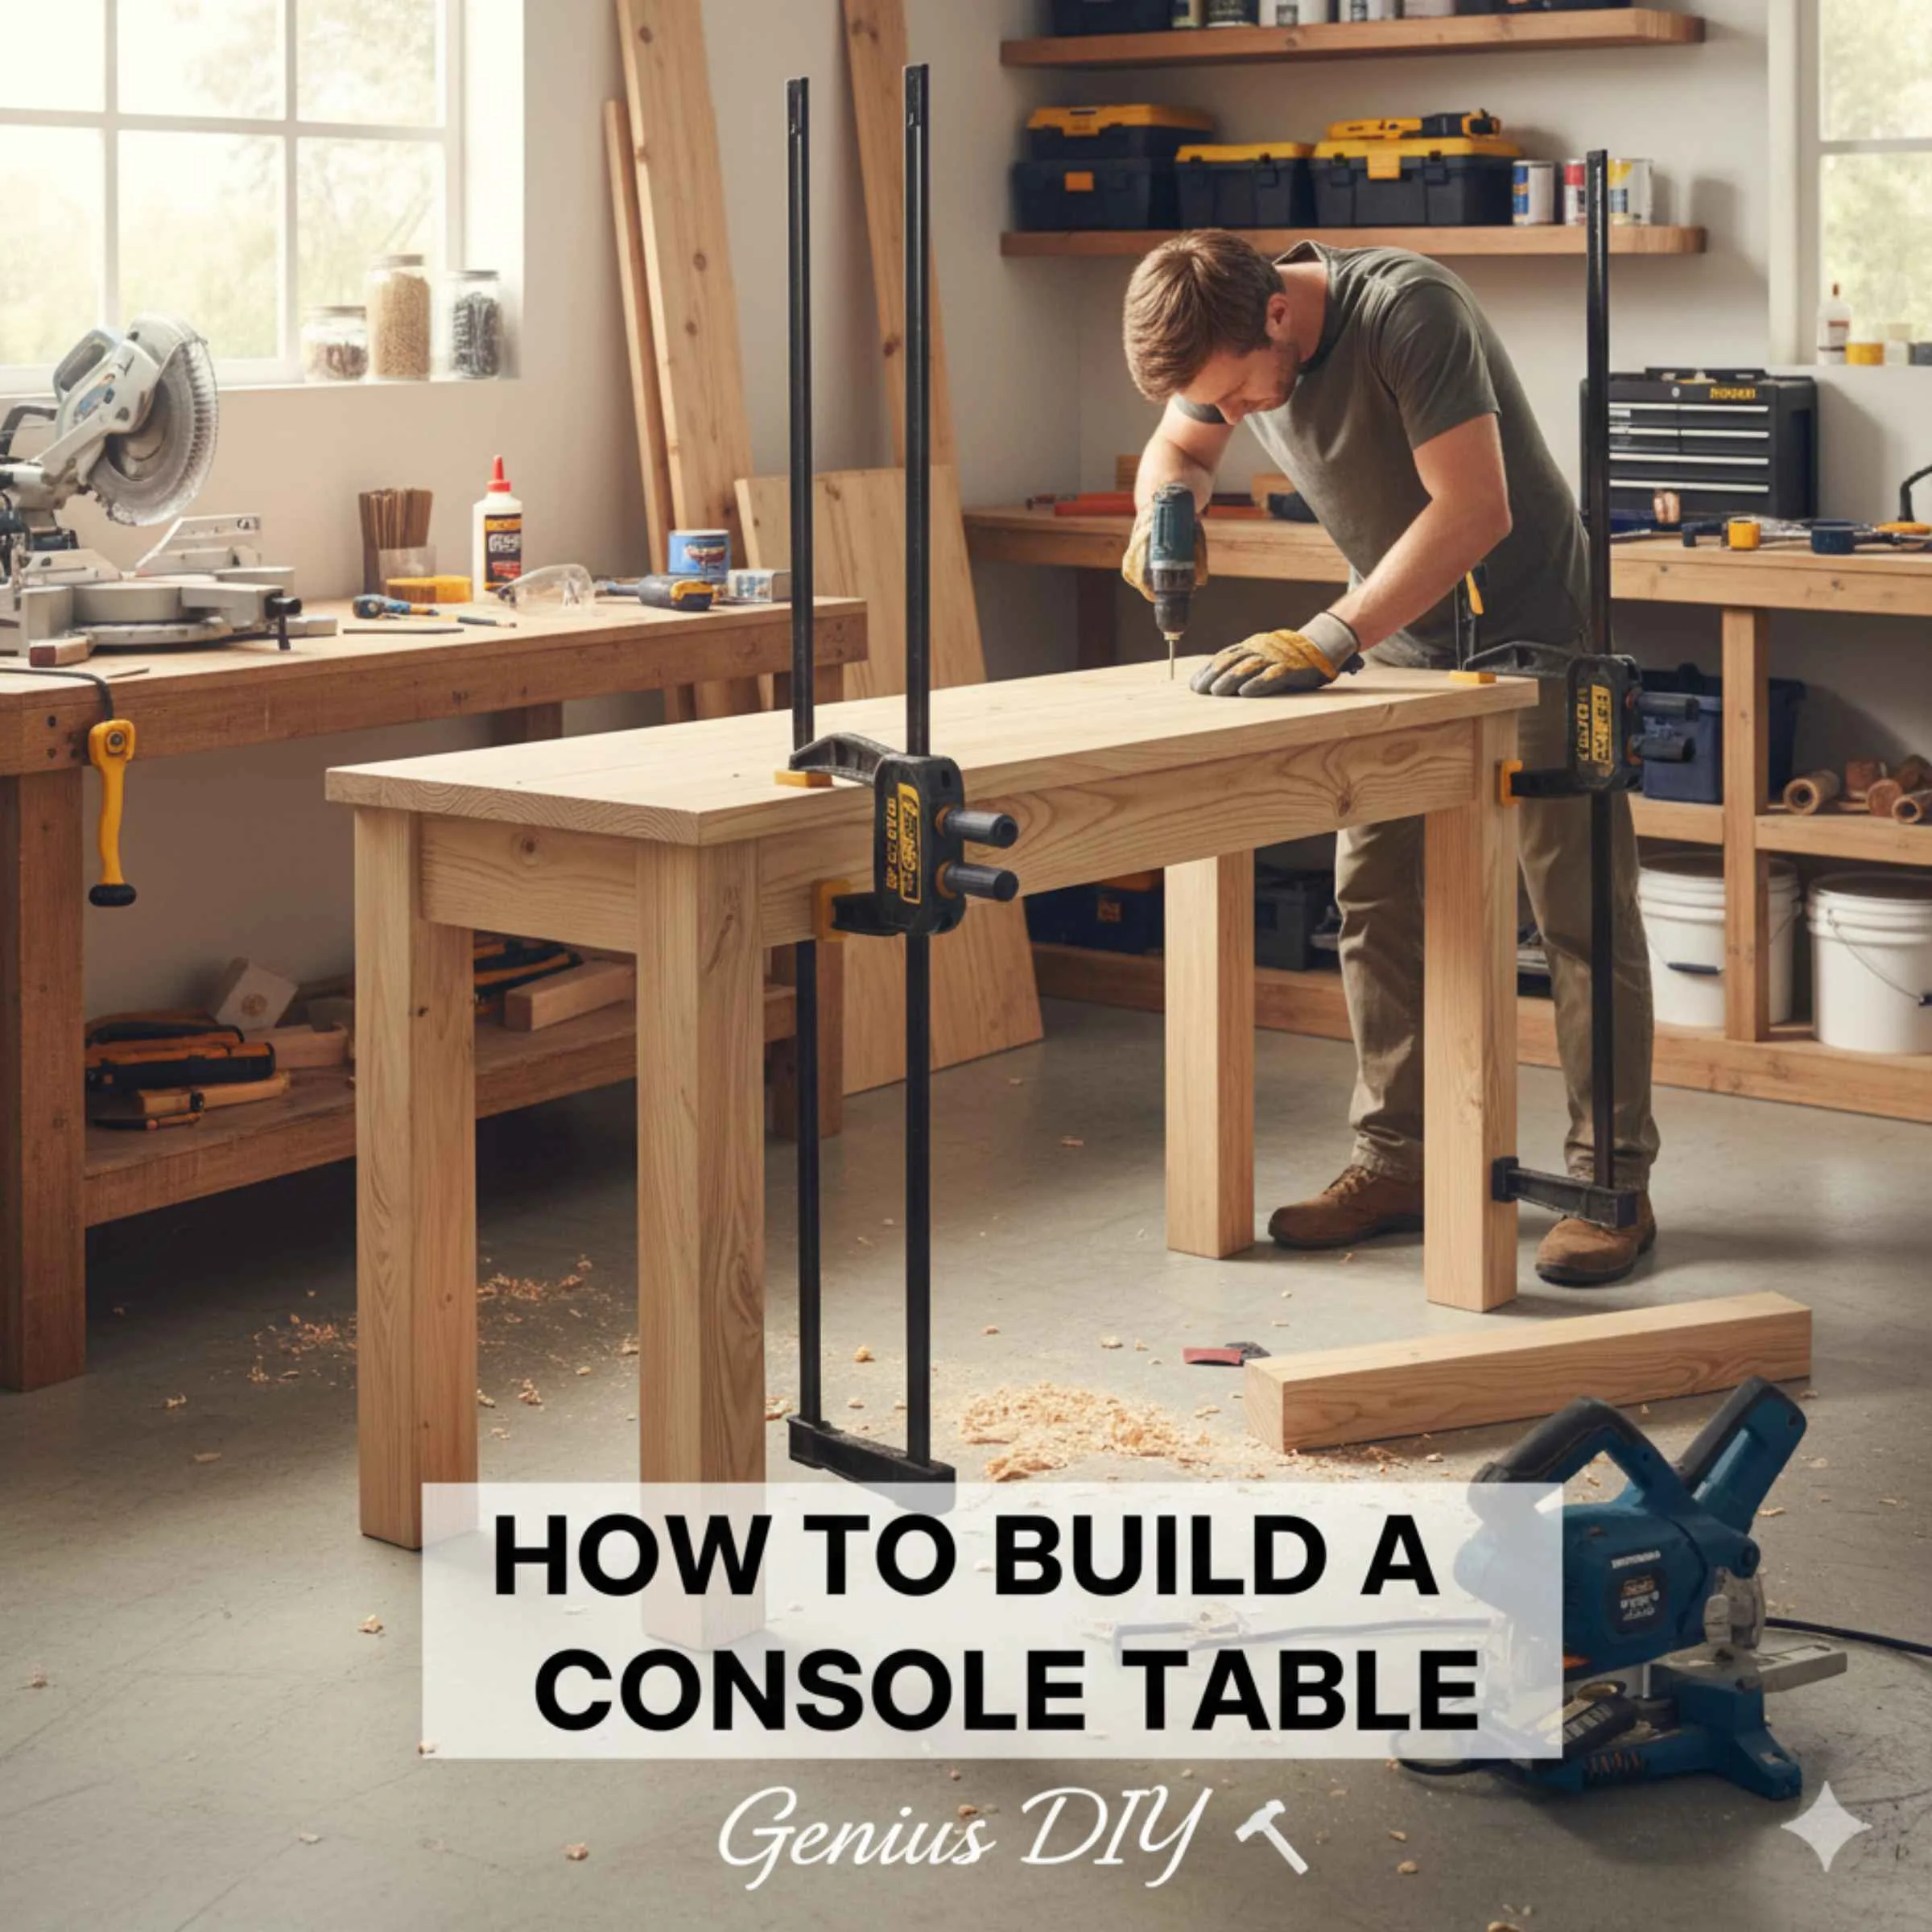
Build a console table yourself with this easy DIY guide! You’ll learn simple steps, pick up essential skills, and end up with a stylish, sturdy piece for your home using common tools and materials.
Got a little space that needs a big style upgrade? Maybe a hallway that feels a bit bare, or a corner that just begs for a landing spot for your keys and mail? A console table is a fantastic solution, but sometimes the perfect size or style just isn’t out there, or it comes with a price tag that makes your wallet do a double-take. That’s where a bit of DIY genius kicks in! Building your own console table might sound like a big undertaking, but trust me, with a clear plan and a few basic tools, it’s totally achievable. We’re going to walk through this step-by-step, keeping it super simple so you can feel confident tackling this project and create a piece you’ll be proud of.
Why Build Your Own Console Table?
Before we grab our tools, let’s talk about why building your own console table is a smart move. It’s not just about saving a few bucks, though that’s definitely a nice perk!
Customization is King: You can design it to fit your exact space. Need it a little narrower? A bit taller? No problem! You dictate the dimensions. Plus, you get to choose the wood type, stain color, and finish to perfectly match your existing decor.
Quality Over Quantity: Often, DIY furniture uses solid wood, which is more durable than the particleboard or MDF you find in many mass-produced pieces. You can build something that will last for years.
The Satisfaction Factor: There’s an incredible sense of accomplishment that comes with creating something beautiful and functional with your own two hands. It’s a rewarding way to learn new skills.
Cost-Effective: By sourcing your own lumber and hardware, you can often build a high-quality console table for a fraction of the retail price.
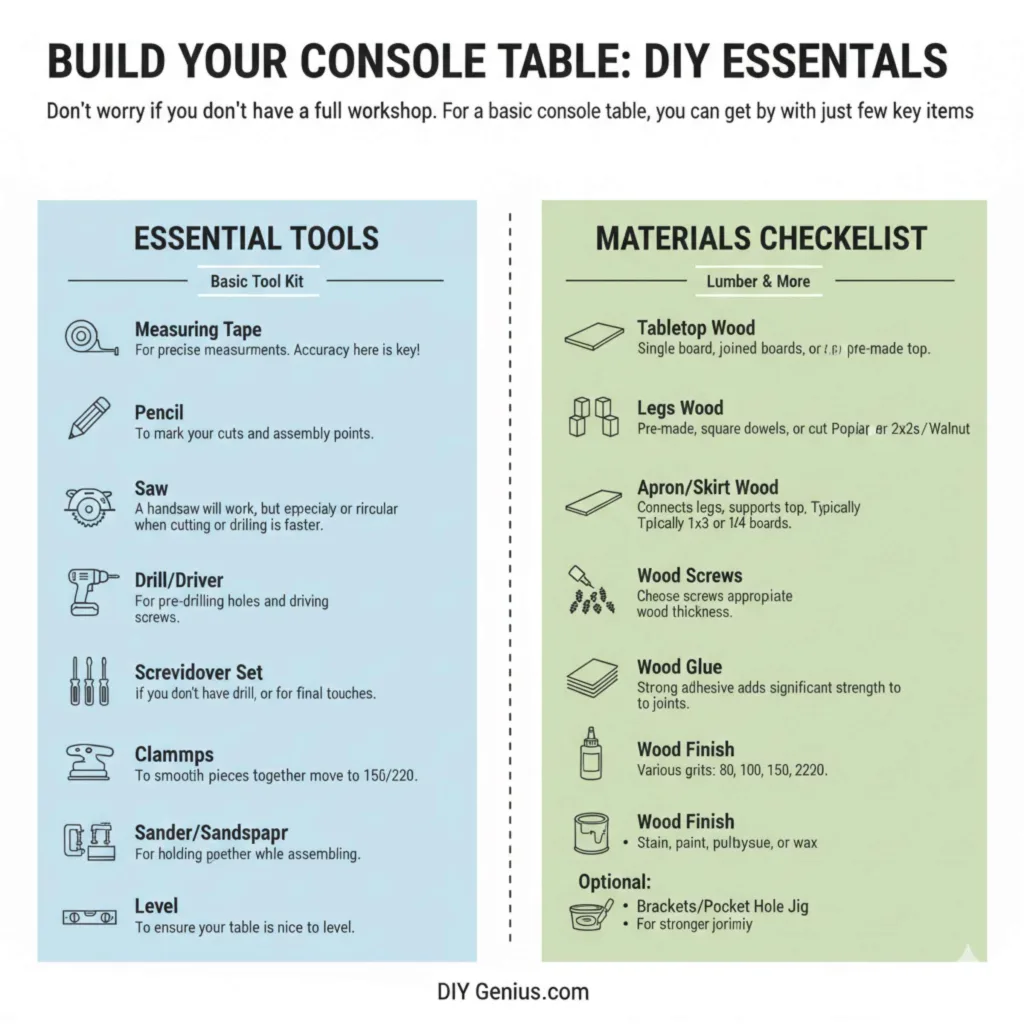
Essential Tools and Materials
Don’t worry if you don’t have a full workshop. For a basic console table, you can get by with just a few key items.
Basic Tool Kit
Measuring Tape: For precise measurements. Accuracy here is key!
Pencil: To mark your cuts and assembly points.
Safety Glasses: Always protect your eyes, especially when cutting or drilling.
Saw: A handsaw will work for smaller projects, but a circular saw or miter saw will make straighter, cleaner cuts much faster. Remember to learn how to use your saw safely!
Drill/Driver: For pre-drilling holes and driving screws. A cordless one is super convenient.
Screwdriver Set: If you don’t have a drill, or for a few final touches.
Sander/Sandpaper: To smooth out all surfaces and edges. Start with a coarser grit (like 80 or 100) and move to finer grits (150, 220) for a silky-smooth finish.
Clamps: Useful for holding pieces together while you’re assembling or gluing.
Level: To ensure your table is nice and level.
Materials Checklist
The exact lumber you’ll need will depend on your design, but here’s a common breakdown for a simple console table:
Tabletop Wood: This could be a single wide board, several narrower boards joined together, or even a pre-made tabletop from a home improvement store. Common choices include pine, poplar, oak, or walnut depending on your budget and desired look.
Legs Wood: You can buy pre-made table legs, use square dowels, or cut your own from 2x2s or 4x4s.
Apron/Skirt Wood: This is the wood that connects the legs and supports the tabletop. Typically 1×3 or 1×4 boards are used.
Wood Screws: Choose screws appropriate for the thickness of your wood.
Wood Glue: A strong adhesive that adds significant strength to your joints.
Sandpaper: Various grits (80, 100, 150, 220).
Wood Finish: Stain, paint, polyurethane, or wax, depending on your desired look.
Optional: Wood filler (for any small gaps or imperfections), brackets or pocket hole jig (for stronger joinery if desired).
Planning Your Console Table Design
Before you cut a single piece of wood, it’s crucial to plan! Think about the style and dimensions that will work best for your space.
Considerations for Your Design
Dimensions: Measure the width, depth, and height you need. Standard console table heights range from 28-32 inches, widths from 30-60 inches, and depths around 10-18 inches. But don’t be afraid to go custom!
Style: Do you want a farmhouse look with chunky legs? A modern, minimalist design with slim supports? A rustic piece with visible joinery?
Features: Do you need a shelf on the bottom? Drawers? Think about what you want it to do. For a beginner project, it’s best to start simple, perhaps with just a tabletop and legs.
Simple Console Table Design Example
Let’s design a straightforward console table. It will have a rectangular top, four legs, and an apron to connect everything.
Tabletop: A single piece of 1×12 stained pine, 48 inches long.
Legs: Four pieces of 2×2 lumber, cut to 29 inches long (this will create a ~30-inch finished height with a 3/4-inch tabletop).
Apron: Four pieces of 1×3 lumber: two pieces 42 inches long (for the long sides) and two pieces 7 inches long (for the short sides). This measurement accounts for the width of the legs.
Creating a Cut List
A cut list is your best friend for DIY furniture. It ensures you buy the right amount of wood and make the correct cuts.
| Component | Material | Quantity | Dimensions (L x W x H) | Notes |
| :———— | :——— | :——- | :——————— | :————————- |
| Tabletop | 1×12 Pine | 1 | 48″ x 11.25″ x 0.75″ | Adjust width if using different lumber |
| Legs | 2×2 Lumber | 4 | 29″ x 1.5″ x 1.5″ | For a ~30″ finished height |
| Long Apron | 1×3 Pine | 2 | 42″ x 2.5″ x 0.75″ | |
| Short Apron | 1×3 Pine | 2 | 7″ x 2.5″ x 0.75″ | |
Note: Lumber dimensions are nominal (e.g., a “1×12″ is actually about 3/4″ thick and 11.25” wide). Always measure your actual lumber.
Step-by-Step: Building Your Console Table
Now for the fun part! Let’s put it all together.
Step 1: Cut Your Wood
Using your cut list, carefully measure and mark each piece of lumber. Double-check your measurements before you cut. If you’re new to using a saw, consider having the lumber cut at the store where you purchase it, or practice on scrap pieces first.
Safety First: Always wear safety glasses when operating any power tool. Ensure your work area is clear.
Accuracy: Aim for straight, 90-degree cuts. This will make assembly much easier.
Step 2: Prepare the Pieces (Sanding)
This is a great time to sand all your cut pieces. It’s much easier to sand flat boards than to sand a fully assembled table.
Start Coarse: Begin with 80 or 100-grit sandpaper to remove any rough edges or saw marks.
Move to Finer Grits: Progress to 150-grit, and then 220-grit sandpaper for a smooth finish.
Edges: Don’t forget to slightly round over all the sharp edges with sandpaper. This makes them smoother to the touch and less prone to chipping.
Clean Up: Wipe away all dust with a damp cloth or tack cloth.
Step 3: Assemble the Apron and Legs
The apron forms the frame that connects the legs and supports the tabletop.
1. Attach Long Apron Pieces to Two Legs: Take one leg and one of the long apron pieces (42″). Measure down from the top of the leg by about 1.5 inches (this will hide the apron slightly under the top and position it nicely with the leg). Apply wood glue to the end of the apron piece where it will meet the leg. Position the apron flush with the outer edge of the leg. Pre-drill pilot holes through the leg into the apron to prevent the wood from splitting, and then drive in two wood screws. Repeat this for the other end of the apron piece on a second leg. You’ve just created one long side.
2. Attach Short Apron Pieces: Now, take one of your short apron pieces (7″). Apply glue to its ends. Position it between the two legs you just assembled, flush with the top edge and inner side of the long apron pieces. Pre-drill and screw through the short apron into the legs. Repeat for the other short apron piece on the opposite side.
3. Attach Remaining Legs: Take your remaining two legs. Apply glue to the top ends of the long and short apron pieces where they will meet the legs. Attach the remaining legs to the apron frame, ensuring the apron is flush with the inner edge of these new legs. Pre-drill and screw through the apron into these legs. You should now have a rectangular frame with legs attached at each corner.
4. Check for Squareness: Use your measuring tape to measure diagonally from corner to corner. The two diagonal measurements should be equal. If not, gently rack (wiggle) the frame until they are. Clamping the corners can help maintain this while the glue dries.
A helpful resource for understanding different wood joinery techniques is the WoodworkingTalk forum on joinery, which offers discussions and examples of various ways to connect wood pieces securely.
Step 4: Attach the Tabletop
Now it’s time to put the top on your base.
1. Center the Base: Flip your tabletop upside down on a clean, protected surface. Center the assembled leg and apron structure on the underside of the tabletop. Make sure there’s an even overhang on all sides.
2. Secure the Tabletop: You have a few options here for attaching the tabletop to the apron:
Screws from Above (Least Preferred for Finish): Mark where the apron sits inside the tabletop. Pre-drill pilot holes from the tabletop down into the apron, and then drive screws. This method requires filling and painting/staining over the screws for a clean look.
Screws from Below (Recommended for Beginners): This is the easiest way to get a clean look. Drive screws upwards through the apron into the underside of the tabletop. Do not screw all the way through the tabletop! Use screws that are about 1 inch shorter than the combined thickness of your apron and the desired penetration into the tabletop. Pre-drill pilot holes through the apron.
Pocket Holes (More Advanced): If you have a pocket hole jig, you can drill pocket holes on the inside of the apron and then screw up into the tabletop. This provides a very strong and hidden connection.
3. Add Glue: For extra strength, apply a bead of wood glue along the top edge of the apron before screwing the top down.
Step 5: Finishing Touches
Your console table is almost ready!
1. Fill Imperfections: If you have any small gaps or screw holes you want to hide, use wood filler. Let it dry completely according to the product instructions, then sand it smooth.
2. Final Sanding: Do a quick once-over with your finest grit sandpaper (220) to ensure everything is smooth. Wipe away all dust.
3. Apply Finish: This is where your table really comes to life!
Stain: Apply stain with a brush or rag, following the wood grain. Wipe off excess stain according to the product directions. Allow to dry fully.
Paint: Apply a primer, then one or two coats of your chosen paint. Lightly sand between coats if necessary.
Sealer/Topcoat: To protect your finish, apply a polyurethane, varnish, or wax. Multiple thin coats are better than one thick coat. Sand lightly with very fine grit sandpaper (320 or higher) between coats for a smoother finish.
You can find excellent guides on wood finishing techniques from resources like Popular Mechanics’ Guide to Staining Wood.

Customization Ideas for Your Console Table
Once you’ve mastered the basic build, don’t be afraid to get creative!
Add a Shelf: Cut a shelf from plywood or the same lumber as your tabletop. Attach it to the legs using pocket holes or simple L-brackets.
Change the Legs: Instead of 2x2s, use thicker 4x4s for a more substantial look, or opt for decorative furniture legs from a hardware store. You could even build tapered legs.
Incorporate Drawers: This adds complexity but can be a great skill to learn. You’ll need to build drawer boxes and install drawer slides.
Vary the Top: Use a live-edge slab for a unique, natural look, or join several narrow boards for a more detailed pattern.
Add Casters: If you need to move your table around, adding caster wheels to the bottom of the legs can be a functional upgrade.
Frequently Asked Questions
What is the easiest type of console table to build?
The easiest console table to build for beginners is typically a simple design with a rectangular top, four straight legs, and an apron connecting them. Avoid complex joinery, drawers, or intricate details in your first project.
How much does it typically cost to build a console table yourself?
The cost can vary widely depending on the type of wood, hardware, and finish you choose. However, you can often build a sturdy, attractive console table for $50-$150, significantly less than buying a comparable piece of furniture.
What is the best wood to use for a console table?
For beginners, softwoods like pine and poplar are excellent choices because they are affordable, easy to work with, and readily available. Hardwoods like oak or maple are more durable and offer a richer grain but are more expensive and can be harder to cut and sand.
How do I ensure my console table is stable and doesn’t wobble?
Stability comes from accurate cuts, strong joinery, and ensuring your legs are perfectly perpendicular to the apron. Building the apron square and attaching it securely to the legs is crucial. Also, make sure your floor isn’t uneven; if it is, you can add adjustable glides to the bottom of the legs.
What kind of screws should I use?
For most projects, wood screws are ideal. Ensure they are long enough to penetrate both pieces of wood securely without going all the way through your finished surface. For joining apron pieces to legs, screws around 1.5 to 2 inches long are common. Always pre-drill pilot holes to prevent splitting, especially near the ends of boards.
Can I build a console table without a power saw?
Yes, you can! A good quality handsaw, a miter box for straight cuts, and some patience can get the job done. It will take longer and require more effort, but it’s entirely possible to build furniture with hand tools.
How do I prepare wood for staining?
Proper preparation is key for a great stain finish. This involves thoroughly sanding the wood through progressively finer grits (up to 220 is usually sufficient for stain). After sanding, wipe away all dust with a tack cloth or damp rag. For woods prone to blotching (like pine), using a pre-stain wood conditioner is highly recommended.
Conclusion
There you have it! Building your own console table is a rewarding DIY project that’s well within reach for most beginners. By planning carefully, gathering the right tools, and following these simple steps, you can create a custom, high-quality piece of furniture that adds style and functionality to your home. Don’t be afraid to experiment with different finishes or explore more advanced techniques as you gain confidence. The most important thing is to start, take your time, and enjoy the process. You’ve got this, and you’ll end up with a beautiful piece of furniture you can be truly proud of, built by you!


