
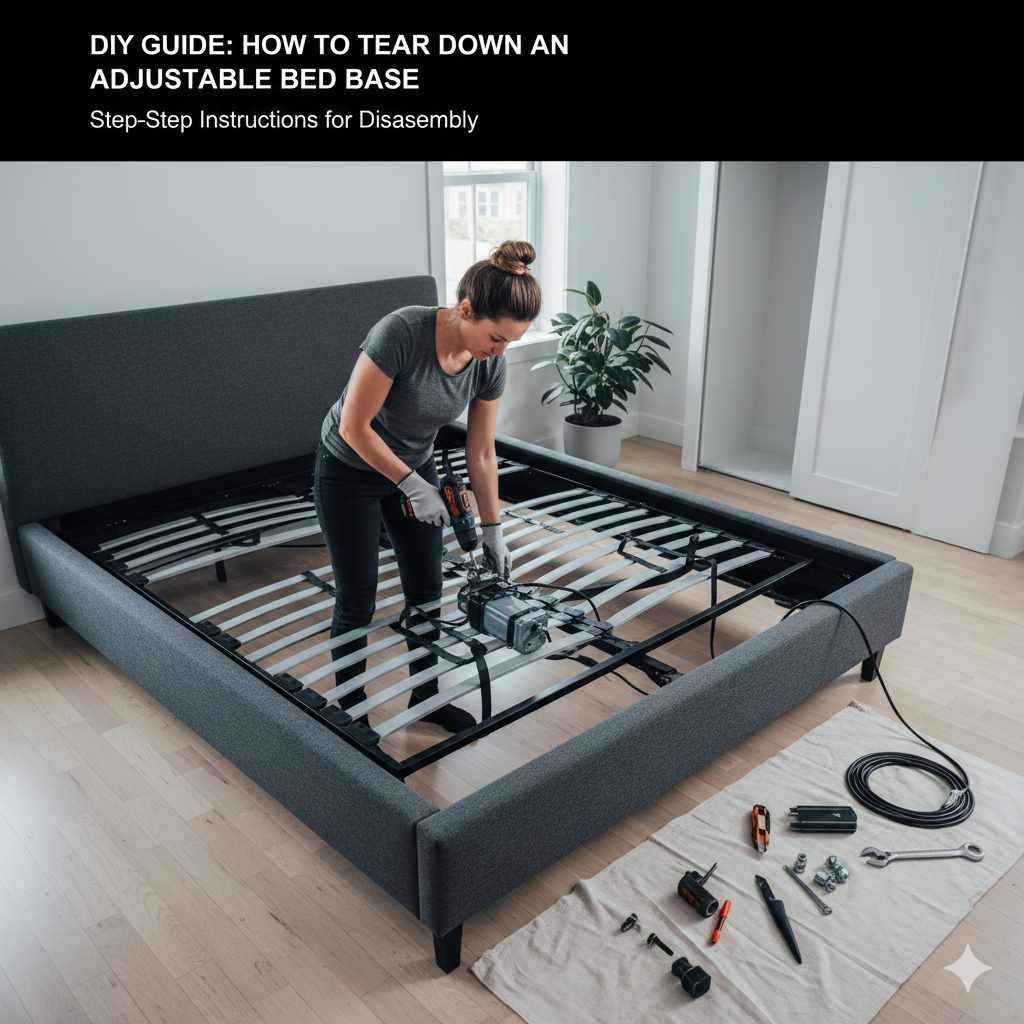
A base teardown, often needed for moving or repair, involves carefully separating the frame, motor, and internal components of an adjustable bed base. This guide offers easy, safety-focused steps to dismantle your base without damaging valuable parts, making the process stress-free for any beginner.
Hi there! I’m Dustin Hall, and I know that dealing with big pieces of moving furniture, like an adjustable bed base, can feel overwhelming. When you need to move your adjustable bed or diagnose a tricky issue, you might feel stuck staring at a tangle of metal and wiring. Don’t worry! Taking apart these bases, sometimes called a “teardown,” doesn’t require a team of mechanics. With the right approach, a little patience, and the right tools, you can safely break down your base into manageable pieces. We’re going to walk through this together, step by simple step, so you can handle this job confidently and save your back (and your wallet!). Let’s get that base ready for its next move or repair!
Why Would I Need to Perform a Base Teardown?
It might seem like overkill to take apart something that just holds up your mattress, but there are a few common reasons why performing a teardown becomes necessary. Understanding these situations helps you prepare correctly.
Moving to a New Home
Adjustable bases, especially King or Queen sizes, are bulky. Even when folded, transportation can be a nightmare. Disassembling the base into smaller sections—like separating the legs, deck, and motor—makes it much easier (and cheaper!) to fit through tight doorways or into a moving truck.
Repairs and Troubleshooting
If your base stops moving, or only one side works, you need access to the internal components. A partial teardown allows you to safely inspect the actuator motors, control box, or wiring harness. It’s often easier to find a loose connection when the surrounding frame is removed.
Disposal or Recycling
When a base has reached the end of its life, you might need to take it apart to separate the metal, plastic, and electronic components for proper recycling. This is better for the environment than throwing the whole thing in the trash!

Safety First: Essential Preparation Before You Begin
Safety is my number one rule in the garage—and that applies to your bedroom, too! Adjustable bases have powerful moving parts and electrical connections. Skipping prep work can lead to pinched fingers or electrical shorts.
Essential Tools You Will Need
You don’t need a professional mechanic’s toolkit. Most teardowns only require basic household tools. Make sure you have these ready before you touch the base:
- Safety Glasses: Always protect your eyes from falling dust or loose springs.
- Work Gloves: To protect your hands from sharp metal edges.
- Screwdriver Set: Philips head and flathead combinations are usually required for bolts and access panels.
- Socket Wrench Set: Often needed for larger frame bolts. Check your base manual if possible.
- Allen Wrenches (Hex Keys): Many furniture manufacturers use these exclusively.
- Flashlight or Headlamp: To see inside the dark mechanisms.
- Plastic Bags and Markers: For organizing and labeling small hardware (this is a genius step!).
Step 1: Power Down and Disconnect Everything
This is the most critical safety step. Never work on an electronic device that is plugged in!
- Unplug the Base: Locate the main power cord connection, usually near the primary motor or control box. Firmly pull the plug from the wall outlet.
- Disconnect Remote/Power Supply: Unplug the remote control cable and any other peripheral connections (like massage motors or under-bed lighting) from the main control box.
- Secure the Wires: Use zip ties or tape to bundle the wiring harness neatly. This prevents wires from snagging or getting caught beneath the frame while you move it.
Phase 1: Separating the Comfort Layers
Before you tackle the metal structure, the fabric deck covering and any attached padding need to come off. If you are fully dismantling the base, you will likely peel away the fabric covering.
Note: If you suspect the issue is entirely mechanical (motor failure), you might only need to access the frame and can skip removing the entire deck skin.
Step 2: Removing the Mattress Retainer Bar
Most adjustable bases have a retainer bar at the foot of the bed. This keeps the mattress from sliding off when the head or foot is raised. It’s usually held in place by a few bolts or clips.
- Locate the bolts securing the bar on either side of the frame.
- Use your socket wrench or screwdriver to remove the hardware. Keep these bolts immediately safe in a labeled bag!
- Slide the bar out of its mounting brackets.
Step 3: Peeling Back the Upholstery Deck
This fabric layer, often stretched over wooden slats or thin sub-decking, is typically held tight by staples or Velcro.
- On the underside of the base, locate where the fabric meets the metal frame.
- If secured by Velcro, simply pull the fabric away gently.
- If stapled (more common on older or cheaper bases), you need a flathead screwdriver or a specialized staple remover tool. Carefully work the tool under the staple heads and pry them out one by one. Work slowly to avoid tearing the heavy fabric.
- Roll the upholstered deck material up like a carpet, setting it aside carefully.
Phase 2: Isolating the Electronics
With the fabric gone, the control box, motors, and sometimes the massage units are exposed. These are valuable components and should be removed before the heavy frame lifting begins.
Step 4: Removing the Control Box and Handset
The control box is the brain of your adjustable base. It’s usually mounted underneath the frame near the center or foot section.
- The box is typically secured with four to six screws. Use a Philips screwdriver to remove the mounting screws.
- Once free, carefully unplug every wire leading into the box—motors, sensors, and the remote connection. If you can’t see the connection clips clearly, take a quick photo with your phone first!
- Place the control box into a protective plastic bag to keep dust and moisture out.
Step 5: Detaching the Actuator Motors
Modern adjustable bases use actuator motors to move the head and foot sections. They are connected directly to the frame via mounting bolts.
- Identify the motors—there is typically one for the head section and one for the foot section.
- Disconnect the wiring harness leading from the motor to the control box. Wiggle the connector gently until it releases from its socket.
- Observe how the motor mounts to the frame. It might use large hex bolts or specialized clips. Use the appropriate wrench to remove the mounting hardware.
- Lift the motor carefully. They can be surprisingly heavy. Set these aside, protecting the ends where they connect to the linkages.
For more general safety information regarding electrical components in home appliances, the Consumer Product Safety Commission (CPSC) provides helpful guidelines on safe handling practices.
Phase 3: Deconstructing the Frame Structure
This is the part that makes the base significantly smaller for transport. Frame teardown requires muscle and attention to detail, especially regarding hardware separation.
Step 6: Removing the Legs
The legs usually screw directly into the structural base mounts or use simple bolts. Remove them first so the main frame can lie flat.
- If they screw in, turn them counter-clockwise until they unthread.
- If bolted, use a socket wrench to remove the necessary bolts.
Step 7: Separating the Deck Halves (For Queen/King Bases)
If you have a Split King, Queen, or King base, the frame must be separated into two independent halves. This is usually the easiest way to handle large bases.
- Look along the center where the two halves meet. There are usually a few cross braces or metal brackets holding them together.
- Often, these braces are secured with locking nuts or easily removable carriage bolts. Take these off.
- Once the center hardware is removed, slowly push or slide the two halves apart. They are designed to separate along a central track.
Step 8: Disassembling the Main Bed Frame
The main frame is typically held together by large hinges (for folding) and major corner bolts.
Use a table to keep track of the frame hardware. For a clean, organized teardown, compare your hardware to the table below and bag accordingly.
| Component Removed | Hardware Type Likely Used | Label for Bag |
|---|---|---|
| Legs | Screws or small bolts | LEGS |
| Motor Mounts | Small metric bolts | MOTORS |
| Center Cross Braces (Split Bases) | Large hex bolts/Lock nuts | CENTER |
| Head/Foot Articulation Hinges | Thick pins or pivot bolts | PIVOT |
Take your time with the major pivot points connecting the head and foot sections. These large bolts allow the bed to articulate. Make sure you have sturdy support underneath the frame section you are removing bolts from, as they can suddenly become unbalanced when loose.
Phase 4: Final Organization and Reassembly Prep
You’ve successfully broken down the base! The final “genius step” is ensuring you can put it back together easily when the time comes.
Step 9: Label Everything Clearly
This step saves future you hours of frustration. Apply clear labels to every bag of hardware based on Step 8.
- Attach the Label Directly to the Part: If possible, tape the labeled bag of bolts to the corresponding structural piece (e.g., tape the “PIVOT” bag onto the hinge it came from).
- Document the Order: If you are moving far away, take a few pictures of the frame after each major disassembly step. These act as a visual instruction manual for reassembly.
Step 10: Storing Components Safely
The goal is to prevent scratching the finish, bending the metal, or damaging the sensitive motors.
- Protect the Electronics: Ensure motors and the control box are in heavy-duty plastic bags or original packaging, protected from moisture and being crushed.
- Wrap Metal Edges: Use moving blankets or thick cardboard to wrap the sharp corners and edges of the main frame sections.
- Keep Manual with Hardware: If you still have the original instruction manual, secure it with the hardware bag labeled “CENTER” or “MAIN.”
Reassembly Roadmap: Putting It Back Together
Reassembly is simply the reverse of the teardown, but it always feels different! Focus on alignment and gentle tightening.
Key Reassembly Tips
- Hand-Tighten First: When putting frame bolts back in, thread them in by hand until they catch. This ensures you don’t cross-thread the bolts (a common and frustrating mistake).
- Tighten in Stages: Once all bolts for a section are in place, tighten them about 50%. Then, go around and tighten them fully. This helps align everything perfectly.
- Connect Electronics Last: Only reconnect the motors and control box wires after the physical frame is fully assembled and stable. This prevents you from stretching or stressing the delicate wiring harnesses.
For example, when reconnecting the motors, always double-check the diagrams or your photos to ensure the rod orientation is correct before securing it. Incorrect motor alignment often leads to the base “binding” or refusing to move smoothly upon first testing.

Troubleshooting Common Teardown Snags
Even the most careful teardown can hit a small snag. Here are a couple of common issues and my simple fixes:
| Problem | Likely Cause | Dustin’s Quick Fix |
|---|---|---|
| A bolt is stuck and won’t turn. | Rust, thread locker, or over-tightening previously. | Apply a penetrating oil (like WD-40) around the threads. Let it sit for 15 minutes. Try turning again with slow, steady pressure. |
| Motor cables won’t unplug from the control box. | Plastic locking tab is stuck or invisible. | Look very closely for a small plastic clip. Gently push the clip down or sideways while pulling the connector straight out—never yank hard. |
| Frame halves won’t separate (Split Bases). | A single remaining cross-brace bolt or misaligned track. | Recheck the center line of the base. Ensure all hardware connecting the two sections has been fully removed. Use a helper to gently shift weight side-to-side to pop it free. |
Frequently Asked Questions (FAQ) About Base Teardown
Q1: Do I need a professional technician to tear down my adjustable base?
A: Not usually. For standard bases (Twin, Queen, King), almost any beginner DIYer can handle the teardown with basic tools and careful adherence to the power-off steps.
Q2: How long does a typical teardown take?
A: If you are organized and working alone, expect about 1 to 2 hours for a full teardown of a Queen or King size base, including careful hardware sorting.
Q3: What should I do if I lose a specific screw or bolt?
A: Do not substitute generic hardware randomly! Take the matching bolt to a local hardware store and find an exact replacement. Mixing bolt sizes can damage the frame or motor mounts when reassembling.
Q4: Are adjustable bases heavy once disassembled?
A: Yes. While it breaks down into smaller pieces, the main metal frame sections can still weigh 50 to 100 pounds each. Always lift with your legs, not your back, and get a helper for the larger frame pieces.
Q5: Can I toss the old upholstery fabric when moving?
A: You can, but it’s often better to keep it. If you plan to reinstall the base, keeping the fabric deck intact prevents the wood slats underneath from warping during storage.
Q6: Is it safe to move the motors while they are still connected by wires?
A: It is best practice to disconnect the wires from the control box first. Moving heavy frames while wires are dangling risks yanking the connectors out harshly or damaging the strain relief points.
Q7: What if my base folds up but won’t disconnect in the middle?
A: This usually means one of the internal cross-braces connecting the two halves wasn’t fully removed. Check the top surface where the mattress usually rests for any bolts you might have missed, often near the center articulation pivot.
Conclusion: Confidence in Your DIY Skills
See? You navigated the whole process like a seasoned pro! Taking apart your adjustable bed base, whether for a tricky repair or a big move, breaks down into logical, manageable steps: safety first, electronics out, and then the frame. The most important takeaway is organization—labeling those few dozen bolts and screws ensures that reassembly is just as smooth as the teardown was.
Now you have a base broken down into transport-friendly sections, and you didn’t have to pay a specialist to do it. Armed with these steps, you build confidence for any larger maintenance challenge that comes your way. Remember to always prioritize safety, double-check that power plug, and enjoy the satisfaction of a job completed right!


