Quick Summary: Don’t toss that ripped tarp yet! You can easily repair a tarp using simple tools and techniques like tape, patch kits, or sewing. These fixes are quick, budget-friendly, and will extend your tarp’s life, saving you money and hassle.
Oh no, a tear in your favorite tarp! It’s a common frustration, isn’t it? Whether it’s protecting your garden furniture, covering camping gear, or shielding a DIY project, a damaged tarp can feel like a real setback. But before you think about buying a new one, take heart! Repairing a tarp is surprisingly straightforward and something anyone can do. With just a few handy supplies, you can make it as good as new, keeping your belongings safe and dry without breaking the bank. Let’s explore some genius fixes that are both essential and incredibly easy!
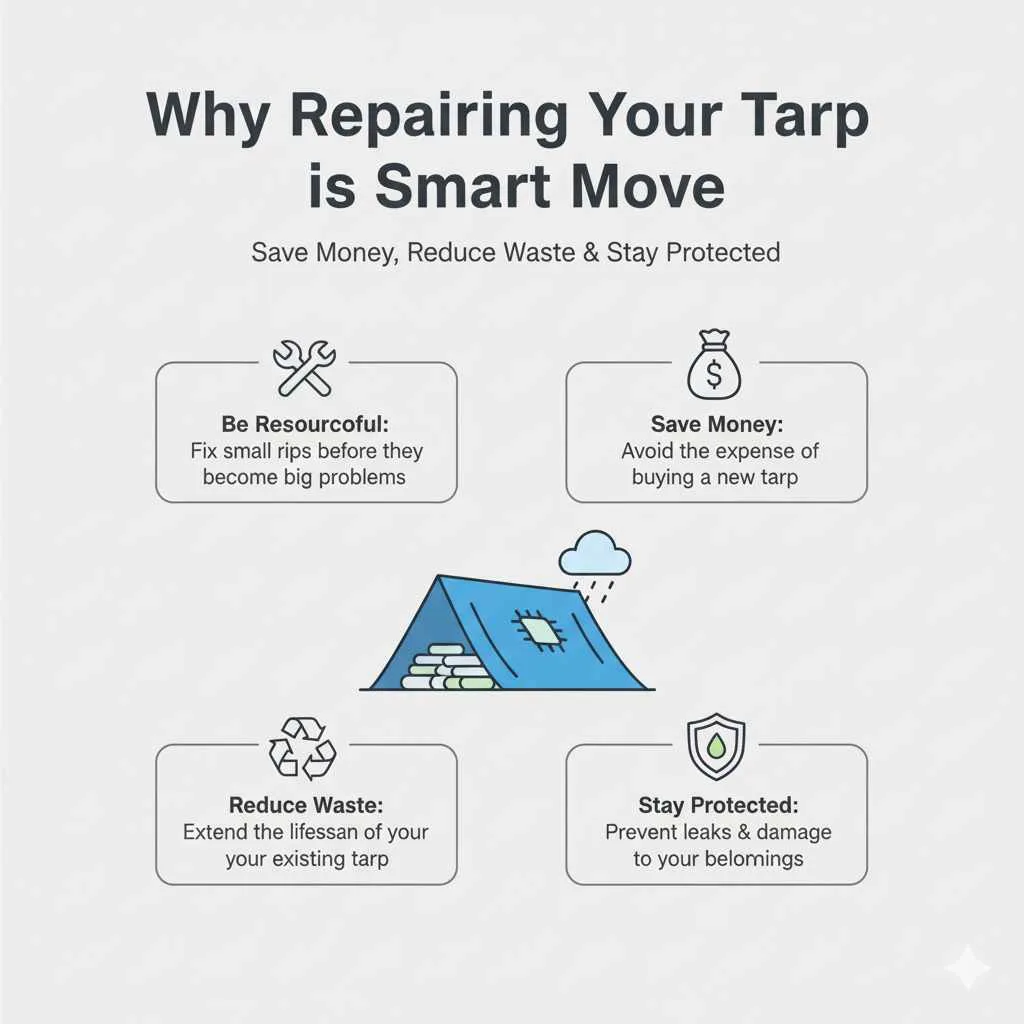
Why Repairing Your Tarp is a Smart Move
Think about it: tarps are workhorses! They shield us from sun, rain, snow, and wind. Over time, wear and tear are inevitable. A small rip can quickly become a big problem, leading to leaks and damage. But repairing a tarp isn’t just about fixing a hole; it’s about being resourceful and saving money. Replacing a tarp can be an unexpected expense, especially if you need a large or heavy-duty one. By learning a few simple repair techniques, you’re extending the life of your existing tarp, which is not only good for your wallet but also for reducing waste. It’s a win-win!
Gathering Your Tarp Repair Essentials
Before we dive into the fixes, let’s make sure you have the right tools. The best part is that most likely, you already have some of these items around your home! Having these on hand will make the repair process smooth and efficient. Think of this as your DIY toolkit for tarp rescue.
Essential Tarp Repair Supplies:
- Tarp Repair Tape: This is your superhero item! Look for heavy-duty, waterproof, UV-resistant tape specifically designed for tarps or outdoor fabrics.
- Patch Kit: Many kits come with self-adhesive patches or material you can apply with a special adhesive. Some heavy-duty kits might even include grommet replacement tools.
- Fabric Glue or Adhesive: A strong, flexible, waterproof adhesive is crucial for some repairs.
- Scissors or Utility Knife: For cutting tape and patches cleanly.
- Rubbing Alcohol or Cleaner: To ensure the repair area is clean and dry for better adhesion.
- Gloves: To keep your hands clean, especially when working with adhesives.
- Sewing Kit (Optional but Recommended): A heavy-duty needle and durable thread (like upholstery thread or outdoor nylon thread) can be a lifesaver for reinforced repairs.
- Small Roller or Credit Card: To press down tape or patches firmly and remove air bubbles.
The Easiest Fix: Tarp Repair Tape
This is often the quickest and most straightforward method, perfect for beginners and minor tears. Tarp repair tape is designed to stick firmly to the material and withstand the elements. It’s like a super-powered band-aid for your tarp!
Steps for Using Tarp Repair Tape:
- Clean the Area: Gently wipe the area around the tear with rubbing alcohol or a mild cleaner. Make sure it’s completely dry before you proceed. This is crucial for the tape to adhere properly.
- Cut the Tape: Cut a piece of repair tape that is at least 2 inches longer than the tear, extending beyond all sides of the damage. Rounding the corners of the tape can help prevent it from peeling up later.
- Apply the Tape: Peel off the backing from one side of the tape. Carefully align it over the tear and press it down firmly, working from the center outwards to eliminate any air bubbles.
- Reinforce (Optional): For added strength, especially on larger tears or high-stress areas, apply another piece of tape to the reverse side of the
tarp, if accessible. - Smooth It Out: Use a roller, credit card, or even your fingers to press the tape down firmly all over. Ensure all edges are sealed tightly.
This method is fantastic for small rips, punctures, and even reinforcing worn edges. Many high-quality tarp repair tapes offer excellent UV resistance and waterproofing, making your repair as durable as the original tarp material.
Tarp Patch Kits: Your Next Go-To Solution
Patch kits offer a more robust repair, especially for larger tears or areas that experience a lot of strain. They usually involve either a self-adhesive patch or a patch material with a strong, flexible adhesive. These are great for those times you need a little extra reinforcement.
Types of Tarp Patch Kits:
- Self-Adhesive Patches: These are like large, super-strong stickers. You simply peel and stick. They are incredibly easy to use and come in various sizes and colors (though color matching isn’t always perfect).
- Adhesive-Based Patches: These kits usually include a piece of tarp material and a liquid adhesive designed to bond fabrics. You’ll cut the patch to size, apply the glue to both the patch and the tarp, let it become tacky, and then press them together.
Steps for Using Adhesive-Based Patch Kits:
- Prepare the Tarp: Clean the damaged area thoroughly with rubbing alcohol and let it dry completely.
- Cut Your Patch: Cut a piece of patch material that is several inches larger than the tear on all sides. Round the corners.
- Apply Adhesive: Follow the instructions on your specific adhesive. Typically, you’ll apply a thin, even layer of adhesive to the back of the patch and also to the area of the tarp where the patch will go.
- Let it Get Tacky: Allow the adhesive to become tacky, which usually takes a few minutes. This is key for a strong bond.
- Position and Press: Carefully place the patch over the tear. Press down firmly, starting from the center and working your way out. Use a roller or credit card to ensure a smooth, bubble-free application.
- Cure Time: Let the adhesive cure for the time recommended by the manufacturer. This might be several hours or even a full day. Avoid moving or stressing the tarp during this time.
For very heavy-duty tarps or areas that see extreme wear, like grommet reinforcement, look for kits that offer extra strength or come with tools to replace damaged grommets. Remember to check the manufacturer’s recommendations for the best results.
Sewing Your Tarp Back Together: For Maximum Durability
If you’re comfortable with a needle and thread, sewing offers the most robust and permanent repair, especially for larger rips or along seams. It’s a bit more labor-intensive but provides incredible strength and can look quite neat if done carefully.
What You’ll Need for Sewing:
- Heavy-duty needle (a curved needle can be helpful for tight spots)
- Durable thread (polyester or nylon outdoor thread is ideal for UV resistance and strength)
- Thimble (to protect your fingers)
- Fabric marker or chalk (to mark your stitch line)
- Scissors
- Repair patch material (optional, for reinforcing the inside)
Steps for Sewing a Tarp Repair:
- Clean and Prepare: Clean the area around the tear and ensure it’s dry.
- Position and Pin: If you have a patch, place it on the underside of the tarp to reinforce the tear. Pin or clip both layers of the tarp (if the tear goes through) or the patch material securely in place.
- Mark Your Stitch Line: Use a fabric marker or chalk to draw a line about 1/2 inch from the edge of the tear or around the perimeter of your patch material.
- Start Sewing: Thread your needle with a strong double strand of thread. Tie a secure knot at the end. Begin sewing along your marked line using a strong stitch. A backstitch or a whipstitch is excellent for durability. A sewing tutorial can be super helpful here!
- Reinforce the Tear: If you’re sewing directly over a tear without a patch, make sure to stitch back and forth several times over the damaged area to create a strong bond.
- Finish Your Stitching: Once you’ve gone around the entire repair area, tie off your thread securely on the underside.
Sewing is particularly useful for reinforcing seams that have come apart or for repairing rips that go through the entire tarp material. For extra waterproofing, you can apply a seam sealant over your stitches.
Tarp Reinforcement Techniques: Going the Extra Mile
Sometimes, a simple patch or tape isn’t enough, especially if the area around a grommet is tearing, or if the tear is in a high-stress area. Reinforcing the repair makes it last much longer. Think of it as giving your tarp even more protection.
Reinforcing Torn Grommets:
Torn grommets are a common weak point. If one is starting to pull away, you can often save it:
- Clean: Ensure the area around the grommet is clean and dry.
- Patch: Cut a small, strong patch (heavy-duty tarp material or canvas) that is larger than the damaged area around the grommet.
- Adhere/Sew: You can either glue this patch securely behind the torn area or sew it firmly in place.
- Re-grommeting: If the original grommet is damaged or missing, you can purchase a grommet repair kit which usually includes setting tools. Follow the kit’s instructions to punch a new hole and install a new grommet. This is a fantastic way to revitalize a weakened anchor point.
Doubling Up on Repairs:
For very significant tears or at corners that experience a lot of pulling:
- Consider applying a repair patch to both the top and bottom sides of the tarp for maximum strength.
- Use a strong fabric adhesive to bond the edges of the tear together before applying tape or a patch.
Important Considerations for Tarp Repairs
Choosing the right repair method depends on your tarp’s material, the size of the damage, and where the damage occurred. Taking a moment to assess the situation will lead to a more successful fix.
Tarp Material Matters:
Most common tarps are made of polyethylene (HDPE) or vinyl. Some heavy-duty tarps might be canvas or polyester. While most of the methods above work for common materials, always check the compatibility of your repair tape or adhesive with your specific tarp fabric. You can usually find this information on the tarp’s label or the manufacturer’s website.
Weather Resistance:
For outdoor tarps, ensure your chosen repair materials are waterproof and UV-resistant. Standard duct tape might seem like a quick fix, but it breaks down quickly in sunlight and rain, leaving you with a mess and a still-damaged tarp. Look for purpose-made outdoor repair solutions. The U.S. Environmental Protection Agency offers general guidance that can indirectly inform best practices for material durability.
Where the Tear Is:
A tear in the middle of the tarp is usually easier to fix than a tear near an edge or a grommet. Areas that are frequently folded, stretched, or pulled will require stronger, more robust repairs.
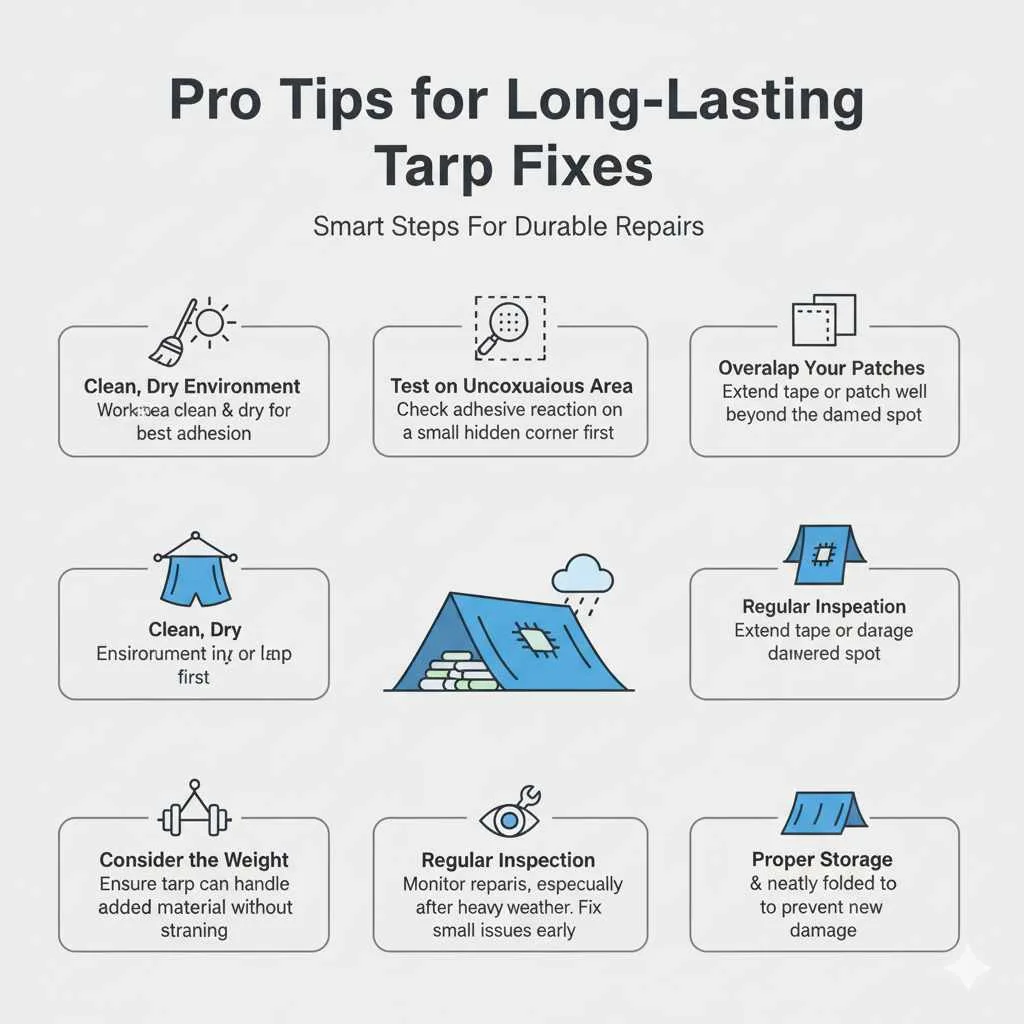
Pro Tips for Long-Lasting Tarp Fixes
Here are a few extra tips to make your tarp repairs super effective and long-lasting:
- Work in a Clean, Dry Environment: This is almost as important as cleaning the tarp itself.
- Test on an Inconspicuous Area: If you’re unsure how an adhesive or tape will react with your tarp material, test it on a small, hidden corner first.
- Overlap Your Patches/Tape: Don’t just cover the hole; ensure your patch or tape extends well beyond the damaged area.
- Consider the Weight: If you’re using heavy patching material, make sure the tarp can still handle the added weight without straining.
- Regular Inspection: After a repair, keep an eye on it, especially after heavy weather. Catching small issues early can prevent bigger problems.
Cost Comparison: Repair vs. Replace
Let’s look at why repairing is often the financially savvy choice. While the upfront cost of a new tarp can vary wildly (from $15 for a small, light-duty one to over $100 for a large, heavy-duty canvas tarp), repair costs are typically minimal.
| Repair Method | Estimated Cost | Pros | Cons |
|---|---|---|---|
| Tarp Repair Tape (Roll) | $10 – $25 | Quick, easy, no mess, waterproof | May not be suitable for very large tears, can be visible |
| Tarp Patch Kit (Adhesive/Patches) | $15 – $30 | Strong, durable, good for larger tears, some kits include grommets | Requires drying time, might involve more steps |
| Sewing (Needle, Thread, Patch) | $5 – $20 (if you have supplies) | Most durable, permanent, can be precise | Requires skill/effort, can be time-consuming |
| New Tarp (Medium Duty, 10×12 ft) | $30 – $60 | Brand new, no previous damage | Unexpected expense, can be wasteful if old tarp is easily fixable |
As you can see, the cost of repair materials is a fraction of the cost of a new tarp. This means you keep more money in your pocket and use your existing resources efficiently.
Frequently Asked Questions About Tarp Repairs
Q1: What is the best way to repair a small hole in a tarp?
For small holes, tarp repair tape is usually the easiest and most effective method. Clean the area, cut a piece of tape larger than the hole, round the corners, and press it down firmly on both sides if possible.
Q2: Can I use duct tape to repair a tarp?
While duct tape can offer a temporary fix, it’s generally not recommended for a lasting repair. It doesn’t hold up well to sunlight (UV rays) or moisture, and the adhesive can become gummy and difficult to remove later.
Q3: How do I fix a tear near the edge of a tarp?
Tears near the edge, especially around grommets, require extra attention. You’ll want to reinforce the area by applying a patch to the back of the tarp before attempting to tape or sew the tear. If the grommet itself is damaged, consider using a grommet repair kit.
Q4: Which tarp repair materials are waterproof and UV-resistant?
Look for products specifically labeled as “waterproof,” “UV-resistant,” or “outdoor-grade.” Many heavy-duty tarp repair tapes and vinyl/plastic adhesives are formulated to withstand the elements.
Q5: How long will a tarp repair last?
The lifespan of a tarp repair depends on the method used, the quality of the materials, and how much stress the tarp is under. A well-done patch or sewn repair using robust materials can last for several years, often extending the useful life of the tarp significantly.
Q6: Can I repair a hole in a heavy-duty canvas tarp?
Yes, canvas tarps can often be repaired. For canvas, sewing with a heavy-duty needle and strong polyester or canvas thread is usually the most effective method. You can also use canvas repair patches and specialized canvas adhesives.
Conclusion
See? Repairing a tarp is not some daunting chore reserved for professionals. With a few simple tools and these straightforward techniques, you’ve got the power to revive your damaged tarp and give it a new lease on life. Whether you opt for the quick fix of repair tape, the solid strength of a patch kit, or the ultimate durability of sewing, you’re making a smart, eco-friendly, and budget-conscious choice. So go ahead, tackle that tear with