Putting Christmas lights on your balcony is simple when you use safe, temporary mounting methods like plastic clips or zip ties. Always use outdoor-rated lights, secure the cords properly, and prioritize safety over speed. Follow these steps for a stunning, secure holiday display without damaging your rental or property.
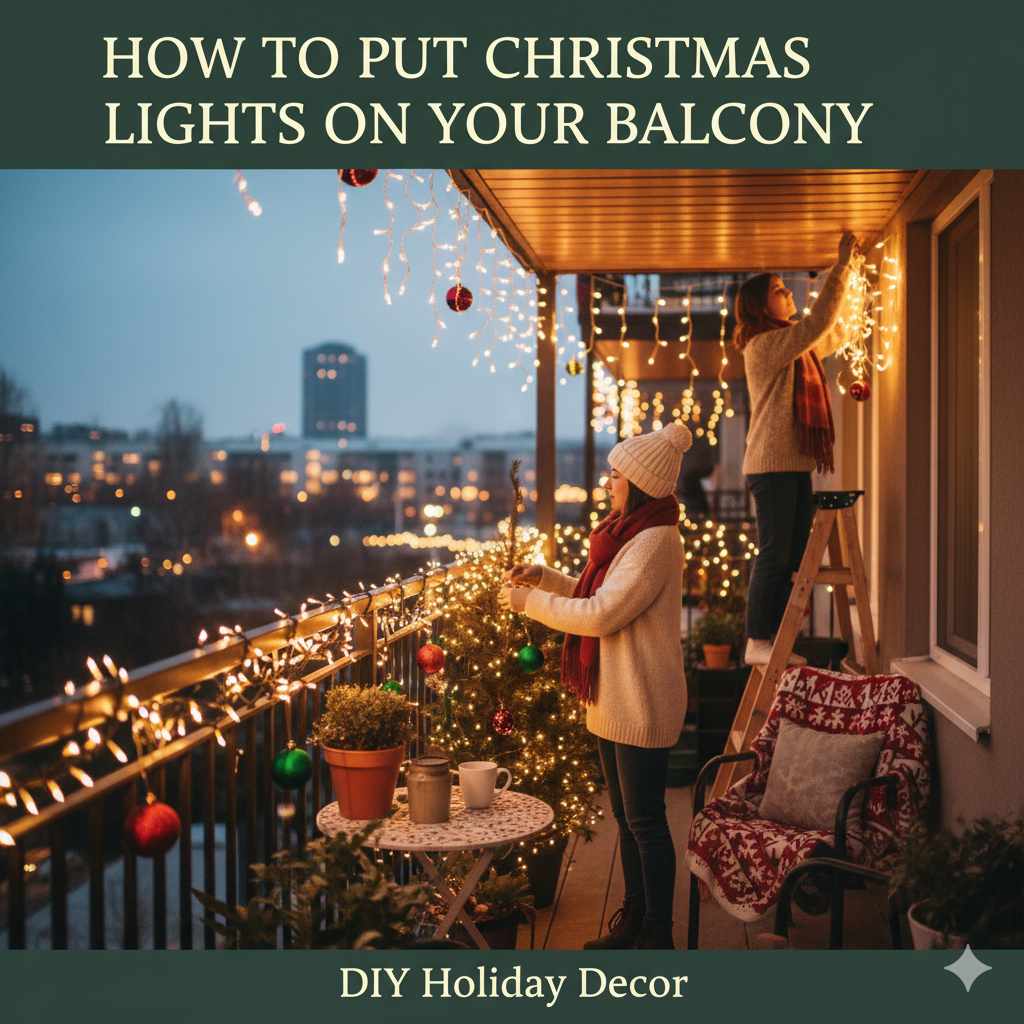
So, you want your apartment balcony to shine this holiday season? That little outdoor space can look magical, but stringing lights can feel tricky, especially if you rent. You don’t want to drill holes or use sticky tape that ruins the paint. Don’t worry! Making your balcony festive is easy, even if you’ve never done it before. We’re going to walk through the easiest, safest, and most damage-free ways to hang lights. Get ready for a brilliant, stress-free display. First, let’s look at exactly what you need before you even step outside.
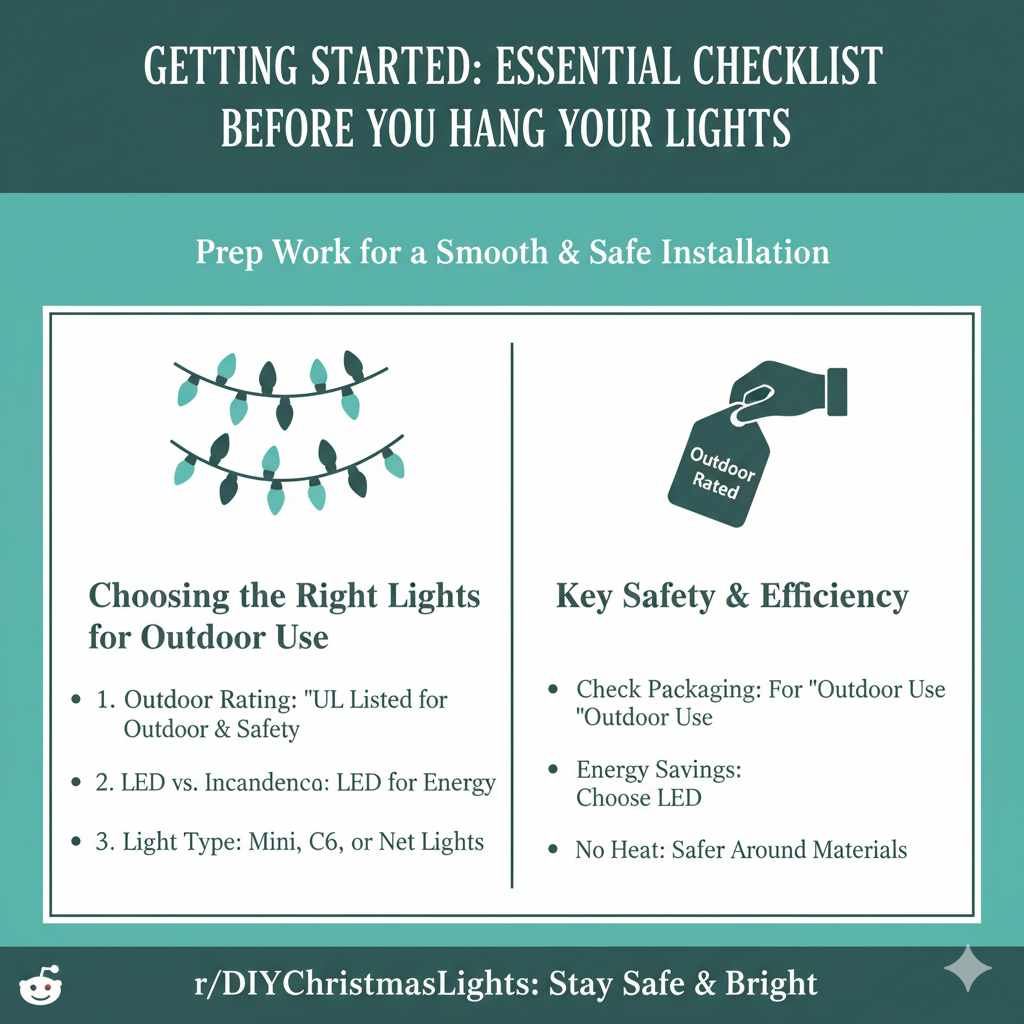
Getting Started: Essential Checklist Before You Hang Your Lights
Just like preparing your car for a long road trip, a little prep work makes hanging lights much smoother. Skipping this step causes tangles and safety issues down the line. We need to confirm our lights are safe for outdoor use and gather the right tools for a clean installation.
1. Choosing the Right Lights for Outdoor Use
This is the most important safety step. You cannot use the delicate indoor lights outside. Rain, snow, and wind will ruin them quickly, and worse, they can cause electrical hazards. Look for specific labels on the box.
- Outdoor Rating: Always check the packaging for “Outdoor” or “UL Listed for Outdoor Use.” This means they are built to handle moisture and temperature changes.
- LED vs. Incandescent: LED lights are the modern choice. They use far less energy (saving you money!) and don’t get hot like old incandescent bulbs. This makes them much safer around railings and fabrics.
- Light Type: Mini-lights, C6 bulbs, or net lights are great for balconies. Net lights are especially easy because they cover railings quickly.
2. Essential Tools and Supplies
You don’t need a full workshop. Keep it simple. Having these items ready means you can finish the job in one afternoon.
| Tool/Supply | Purpose | Why It Matters |
|---|---|---|
| Outdoor Extension Cord | To reach the nearest outdoor outlet safely. | Indoor cords are not rated for outdoor moisture. |
| Plastic Adhesive Hooks or Clips | To attach lights to railings, siding, or ceilings. | These offer strong hold without damaging surfaces (renter-friendly!). |
| Zip Ties or Twist Ties | For securing extra cord slack or bundling lights. | Keeps cords neat and prevents tripping hazards. |
| Gloves | To protect your hands from rough railing edges. | Safety first, even when handling decorations! |
| Stepladder (Use Safely!) | If your balcony railing is tall, you might need a boost. | Never stand on chairs or wobbly boxes. Stability is key. |
If you need advice on choosing the right extension cord gauge for your setup, checking the specifications on a site like the U.S. Department of Energy website can ensure you don’t overload your connection, though for standard Christmas lighting, a heavy-duty outdoor cord is usually fine.
Step 1: Planning Your Balcony Light Layout
Don’t just start unwrapping! A quick plan prevents wasted time and ensures you get the perfect look. Think about the three main areas of your balcony: the railing, the ceiling/overhang, and the walls/siding.
Mapping Out the Look
How much light do you want? Most beginners use one of these three popular balcony styles:
- Railing Wrap: Wrapping lights tightly around the top rail of the balcony offers a clean, bright border. This is the simplest method.
- Draped Look: If you have an overhang or ceiling above your balcony, you can drape lights like a canopy, creating a soft, tented effect.
- Full Coverage: This involves wrapping the railing and covering any visible side walls or privacy screens. This takes the most lights but looks the most impressive.
Measuring for Success
Measure the parts you plan to cover. If you are just wrapping the railing, measure the total length of the railing you want covered. This tells you exactly how many strands of lights you need. It’s always better to have a little extra light strand than to run short halfway through—it’s frustrating when that happens!
Pro Tip: Lay out all your lights on the floor inside first. Untangle any knots before you go outside. This saves huge amounts of frustration!
Step 2: Securing Your Lights Safely (Renter-Friendly Methods)
This is where we tackle the main challenge: how to attach lights firmly without drilling holes or using sticky residue that will disappoint your landlord. We rely on clips and ties.
A. Attaching Lights to the Railing (The Easiest Part)
The railing is your best friend for lighting. Most railings (metal or wood) offer something for clips to grip onto.
- Use Plastic Clips: Buy plastic light clips designed for outdoor use. These small clips slide over the top edge of the railing. You then gently snap the light wire into the clip. They generally hold extremely well and peel off easily later.
- Zip Ties for Metal Railings: If you have thin metal vertical or horizontal bars, use small, UV-resistant zip ties. Wrap the zip tie snugly around the light wire and the railing bar, then pull tight. Trim the excess tail close to the lock mechanism. These are surprisingly strong and remove by cutting snip with scissors.
B. Lighting Under an Overhang or Balcony Ceiling
If you have a flat ceiling above your balcony (where the balcony above you sits), you can attach lights there for a beautiful canopy effect.
Caution: Do not use nails on borrowed property! Never drive a nail into wood or stucco ceiling unless you own the building.
- Ceiling Clips: Use adhesive ceiling hooks specifically rated for outdoor conditions. Wait 24 hours after sticking them up before you hang the lights, allowing the adhesive to cure completely.
- Running the Wire: Run the main light wire along the edge of the ceiling first, using clips every 12 to 18 inches. This keeps the wire hidden and neat.
- Creating the Drape: Once the edge is secure, gently drape the strands down toward the center or across to the opposite side, securing the drops with more hooks.
C. Securing Lights to Walls or Privacy Screens
If your balcony has solid side walls or a wooden privacy divider, you can treat this similarly to how you wrap the railing.
For Wood or Vinyl Siding: Small, removable plastic “J” hooks work well here. They slide under a shingle or siding panel edge and hold the wire securely. Always check the material first; some delicate vinyl siding can crack if too much pressure is applied.
For Masonry or Brick: This is tricky for renters. If you absolutely must attach lights here, use heavy-duty, removable adhesive strips designed for brick (often found at home improvement stores). Test a small, hidden spot first to ensure it doesn’t pull paint on lighter materials.
Step 3: Wiring and Power Management (The Safety Component)
This step is critical for safety and keeping your display running all season long. This is like checking your tire pressure and fluid levels before a big drive—you must manage the power correctly.
Focus on the Power Source
Most balconies don’t have an outdoor outlet right where you want the lights. You will likely need an extension cord.
- Use Outdoor-Rated Cords Only: Re-stating this because it’s crucial: Indoor cords pose a major fire and shock risk when exposed to moisture. Your extension cord must be rated for outdoor use.
- Secure Connections: Where your light strand plugs into the extension cord, that connection point must be kept dry. Use a waterproof cord connector cover, or carefully wrap the connection point several times with high-quality electrical tape if you don’t have a proper cover. Rain pooling in that join is dangerous.
- Keep Cords Off the Floor: If your lights are draped on the railing, make sure the main line running to the outlet is also secured up high or along the railing perimeter. Walking over light cords is a major tripping hazard, and stepping on them can damage the wire insulation.
Calculating Load (It’s Easier Than It Sounds)
You don’t want to plug too many lights into one outlet, even if you are using heavy-duty cords. This is called overloading the circuit.
If you are using modern LED lights, you have much more room to play. A standard outdoor outlet is usually rated for 15 amps. LEDs draw very little power.
Load Limiting Guide (General Guideline)
This table gives you a general idea of how many strands you can safely plug end-to-end:
| Light Type | Max Strands End-to-End (15 Amp Circuit) | Safety Tip |
|---|---|---|
| LED Lights | Up to 40 sets | Always check the specific light packaging for their max connection limit. |
| Old Incandescent Lights | Up to 4–5 sets | Incandescent lights use much more power and tangle easily. |
When in doubt, use fewer strands per outlet. For a small balcony, one or two strands are usually enough, making overloading unlikely. If you need to power lights on multiple balconies or across a long distance, consult an electrician or ensure you use multiple, separate outlets.
Step 4: Styling and Finishing Touches
Now that the lights are securely hung and powered safely, it’s time to make it look like a professional display!
Tightening and Adjusting
Walk the entire length of the lights. Look for any loose wires, areas where the light bulbs are touching each other too closely, or strands sagging too low. Tighten any loose clips. If you notice bulbs touching any flammable material (like dried wreaths or fabric), move them apart immediately.
Incorporating Balance
A beautiful balcony display rarely uses only lights. Think about adding complementary decorations that catch the light:
- Garlands: Drape faux pine garland along the top railing under the lights. This hides the wire neatly and adds texture. Secure the garland with the same clips you used for the wires.
- Pots and Planters: Place battery-operated fairy lights inside clear glass jars or winter planters placed near the edges of the balcony. This adds low-level ambient glow.
- Wreaths: Hang a simple, pre-lit wreath on the main sliding door leading to the balcony. Ensure the cord for this item runs separately or neatly alongside your main display cord.
Consider texture. Matte finishes absorb light, while metallics and glass will reflect the light, making the whole display appear brighter.
Maintenance Tips for a Long-Lasting Glow
You want your balcony to look amazing from December 1st through New Year’s Day. A little upkeep goes a long way.
Daily Checks (The First Week)
After the first three days, do a quick walk-by every evening before turning them on. Look for:
- Any clips that have fallen off due to temperature swings.
- Water pooling near plug connections.
- Bulbs that have burned out (if using incandescent).
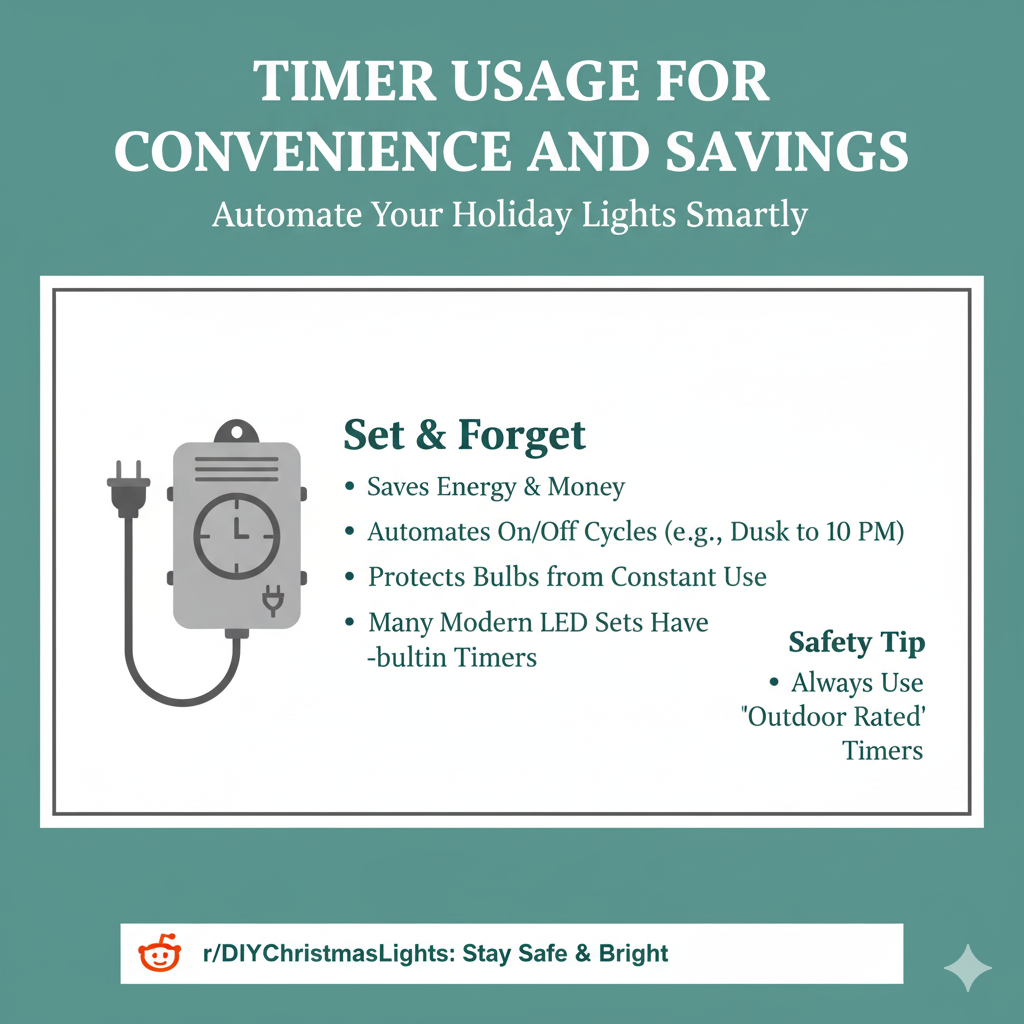
Timer Usage for Convenience and Savings
Don’t waste energy leaving lights on all night! Invest in an outdoor-rated timer. You can set it to turn on at dusk and off at 10 PM or 11 PM. This protects your bulbs from constant use and saves you money. Many modern LED sets come with built-in timers, which is an added bonus.
For more information on safe outdoor electrical use pertaining to seasonal decorations, the Electrical Safety Foundation International (ESFI) provides excellent, free safety resources that stress the importance of using outdoor-rated equipment.
Troubleshooting Common Balcony Lighting Issues
Even when you follow the steps perfectly, things can sometimes go wrong. Being prepared to troubleshoot means you fix problems fast and get back to enjoying the view.
| The Problem | The Likely Cause | The Quick Fix |
|---|---|---|
| Lights won’t turn on at all. | Blown fuse in the plug end or trip breaker. | Check the small fuse compartment in the male plug end and replace the fuse if needed, or check your main home breaker box. |
| Only half the strand is lit. | A single bulb is loose, missing, or broken (common with older incandescent sets). | Start checking from the unlit end until you find the bad bulb, and replace it with the spare provided. |
| Clips keep falling off the railing. | The railing surface is slick, dusty, or the clips aren’t making full contact. | Wipe the railing surface clean where the clip attaches. If using adhesive clips, use zip ties instead. |
| Extension cord connection looks wet. | Moisture ingress at the junction. | Unplug immediately. Dry the connection completely and wrap it with waterproof electrical tape or place it inside a waterproof connector box. |
Frequently Asked Questions (FAQ) for Beginner Balcony Decorators
Q1: Can I plug my balcony lights into my indoor outlet?
A: Only if you use a heavy-duty, outdoor-rated extension cord that runs safely from that outlet to the outside. Never run the indoor cord itself outside, as it is not protected against weather damage.
Q2: How do I prevent my lights from blowing in the wind?
A: Secure the wires tightly to the railing using clips or zip ties approximately every 1 to 2 feet. Pay special attention to the main cord running from the light strand to the outlet; keep that slack minimal and secured high.
Q3: Will adhesive hooks damage my landlord’s metal or painted railing?
A: Most standard adhesive hooks can leave residue or pull off light paint if removed improperly. For metal railings, your safest bet is always plastic clips or small zip ties, which cause zero damage.
Q4: Is it safe to wrap lights around a plastic/PVC balcony screen?
A: Yes, as long as the lights are LED. LEDs generate very little heat. If you use older incandescent lights, avoid wrapping them directly against plastic as the heat buildup can soften or warp the material.
Q5: How long should I leave my balcony lights on each night?
A: For energy savings and bulb lifespan, use a timer to run them for about 6 to 8 hours, typically from sunset until early evening when you are likely relaxing on the balcony.
Q6: What is the best way to store the lights when the season ends?
A: After you take them down, clean off any dust or debris. Roll them loosely around a piece of cardboard or a dedicated light spool to prevent the wires from getting crushed or tangled during storage. Keep them in a dry, temperature-stable place.
Conclusion: Enjoying Your Newly Lit Balcony
You’ve done it! By focusing on safety, choosing the right no-damage mounting hardware, and planning your layout just a little bit, you’ve transformed your balcony into a winter wonderland. Putting up Christmas lights doesn’t need to be a difficult chore reserved for homeowners. Every driver knows that even the simplest route becomes successful with a good map and the right tools, and decorating your balcony is the exact same process.
Take a step back, plug in those beautiful strands, and enjoy the warm glow. You accomplished a great DIY project that makes your home feel instantly more festive and welcoming. Happy holidays, and drive safely!