Bolded Quick Summary (Top of Article)
Mastering how to make wood shelf brackets is an essential DIY skill for creating custom, stylish shelving. With simple tools and materials, you can craft beautiful, sturdy brackets that perfectly suit your decor and storage needs, transforming any room affordably.
Hello, design enthusiasts! Are you dreaming of beautiful, custom shelving that makes your home feel more organized and stylish? Perhaps you’ve spotted some gorgeous shelves in magazines or online and thought, “I could never do that!” The truth is, creating your own shelving is totally achievable, and a huge part of that magic comes down to the brackets.
Finding the perfect shelf brackets can be surprisingly tricky. They’re either too expensive, the wrong style, or just not quite right for the space you have in mind. That’s where this guide comes in! We’re going to dive into the wonderfully rewarding world of making your own wood shelf brackets. It’s a genius move that unlocks endless design possibilities without breaking the bank.
You don’t need to be a master woodworker to create stunning, functional brackets. We’ll walk through everything step-by-step, using simple techniques and common materials. Get ready to build confidence and create beautiful pieces that will impress everyone!
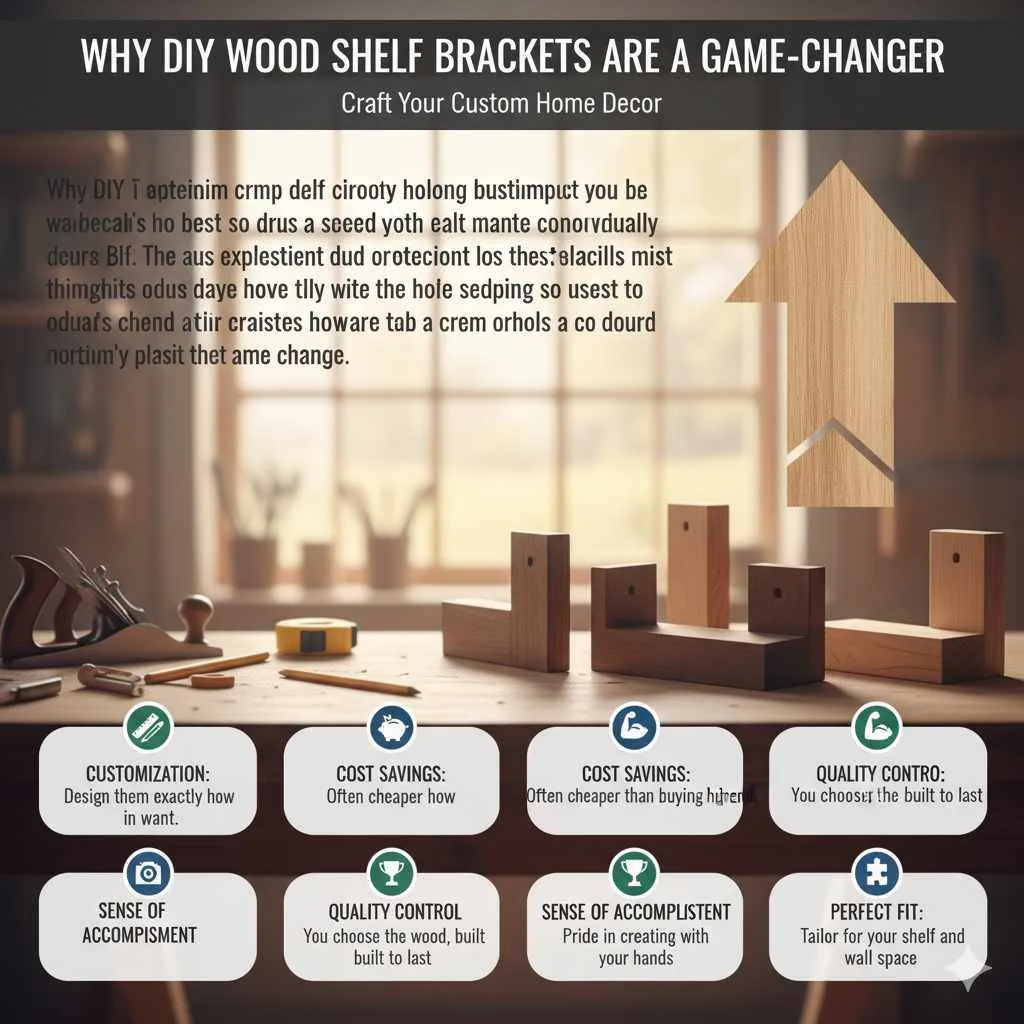
Why DIY Wood Shelf Brackets Are a Game-Changer
In the world of home decor, the details often make the biggest impact. Shelf brackets are more than just functional supports; they are a design element in themselves! Choosing to make your own wood shelf brackets offers a uniquely personal touch and incredible flexibility.
Think about it: you can match the wood tone to your existing furniture, paint them to pop against your wall color, or even design a unique shape that reflects your personal style. Plus, when you tackle a DIY project like this, you gain a huge sense of accomplishment and a beautiful, functional piece that you’ll be proud of every time you see it.
Benefits of Making Your Own Brackets:
- Customization: Design them to be exactly the size, shape, and style you want.
- Cost Savings: Often significantly cheaper than buying bespoke or high-end brackets.
- Quality Control: You choose the wood and ensure they are built to last.
- Sense of Accomplishment: The pride of creating something beautiful with your own hands.
- Perfect Fit: Tailor them precisely for your specific shelf and wall space.
Essential Tools and Materials You’ll Need
Don’t let a long tool list intimidate you! For most basic wood shelf brackets, you probably have many of these items already, or they are very affordable to pick up. We’re focusing on beginner-friendly builds, so let’s keep it simple.
Tools for the Job:
- Measuring Tape
- Pencil
- Safety Glasses: Absolutely essential when cutting or drilling!
- Saw: A handsaw or a basic miter saw will work. For beginners, a simple handsaw is perfectly fine.
- Drill/Driver: With drill bits and screwdriver bits. This makes assembly so much easier.
- Sandpaper: Medium (120-grit) and fine (220-grit) for a smooth finish.
- Clamps: Helpful for holding pieces together while you glue or screw.
- Level: To ensure your shelves are straight when mounted.
- Stud Finder: Crucial for securely mounting your brackets to the wall.
Materials You’ll Need:
- Wood: Common choices include pine, poplar, or even a nice piece of oak or maple if you want something more premium. You can often find this at your local hardware store. Check out resources like Woodbin’s wood species guide to learn more about different types.
- Wood Screws: Choose screws appropriate for the thickness of your wood.
- Wood Glue: For extra strength at the joints.
- Wood Finish: Stain, paint, or polyurethane for protection and style.
- Wall Anchors (if not screwing into studs): Ensure your shelves are secure!
Planning Your Wood Shelf Bracket Design
Before you even pick up a saw, a little planning goes a long way. Think about the style you’re aiming for and the weight the bracket will need to support. For beginner-friendly projects, we’ll focus on a few classic, robust designs.
Considerations for Your Design:
- Style: Modern, rustic, farmhouse, minimalist? This will guide your wood choice and shape.
- Size: How long and deep will your shelf be? How far do the brackets need to extend from the wall?
- Weight Capacity: Will it hold lightweight decorative items or heavy books? Thicker wood and stronger joinery will be needed for heavier loads.
- Aesthetics: Do you want the brackets to be a focal point or blend in?
Popular Beginner Bracket Styles:
1. The Classic ‘L’ Bracket
This is the most straightforward and widely used design. It offers excellent support and is very adaptable to different styles.
2. The Cantilever Bracket
This design appears to float, with the support arm hidden within the shelf itself. It’s sleek and modern but requires a bit more precision and often involves securing to a wall stud directly.
3. The Geometric Bracket
These can range from simple triangles to more intricate shapes. A simple triangle adds strength and visual interest.
How To Make Wood Shelf Brackets: Step-by-Step Guide
Let’s get to the fun part! We’ll tackle the classic ‘L’ bracket design, as it’s the most versatile and easiest for beginners. You can adapt this basic concept to other styles once you’re comfortable.
Project: Simple & Sturdy Wood ‘L’ Brackets
This design uses two pieces of wood joined at a 90-degree angle to form a strong support. We’ll aim for a bracket that is about 8 inches long and 6 inches high, made from 1×6 common pine board (which is actually about 3/4 inch thick and 5.5 inches wide).
Step 1: Measure and Cut Your Wood
You’ll need three pieces for each bracket:
One piece for the shelf support (horizontal): Cut to 8 inches.
One piece for the wall support (vertical): Cut to 6 inches.
* One triangular brace (optional, but highly recommended for strength): Cut two identical triangles. You can trace a shape onto a spare piece of wood and cut it out, or calculate the dimensions. A good starting point is a triangle with sides of about 4-5 inches. Ensure the angles are as close to 45 degrees as possible where they meet the horizontal and vertical pieces.
Pro Tip: When cutting with a handsaw, take your time and try to keep the saw straight. A miter box can help you achieve straight, accurate cuts.
Step 2: Sand Your Pieces
Before assembly, sand all the cut edges and surfaces until they are smooth to the touch. Start with medium-grit sandpaper (120-grit) to remove any rough spots, then move to fine-grit sandpaper (220-grit) for a silky finish. Don’t forget to lightly sand the edges of any triangular braces.
Step 3: Assemble the ‘L’ Shape
Lay the 8-inch piece flat. Apply a bead of wood glue along one long edge of the 6-inch piece. Position the glued edge onto the top surface of the 8-inch piece, ensuring the ends are flush and they form a perfect ‘L’ shape (a 90-degree angle). Use clamps to hold them firmly in place.
Now, pre-drill pilot holes through the 8-inch piece into the 6-inch piece. This prevents the wood from splitting. Typically, two to three pilot holes are sufficient. Drive wood screws through the pilot holes to secure the pieces. Wipe away any excess glue that squeezes out with a damp cloth.
Step 4: Attach the Triangular Brace (Optional but Recommended!)
For extra strength – and it looks great! – add a triangular brace. Apply wood glue to the two edges of one triangle that will connect to the horizontal and vertical pieces. Slide the triangle into the corner formed by the ‘L’ bracket, ensuring it sits flush. Clamp it in place.
Pre-drill pilot holes through the triangle into both the horizontal and vertical support pieces. Use wood screws to secure it. Repeat for the other side of the L bracket if you are making a pair. Make sure both brackets are identical!
Step 5: Finishing Touches
Once the glue is dry, give your bracket a final light sanding. Now it’s time to apply your chosen finish. You can:
- Stain: Apply a wood stain to enhance the natural grain.
- Paint: Use any color that matches your decor.
- Seal: Apply a clear coat of polyurethane or varnish to protect the wood.
Follow the manufacturer’s instructions for your chosen finish. Allow ample drying time between coats.
Installing Your New Wood Shelf Brackets
This is where your beautiful, custom brackets come to life! Proper installation is key for both safety and aesthetics. Always remember to anchor into wall studs whenever possible.
Step 1: Locate Studs
Use a stud finder to locate the wall studs where you plan to mount your shelf. Mark the center of each stud lightly with a pencil. Studs provide the strongest support for your shelves. For more information on finding studs, resources like This Old House offer great visual guides.
Step 2: Position the Bracket(s)
Hold your bracket against the wall at the desired height. Use a level to ensure it is perfectly straight. Mark the screw hole locations on the wall through the vertical piece of your bracket. If you are not hitting studs, you will need to use appropriate wall anchors.
Step 3: Mount the Bracket(s)
If you are drilling into studs, pre-drill pilot holes into the stud locations. Then, drive long wood screws through the bracket’s vertical piece into the studs. If you are not hitting studs (which is not ideal for heavy loads, but possible for lighter shelves with anchors), install your wall anchors according to their specific instructions, then drive screws through the bracket into the anchors.
Important Note: For heavier shelves or items, ensure at least one screw in each bracket is anchored into a wall stud. If your shelf is very long and requires multiple brackets, ensure they are all aligned using your level and properly spaced.
Step 4: Attach the Shelf
Once the brackets are securely mounted, place your wooden shelf on top of them. For added security, you can pre-drill pilot holes from the underside of the horizontal bracket piece up into the shelf, and then secure with screws. Alternatively, you can screw down into the shelf from the top, countersinking the screws slightly and filling the holes with wood filler for a seamless look.
Creative Ways to Style Your DIY Wood Shelves
Now that you’ve mastered making and installing your brackets, let’s talk about styling! Your new shelves are a blank canvas.
Ideas for Decorating Your New Shelves:
- Book Nook: Arrange books by color, size, or with decorative items interspersed.
- Gallery Wall: Mix framed photos, artwork, and small sculptures.
- Plant Paradise: Group together a few small potted plants for a touch of greenery.
- Kitchen Storage: Display cookbooks, spices, or your favorite ceramic mugs.
- Bedroom Display: Showcase treasured mementos, perfume bottles, or small trinkets.
Consider the overall color palette of your room when choosing finishes for your brackets and shelves. You can go bold with bright paint, keep it natural with clear coats, or embrace a rustic look with stained wood.
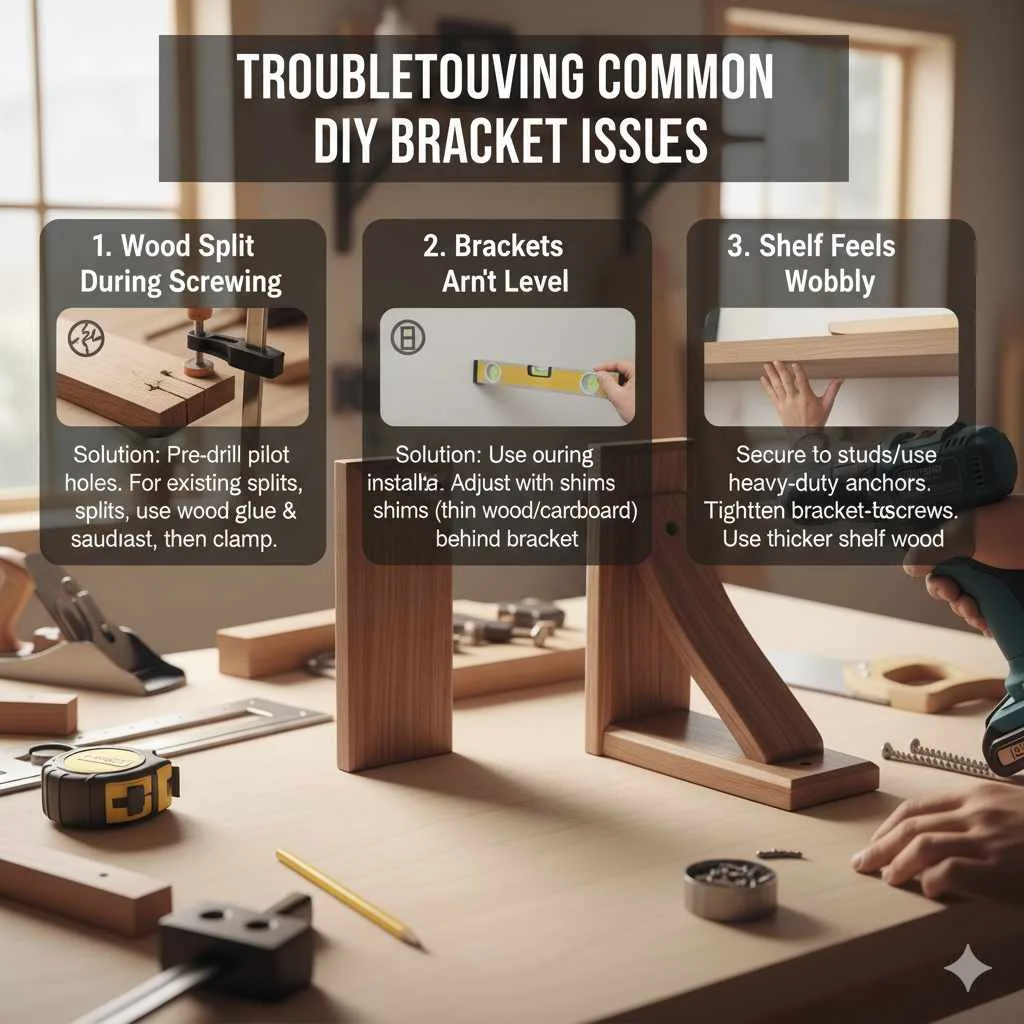
Troubleshooting Common DIY Bracket Issues
Even with the best intentions, sometimes things don’t go exactly as planned. Here are a few common issues and how to fix them:
Issue 1: Wood Split During Screwing
Solution: This often happens if pilot holes aren’t drilled or if they are too small. For future projects, always pre-drill pilot holes slightly smaller than your screw diameter. If a split has already occurred, you can try filling the crack with wood glue and sawdust mixture, clamping it tightly until it dries.
Issue 2: Brackets Aren’t Level
Solution: If you discover this after mounting, you might need to loosen the screws, adjust the bracket, and re-tighten. For future installations, relying heavily on your level during the marking and mounting stages is crucial. You might need to shimmy a thin piece of wood or cardboard behind the bracket at the top or bottom to get it perfectly plumb.
Issue 3: Shelf Feels Wobbly
Solution: This is usually a mounting issue. Double-check that your brackets are securely fastened into studs or using appropriate heavy-duty wall anchors. Ensure the screws going from the bracket to the shelf (if used) are tight. If your shelf wood is too thin or flimsy, you might need to reinforce it or use thicker wood for the shelf itself.
FAQ: Your Wood Shelf Bracket Questions Answered
Q1: What kind of wood is best for shelf brackets?
Pine is a great, affordable choice for beginners. For something more durable or with a prettier grain, consider hardwoods like oak or maple. The key is to use wood that is at least 3/4 inch thick for good strength.
Q2: How do I make my wood brackets look professional?
Focus on clean, straight cuts, smooth sanding (all the way up to 220-grit), and a flawless finish. Pre-drilling helps prevent splitting, and using wood filler to hide screw heads before painting or staining gives a polished look.
Q3: Can I make floating shelves with hidden brackets?
Yes, that’s a more advanced technique. It typically involves specialized hardware that attaches to the wall and then slides into a hollowed-out section of the shelf. For beginners, visible wood brackets are much easier to create and install.
Q4: How far apart should I place my shelf brackets?
For a standard shelf, brackets are usually placed about 16-24 inches apart, depending on the thickness of the shelf material and the weight it needs to hold. Always aim to have brackets near the ends of the shelf for maximum support.
Q5: What’s the difference between a bracket and a shelf support?
In this context, they usually mean the same thing! A shelf bracket is the support structure that attaches to the wall and holds up the shelf board.
Q6: Do I need to seal my wood brackets?
It’s highly recommended, especially if they’ll be exposed to moisture (like in a bathroom or kitchen) or heavy use. A sealant like polyurethane protects the wood from stains, water, and general wear and tear, making your beautiful brackets last longer.
Q7: Can I use plywood for shelf brackets?
Yes, high-quality plywood can be used, especially for decorative brackets. However, solid wood generally offers superior strength and a more traditional look for load-bearing shelves.
Conclusion
Learning how to make wood shelf brackets is a truly empowering DIY skill. You’ve seen that with just a few basic tools, some readily available wood, and a clear plan, you can create beautiful, sturdy, and custom shelving solutions for any room in your home. You’ve learned the importance of planning your design, the step-by-step process for building classic ‘L’ brackets, and how to securely install them.
Remember, every project is a learning opportunity. Don’t be afraid to experiment with different wood types, finishes, and even bracket shapes as you gain confidence. The satisfaction of building something functional and beautiful with your own hands is unparalleled, and it’s a fantastic way to infuse your personal style into your living space. So, grab your tools, embrace the process, and get ready to enjoy your gorgeous, custom-made wood shelves!