Quick Summary: To make perfect chocolate fondue, gently melt high-quality chopped chocolate with heavy cream over low heat or a double boiler, stirring constantly until smooth. Avoid direct heat to prevent scorching, ensuring a creamy, luxurious dip every time.
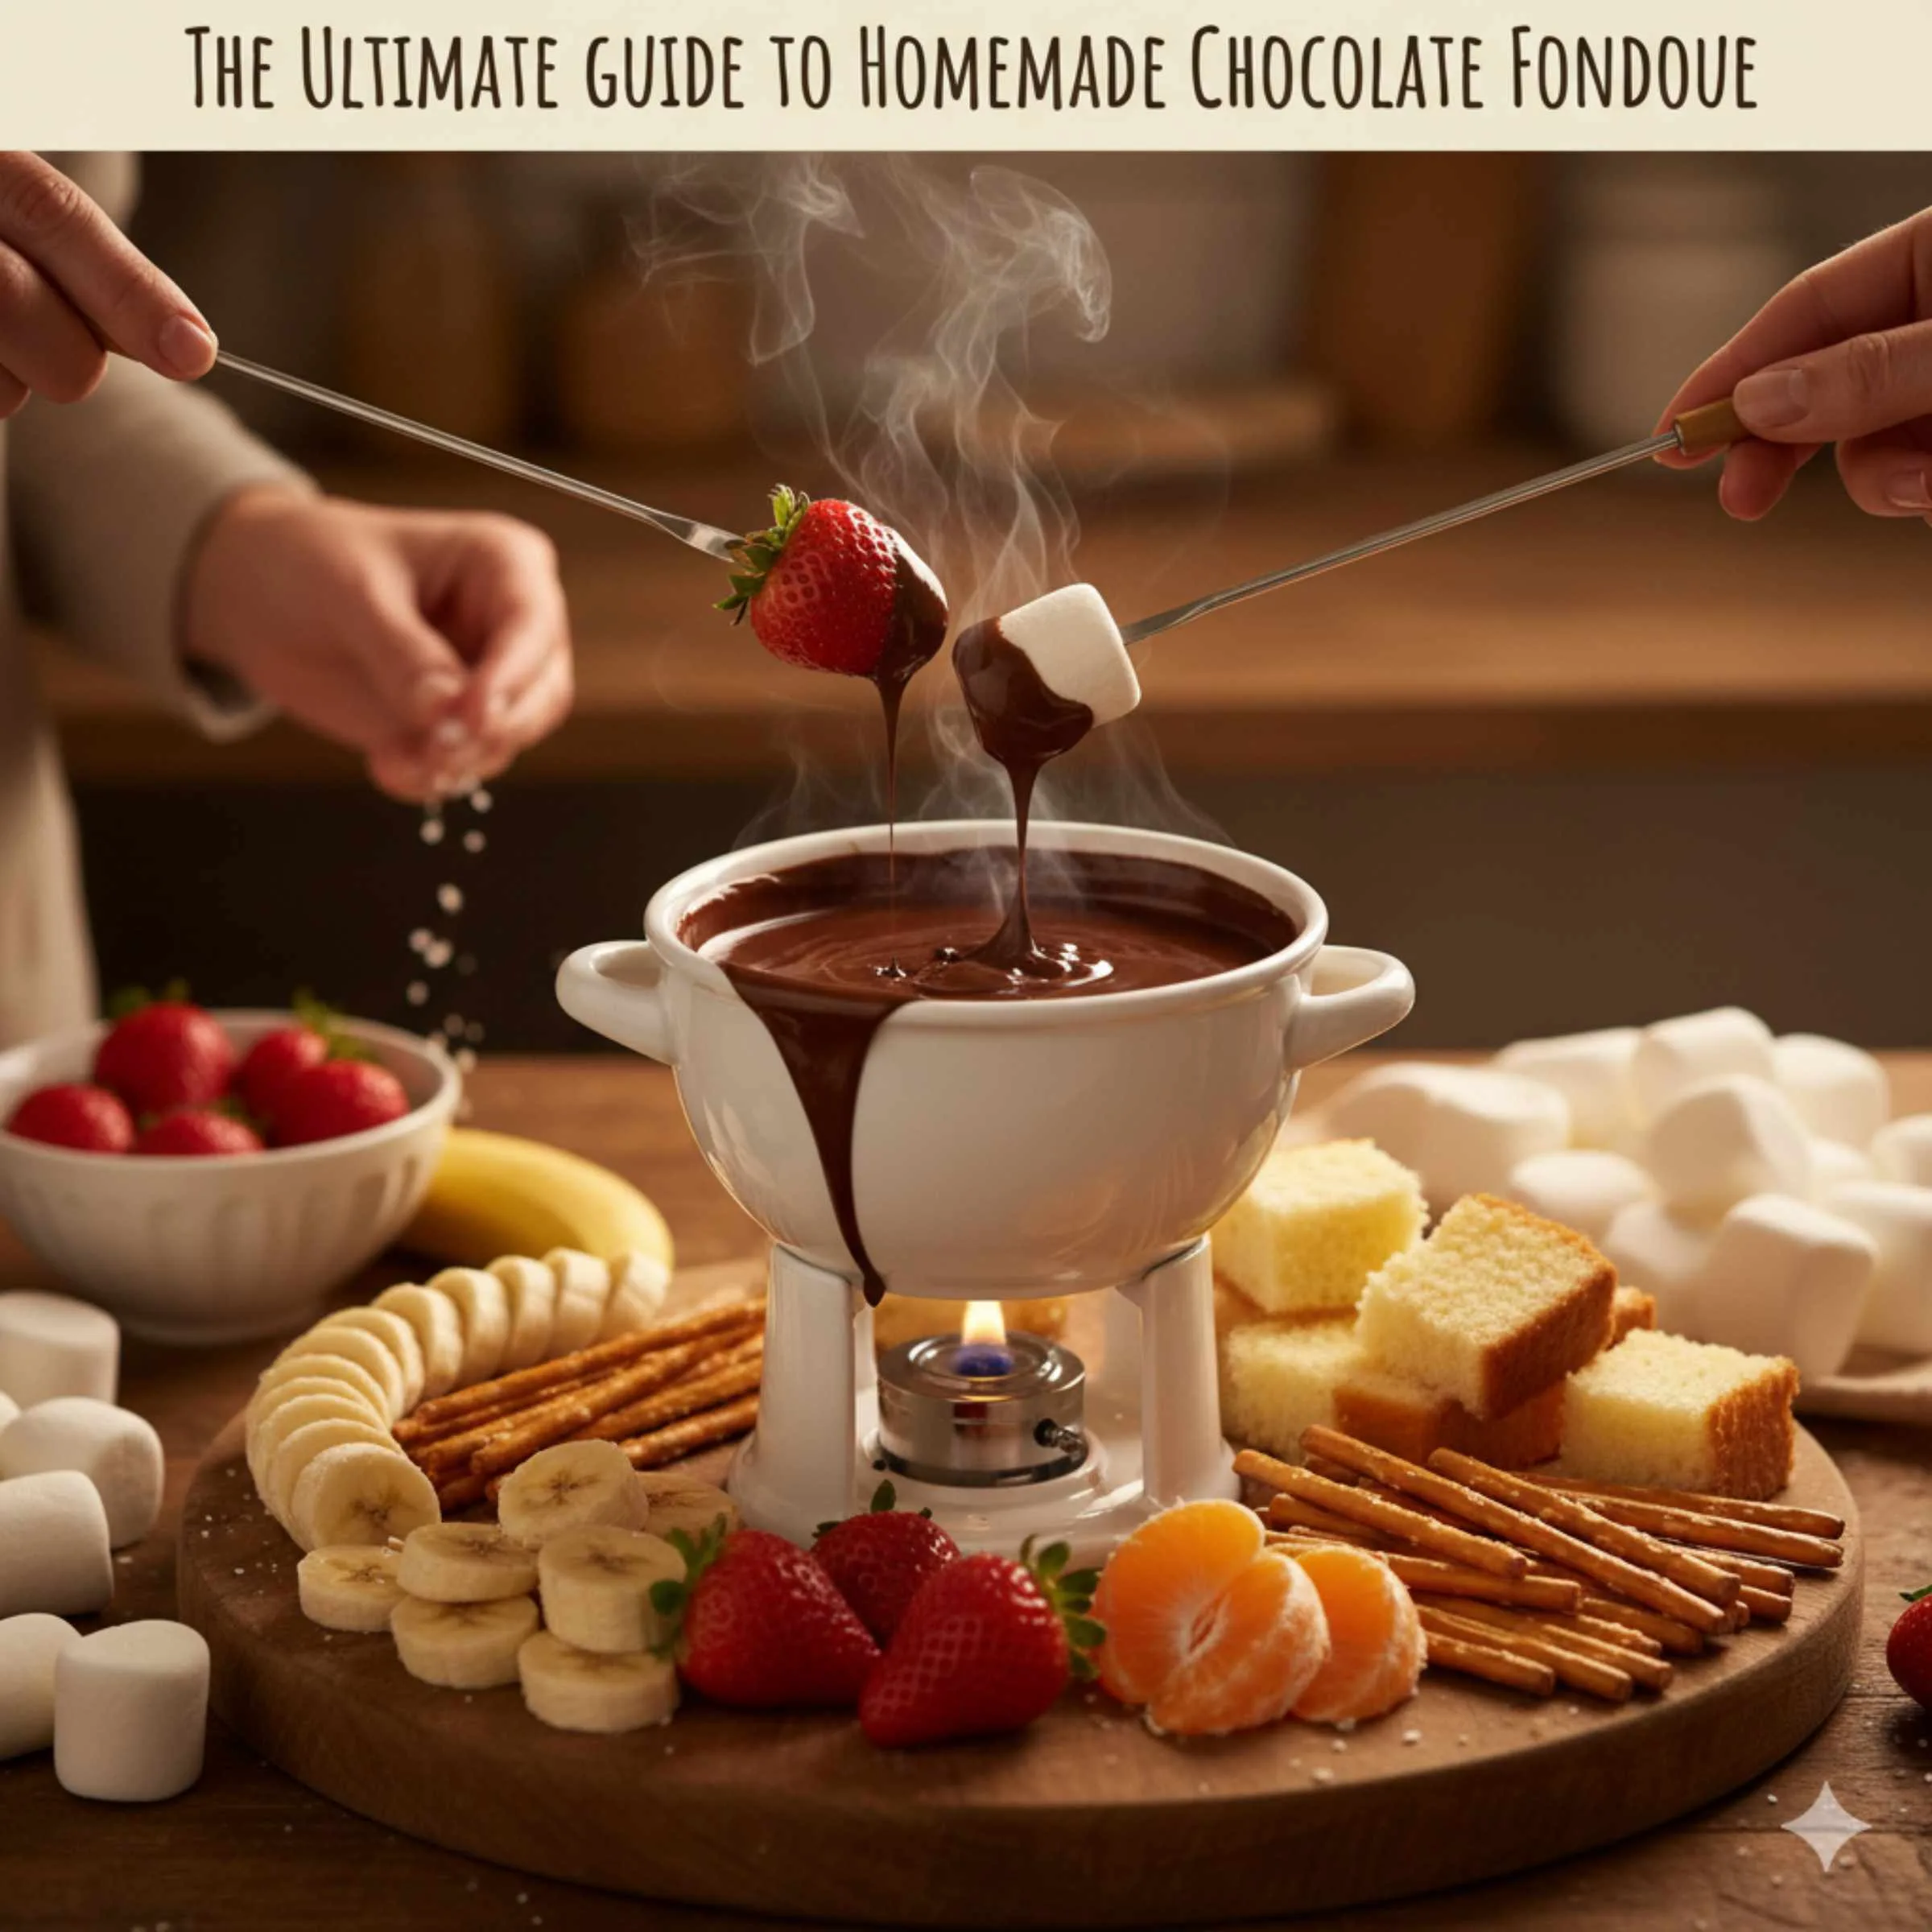
Making homemade chocolate fondue seems fancy, but it is surprisingly easy! Many folks worry about burning the chocolate. That stress is totally normal. When chocolate seizes up or gets grainy, it feels like a kitchen disaster. Good news: we are going to walk through the simple steps together. You can achieve that silky-smooth, restaurant-quality dip right in your kitchen. Ready to impress everyone with simple, foolproof chocolate? Let’s check out exactly what you need and the secret techniques for flawless fondue.
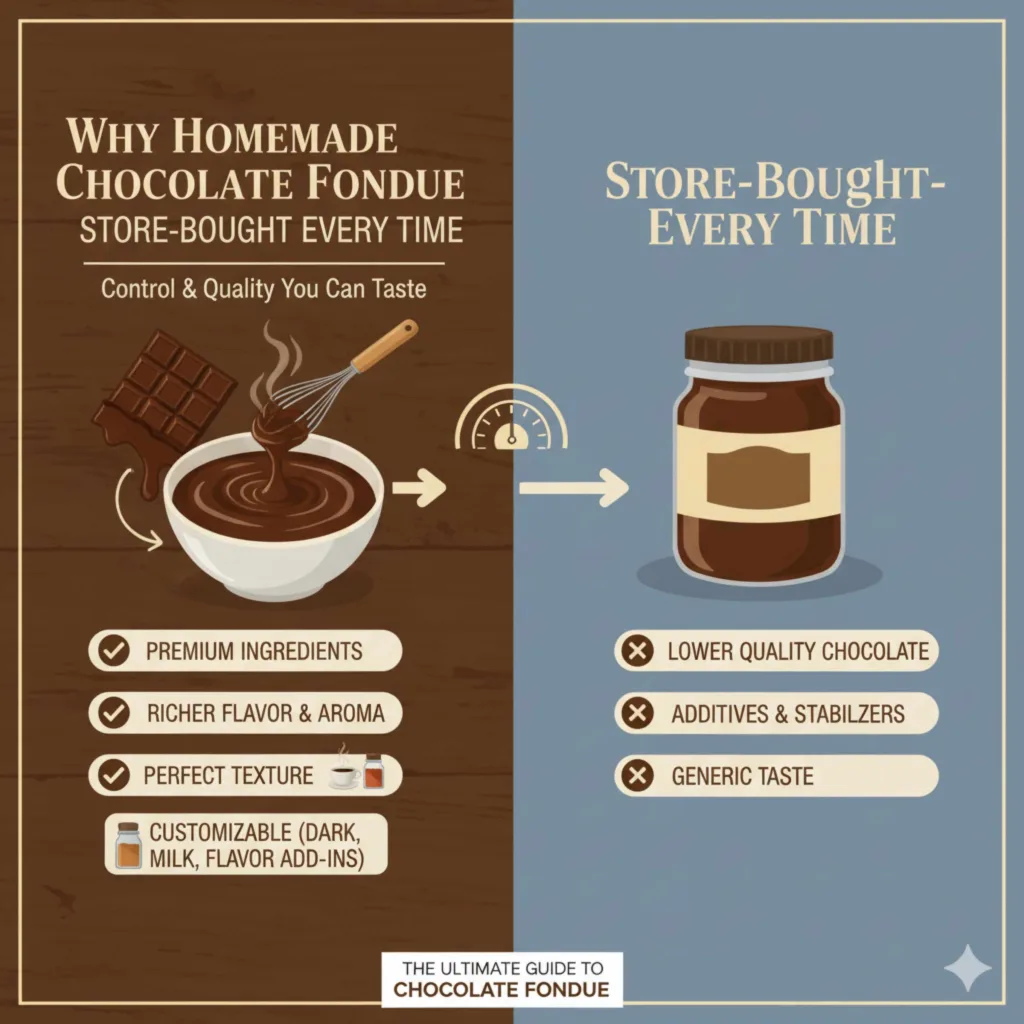
Why Homemade Chocolate Fondue Beats Store-Bought Every Time
Why bother making chocolate fondue when you can buy a pre-made jar? The answer is simple: control and quality. When you mix it yourself, you choose the best ingredients. Store-bought versions often use stabilizers or lower-quality chocolate to keep costs down. Homemade fondue tastes richer, smells amazing, and melts exactly how you want it to.
Think of it like changing the oil in your car. You know what goes in, and the result is better performance. For fondue, using good chocolate leads to better flavor and texture. Plus, you can customize it! Want it dark? Add espresso powder. Prefer it sweet? Use milk chocolate. It’s your dipping masterpiece!
The Absolute Basics: What You Need Before You Start
Don’t let the number of steps intimidate you. Before we touch the stovetop, gather your simple supplies. Having everything ready—what chefs call mise en place—is the secret to staying calm and organized in the kitchen. This prevents that rushed feeling where you might forget an ingredient or crank the heat too high.
Essential Tools for Your Fondue Success
- Heat-Safe Bowl: Essential if using a double boiler method (highly recommended for beginners).
- Medium Saucepan: Needed for the water in the double boiler or for low-heat melting.
- Whisk or Rubber Spatula: For gentle, consistent stirring. A spatula lets you scrape the sides well.
- Sharp Knife and Cutting Board: For chopping the chocolate (this helps it melt evenly!).
- Fondue Pot or Slow Cooker (Optional): For keeping it warm during serving.
The Genius Foundation: Choosing Your Core Ingredients
The final texture and taste of your fondue depend almost entirely on the two main ingredients: the chocolate and the liquid. Get these right, and you are 90% done. We need substance (the chocolate) and smoothness (the liquid).
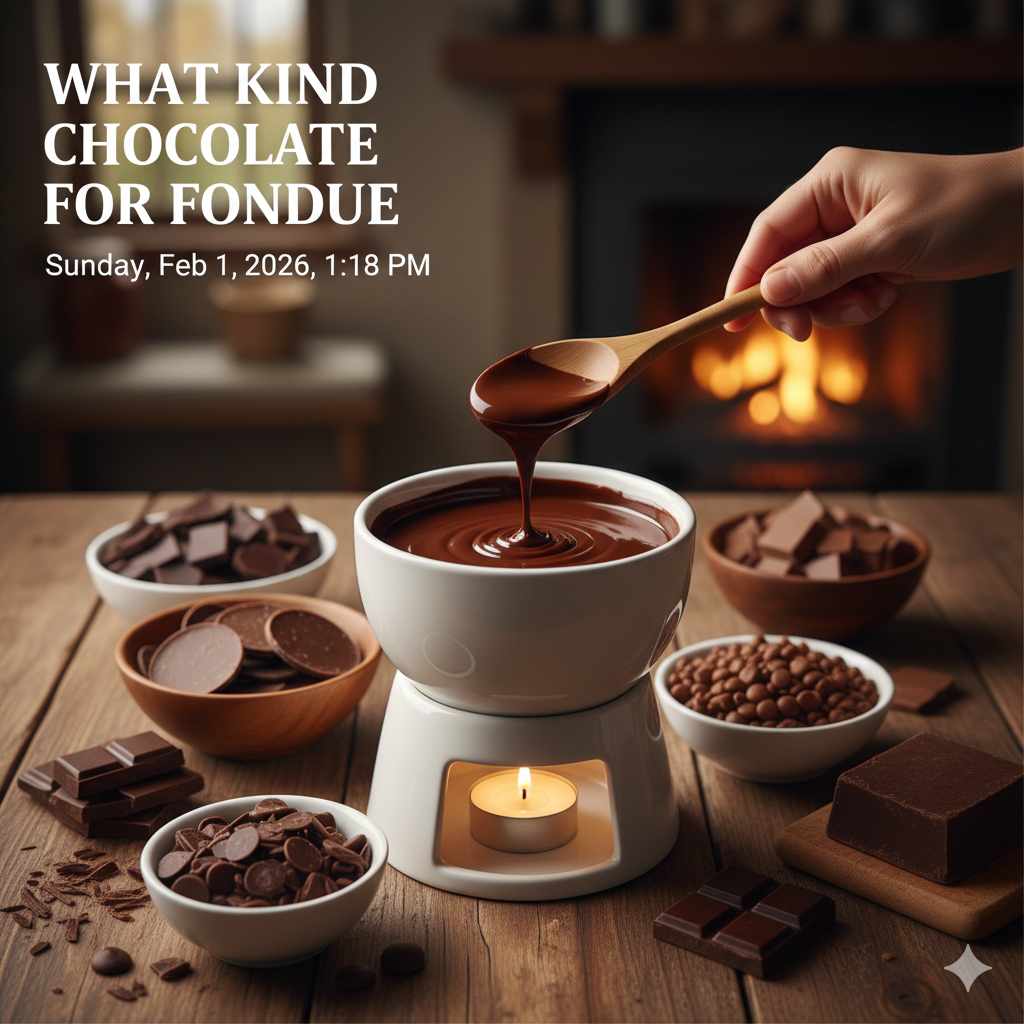
1. Selecting the Best Chocolate
This is the most crucial decision. Do not skimp here! Using cheap chocolate chips often leads to a dull flavor and a tendency to clump or burn easily because they contain wax stabilizers.
| Chocolate Type | Cacao Percentage | Best For | Melting Tip |
|---|---|---|---|
| Semisweet or Bittersweet Bars | 55% to 70% | The classic, balanced fondue. Great depth of flavor. | Chop finely; best melting point consistency. |
| Milk Chocolate | 30% to 40% | Sweeter fondue, good for kids or very tart dippers (like raspberries). | Requires less added cream; burns faster. |
| High-Quality Chocolate Chips | Varies | Convenient, but check the ingredients. Look for “couverture.” | Chop them slightly even if they are small. |
Pro Tip: If you want a truly luxurious experience, look for “couverture” chocolate. Couverture just means it has extra cocoa butter, which makes it incredibly smooth when melted, similar to what professional bakers use.
2. The Secret to Smoothness: Choosing Your Liquid
Chocolate needs fat and moisture to melt properly without seizing. The best liquid for this is something high in fat. Water or milk alone can cause the cocoa solids to separate, resulting in a grainy mess.
- Heavy Cream (Recommended): This is the gold standard. The high fat content creates a rich, velvety texture that holds heat beautifully.
- Half-and-Half or Whole Milk: Usable in a pinch, but you might need a tiny bit more chocolate to keep the thickness correct.
- Evaporated Milk: A decent pantry substitute, offering more body than regular milk.
Important Safety Note on Dairy: When dealing with dairy products and high heat, always be mindful. According to food safety guidelines, ensuring liquids reach a safe temperature prevents bacterial growth, though for fondue, we are more concerned with texture, keeping it below a hard boil is key.
The Foolproof Method: How To Make Chocolate Fondue Step-by-Step
We are going to use the double boiler or the “bain-marie” method. This is the safest route because the chocolate never touches the direct heat source. It gets heated gently by surrounding steam, stopping scorching in its tracks. Think of it like preparing sensitive electronic components—gentle handling is required.
Step 1: Prepare Your Chocolate
You must chop your chocolate bars into small, roughly uniform pieces. If you use large chunks, the small pieces will melt and burn before the large chunks even soften. Aim for pieces about the size of a small pea or smaller.
- Place your finely chopped chocolate into the dry, heat-safe bowl that will sit over your simmering water.
- Ensure the bottom of this bowl does not touch the water in the pot below. There must be a gap for the steam to circulate.
Step 2: Heat the Liquid (The Cream)
The goal here is gently warmed cream, not boiling milk. Boiling will make the chocolate taste scorched.
- Pour your heavy cream (or substitute) into the bottom saucepan.
- Place the saucepan over medium-low heat on your stove.
- Heat until small bubbles just start forming around the edges and you see gentle steam rising. Do not let it come to a rolling boil.
- Once warmed, immediately remove the saucepan from the flame.
Step 3: Combine and Melt
This is where the magic happens swiftly. Work quickly and gently to maintain a smooth emulsion.
- Carefully pour the hot cream over the chopped chocolate in the top bowl. (If you are using a microwave method, you would skip this and heat some cream separately, then add it in stages to the microwaved chocolate chunks.)
- Let the mixture sit undisturbed for about two minutes. This allows the residual heat from the cream to start softening the chocolate evenly.
- Using your rubber spatula or whisk, begin stirring. Start in the center and slowly work your way out in wide circles. Continue stirring until all the chocolate pieces are fully melted and the mixture is uniform and glossy.
Step 4: Perfecting the Consistency (If Needed)
If your fondue seems extremely thick—maybe it pulls immediately off the dipper—you might need a teaspoon more heavy cream, heated slightly first. If it seems too thin, stir in a few more small, finely chopped pieces of chocolate until it thickens back up. Remember, always add the liquid in very small increments to avoid thinning it out too much.
Level Up Your Fondue: Flavor Boosters and Add-Ins
Once you have mastered the basic, creamy base, you can start customizing. This is where you show off your personal culinary flair! These additions should usually be mixed in right at the very end, after the chocolate and cream are perfectly combined.
Flavor Enhancements Table
| Flavor Goal | Ingredient | Amount (Per 12 oz Chocolate) | When to Add |
|---|---|---|---|
| Deep Richness | Instant Espresso Powder | 1 teaspoon | With the cream or right at the end |
| Spicy Kick | Cayenne Pepper or Chili Powder | A small pinch | With the cream |
| Extra Smoothness | Butter (unsalted) | 1 tablespoon | Stirred in at the very end |
| Adult Twist | Brandy, Grand Marnier, or Kahlúa | 1 to 2 tablespoons | After removing from heat; adjust liquid ratio if needed |
When adding alcohols, be cautious. Alcohol does not mix as easily with chocolate as fat does, so add it slowly and stir very well. Too much liquid, even alcohol, can destabilize the mixture, though the high fat content of the cream used in our main recipe will give you a good buffer.
Keeping It Warm: Serving Your Fondue
Fondue needs to stay warm to stay dippable. If it cools down, it solidifies. You have a few options depending on where you are serving it.
Serving Options Explained
- Electric Fondue Pot: These are designed specifically for this purpose. They have a low, consistent warming setting that works perfectly.
- Simple Tea Light/Votive Warmer: If you have a small, ceramic fondue pot that uses a simple tea light underneath (often sold in beginner kits), this is usually enough to maintain the necessary low temperature for a small gathering.
- Slow Cooker (Crock-Pot): For large parties, transfer the finished fondue into a small slow cooker set to the “Keep Warm” setting. This is highly reliable for maintaining texture over several hours.
- Stovetop (Least Recommended for Long Term): If you absolutely must keep it on the stove, use the lowest possible setting—just barely enough heat. Stir every few minutes.
No matter which method you choose, ensure you stir the fondue every 10 to 15 minutes while serving. This just keeps the melted chocolate evenly distributed and prevents a thin skin from forming on the top surface.
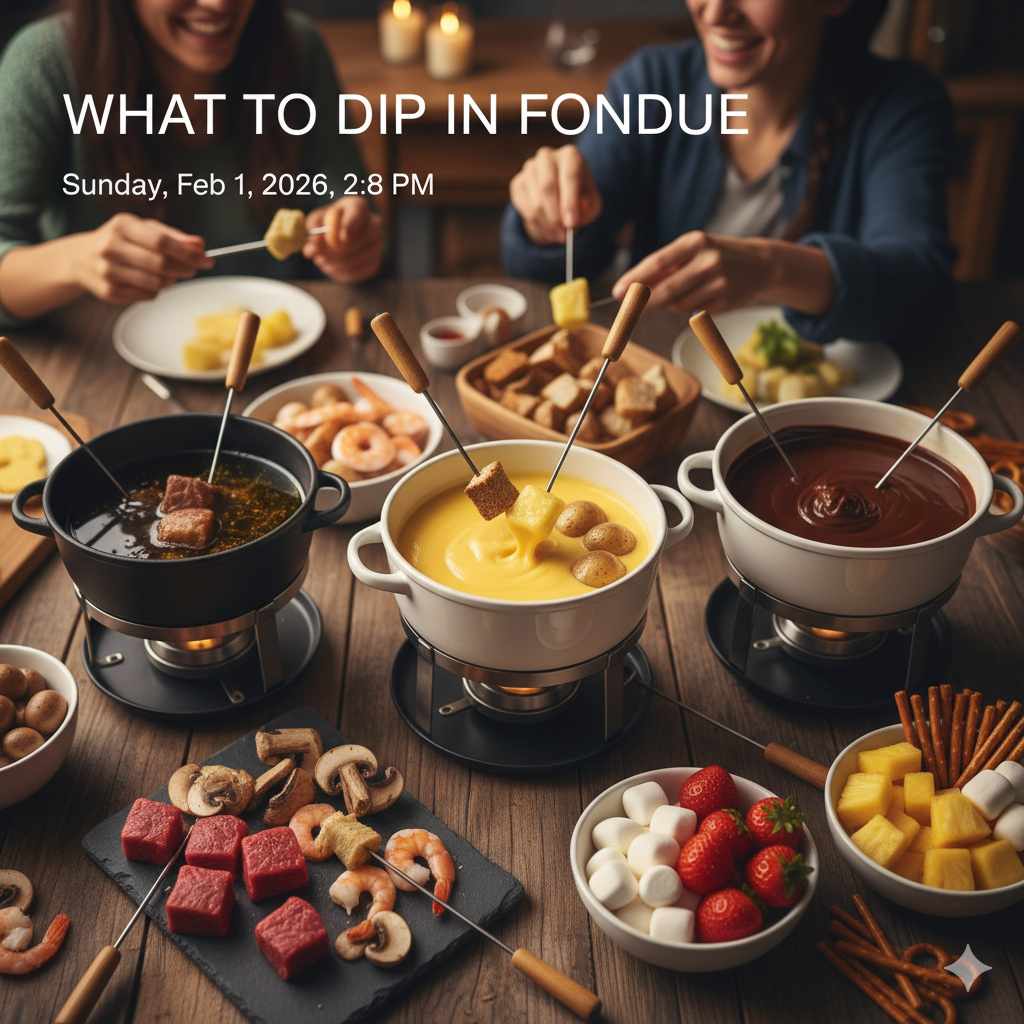
Selecting the Perfect Dippers
The fondue is only as good as what you dip into it! Variety is key to a fun experience. Aim for a mix of crunchy, soft, fresh, and baked items. Think about balancing the richness of the dark chocolate with something bright or tangy.
The Ultimate Dipper Checklist
Fruits (Fresh and Bright)
- Strawberries (a classic for a reason!)
- Banana slices (toss in a tiny bit of lemon juice beforehand to prevent browning)
- Cubes of firm mango or pineapple
- Apple slices (especially tart varieties like Granny Smith)
- Orange segments (be sure to thoroughly pat them dry!)
Baked Goods (Soft and Chewy)
- Cubes of pound cake or angel food cake
- Brownie bites or blondies
- Marshmallows (classic!)
- Pretzel rods (the salty crunch is unbeatable against the sweet chocolate)
- Shortbread cookies
A Quick Note on Moisture: If you choose fresh fruit, make sure it is completely dry after washing. Any lingering water will shock your fondue and could potentially cause it to seize up or thin out too much. A quick pat with a paper towel works wonders before dunking!
Troubleshooting Common Fondue Issues (Like Jargon-Free Mechanic Work)
If your fondue doesn’t turn out perfectly smooth, don’t panic! Every home cook runs into issues. Just like diagnosing a strange noise under the hood, we can usually trace the problem back to one basic cause: temperature or moisture content.
Scenario 1: The Fondue is Grainy or Clumpy (“Seizing”)
This happens when the cocoa solids separate from the cocoa butter in the chocolate. It often occurs when:
- You added a drop of water or watery liquid directly to the melting chocolate.
- The chocolate overheated and burned slightly.
The Fix: If it’s slightly grainy, try stirring in one more tablespoon of hot heavy cream very slowly. For severe seizing, sometimes adding one full teaspoon of neutral oil (like canola) and stirring vigorously can bring it back together, lubricating the solids.
Scenario 2: The Fondue is Too Thick
This usually means there wasn’t enough liquid, or the mixture cooled down too much.
The Fix: Gently warm up 1–2 tablespoons of heavy cream in a microwave or microwave-safe cup until steaming hot. Remove the fondue from the heat source and slowly whisk in the hot cream, one teaspoon at a time, until you reach perfection.
Scenario 3: The Fondue is Too Thin
This means you added too much liquid initially.
The Fix: Remove the fondue from the heat. Take about 1/4 cup of the thinnest fondue and place it in a small bowl. Finely chop 1/4 cup of backup chocolate (bittersweet works best). Melt this chocolate very carefully (maybe in the microwave in 15-second bursts). Once smooth, whisk this thickened chocolate back into the main, thin pot of fondue.
Maintaining Confidence: Fondue Safety at Home
Working with melted mixtures and open heating elements requires a bit of common sense, much like checking tire pressure before a long drive. We prioritize safety so you can enjoy the process.
- Keep Water Away: Never let water splash or drip into the melting chocolate bowl (if melting directly over heat). Water causes seizing immediately.
- Mind the Heat: Always use the lowest necessary heat. Direct, high heat is your fondue’s number one enemy. It scorches instantly.
- Serving Area: If using a tea light warmer, ensure the fondue pot is stable on a flat, non-flammable surface, well away from any dangling tablecloths or curious pets.
For more detailed information on general kitchen safety and heat management, resources like the CDC’s guidelines on preventing kitchen injuries can offer good foundational awareness for handling hot items.

Frequently Asked Questions (FAQ) for Beginner Fondue Makers
Q1: Can I use water instead of cream to make chocolate fondue thinner?
A: No. Water causes high-fat chocolate to seize, turning it into a stiff, grainy ball. Always use high-fat dairy like heavy cream to thin it out for a smooth texture.
Q2: How much chocolate do I need for four people?
A: A good starting ratio is about 4 ounces (about 115 grams) of chocolate per two people. So, for four people, aim for 8 ounces of quality chocolate paired with about 1/3 cup of heavy cream.
Q3: Can I prepare the fondue ahead of time and reheat it later?
A: Yes! Gently melt the fondue completely, let it cool slightly, and store it in an airtight container in the refrigerator for up to three days. Reheat very slowly using the double boiler method until it melts perfectly again.
Q4: What’s the difference between chocolate chips and melting wafers?
A: Chocolate chips contain stabilizers (like lecithin) and less cocoa butter, making them hold their shape better when baked. Melting wafers (or candy melts) are often made of vegetable fats and melt incredibly smooth, but they usually taste less like real chocolate.
Q5: Is it safe to leave fondue on a low-heat warmer all night?
A: No. For food safety, dairy-based fondue should not be held above 140°F (60°C) for more than two hours. If you are serving for a long party, replenish the fondue as needed rather than leaving the entire batch out for many hours.
Final Thoughts: Chocolate Fondue Made Simple (and Stress-Free!)
Making homemade chocolate fondue doesn’t require fancy equipment, professional training, or kitchen nerves of steel. With high-quality chocolate, the right amount of cream, and gentle heat, you can create a smooth, glossy fondue that rivals anything you’d order at a restaurant. Once you understand why chocolate behaves the way it does, the fear of burning or seizing fades away.
The real magic of homemade fondue is control—you decide the flavor, sweetness, and richness. Whether you keep it classic or elevate it with espresso, spices, or a splash of liqueur, this simple technique gives you endless flexibility. Pair it with fresh fruit, soft cakes, or salty pretzels, and you’ve got an instant crowd-pleaser that feels special without being complicated.
So slow down, keep the heat gentle, and trust the process. Chocolate fondue isn’t about perfection—it’s about sharing, dipping, and enjoying something warm and indulgent together. Once you’ve made it once, you’ll wonder why you ever felt intimidated at all!