

Quick Summary: To successfully cook crispy, golden hash browns in a skillet, grate cold potatoes, squeeze out all moisture, preheat your skillet with plenty of fat (butter or oil), cook without moving them for 8–10 minutes until browned, then flip and repeat.
Cooking hash browns at home can seem tricky. Do you end up with soggy, bland potato mush instead of those perfect, crispy pieces you get at your favorite diner? You are not alone! Many home cooks struggle to get that ideal crunch. It feels like a delicate science, but trust me, it isn’t. With a few simple tricks, you can master the skillet method. We’re going to break down exactly how to cook hash browns in a skillet so they turn out perfectly crisp every single time. Get ready to impress yourself!
Why Skillet Hash Browns Are the Best (And How to Prep Potatoes Right)
When we talk about cooking hash browns, the skillet is your best friend. It provides direct, even heat distribution, which is crucial for achieving that desirable crust. However, the success of your final product starts long before the potatoes even touch the pan. It all comes down to moisture management—think of it like preparing tire treads for the road; you need the right contact.
The Most Important Step: Drying the Potatoes
If you skip this step, you are guaranteeing soggy hash browns. Water is the enemy of crispness. When you place wet potatoes into hot oil, the water flashes to steam, cooking the starch instead of frying it. This creates mush.
Tools for Potato Prep
- Box grater or food processor with a shredding disc.
- A clean kitchen towel, cheesecloth, or a few layers of paper towels.
- A large mixing bowl.
Here is the simple procedure for drying:
- Grate: Peel your potatoes (Russets work best due to their high starch content) and grate them immediately. Work quickly so they don’t oxidize (turn brown).
- Rinse (Optional but Recommended): Place the grated potatoes in a bowl of cold water for a minute. This washes off excess surface starch. Drain them through a colander.
- The Squeeze: This is where the magic happens. Place the damp shredded potatoes onto a clean, dry kitchen towel. Gather the edges of the towel and twist it tightly over the sink, squeezing out as much liquid as humanly possible. You will be amazed at how much water comes out.
- Season Now: Place the thoroughly dried potatoes back into a clean bowl. Now is the time to add salt and pepper. Salt draws out any remaining moisture, which you want to happen after the initial squeeze.

Choosing Your Potato Variety
While you can use any potato, some work better for achieving that diner-style texture. If you are committed to getting the best results when learning how to cook hash browns in a skillet, select the right spud.
| Potato Type | Starch Level | Best Use For Hash Browns |
|---|---|---|
| Russet (Idaho) | High | Excellent. Crisps up perfectly and holds shape well. |
| Yukon Gold | Medium | Good. Creamier texture, but might require slightly longer cooking time. |
| Red Potatoes | Low | Not recommended. Too waxy; they tend to steam rather than crisp. |
Setting Up Your Skillet for Success
Once your potatoes are dry, the next step involves heating your cooking surface. Think of this like preparing your car engine before a long drive; you need the right temperature for smooth operation.
Which Pan to Use?
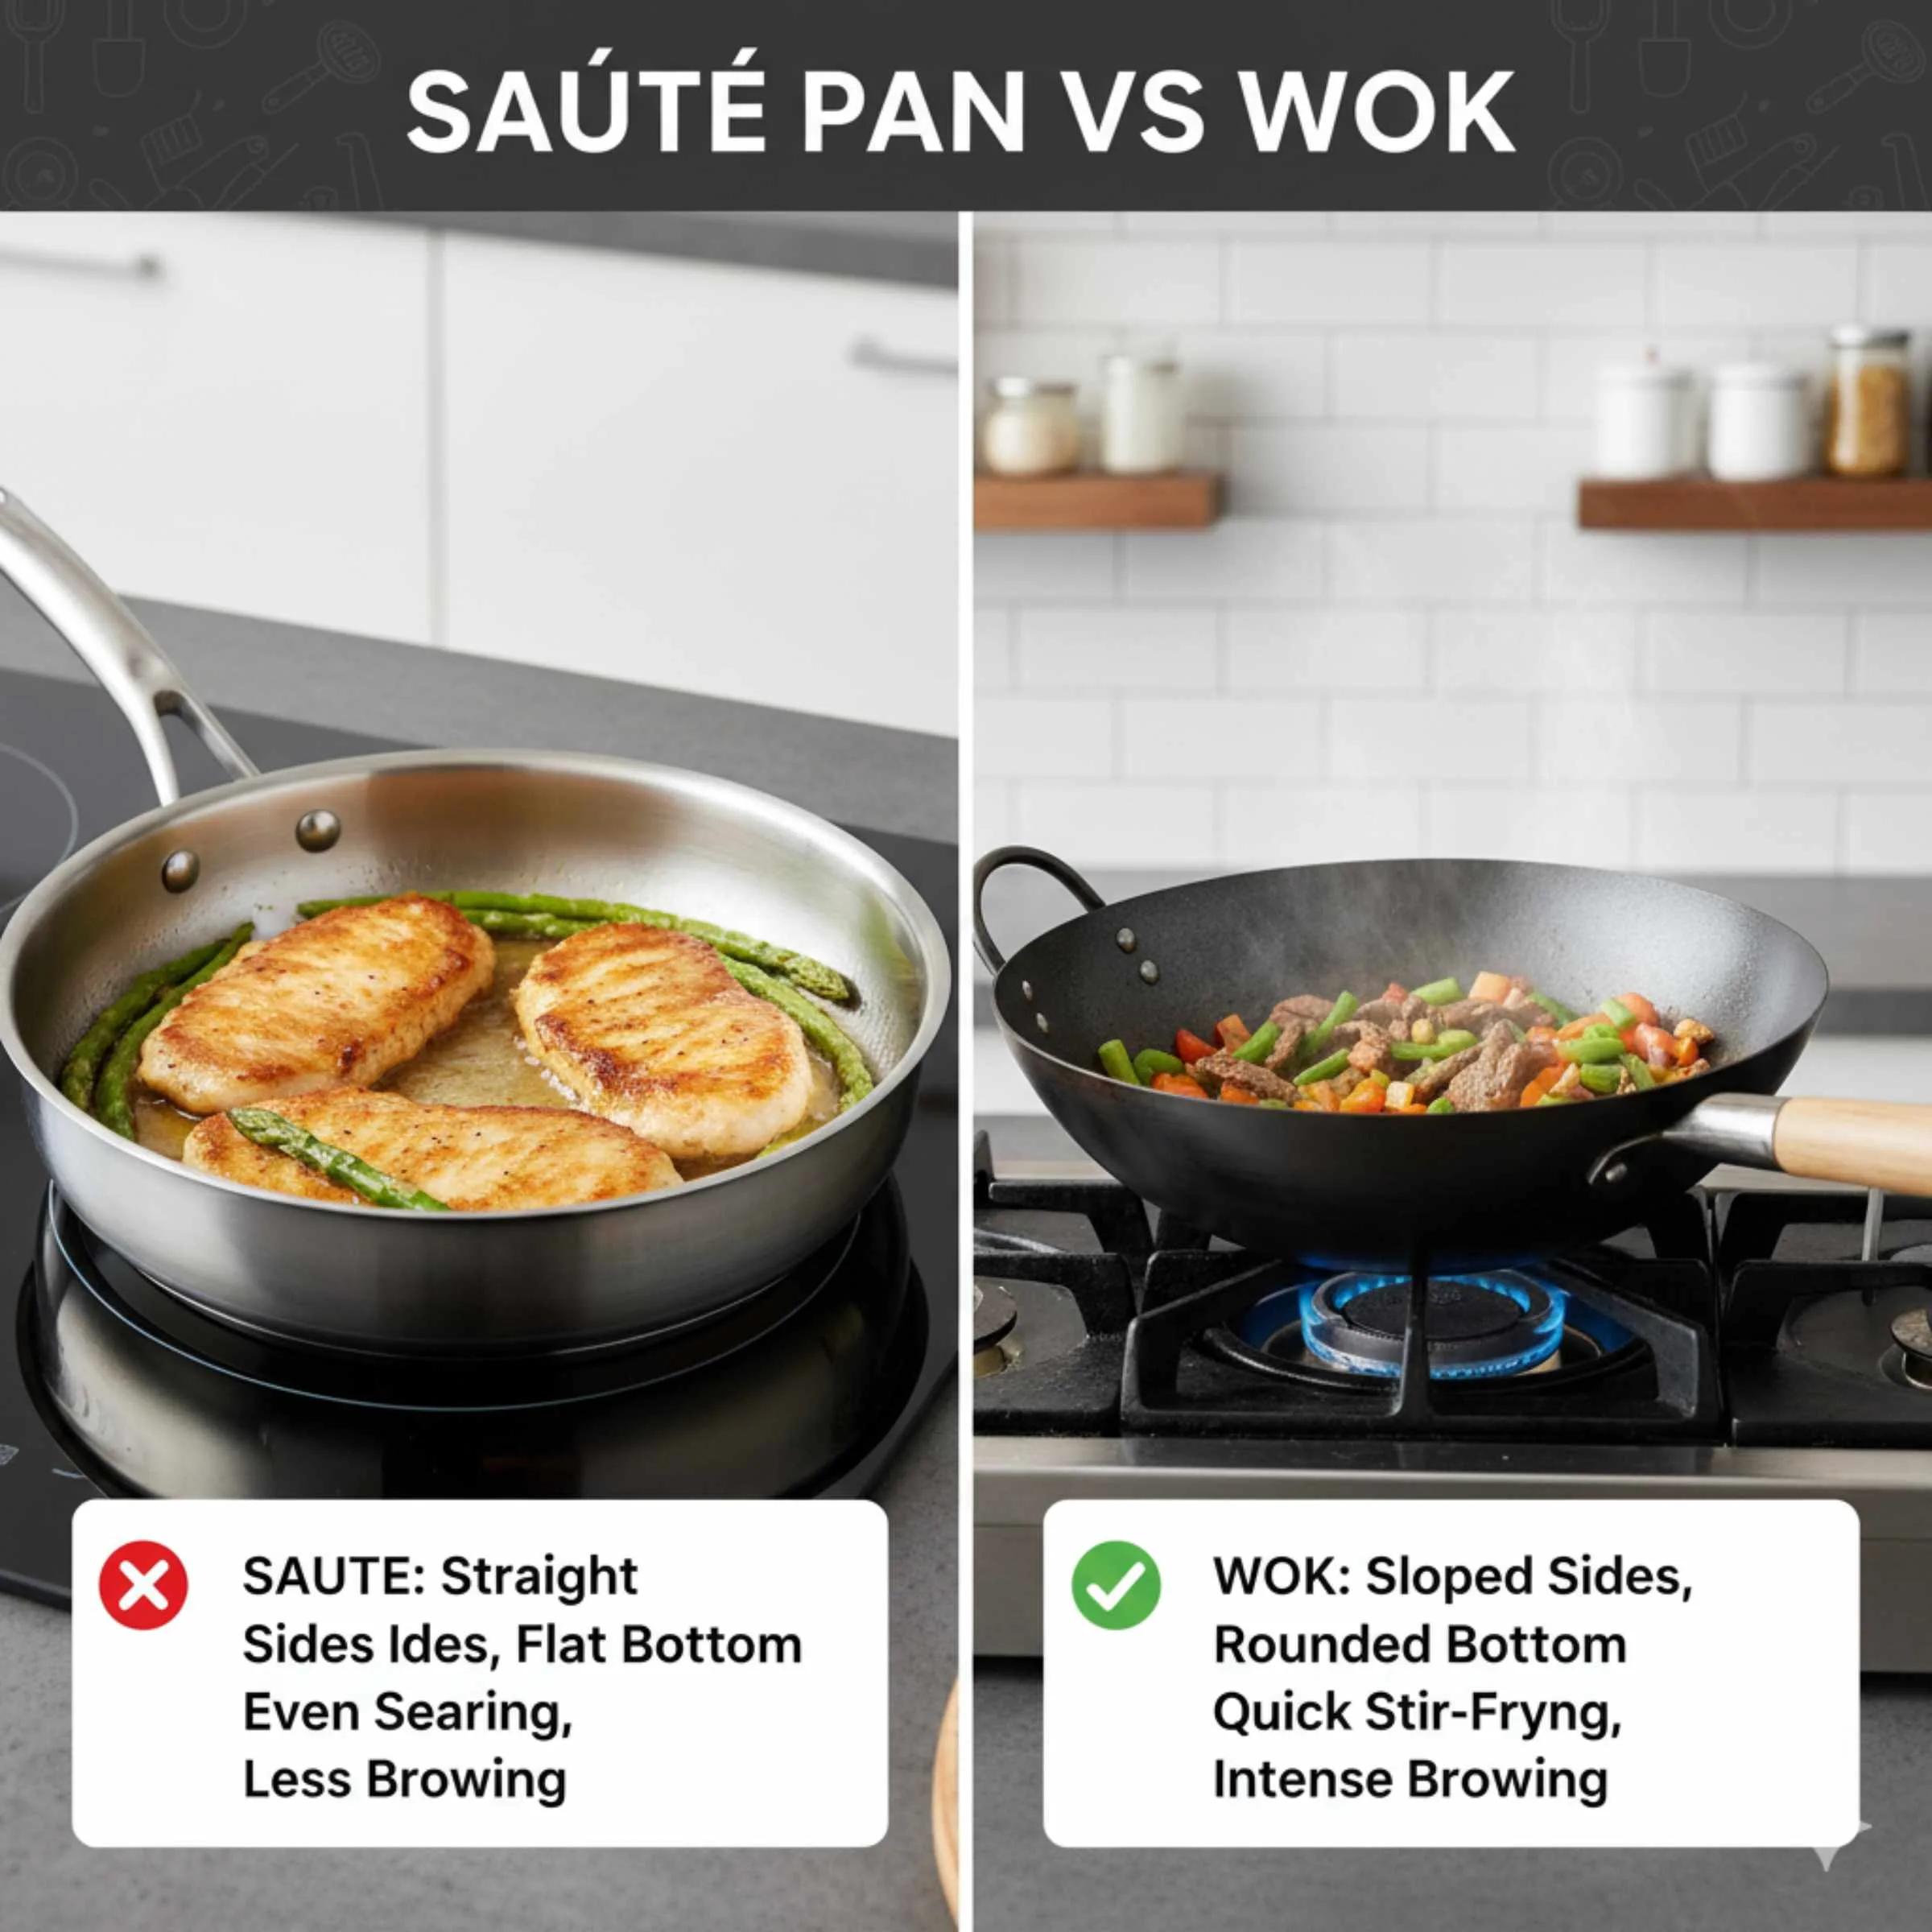
For the classic, flat, perfectly browned presentation, you want a pan that distributes heat evenly and retains it well. A heavy, 10-inch or 12-inch skillet is ideal.
- Cast Iron: This is the gold standard. Cast iron holds heat incredibly well, ensuring a consistent fry and deep golden crust. If you have one, use it!
- Heavy Stainless Steel: A good alternative, provided it has a thick bottom.
- Non-Stick: Can work, but often doesn’t achieve the same level of deep browning as cast iron.
Oil vs. Butter: What’s the Best Fat?
You need a fat with a high smoke point. Butter tastes amazing, but it burns easily because of the milk solids it contains. Oil is more stable.
For the best flavor and texture balance, many chefs use a combination:
- Start with a high smoke-point oil (like canola, vegetable, or refined avocado oil) as your base fat.
- Add a tablespoon of unsalted butter towards the very end of the cooking process for flavor, or just before flipping.
How much fat? Don’t be shy! For a 10-inch skillet and about two medium potatoes’ worth of shreds, use 3 to 4 tablespoons of total fat. The potatoes need enough fat to fry, not just sauté.
The Step-by-Step Guide: How To Cook Hash Browns In A Skillet
This is the main event. Follow these steps precisely. Be patient—this process requires low and slow heat management to ensure the inside cooks through without burning the outside.
Phase 1: Heating and Initial Laying
- Preheat the Pan Slowly: Place your skillet over medium-low heat. This is crucial. If the pan is too hot, the outside will burn before the inside thaws or cooks. Allow the pan to heat up gently for about 5 minutes.
- Add the Fat: Add your chosen oil (or oil/butter mix) to the pan. Let the fat shimmer slightly. If using butter, ensure it is melted and gently foaming, not brown. Distribute the fat evenly across the bottom of the pan.
- Add the Dry Potatoes: Gently drop the dried, shredded potatoes into the hot fat. Do not dump them all in one spot; try to spread them out evenly.
- Press Down Firmly: Immediately grab a sturdy metal spatula (or another smaller pan if you don’t have a heavy spatula) and press the potatoes down firmly across the entire surface of the skillet. You are creating a single, semi-compact layer, almost like a large pancake. This compaction helps them hold together for the flip.
Phase 2: The First Cook (The Waiting Game)
This is where patience comes in. Resist the urge to poke, prod, or lift them every few seconds. High heat will scorch the bottom crust before the middle is cooked.
- Maintain Medium-Low Heat: Keep the heat steady at medium-low. You should hear a gentle, steady sizzle, not an aggressive popping sound.
- Cook Undisturbed: Let the hash browns cook for 8 to 12 minutes. The goal here is to let the bottom form a solid, deep golden-brown crust through direct contact with the hot metal.
- Check the Edges: After about 10 minutes, use your spatula to gently lift a small section of the edge. Check the color. If it is light or pale, let it cook longer. If it is deep golden brown, you are ready for the flip.
Phase 3: The Flip and Finish
Flipping hash browns is often the scariest part for beginners, but if you followed the first two steps correctly—especially the compression step—it should hold together. For confidence, consider checking out resources on basic cooking techniques, like those from the U.S. Department of Agriculture (USDA) on safe cooking temperatures and methods.
- Prepare for the Flip: Ensure the entire surface has been cooked and loosened from the pan. Run your spatula completely around the edges to make sure no stray shreds are stuck.
- The Big Flip: There are two common methods:
- The Spatula Method: Slide a very wide, sturdy spatula underneath the entire hash brown mass. Lift quickly and confidently, then flip it over in one fluid motion.
- The Plate Method (The Safest): Slide the entire hash brown cake onto a plate larger than your skillet. Place the skillet back on the burner upside down over the plate. Invert the plate and skillet together so the uncooked side drops neatly into the pan.
- Finish Cooking: Cook the second side for another 5 to 8 minutes on medium-low heat until it matches the first side in color and crispness.
- Serve Immediately: Hash browns lose their crispness as they cool. Take them out of the pan right away!
Troubleshooting Common Hash Brown Failures
Even with the best intentions, things can go wrong. Don’t worry; every great cook has failed batches! Here are the most common headaches and how to fix them next time.
Problem: My hash browns are soggy and pale.
The Fix: Lack of moisture removal in the prep stage, or insufficient heat during cooking. Ensure you are squeezing every drop of water out. Next time, increase your cooking heat slightly (staying below medium) and make sure your potatoes are in a single, relatively thin layer.
Problem: The outside is burnt, but the inside is still raw.
The Fix: Your heat was too high from the start. Hash browns need time to steam and cook through internally before the outside crust fully develops. Turn the heat down to medium-low for the entire cooking process.
Problem: They stick terribly to the pan!
The Fix: This is usually due to one of two reasons: not enough fat, or not letting the potatoes sit long enough to form a crust before attempting to move them. If you are using cast iron, ensure it is properly seasoned. If using stainless steel, use more oil and wait until you can see the crust releasing naturally from the pan surface before attempting to lift or flip.
Problem: They crumble when I try to flip them.
The Fix: They weren’t compacted enough initially, or they weren’t cooked long enough on the first side. If they crack during the flip, don’t panic! Just use your spatula to gently push the pieces back together in the pan and let them cook for a few more minutes to “weld” back together before serving.
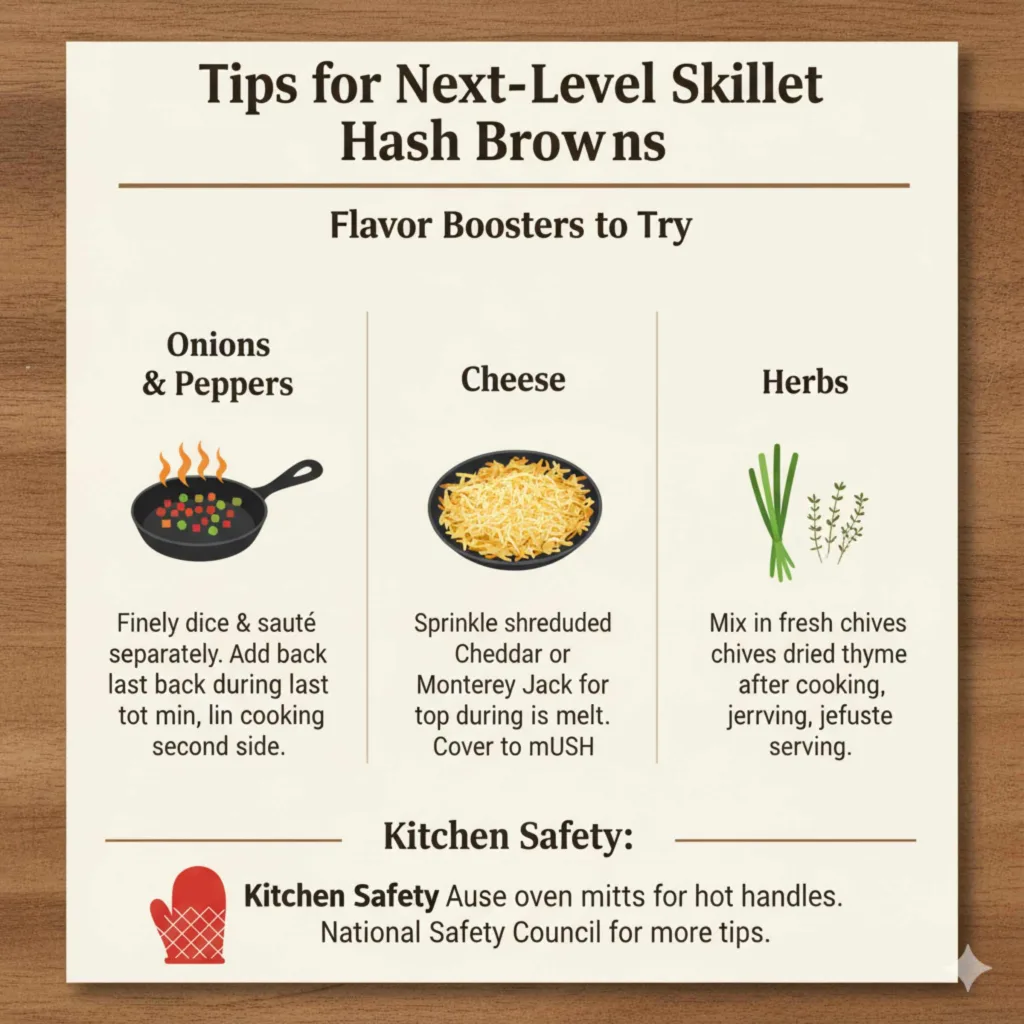
Tips for Next-Level Skillet Hash Browns
Once you have mastered the basic technique, you can start adding flavor elements. Remember, these additions should generally go in after you have squeezed the potatoes dry, or they can add back moisture or alter the cooking time.
Flavor Boosters to Try
- Onions and Peppers: For the best results, finely dice small amounts of onion or bell pepper. Sauté them separately in a bit of butter until they are soft and slightly caramelized. Remove them from the pan, set them aside, and then add them back to the hash browns during the last 5 minutes of the second side cooking. This prevents them from burning or releasing water into your potatoes.
- Cheese: If you want cheesy hash browns, sprinkle shredded cheddar or Monterey Jack over the top during the last 3 minutes of cooking the second side. Place a lid over the pan briefly to help the cheese melt quickly.
- Herbs: Fresh chives or a pinch of dried thyme can be mixed in after the potatoes are fully cooked, right before serving, for a fresh aromatic lift.
When dealing with any kitchen heat source, safety is paramount. Always ensure your skillet handles are cool enough to touch or use heavy-duty oven mitts. For more general kitchen safety tips, resources from organizations like the National Safety Council often provide helpful guidelines.
Hash Brown Prep Time Comparison Table
To help you plan your breakfast routine, here is a look at how preparation methods affect your final cooking time.
| Prep Method | Drying Time Required | Total Skillet Time (Approx.) | Best For |
|---|---|---|---|
| From Scratch (Freshly Grated) | 5–7 minutes (Squeeze time) | 18–20 minutes | Maximum crispness and flavor. |
| Frozen Hash Browns (Thawed) | 3–5 minutes (Pat dry) | 15–18 minutes | Convenience while still needing a good pan sear. |
| Pre-Shredded (Bagged, Uncooked) | 2–3 minutes (Pat dry) | 20–25 minutes | Fastest setup, but they often contain preservatives that affect browning. |
Frequently Asked Questions (FAQ) About Skillet Hash Browns
Q1: Can I use a microwave to cook the potatoes before frying?
A: While you can technically steam or slightly pre-cook potatoes in a microwave, it generally introduces too much moisture back into the potato shreds, making it very hard to achieve a truly crisp exterior when you transfer them to the skillet. It’s usually best to start with raw, cold, and very dry potatoes.
Q2: How do I keep my hash browns warm while I cook the rest of breakfast?
A: Hash browns get soggy while sitting. Once they are perfectly browned, transfer them to a baking sheet lined with a wire rack. Place them in a preheated oven set very low (about 200°F or 95°C). The rack allows air circulation underneath, helping them stay crispy longer.
Q3: Should I use shredded or diced potatoes for the skillet method?
A: Shredded potatoes (like those prepared with a grater) are overwhelmingly preferred for classic diner-style hash browns. Their long strands lock together better when compressed, creating that flat, cohesive cake. Diced potatoes tend to cook unevenly and fall apart easier.
Q4: Is it better to cook hash browns in one big patty or several smaller ones?
A: Cooking them as one large patty (filling the bottom of the skillet) yields the best crust because the entire surface has consistent contact with the hot metal. Cooking them in small piles often results in rounded edges that steam instead of crisping up. You can cut the large patty into wedges after it’s cooked.
Q5: Why are my finished hash browns mushy in the middle?
A: This means they cooked too fast on the outside before the interior had time to fully soften and cook through. Lower your heat setting to medium-low and cover the skillet with a lid for the first 5 minutes of cooking on each side. The lid traps steam, helping the center cook faster, though you must remove it for the last few minutes to ensure the crust crisps up.
Q6: Can I use clarified butter (ghee) instead of regular butter?
A: Yes! Clarified butter, or ghee, is butter with the milk solids removed. It has a much higher smoke point and provides that beautiful buttery flavor without the risk of burning the solids on the bottom of your pan. This is an excellent choice for flavor enthusiasts.
Conclusion: You Are Now a Hash Brown Master
Congratulations! You now have the essential blueprint for how to cook hash browns in a skillet that rival any restaurant. Remember the core principles: aggressive drying of moisture, using enough quality fat, and applying low, steady heat for a long enough duration. Don’t rush the initial lay-down or the first crucial 10 minutes of cooking. If you treat your potatoes right—by squeezing out the water and letting them sit undisturbed to form that beautiful crust—they will reward you with golden, crispy perfection every time. Go ahead, heat up that cast iron, and enjoy the delicious results of your newfound skillet expertise. Happy cooking!
Leave a Reply