
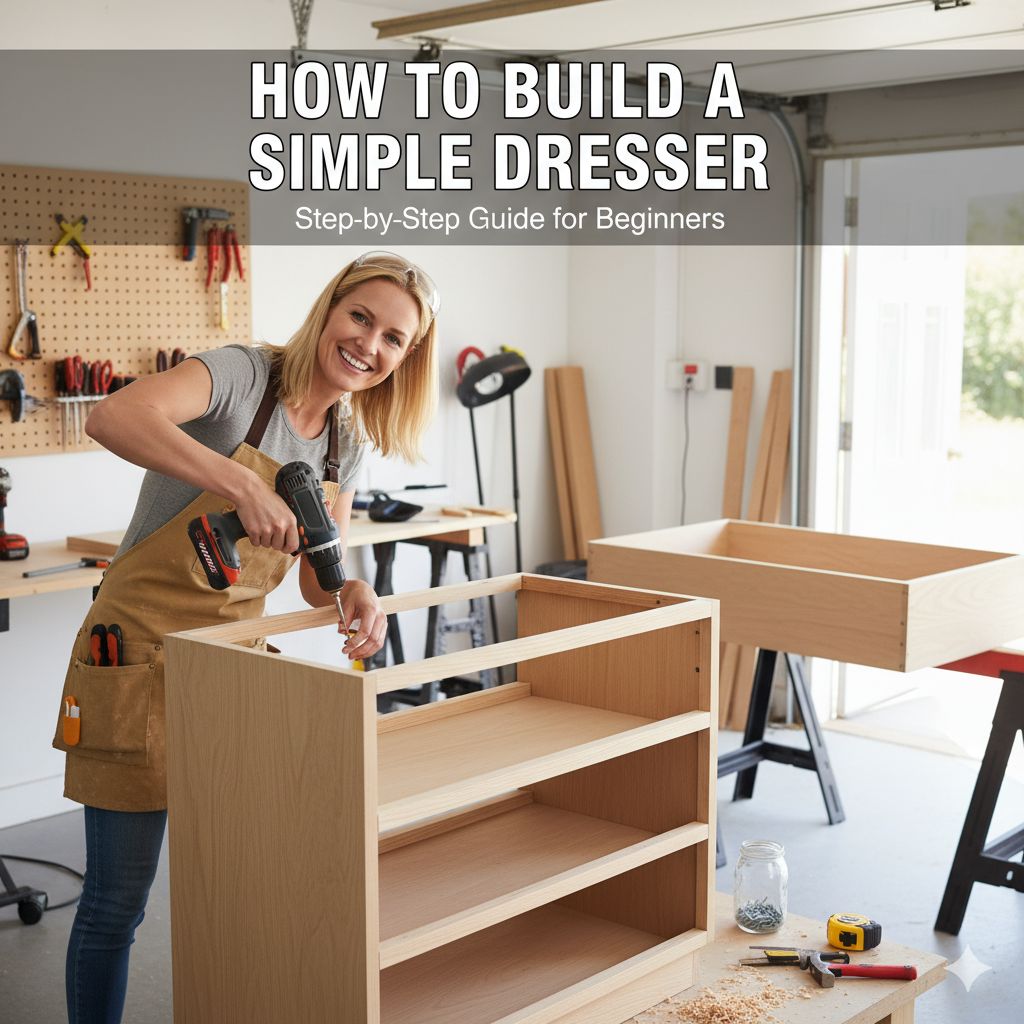
Build a simple dresser easily by focusing on a basic box design, using pre-cut lumber when possible, and choosing simple drawer slides. This step-by-step guide focuses on sturdy, foundational woodworking, making the process achievable for beginners.
So, you’ve looked at the price tags for dressers and thought, “I could build that myself!” You are absolutely right. Buying furniture can be expensive, and often, the quality isn’t what you hoped for. Learning how to build a simple dresser is a fantastic way to get exactly what you need while learning a rewarding new skill. Don’t worry if you’ve never touched a power saw; we are keeping this design straightforward. This guide will walk you through every step, ensuring your first homemade dresser is sturdy, functional, and a real source of pride. Let’s trade confusing blueprints for simple steps and get building!
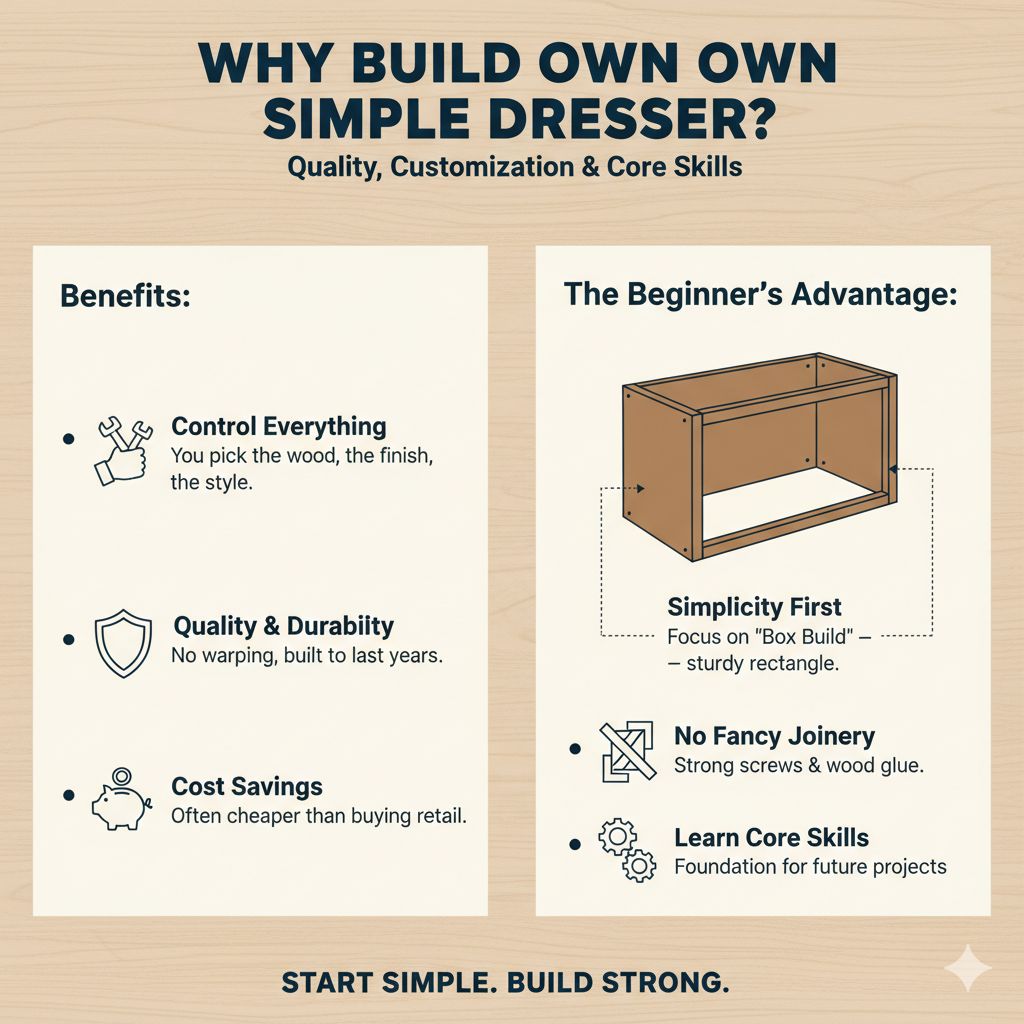
Why Build Your Own Simple Dresser?
There are real benefits to taking on this project. It’s not just about saving a few bucks; it’s about quality and customization.
When you build something yourself, you control everything. You pick the wood that won’t warp in a week. You choose the finish that matches your room perfectly. For beginners, a simple dresser is the perfect entry point into woodworking because it teaches the core skills needed for almost any other project.
The Beginner’s Advantage: Simplicity First
We are focusing on a “box build.” This means the main body of the dresser is just a sturdy rectangle. We skip fancy joinery—no complicated dovetails here! We will rely on strong screws and wood glue. This keeps the tool requirements low and the success rate high.
Phase 1: Planning and Gathering Your Gear
Just like checking your oil before a long drive, preparation is key to a smooth build. Getting your materials and tools ready prevents frustrating mid-project trips to the hardware store.
Essential Tools Checklist
You don’t need a professional workshop. Most of these items are affordable and incredibly useful for future DIY projects around the house.
- Tape Measure (Must be accurate!)
- Pencil and Carpenter’s Square (To ensure perfect 90-degree angles)
- Safety Glasses and Ear Protection (Safety always comes first)
- Circular Saw or Miter Saw (If you are cutting lumber yourself; otherwise, a hardware store service might be easier)
- Power Drill/Driver (For drilling pilot holes and driving screws)
- Clamps (Bar clamps are very helpful for holding pieces while glue dries)
- Sander (Orbital sander is fastest, but sandpaper and elbow grease work too)
Choosing Your Materials
For a simple, sturdy dresser, common materials work best. Plywood offers great stability, while solid wood offers a nicer grain look.
For this beginner build, we recommend using 3/4-inch furniture-grade plywood (like birch) for the main carcass (the body). It resists warping better than cheaper paneling. For the drawer fronts, a nicer-looking solid wood or higher-grade plywood is great.
Here is a sample cut list for a small, simple dresser (three drawers, about 30 inches wide by 30 inches tall by 16 inches deep). Always double-check your measurements!
| Part | Quantity | Material/Size (Example) | Purpose |
|---|---|---|---|
| Sides (Left/Right) | 2 | 3/4” Plywood, 30” x 16” | Main vertical supports |
| Top/Bottom | 2 | 3/4” Plywood, 30” x 16” | Horizontal structure |
| Back Panel | 1 | 1/4” Plywood, 30” x 30” | Adds rigidity and squares the frame |
| Drawer Boxes | 3 sets | 1/2” Plywood or Pine Boards | The actual storage boxes |
| Drawer Slides | 3 pairs | Ball-bearing Drawer Slides | Ensure smooth opening/closing |
Phase 2: Building the Dresser Carcass (The Main Box)
The carcass is the backbone of your dresser. If this is square and strong, the rest is easy.
Step 1: Cutting Your Panels
If you didn’t have your lumber cut at the store, measure twice and cut once! Accuracy here makes everything line up perfectly later. Use your square to ensure every cut is exactly 90 degrees.
Pro Tip: If you are using plywood, you will notice the edges look rough or layered. You will need iron-on veneer edge banding to cover these edges for a finished look. This is an inexpensive product available at most home centers.
Step 2: Assembling the Frame
We are creating a simple box structure using glue and screws for maximum strength. We will attach the top and bottom pieces between the two side panels.
- Dry Fit: Lay one side panel flat. Place the top and bottom pieces onto it, ensuring the edges are perfectly flush. Mark where your screws will go.
- Glue: Apply a thin, even layer of wood glue along the edges where the pieces meet. Glue does most of the heavy lifting in furniture building; screws just hold it while the glue dries.
- Screw: Drill pilot holes first! This prevents the wood (especially plywood) from splitting when you drive the screws. Use 1 1/4-inch or 1 1/2-inch wood screws. Drive the screws in slowly and securely.
- Attach the Second Side: Repeat the glue and screw process for the second side panel.
Once the four main pieces are together, you should have a very sturdy, open-ended rectangular box. Check it with your square to ensure it hasn’t twisted.
Step 3: Squaring and Attaching the Back Panel
This step is crucial for stability. A dresser that twists or racks (leans sideways) usually has a weak or missing back panel. We use thin 1/4-inch plywood for this, as it’s inexpensive and acts like a giant brace.
- Lay the carcass face-down on a flat surface.
- Place the 1/4-inch plywood back panel over the opening.
- Measure diagonally from the top-left corner to the bottom-right corner. Write that number down.
- Measure diagonally from the top-right corner to the bottom-left corner.
If these two diagonal measurements are identical, your dresser is perfectly square! If they aren’t, gently push on the longest corner until they match. Once squared, secure the back panel using small 3/4-inch wood screws or brad nails every 6–8 inches around the perimeter. This locks the dresser into its square shape permanently.
Phase 3: Building the Drawers
Drawers are often what trips up beginners, but we are keeping these simple: a four-sided box that slides on hardware. For a simple dresser, we often build the drawer boxes to be slightly smaller than the opening, leaving about a 1/2-inch gap on each side for smooth operation.
Step 4: Determining Drawer Box Dimensions
If your dresser opening is 30 inches wide inside, and you want a 1/2-inch gap on the left and right, your total drawer width needs to be 29 inches. If you have two side pieces for the drawer, subtract the thickness of those two pieces from 29 inches to find the width of the drawer front/back pieces.
For example, if the drawer side panels are 1/2-inch thick:
29 inches (Total space) – 1 inch (2 x 1/2-inch sides) = 28 inches for the front and back.
A standard beginner drawer uses 1/2-inch plywood for the box sides, front, and back. The bottoms are often 1/4-inch plywood that slides into a groove cut into the sides, or they can simply be glued and screwed underneath.
Step 5: Assembling the Drawer Boxes
Assemble the four sides of each drawer using strong glue and small brad nails or screws. Ensure the corners are square. For drawer bottoms, cutting a shallow groove (dado) into the inside bottom edge of the four sides is the cleanest method, allowing the 1/4-inch bottom panel to slot in before the final side is attached.
If cutting a groove seems too advanced, simply clamp the four sides, apply glue, and then flip the drawer over and glue and screw the 1/4-inch bottom panel directly to the bottom edges. This is structurally sound for light clothes.
Step 6: Installing Drawer Slides (The Game Changer)
The drawer slide system is what separates a functional piece of furniture from a frustrating pile of wood. We highly recommend using inexpensive, but reliable, ball-bearing drawer slides. These extend fully and are easy to install if you follow the manufacturer’s directions exactly.
Drawer slides come in two pieces: one part mounts to the inside wall of the dresser carcass, and the other mounts to the outside wall of the drawer box.
Before installing anything, reference the manufacturer’s guide. Many slides need to be mounted a certain distance from the front edge of the dresser to allow the drawer face to sit flush. For guidance on proper slide installation, the technical manuals provided by major hardware manufacturers often have excellent diagrams, like those found on sites dedicated to home improvement standards [National Park Service standards often reference robust construction techniques].
For a three-drawer dresser, you must carefully mark where the slides go on the inside of the carcass so that the drawers stack perfectly without overlapping.
Phase 4: Finishing Touches and Drawer Mounting
This is where your functional box starts looking like real furniture.
Step 7: Sanding and Finishing
Before attaching the final drawer fronts, sanding is easiest while the pieces are separate.
- Start with a medium-grit sandpaper (like 100 or 120 grit) to knock down any major bumps or glue squeeze-out.
- Move to a finer grit (180 or 220 grit) for a smooth, touchable surface.
- Wipe down all dust using a tack cloth or a slightly damp rag.
- Apply your chosen finish. For beginners, a simple polyurethane or a pre-stain wood conditioner followed by a simple stain and topcoat is easiest. Always follow the product instructions for drying times.
Step 8: Attaching Drawer Fronts
This step requires patience. The drawer front is the visible piece that often hides the slight imperfections in the drawer box construction. It needs to align perfectly with the carcass.
The trick here is spacing. You need consistent gaps around the drawer fronts so they look uniform. A standard gap is about 1/8 inch between drawers and between the drawer edges and the carcass frame.
- Place the drawer box (with its slide attached) into the opening.
- Place a spacer (like two credit cards stacked together, or a 1/8-inch piece of wood scrap) between the top drawer and the top of the dresser opening.
- Take your finished drawer front and place it over the drawer box, ensuring the desired 1/8-inch gaps are even all the way around the sides and top.
- Once you are happy with the alignment, use clamps to hold the drawer front firmly to the drawer box.
- From the inside of the drawer box, drive screws (usually 1 1/4 inch) through the back of the drawer box and into the back of the drawer front.
- Remove the clamps and repeat for the remaining drawers.
Step 9: Installing Hardware
Now, install your drawer pulls or knobs. Use a template if you bought matching hardware for all drawers, as this ensures every knob is at the exact same height. Drill pilot holes and screw the handles on securely.
Step 10: Attaching Feet or Base (Optional)
If you want the dresser raised off the floor, now is the time to attach pre-made furniture feet or build a simple toe-kick base frame to attach underneath the carcass. This step is easy to skip if you prefer a flush-to-the-floor look.
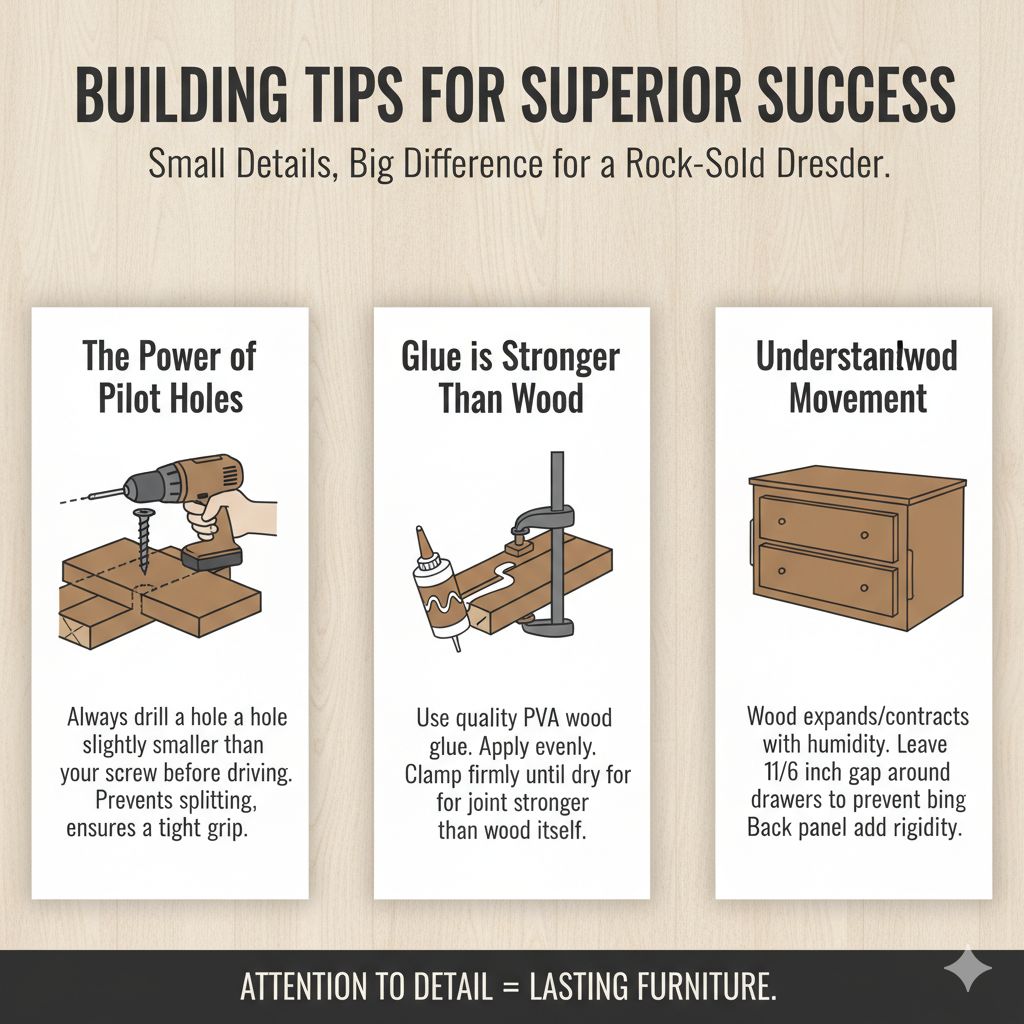
Building Tips for Superior Success
As an experienced guide, I can tell you that success in woodworking often comes down to small details that experienced builders do automatically. Here are a few things to keep in mind to ensure your dresser is rock solid.
The Power of Pilot Holes
I cannot stress this enough: Always drill a pilot hole before driving a screw into plywood or the ends of solid wood. A pilot hole is a hole slightly smaller than your screw shank. This relieves the pressure on the wood fibers, allowing the screw threads to grip tightly without pushing the wood apart.
Glue is Stronger Than Wood
When done correctly, the glue joint is stronger than the wood itself. Use a quality PVA wood glue (like Titebond). Apply it evenly, make the connection, and then use clamps to apply firm, consistent pressure until the glue sets. Don’t rush the clamp time!
Understanding Wood Movement
Wood expands and contracts with changes in humidity and temperature. This is why the back panel is so important—it keeps the box rigid against those forces. When designing drawers, always leave a small gap (1/16 inch is often enough) between the drawer sides and the interior walls of the carcass to allow for this minor swelling without binding.
For more on how wood behaves, checking resources from established forestry or materials science departments can be very helpful, such as information on wood characteristics provided by university extension programs [Understanding wood movement is crucial for long-term furniture stability].
Troubleshooting Common Beginner Dresser Issues
Don’t sweat it if something isn’t perfect immediately. That’s what sanding and clever adjustments are for!
| Problem | Likely Cause | The Fix |
|---|---|---|
| Drawers stick or don’t close fully. | Drawer box is too large, or the slide tracks are not parallel. | Measure the drawer opening again. If the box is okay, check the cabinet track placement—it must be level. |
| Drawer front falls off when I pull it open. | Not enough screws or glue used during Step 8. | Remove the front, reapply quality wood glue, clamp tightly, and use more screws from the inside of the drawer box. |
| The whole dresser wobbles. | The carcass is not square, or the back panel wasn’t secured tightly. | Ensure the diagonal measurements are equal. If the wobble persists, add small leveling feet to the bottom corners. |
| Plywood edges look ugly. | Edge banding wasn’t applied or wasn’t ironed on correctly. | Apply iron-on edge banding or cover the front edges with a strip of solid wood trim (face frame). |
Frequently Asked Questions (FAQ) for New Builders
Q1: What is the easiest wood to start with for a dresser?
A: Furniture-grade birch plywood (3/4 inch thick) is fantastic for the main box because it is stable and relatively affordable. For drawer boxes, simple pine boards (1x lumber) are easy to work with.
Q2: How do I make sure my drawers are all the same size?
A: Measure the width of your finished drawer boxes, not the opening. Once you have that final width, make all drawer boxes exactly that same width. Use the drawer slide manufacturer’s specifications to determine the correct depth so they don’t interfere with the back panel.
Q3: Do I need to use specialized clamps for this project?
A: While specialized clamps are great, you can get by with a few inexpensive bar clamps to hold the carcass together while the glue dries. Hand clamps (spring clamps) are also useful for holding small pieces during assembly.
Q4: What finish should I use if I want something durable but low-maintenance?
A: A few coats of wipe-on polyurethane is an excellent, durable, and very easy finish for beginners. It builds up protection without needing fancy spray equipment.
Q5: Should I build the drawers before or after the main box?
A: Always build the main carcass (box) first. You must have the finished, square carcass assembled so you can measure the exact internal opening dimensions needed for the drawers to fit perfectly.
Q6: How deep should the dresser be?
A: Standard dresser depth is usually between 16 and 20 inches. For a simple, space-saving design, 16 inches deep works very well and uses less material.
Conclusion: Enjoying Your Handiwork
You have successfully learned how to build a simple dresser! See? It wasn’t nearly as intimidating as you first thought. By breaking the project down into the carcass, the drawers, and the finishing touches, we turned a complex piece of furniture into a manageable series of straightforward tasks. Remember that every piece of furniture you build only gets easier. Your first dresser might have a few quirks, but those quirks are proof that you built it with your own two hands. Take pride in the sturdiness you achieved with simple glue and screws. Now, stand back, load up those new drawers, and enjoy a piece of furniture built to last!


