Build a beautiful, space-saving corner bookcase with this easy guide! Learn simple steps, essential tools, and smart design tips to add stylish storage to any room.
Got a spare corner that’s just collecting dust? We’ve all been there! Those awkward nooks shouldn’t go to waste. A corner bookcase is a fantastic way to turn empty space into a real asset, adding both charm and practical storage to your home. It might sound like a big project, but building one yourself is totally achievable, even if you’re new to DIY. We’ll walk you through every step, making sure you feel confident as you go.
This guide is designed to take the confusion out of building a corner bookcase. We’ll cover everything from picking the right spot and materials to the final coat of paint. Get ready to transform that forgotten corner into a stunning display for your favorite books and decorative items!
Why Build a Corner Bookcase?
Corners are often overlooked areas in a home. They can feel a bit clumsy and hard to furnish. But a well-designed corner bookcase solves this problem beautifully. It fits snugly into the angle, maximizing vertical space and avoiding the chunkiness of placing furniture directly in the middle of a wall.
- Space Saving: This is the big one! Corner units are designed to fit perfectly in 90-degree angles, making them ideal for smaller rooms or for adding storage without sacrificing floor space.
- Aesthetic Appeal: A custom-built bookcase adds a unique touch to your decor. You can design it to match your existing style, from modern and minimalist to rustic and cozy.
- Increased Storage: Books, plants, photographs, collectibles – these units offer ample space to showcase your treasures.
- Cost-Effective: Building it yourself can be significantly cheaper than buying a comparable pre-made unit, especially for custom sizes or unique designs.
- DIY Satisfaction: There’s a great sense of accomplishment that comes with creating something useful and beautiful with your own hands.

Planning Your Corner Bookcase Design
Before you even pick up a saw, good planning is key. Think about what you want your bookcase to do and how it will look.
1. Measure Your Space
This is the most crucial step. Grab your tape measure and:
- Measure the height from the floor to the ceiling where you want the bookcase to go.
- Measure the depth from the corner point along each wall. This will determine how far out your shelves will extend.
- Measure the width of the corner itself (it should be the same along both walls).
It’s best to sketch this out on paper, noting all dimensions. Remember to account for any baseboards or molding that might affect how the unit sits against the wall.
2. Choose a Style
Corner bookcases come in many shapes and sizes. Here are a few popular designs:
- Standard Stacked Shelves: Simple, straight shelves that mount on the walls at different heights. This is the easiest design for beginners.
- Angled Shelves: Shelves that run diagonally across the corner. This can be a bit more complex to cut and install accurately.
- Cabinet Base with Shelves: A base cabinet at the bottom provides hidden storage, with open shelves above. This adds complexity but also functionality.
- Built-In Look: Designed to extend from floor to ceiling for a seamless integration into the room.
For your first corner bookcase, a simple stacked shelf design is highly recommended. It’s forgiving for beginners and still looks fantastic.
3. Select Your Materials
The most common material for DIY bookcases is wood. Here are some options:
- Plywood: A budget-friendly and strong option. Birch, oak, or maple plywood offer a smooth surface for painting or staining. 3/4-inch thickness is standard for shelves and sides.
- MDF (Medium-Density Fiberboard): Smooth and easy to paint, MDF machines well but can be heavy and susceptible to water damage.
- Solid Wood Boards (Pine, Poplar, Oak): These offer a premium look and feel but can be more expensive and prone to warping if not properly cared for. Pine is a good beginner choice as it’s affordable and easy to work with.
Don’t forget about screws, wood glue, sandpaper, and your chosen finish (paint or stain).
4. Sketch Your Design
Based on your measurements and chosen style, draw a detailed plan. This doesn’t need to be professional, just clear enough for you to follow. Include:
- Dimensions for all pieces (sides, shelves, back if applicable).
- Spacing between shelves (consider the height of the books you’ll store).
- How the pieces will connect.
Seeing it on paper helps avoid mistakes later.
Tools and Materials You’ll Need
Having the right tools makes the job go smoother and results in a better finish. Don’t worry if you don’t have everything; many can be borrowed or are relatively inexpensive to acquire for a single project.
Essential Tools:
- Measuring Tape: For accurate measurements.
- Pencil: For marking cuts and positions.
- Safety Glasses: Always protect your eyes when cutting or sanding.
- Hearing Protection: For use with power tools.
- Dust Mask: Especially important when sanding.
- Circular Saw or Miter Saw: For making clean, straight cuts. A miter saw is ideal for precise angles if your design calls for them.
- Jigsaw: Useful for cutting curves or notches if needed.
- Drill/Driver: For pre-drilling holes and driving screws.
- Sander (Orbital or Block): For smoothing edges and surfaces.
- Clamps: Essential for holding pieces together while glue dries or while you screw them in place.
- Level: To ensure your shelves are perfectly horizontal.
- Stud Finder: To locate wall studs for secure mounting.
Materials Checklist:
- Plywood or wood boards (calculate based on your design)
- Wood screws (various lengths, suitable for your wood thickness)
- Wood glue
- Sandpaper (medium and fine grit)
- Wood filler (for filling screw holes)
- Primer (if painting)
- Paint or wood stain
- Brushes or rollers
- Clear coat/sealer (optional, for extra protection)
- L-brackets or heavy-duty shelf clips (if not building into studs directly)
Step-by-Step: Building a Simple Corner Bookcase
This guide assumes a basic, L-shaped unit where two straight shelves meet at a right angle in the corner, attaching to the walls. This is the most straightforward design for beginners.
Step 1: Cut Your Wood Pieces
Based on your design sketch, cut your wood. You’ll typically need:
- Two side pieces: These will be the vertical supports that attach to your walls. Their length will match your desired shelf height.
- Two shelf pieces: These will form the L-shape. Their length will be determined by how far you want them to extend from the corner.
Pro Tip: If purchasing wood from a home improvement store, they often offer cutting services. This can save you time and ensure accuracy. Be sure to provide them with precise measurements.
Lay out your cut pieces and dry-fit them together to ensure they are the correct size and shape. Lightly sand any rough edges now.
Step 2: Assemble the Shelves (Optional, for a single unit)
If you’re building a single, integrated unit rather than just attaching shelves to the wall, you’ll need to join the two shelf boards at a 45-degree angle. This can be done by:
- Butt Joint: Simply apply wood glue to the end of one shelf and press it against the side of the other, then secure with screws from the side piece into the shelf end.
- Corner Brace: Cut a small triangle from scrap wood and use it as an internal brace, gluing and screwing it into the corner where the two shelves meet.
For a beginner-friendly design, it’s often easier to build two separate shelves that meet in the corner and attach them to the walls independently or to your side supports.
Let’s simplify: For this guide, we’ll assume a design where two distinct shelves meet at the corner, and vertical supports attach to the walls. This is much easier to manage.
Step 3: Prepare Your Side Supports
Take your two side pieces. These will be the surfaces the shelves attach to and will also be anchored to the wall. You’ll want to decide on the height of your shelves and mark these positions on your side pieces. Use a level to ensure your marks are straight across both pieces.
Step 4: Attach Shelves to Side Supports
Apply wood glue to the edges of your shelf pieces where they will connect to the side supports. Position the shelves at your marked heights on the side supports. Clamp them in place. Pre-drill pilot holes through the side supports into the shelves to prevent the wood from splitting. Then, drive screws to secure the shelves firmly. Repeat for all shelf levels.
Important: Ensure the outside edges of your shelves remain flush with the outside edges of your side supports.
Step 5: Locate Wall Studs
This is critical for a safe and sturdy bookcase. Use a stud finder to locate the wall studs in the corner where your bookcase will be installed. Mark the center of each stud clearly.
You can learn more about finding studs from resources like the This Old House guide on finding wall studs.
Step 6: Mount the Bookcase to the Wall
With your bookcase assembled (or individual shelves ready), position it in the corner. Using your level, ensure it’s straight. Mark the wall through your side support pieces where they align with the stud marks you found. Remove the bookcase. Pre-drill pilot holes through the side supports at your marked locations. Position the bookcase back in place and drive long wood screws (at least 2.5 inches, long enough to go through the side support and into the stud an inch or more) through the side supports into the wall studs. Use at least two screws per side support into studs.
Alternative Mounting: If you can’t hit studs for all points, you can use heavy-duty drywall anchors, but mounting directly into studs provides the most secure hold for a loaded bookcase. Consult with hardware store professionals for the best anchors if studs aren’t perfectly placed. For example, TOGGLER SNAPTOGGLER® AV DRYWALL ANCHOR can offer significant weight support.
Step 7: Reinforce and Fill (Optional but Recommended)
If you want extra stability and a cleaner look, consider adding a thin back panel (e.g., 1/4-inch plywood) to the back of the unit across the corner. You could also add decorative trim pieces.
Fill all visible screw holes with wood filler. Let it dry completely, then sand it smooth. This step is crucial for a professional finish.
Step 8: Sand and Finish
Once all the assembly is done and filler is smooth, give the entire bookcase a thorough sanding. Start with medium-grit sandpaper (around 100-120 grit) to smooth out any imperfections, then move to fine-grit sandpaper (180-220 grit) for a silky-smooth surface ready for finishing.
Wipe away all dust with a tack cloth or damp cloth.
Apply your chosen finish:
- Painting: Apply a coat of primer, let it dry, then apply two coats of your chosen paint color. Lightly sand between coats if needed for a super-smooth finish.
- Staining: Apply wood stain according to product instructions. Let it dry completely.
- Sealing: For both painted and stained finishes, a clear sealer or polyurethane can add durability and a nice sheen.
Allow the finish to cure completely according to the product instructions before loading your bookcase.
Design Ideas to Make Your Bookcase Brilliant
Once you’ve mastered the basic build, you can elevate your corner bookcase with these brilliant design touches:
Floating Shelves Effect
For a modern look, you can build hidden supports into the wall (cleats) and have the shelves appear to float. This requires more precise carpentry but offers a striking visual.
Integrated Lighting
Adding LED strip lights underneath each shelf can create a lovely ambiance and highlight your books or decorative items. Ensure you run the power cord neatly and safely.
Decorative Edging
Instead of plain square shelves, consider using router bits to add a decorative edge profile. A simple roundover or a more decorative ogee can add a touch of elegance.
Back Panel Embellishments
Instead of a plain back, you could use beadboard, bead-and-batten, or even a contrasting paint color on the back panel for added visual interest.
Built-in Bench
If your corner unit is wide enough, consider incorporating a small bench seat at the bottom. This adds functionality as a reading nook.
Molding Accents
Adding crown molding at the top or shoe molding along the base can give your bookcase a more finished, built-in appearance.
Maintenance and Care
Once your corner bookcase is built and finished, basic care will keep it looking great:
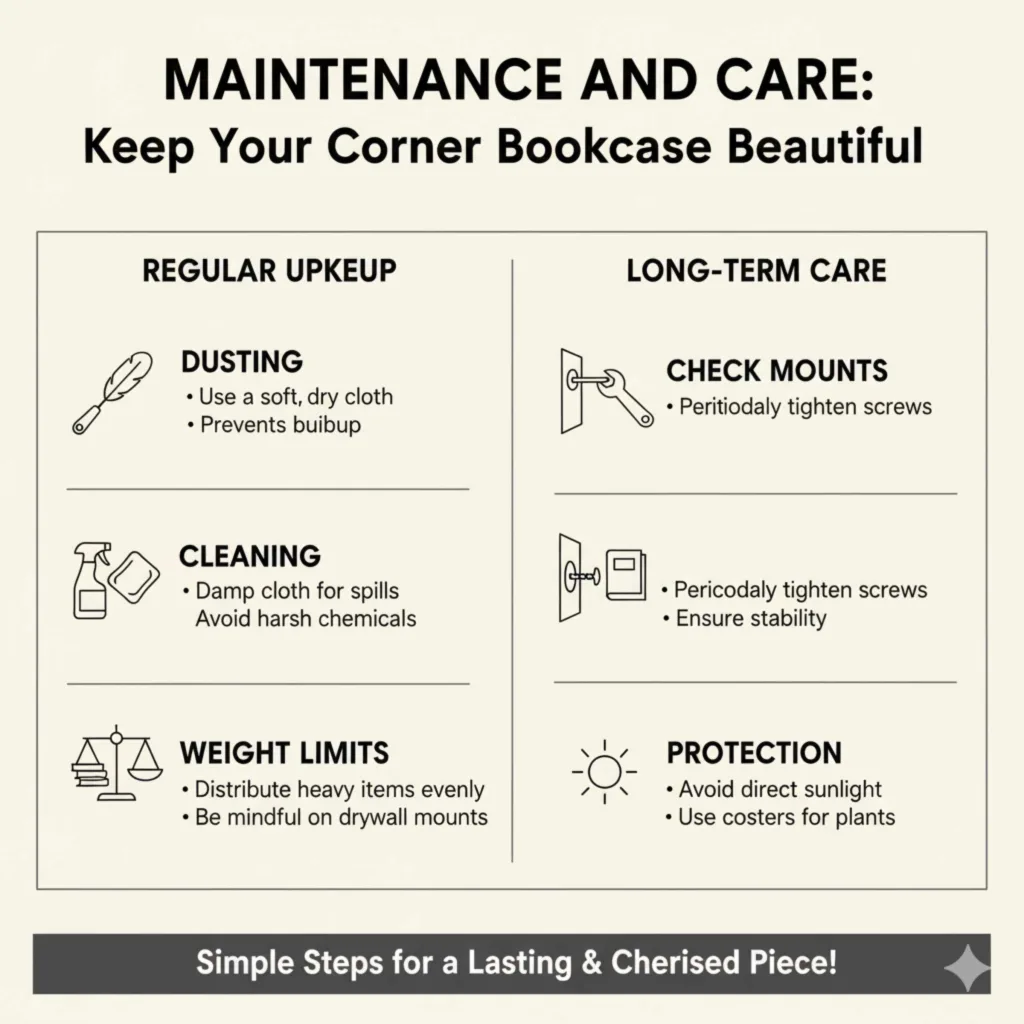
- Dusting: Regular dusting with a soft cloth will prevent buildup.
- Cleaning: For spills or grime, use a slightly damp cloth. Avoid harsh chemicals that could damage the finish.
- Weight Limits: While sturdy, be mindful of the weight capacity, especially if attaching primarily to drywall. Distribute heavier items evenly.
- Check Mounts: Periodically check that the screws holding the bookcase to the wall are still tight.
Frequently Asked Questions (FAQs)
How deep should corner bookcase shelves be?
For most standard books, shelves that are 10 to 12 inches deep are ideal. This provides enough support without making the unit feel too bulky in the room.
What’s the easiest way to build a corner bookshelf?
The easiest method for beginners is to build L-shaped shelves that attach directly to the two walls forming the corner. You can also add simple vertical supports that attach to the walls as well for extra stability.
Do I need to find studs to mount a corner bookcase?
Yes, absolutely. Finding studs and screwing directly into them is the most secure way to mount any shelving unit, especially one that will hold books. Use a stud finder and long, sturdy screws.
Can I build a corner bookcase on a budget?
Yes! Using affordable materials like pine boards or good-quality plywood and keeping the design simple will significantly reduce costs. DIY also saves on labor.
What type of wood is best for a corner bookcase?
For durability and a good finish, quality plywood (like birch or oak) is excellent. For a more rustic or budget-friendly option, pine boards are a great choice. MDF is smooth for painting but can be heavy.
How do I make sure my corner bookcase is level?
Use a level on every shelf as you are installing it. Also, use a level to check the vertical side supports before permanently attaching them to the wall.
What’s a good height for corner shelves?
Consider the items you want to store. A common spacing is 10-12 inches between shelves for books. For taller decorative items, you might want one or two shelves with 14-18 inches of vertical clearance.
Conclusion
Building a corner bookcase is a rewarding project that adds both functionality and style to your home. By carefully measuring, planning your design, and following these steps, you can create a beautiful, space-saving solution for your books and decor. Remember to prioritize safety by using appropriate tools and ensuring secure mounting into wall studs. Don’t be afraid to get creative with finishes and decorative touches to make it truly your own.
You’ve got this! Taking on DIY projects like this not only enhances your living space but also builds your confidence and practical skills. Enjoy your new, custom-built corner bookcase!