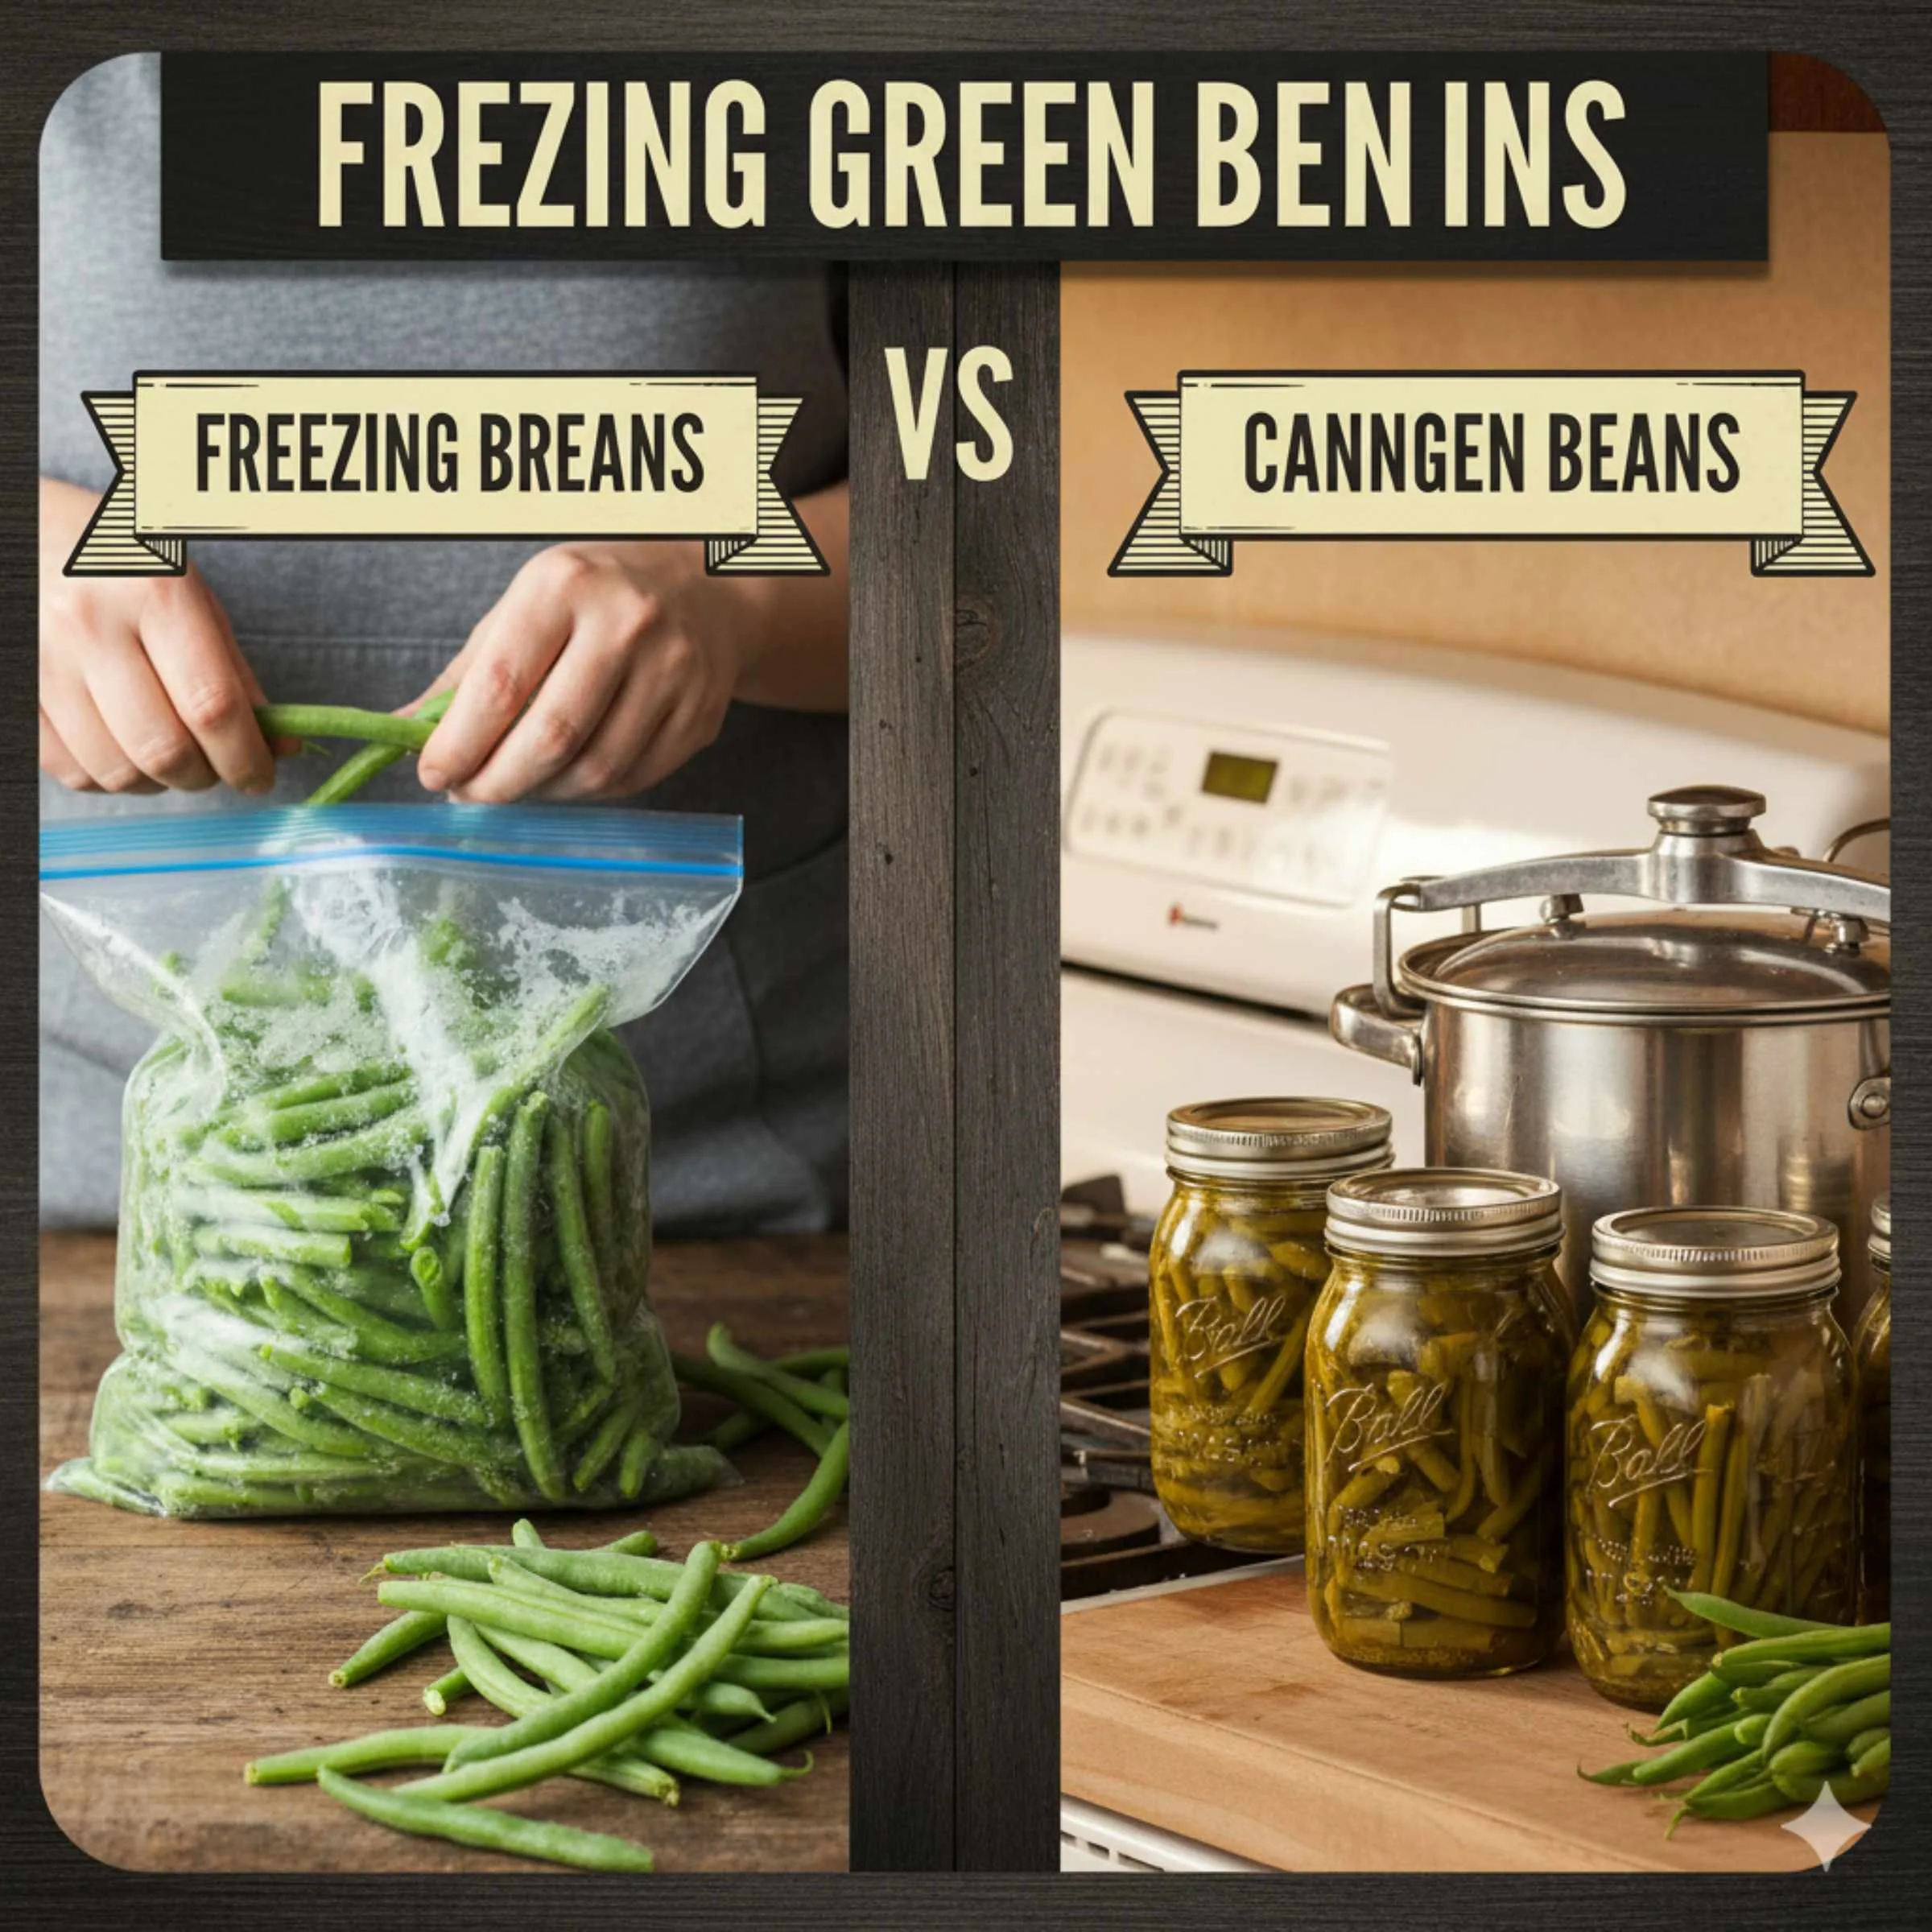
Freezing green beans is generally faster, retains more nutrients, and is easier for beginners, while canning offers the longest shelf life at room temperature, requiring more precise steps to ensure safety. For most home cooks, freezing is the simplest path to year-round harvest enjoyment.
Did you just pick a huge bucket of fresh green beans? That’s fantastic! You want to save every crisp bite for winter, but staring at bags of fresh produce can feel overwhelming. Should you freeze them or can them? Many home gardeners face this exact crossroads. It seems like a big decision, but it doesn’t have to be complicated. We are going to break down both methods so you can choose what works best for your kitchen style. No confusing jargon here—just clear steps to keep that garden goodness safe and delicious. Let’s find the best way to preserve your hard work!
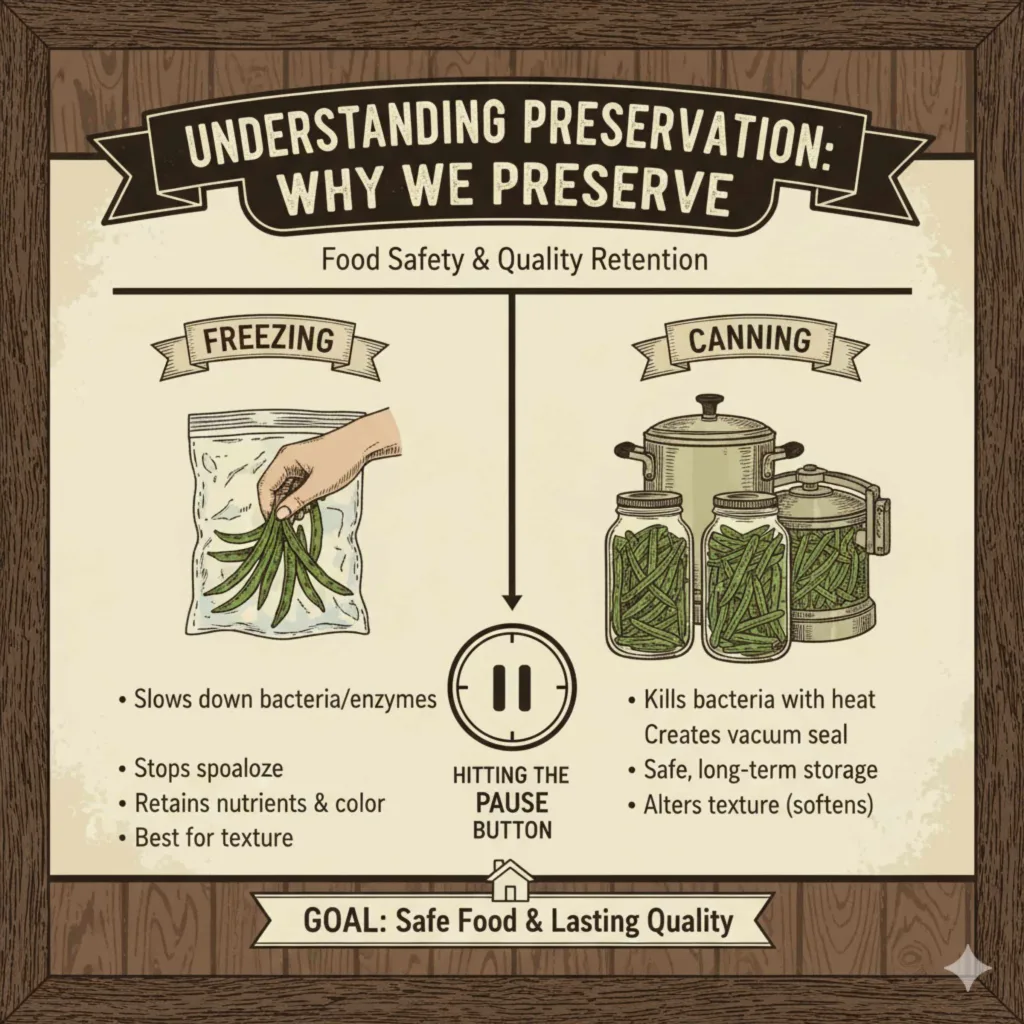
Understanding Preservation: Why We Preserve
Preserving food is an ancient practice, but today our goals are simple: food safety and quality retention. Whether you freeze or can, you are stopping spoilage by slowing down or eliminating the bacteria, yeasts, and molds that cause food to go bad. Think of it like hitting the pause button on a ripening tomato. However, the way each method presses that ‘pause’ button is very different, giving you different results in shelf life and texture.
The Key Differences at a Glance
Before diving into the how-to, let’s look at what sets these two popular methods apart. This quick comparison should help you decide which path to start down today.
| Feature | Freezing Green Beans | Canning Green Beans |
|---|---|---|
| Time Commitment (Per Batch) | Quick (Usually under 2 hours) | Longer (3–4 hours including processing) |
| Equipment Needed | Freezer space, freezer bags/containers | Canning jars, pressure canner (required for low-acid foods like beans), lids |
| Shelf Life (Optimal Conditions) | 8–12 months | 1–2 years (or longer, quality may slightly degrade over time) |
| Texture & Flavor | Closest to fresh; excellent texture retention. | Softer texture; flavor can be slightly muted or “cooked.” |
| Storage Space Required | Freezer space (requires electricity) | Pantry/Cabinet space (no electricity needed) |
| Safety Concern Focus | Freezer burn and quality loss. | Botulism risk (requires strict adherence to pressure canning rules). |
Method 1: Freezing Green Beans (The Quick Keeper)
Freezing is often the default choice for beans because it’s fast, easy, and keeps the beans tasting remarkably similar to the day you picked them. This mild process preserves most of the vitamins, too!
Why Choose Freezing?
- Speed: You can have beans ready for the freezer shelf in less than an hour after picking.
- Texture: Beans remain crispier than canned beans because the cooking time is minimal.
- Simplicity: If you have a freezer, you already have the main equipment needed.
Tools You Will Need for Freezing
Gathering your supplies first makes the process smooth. You don’t need fancy gadgets for this!
- Large stockpot for blanching.
- Colander or wire basket.
- Ice bath (a large bowl filled with ice and cold water).
- Sharp knife and cutting board.
- Freezer-safe bags (heavy-duty zip-top bags are great) or airtight containers.
- Permanent marker for labeling.
Step-by-Step: How to Freeze Green Beans Safely
The most crucial step in freezing vegetables is blanching. Blanching is briefly submerging the vegetables in boiling water (or steam) and then immediately plunging them into ice water. This stops enzyme action that causes the beans to lose color, flavor, and nutrients over time in the freezer.
Step 1: Wash and Trim
Rinse your harvested green beans thoroughly under cool running water. Remove the stem ends and snap or cut the beans into manageable, bite-sized pieces (about 1 to 2 inches long). Don’t worry about pieces that break; they still freeze beautifully!
Step 2: Prepare Your Blanching Station
Set up two stations side-by-side:
- Boiling Water: Fill a large pot with enough water to cover the beans completely. Bring it to a rolling boil.
- Ice Bath: Fill a very large bowl with cold water and add plenty of ice.
Step 3: The Blanching Process
Work in small batches so the water temperature doesn’t drop dramatically when you add the beans. You don’t want to crowd the pot.
- Drop one batch of beans carefully into the actively boiling water.
- Start your timer immediately. For small green beans, the blanching time is usually 3 minutes. For thicker beans, use 4 minutes. (For reference, the National Center for Home Food Preservation recommends 3 minutes for whole green beans.)
- When the timer goes off, immediately scoop the beans out with a slotted spoon or lift them using a blanching basket.
- Submerge the hot beans completely in the ice bath for the exact same amount of time they boiled (3 or 4 minutes). This step is vital—it stops the cooking process instantly!
- Remove the beans from the ice water and drain them well. Pat them dry slightly with a clean kitchen towel, if possible.
Step 4: Quick Freezing (Flash Freezing)
This step ensures your beans don’t freeze into one giant, unusable clump.
- Spread the blanched and cooled beans in a single layer on a baking sheet lined with parchment paper or wax paper.
- Place the baking sheet flat in the freezer.
- Freeze for 1 to 2 hours until the beans are solid rock.
Step 5: Packaging and Storing
Once flash-frozen, transfer the beans to your chosen freezer bags or airtight containers. Try to squeeze out as much air as possible—air is the enemy of freezer storage and causes freezer burn! Label the bags with the date and contents. Frozen green beans are best used within 10 to 12 months.
Helpful Tip on Freezer Burn: Freezer burn happens when air touches the food surface, causing ice crystals to form and suck moisture right out, resulting in dry, discolored spots. Using heavy-duty freezer bags and squeezing the air out helps prevent this significantly.
Method 2: Canning Green Beans (The Pantry Staple)
Canning green beans means you create a shelf-stable product that can stay safe for years in your cupboard, requiring zero electricity. However, because green beans are a low-acid food, canning them requires a pressure canner to reach temperatures high enough to destroy dangerous bacteria, specifically those that cause botulism. This is a non-negotiable safety step!
Why Choose Canning?
- Storage Freedom: Canned goods do not require valuable freezer space or electricity.
- Long Shelf Life: Properly canned goods can last over a year, often longer.
- Convenience: Ready to use straight from the jar—no thawing needed.
Safety First: Pressure Canning is Essential for Beans
Green beans are considered a low-acid food. Bacteria like Clostridium botulinum thrive in low-acid environments lacking oxygen (like a sealed jar). Water bath canning (used for jams and pickles) does not get hot enough to kill these spores. You must use a pressure canner, which can reach temperatures of 240°F (116°C) or higher, to safely destroy these spores. For reliable canning guidelines, always refer to trusted sources like the National Center for Home Food Preservation (NCHFP) or extension offices.
Tools You Will Need for Canning
- Pressure canner (not a pressure cooker).
- Canning jars (Mason-style jars) with two-piece lids (new lids must be used for each batch).
- Jar lifter, canning funnel, and headspace tool/ruler.
- Clean dish towels and pot holders.
Step-by-Step: How to Pressure Can Green Beans
This outline provides the general process. Always follow current, tested instructions for exact processing times based on jar size and altitude.
Step 1: Prepare Jars and Canner
Wash jars, lids, and bands in hot, soapy water and keep them hot until you are ready to fill them. Place the necessary amount of water in your pressure canner according to the manufacturer’s instructions (this ensures you generate enough steam). Do not put the rack in yet.
Step 2: Prepare the Beans (Blanching Recommended)
Wash, trim, and cut your beans just as you would for freezing. While blanching isn’t always strictly required for canning, a quick blanch helps the beans pack better, retain color, and release air.
Step 3: Pack the Jars
Canned beans can be packed using two methods:
- Raw Pack: Place the raw, trimmed beans into hot jars, filling them loosely. Pour boiling water over the beans, leaving 1 inch of headspace (the gap between the top of the food and the rim of the jar).
- Hot Pack (Recommended): Boil the prepared beans in water for 5 minutes, then pack the hot beans into hot jars, leaving 1 inch of headspace. Pour the hot cooking liquid over the beans, maintaining that 1-inch headspace.
Wipe the rims clean with a damp cloth. Place the flat lids on top and screw the bands on “fingertip tight” (snug, but not forced).
Step 4: Processing in the Pressure Canner
- Place the filled and sealed jars onto the rack inside your canner.
- Seal the canner lid. Turn the heat to medium-high.
- Allow the steam to vent steadily from the petcock (or vent hole) for 10 to 15 minutes before placing the weight on the canner. This removes all the air from the canner.
- Once vented, bring the canner up to the required pressure for your altitude (e.g., 10–11 pounds pressure for sea level if using weighted gauges, or 15 pounds pressure if using dial gauges).
- Start your processing timer only when the correct, steady pressure is reached. For pint jars, the processing time for green beans is typically 25 minutes at 10 pounds pressure (adjusting for altitude).
- Once the time is up, turn off the heat. Do not try to open the canner! Let the canner cool down naturally until the pressure zeroes out. This can take 45 minutes or more.
- Once the pressure is zero, wait another 10 minutes, carefully remove the weight/lid, and open the canner away from your face.
Step 5: Cooling and Checking Seals
Using a jar lifter, move the hot jars onto a towel-lined counter, leaving space between them. Do not touch or tighten the bands. Let them cool completely (12–24 hours). You will hear satisfying ‘pops’ as the lids seal. Once cool, press the center of each lid—if it doesn’t flex, it’s sealed. Remove the bands before storing in a cool, dark pantry.
Comparing Cost and Effort: Which Wins for You?
When you compare freezing green beans vs canning, the “best” option heavily depends on your lifestyle and available space. Let’s look at the practical trade-offs in terms of money and time investment.
Investment Comparison Table
| Factor | Freezing | Canning |
|---|---|---|
| Initial Equipment Cost | Low (Mostly bags/containers) | High (Pressure canner investment required) |
| Energy Use | Sustained electricity for the freezer. | High energy use (gas/electric) during the a few hours of processing. |
| Time per Batch | Low (About 1 hour hands-on time) | High (3–4 hours, much of it waiting for pressure changes) |
| Learning Curve | Very Easy (Blanching is the main skill) | Moderate to High (Requires strict adherence to pressure/time guidelines) |
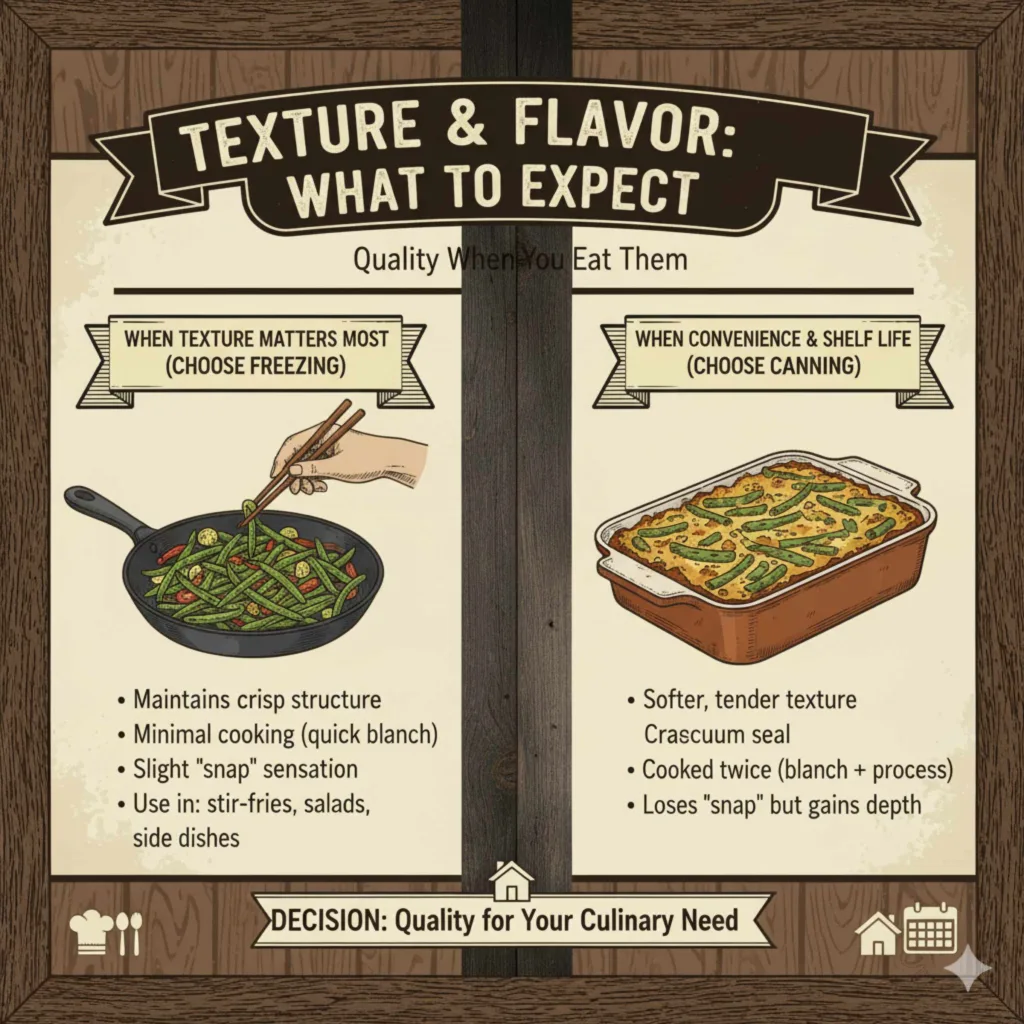
Texture and Flavor: What to Expect When You Eat Them
This is arguably the most important factor for many home preservers. How will the quality stack up when you finally pull out that winter dinner?
When Texture Matters Most (Choose Freezing)
Freezing is excellent for maintaining the structure of the bean. Since the cooking time is minimal (only the quick blanch), the cell walls aren’t broken down as much as they are during the 25-minute pressure processing required for canning. If you plan to use your beans in stir-fries, salads, or just as a quick side dish where you want that slight “snap,” freezing is your champion.
When Convenience and Shelf Life Trump Texture (Choose Canning)
Canned green beans will inevitably be softer—often described as tender or mushy compared to fresh or frozen. This happens because they are essentially being cooked twice (once during blanching, and again during the long processing time in the canner). If you plan to use your beans primarily in things like casseroles, soups, or stews, where texture variation is less important, canning provides the fantastic benefit of shelf storage.
FAQs: Beginner Questions Answered
Q1: Can I skip blanching if I am freezing my green beans?
A1: While tempting, skipping blanching for green beans is not recommended. Unblanched beans will quickly turn dull, lose flavor, and degrade in color and nutrition within a few months in the freezer. Blanching is the key to high-quality frozen vegetables.
Q2: If I have a water bath canner, can I use it for green beans?
A2: Absolutely not for safety reasons. Green beans are a low-acid vegetable. To prevent the deadly risk of botulism, you must use a pressure canner to reach temperatures above boiling (212°F) when processing green beans. Always consult NCHFP guidelines for safe methods.
Q3: What is “headspace,” and why is it important when canning?
A3: Headspace is the empty space left between the top surface of the food/liquid and the rim of the jar. It is crucial because it allows the food inside to expand during heating without forcing the lid off, and it creates the vacuum seal as the jar cools. For green beans, you must maintain exactly 1 inch of headspace.
Q4: How do I reheat frozen green beans so they taste best?
A4: For the best texture, cook frozen green beans directly from frozen without thawing. Add them to boiling water or steam them for 5 to 7 minutes until tender-crisp. Avoid microwaving them, as this can lead to uneven steaming and sogginess.
Q5: Can I use my electric Instant Pot/Pressure Cooker for canning beans?
A5: Standard electric multi-cookers (like the Instant Pot) are excellent for cooking, but they are not approved for safe home pressure canning of low-acid vegetables. They do not reliably maintain the consistent, high pressure needed for the required time intervals. Stick to a tested, USDA-approved pressure canner for safe, shelf-stable results.
Q6: Does the freezer method require special bags?
A6: Yes, regular thin plastic bags meant for sandwich use are not adequate; they can easily puncture or let air in. Use high-quality, heavy-duty freezer bags or rigid freezer-safe containers designed to handle freezing temperatures and minimize air exposure for the best results.
Making the Smart Choice for Your Kitchen
Deciding between preserving your bumper crop of green beans should feel empowering, not stressful. As someone who deals with tools and methods daily, I see these two options as serving different roles in your pantry.
If your primary goal is speed, ease of task completion, and maximizing that fresh, garden-crisp eating experience, freezing is the clear winner. It demands less specialized, expensive equipment, and the hands-on time is minimal after the initial blanching. If you have ample freezer space and plan to use the beans within a year, this method keeps your produce closest to its peak quality.