Turn an old dresser into a stylish vanity with this easy DIY guide. You’ll transform furniture into a functional and beautiful bathroom or bedroom vanity, adding character and saving money.
Tired of that old dresser cluttering up a room? Or maybe you’re dreaming of a charming vanity but the prices are just too high? Don’t worry, there’s a fantastic way to get a custom look without breaking the bank. Turning a dresser into a vanity is a brilliant DIY project that lets you create a unique space perfectly suited to your style. It’s easier than you might think, and with a few simple steps, you’ll have a beautiful, functional piece of furniture that looks like it came straight from a high-end store. Let’s dive in and give that dresser a wonderful new life!
Why Turn a Dresser Into a Vanity?
Giving an old dresser a new purpose as a vanity is a smart move for so many reasons. It’s a fantastic way to breathe new life into furniture that might otherwise end up in a landfill. Plus, it’s a budget-friendly option that allows for incredible personalization. You get to choose the exact look, the finishes, and the hardware to match your decor perfectly.
Here’s why this DIY project is a winner:
- Cost Savings: New vanities can be surprisingly expensive. Repurposing a dresser is a fraction of the cost.
- Unique Style: You can create a one-of-a-kind piece that reflects your personal taste, from vintage charm to modern elegance.
- Space Optimization: Find a dresser that fits your space perfectly, and customize the storage within the drawers for your needs.
- Sustainability: Giving old furniture a new life is an eco-friendly choice that reduces waste.
- Customization: You have complete control over the color, finish, hardware, and even the countertop to match your dream design.

Choosing the Right Dresser
Not all dressers are created equal when it comes to becoming a vanity. Think about the style, size, and condition. A sturdy dresser is key, especially if you plan on adding a heavy countertop like stone or quartz.
Here are some things to consider:
- Size: Measure your intended space carefully. You’ll need enough room for the dresser itself, plus accessibility to use it as a vanity.
- Depth: Standard bathroom vanity depths are usually around 18-22 inches. Many dressers are deeper, which can be great for storage but might stick out more than you’d like in a smaller room.
- Drawer Configuration: How do you want to organize your vanity items? A dresser with fewer, deeper drawers might work for towels, while one with shallower drawers is good for makeup and toiletries. Consider if you need space for plumbing.
- Style: Do you want a modern, contemporary, farmhouse, or vintage look? The dresser’s existing style will influence the final outcome. Look for solid wood pieces for better durability and easier modification.
- Condition: Check for stability, wood rot, water damage, or extensive cosmetic flaws. Minor blemishes can often be repaired, but significant structural issues might make a dresser a less ideal candidate.
Essential Tools and Materials
Before you start, gather everything you’ll need. Having your supplies ready makes the whole process go much smoother.
Tools You’ll Likely Need:
- Measuring tape
- Pencil
- Safety glasses
- Work gloves
- Screwdriver set (Phillips and flathead)
- Drill with various drill bits
- Jigsaw or reciprocating saw (for any necessary cuts, like for plumbing)
- Orbital sander or sandpaper (various grits: 120, 180, 220)
- Paintbrushes, rollers, and trays
- Caulk gun
- Putty knife
- Level
- Primer
Materials You’ll Need:
- Your chosen dresser
- Sandpaper (for painting or staining)
- Wood filler or putty
- Primer
- Paint or stain
- Polyurethane or sealer
- Hardware (knobs, pulls, hinges)
- Countertop material (e.g., butcher block, stone slab, tile, or even a thick piece of plywood)
- Sink and faucet (if adding a full bathroom vanity)
- Drain assembly and P-trap (if adding a sink)
- Caulk (appropriate for your countertop and wall)
- Optional: Backsplash material

Step-by-Step: How to Turn a Dresser Into a Vanity
This is where the magic happens! Follow these steps to transform your dresser. We’ll cover both a simple vanity without plumbing and a more involved one with a sink.
Phase 1: Preparation and Modification
First, we need to get the dresser ready. This involves cleaning, minor repairs, and any structural changes.
1. Clean the Dresser
Start by giving the dresser a thorough cleaning. Use a mild soap and water mixture or a wood cleaner to remove any dust, grime, or old wax. Let it dry completely.
2. Make Repairs
Inspect the dresser for any loose joints, wobbly legs, or damaged veneer. Use wood glue and clamps to fix loose joints. Small holes or dents can be patched with wood filler. Let any repairs dry completely according to the product instructions.
3. Remove Hardware
Take off all the old drawer pulls and knobs. You’ll likely be replacing them with new ones that fit your vanity style.
4. Reinforce the Top (Crucial!)
If you plan to add a sink and countertop, the top of your dresser needs to be strong and stable. Remove the existing top if it’s flimsy. You can reinforce the top by adding a layer of plywood underneath. Secure it with wood screws, making sure they don’t protrude upwards.
For a sturdier base, especially for heavier countertops, consider adding internal bracing. Measure and cut sturdy wood pieces (like 1x3s or 2x4s) to fit inside the dresser, creating a frame beneath the top surface. Screw these braces into the sides of the dresser. This adds significant support.
5. Plan for Plumbing (If Applicable)
This is a critical step if you’re installing a sink. You’ll need to cut holes in the back of the dresser for water supply lines and the drainpipe. Measure your sink and faucet placement carefully. Mark where the holes need to be on the back panel of the dresser. You might need to remove one of the top drawers or modify its back to make room for plumbing. A jigsaw is perfect for cutting these openings. Always wear safety glasses when cutting wood.
If you’re unsure about plumbing, it’s a good idea to consult with a plumber at this stage or research local building codes. The EPA’s WaterSense program offers helpful information on water-efficient fixtures and best practices for plumbing.
Phase 2: Finishing the Dresser
Now it’s time to paint or stain your dresser. A good finish will protect the wood and give your vanity a polished look.
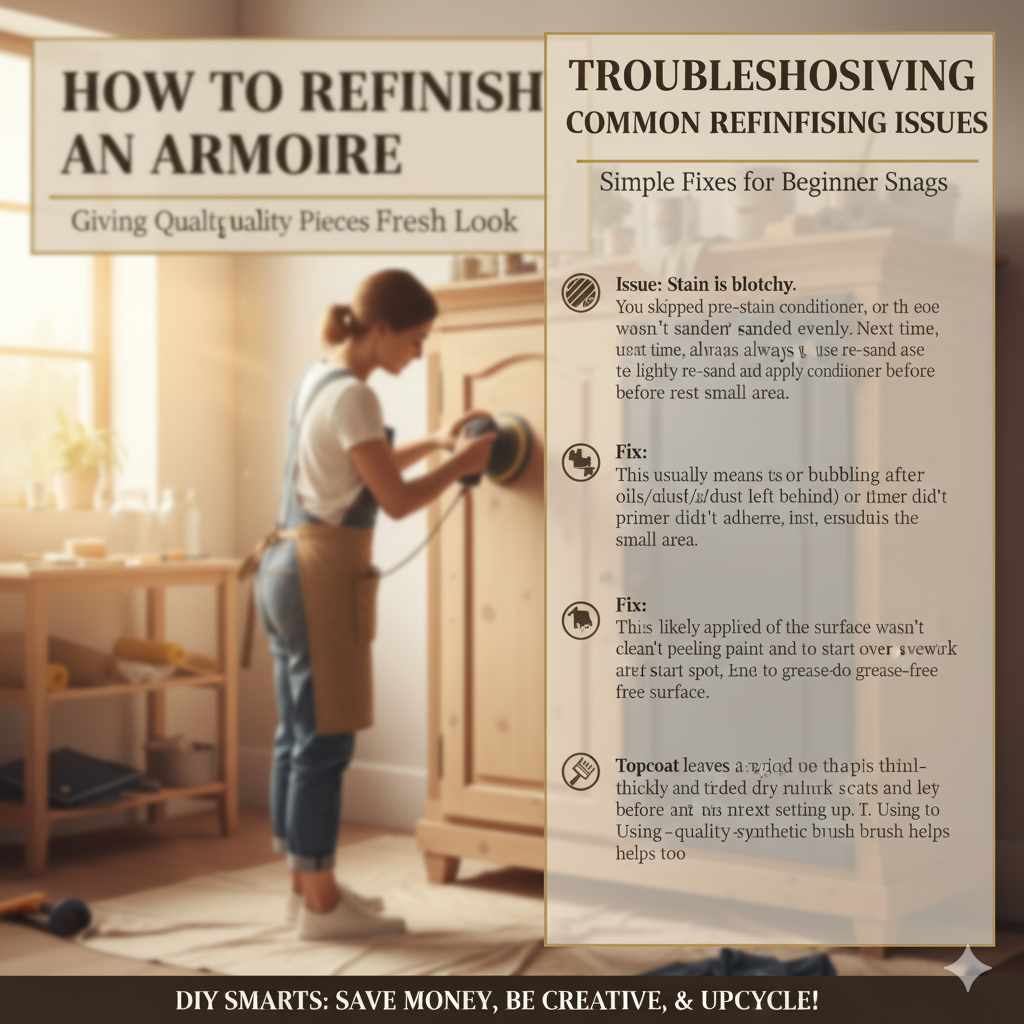
6. Sand the Dresser
Sand the entire dresser smooth. Start with a medium-grit sandpaper (around 120-grit) to remove any old finish or imperfections. Then move to a finer grit (180-grit) for overall smoothness, and finish with a very fine grit (220-grit) for a silky feel. Pay extra attention to corners and edges. Wipe away all the dust with a tack cloth or a damp cloth.
7. Prime the Dresser
Apply at least one coat of good quality primer. This helps the paint adhere better, covers any remaining stains, and creates a uniform surface. Let the primer dry completely according to the manufacturer’s instructions, and lightly sand again with fine-grit sandpaper if needed.
8. Paint or Stain the Dresser
Apply your chosen paint or stain. For paint, multiple thin coats are better than one thick coat. Allow each coat to dry thoroughly before applying the next. If staining, follow the product’s instructions for application and drying times. Wood stain and paint can be found at any hardware store. Choosing a durable finish is important for a high-traffic area like a bathroom.
9. Seal the Finish
Once the paint or stain is completely dry, apply a protective topcoat like polyurethane or a clear sealer. This is especially important for a bathroom vanity that will be exposed to moisture. Apply 2-3 coats, allowing each to dry and lightly sanding with very fine sandpaper (320-grit) between coats for a super smooth finish. A durable, water-resistant topcoat will protect your hard work for years to come. For areas prone to constant moisture, a marine-grade varnish can offer excellent protection.
Phase 3: Adding the Countertop and Fixtures
This is where your dresser truly becomes a vanity! Choose a countertop that complements your style and fits the dresser.
10. Install the Countertop
Butcher Block: This is an affordable and popular choice. Cut it to size, allowing for overhang on the front and sides. Seal it thoroughly with a food-safe, waterproof sealant if you want it to last in a bathroom. (This Old House has great tips on sealing butcher block). Secure it to the dresser top from underneath with screws or L-brackets.
Stone (Granite, Marble, Quartz): These are beautiful but heavy and expensive. You might need professional help to template and cut it. Ensure your dresser is heavily reinforced to support the weight. They are usually installed with construction adhesive.
Tile: You can tile over a plywood subtop. This offers a lot of design flexibility. Use tile adhesive and grout, and seal the grout well.
Plywood: A simple, thick piece of plywood can be stained, painted, or epoxied for a minimalist, modern look.
11. Install the Sink and Faucet (If Applicable)
Carefully follow the manufacturer’s instructions for your specific sink and faucet. This usually involves setting the sink into the countertop opening, applying plumber’s putty or silicone sealant around the rim, and then securing it from underneath. Install the faucet according to its manual, connecting the water supply lines.
12. Connect Plumbing (If Applicable)
Connect the faucet’s water supply lines to your home’s water shut-off valves. Install the drain assembly into the sink and connect it to your P-trap and the drainpipe you’ve routed through the back of the dresser and into your wall. Test for leaks by running water and checking all connections. A small leak can cause significant damage, so be thorough!
13. Add Hardware
Install your new drawer pulls and knobs. This is the finishing touch that really pulls the look together and adds personality.
14. Caulk and Seal
Apply a bead of caulk around the edge where the countertop meets the wall, and around the sink rim if it’s not a self-rimming style. This seals out moisture and gives a clean, finished look. If you’re adding a backsplash, now is the time to install it.
Dresser-to-Vanity Conversion: Pros and Cons
Every DIY project has its ups and downs. Here’s a quick look at what makes this conversion great and what to watch out for.
| Pros | Cons |
|---|---|
| Significant cost savings compared to purchasing a new vanity. | Requires time, effort, and basic DIY skills. |
| Endless customization to match your decor. | May require modifications for plumbing that can be complex for beginners. |
| Creates a unique, one-of-a-kind furniture piece. | Finding the perfect dresser requires patience and searching. |
| Excellent for adding character to a bathroom or bedroom. | Durability can be an issue if not properly sealed against moisture, especially in bathrooms. |
| Transforms unused furniture into functional, beautiful items. | The depth of some dressers might be too much for smaller bathrooms. |
| Sustainable and environmentally friendly. | May not have the exact drawer configurations of a commercial vanity. |
Frequently Asked Questions (FAQ)
Q1: Can I use any dresser for this project?
A1: While you can use almost any dresser, ones made of solid wood are the most durable and easiest to work with. Avoid particleboard or MDF if possible, especially for bathroom vanities, as they can be susceptible to water damage.
Q2: Do I need to be a professional to do this?
A2: No! This project is designed for beginners. Basic woodworking skills and patience are all you need. If you’re adding plumbing, that’s the most challenging part, and you might want to consult a professional or watch detailed tutorials.
Q3: How do I make sure the dresser can handle a sink and water?
A3: Reinforce the top of the dresser with extra wood (like plywood or internal bracing) to support the weight of the countertop and sink. For bathrooms, ensuring all finishes are waterproof and sealing any gaps with caulk is crucial to prevent water damage.
Q4: What kind of countertop is best for a dresser vanity?
A4: Butcher block is a great DIY-friendly option that can be sealed for water resistance. For a more luxurious look, consider granite or quartz, but ensure your dresser is structurally sound to hold their weight. Laminate or tile can also be budget-friendly choices.
Q5: How do I deal with plumbing if the dresser drawers get in the way?
A5: Often, you’ll need to notch out the back of the top drawer or remove it entirely to make space for pipes. You can also cut holes in the back panel of the dresser for the pipes to pass through. Sometimes, the dresser’s frame construction can be carefully modified to accommodate plumbing, but this requires careful planning.
Q6: How do I make sure my painted dresser vanity is water-resistant?
A6: Use a high-quality primer and a durable paint designed for furniture. Crucially, apply several coats of a strong, waterproof topcoat like marine-grade varnish or a polyurethane specifically recommended for high-moisture areas. Seal any gaps around the sink and countertop with silicone caulk.
Conclusion
Transforming a dresser into a vanity is a rewarding DIY project that injects personality, functionality, and significant savings into your home. You’ve learned how to choose the right dresser, prepare it for its new role, apply finishes that protect and beautify, and even tackle the integration of a sink and faucet. Whether you’re refreshing a powder room or creating a charming dressing area, this project empowers you to create something truly special with your own two hands. So, find that perfect dresser, roll up your sleeves, and get ready to enjoy your beautiful, custom-made vanity!