Mastering how to make salsa for canning is simple: use tested recipes, ensure your produce is fresh, process jars using a water bath canner for safety, and follow USDA guidelines exactly. This guide breaks down the entire safe canning process step-by-step, giving you confidence in shelf-stable, delicious homemade salsa.
Welcome! Making your own salsa and preserving it for later sounds tough, but it’s much easier than you think. Nothing beats the taste of homemade salsa, but the thought of canning often makes people nervous. Will it spoil? Is it safe? Not at all! With the right instructions, you can safely preserve that fresh flavor long after tomato season ends. We are going to walk through every single step together. You will feel totally comfortable canning your first batch of salsa by the time we are done. Let’s get started on making your pantry ready for flavor!
Why Canning Salsa is a Great Idea (And Why You Need a Tested Recipe)
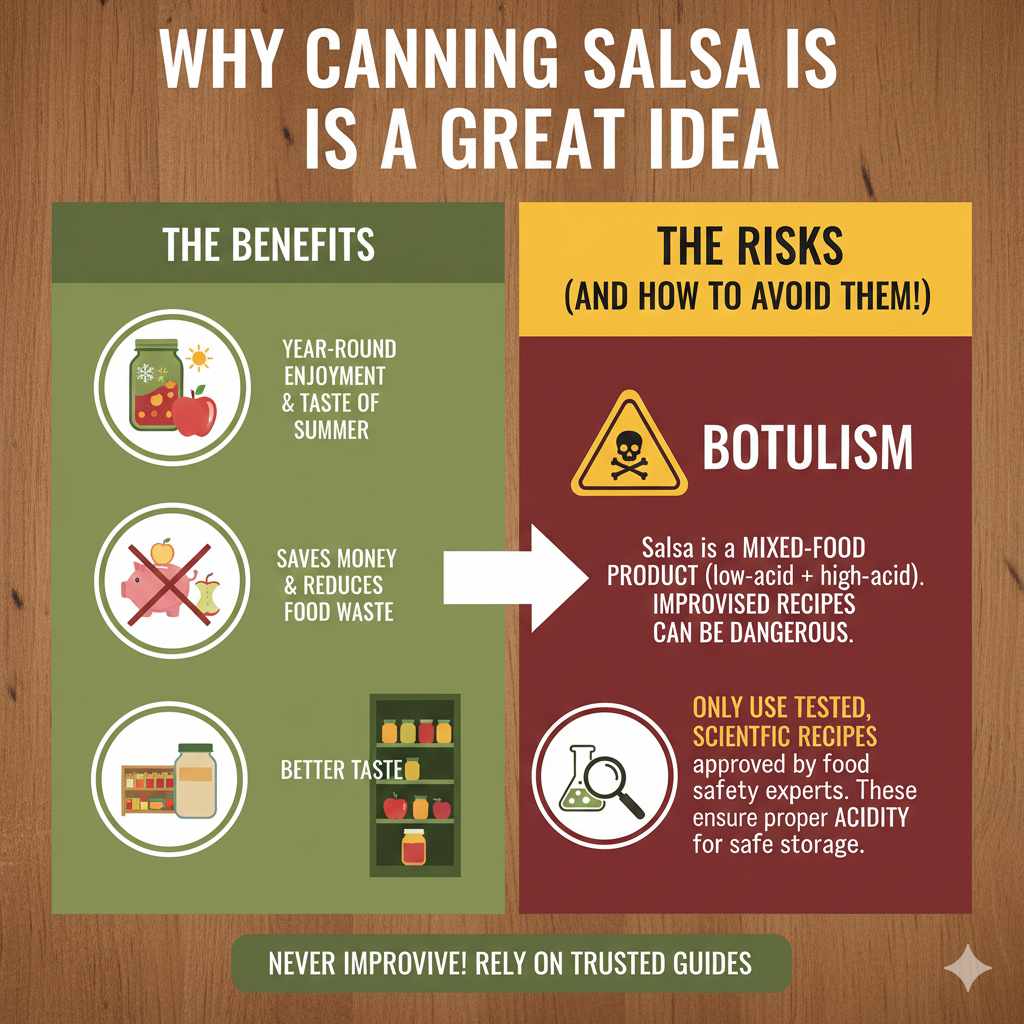
Canning allows you to store your favorite foods safely without refrigeration. For salsa, this means enjoying the taste of summer tomatoes in the dead of winter. It saves money, reduces food waste, and tastes infinitely better than most store-bought jars.
However, salsa is a tricky food for canning beginners. It is a mixed-food product—it contains both low-acid ingredients (like onions and peppers) and high-acid ingredients (like tomatoes). This mix requires careful attention to acid levels to prevent spoilage or, worse, botulism, which is a serious food safety risk.
This is why we rely on tested, scientific recipes. Never improvise when canning low-acid foods or mixed products like salsa. You must use recipes approved by food safety experts. These recipes have been tested to ensure the acidity is high enough to prevent harmful bacteria growth during storage.
Safety First: The Science Behind Water Bath Canning
Most salsas are safely preserved using the boiling-water bath canning method**. This method works because it heats the sealed jars hot enough to kill molds, yeasts, and some bacteria, while the high acid level of the salsa prevents the growth of Clostridium botulinum spores, which thrive in low-acid, oxygen-free environments.
For shelf stability, the entire jar contents must reach a temperature that ensures safety. For high-acid foods like most salsas, this temperature is achieved simply by boiling the jars for a set amount of time. Always check altitude adjustments for your area, as water boils at lower temperatures the higher you go above sea level. You can find official altitude adjustments provided by many university extension services, such as those provided by the National Center for Home Food Preservation (NCHFP).
Step 1: Gather Your Tools and Ingredients
Before you chop a single pepper, make sure your workspace is ready. Having everything organized upfront makes the process smooth and stress-free. Think of this like setting up your workspace before changing your car’s oil—preparation is everything.
Essential Canning Equipment Checklist
You don’t need a massive commercial kitchen, but a few key pieces of equipment are non-negotiable for safe canning.
- Water Bath Canner: This is a large, deep pot with a rack that keeps jars off the bottom. It must be deep enough so that jars are covered by at least 1-2 inches of water above the lids.
- Canning Jars (Pint or Quart): Use jars specifically designed for canning (like Mason jars). Check them for nicks or cracks before use.
- Lids and Bands: New lids are crucial for achieving a proper seal. Bands (rings) can be reused if they aren’t rusty.
- Jar Lifter: This tool is vital for safely moving hot jars in and out of boiling water without burning yourself.
- Lid Wand or Magnetic Stick: Used to retrieve sterilized lids from simmering water.
- Large Stockpot: For cooking the salsa mixture itself.
- Funnels and Ladles: A wide-mouth funnel makes filling jars clean and mess-free.
- Bubble Remover Tool (or plastic spatula): To release trapped air bubbles in the salsa before sealing.
Salsa Ingredients Shopping List (Based on a Tested Recipe)
While recipes vary, most traditional canned salsa requires these core components. Remember, always use firm, unblemished produce. Bruised spots can harbor bacteria.
| Ingredient Category | Example Items | Importance for Canning |
|---|---|---|
| Tomatoes | Roma, Plum, or Paste Tomatoes (less watery) | Provide the bulk and necessary acidity base. |
| Peppers | Jalapeños, Serranos, Bell Peppers | Flavor, heat level, and texture. |
| Aromatics | Onions, Garlic | Flavor foundation. Chop finely or puree. |
| Acidity Booster | Bottled Lemon Juice or Citric Acid | Crucial safety ingredient! Ensures sufficient pH levels. |
| Seasoning | Salt (canning or kosher), Cumin, Cilantro, Oregano | Flavor profile. Do not use iodized table salt if possible, as it can cloud the liquid. |
A Note on Acidity Boosters: Many modern tomato varieties are less acidic than older types. To guarantee safety when canning salsa, tested recipes require adding a specific, measured amount of bottled lemon juice or citric acid to every jar or batch, even if you think your tomatoes are tart enough. Do not skip this step!
Step 2: Preparing the Jars and Canner (Sterilization)
This step is about getting your jars ready to handle the heat and ensuring they are perfectly clean. This is just as important as cooking the salsa properly.
Jar Preparation Timeline
You need to start prepping your jars before your salsa is finished cooking. Jars need to be hot when filled with hot salsa to prevent thermal shock (the jars cracking).
- Wash Jars: Wash jars, lids, and bands in hot, soapy water. Rinse well.
- Prepare the Canner: Place your canning rack inside the large water bath canner. Fill the canner about halfway with water.
- Heat the Water: Place the canner on the stove and bring the water to a simmer (180°F / 82°C).
- Keep Jars Warm: Submerge the washed jars (mouths facing up) into the simmering water. They need to stay hot (at least 180°F) until you are ready to fill them.
- Prepare Lids: Most modern lids require heating. Place the lids (flat side down) in a small saucepan of water and keep them warm, just below simmering (around 180°F). Do not boil the lids, as this can damage the sealing compound.
Step 3: Cooking the Salsa (Following the Recipe)
This is where the magic happens! We are cooking the ingredients down and adding the necessary acid component. Stick exactly to your tested recipe’s measurements for tomatoes, peppers, and especially the acid booster.
Preparing Vegetables
The prep work depends heavily on the salsa style you choose (chunky vs. smooth). For canning, you generally want smaller pieces because large chunks don’t pack down as tightly, leaving too much air space.
- Wash Everything: Scrub all produce thoroughly under running water.
- Core and Seed: Remove stems, cores, and seeds as directed by your recipe.
- Chopping/Pulsing: For chunky salsa, chop vegetables uniformly. For smooth salsa, chop roughly before cooking.
The Cooking Process
Unlike refrigerator salsa, canned salsa needs a specific cooking time to allow flavors to meld and ingredients to break down slightly for better sealing.
- Combine Ingredients: In your large stockpot, combine the tomatoes, peppers, onions, and any required liquids (like vinegar, if used in the recipe).
- Add Acid and Seasoning: Now, add the measured bottled lemon juice or citric acid and the salt/spices. Stir well to distribute the acid evenly.
- Boil: Bring the mixture to a full, rolling boil over high heat. Stir frequently to prevent scorching on the bottom.
- Simmer Time: Reduce heat slightly to maintain a steady, active boil. Simmer for the time specified in your recipe—usually 10 to 20 minutes. This ensures the ingredients are soft and the volume has reduced slightly.
Pro Tip: If your salsa looks too watery after simmering, it means there is too much liquid for safe canning. You can use a potato masher or immersion blender (briefly!) to break down some of the solids to help thicken it naturally, or simmer longer until excess water evaporates. Do not add flour or cornstarch, as these thickening agents are not safe for standard water bath canning.
Step 4: Filling the Jars Safely
This stage requires focus. We must fill the jars correctly to ensure a good, safe seal without compromising the headspace.
Understanding Headspace
Headspace is the empty space between the top of the salsa and the rim of the jar. This space is essential! As the jar cools after processing, the contents contract, creating a vacuum that pulls the lid down tight. If you fill the jar too full, the contents boil over, contaminating the rim and preventing a seal.
For most salsas and tomato products, the required headspace is:
- Pint Jars: 1/2 inch headspace
- Quart Jars: 1/2 inch headspace
Filling Procedure
- Remove Jars: Using the jar lifter, carefully remove one hot jar from the canner and empty the water back into the pot. Place the hot jar on a folded towel or wooden cutting board (never a cold countertop).
- Fill with Salsa: Place the wide-mouth funnel onto the jar. Ladle the hot salsa into the jar, leaving exactly 1/2 inch of headspace.
- Remove Air Bubbles: Insert the bubble remover tool (or a plastic knife edge) down the side of the jar, gently working it around to release any trapped air pockets. Recheck the headspace and add more salsa if the level dropped below 1/2 inch.
- Clean the Rim: This is critical! Dip a clean paper towel in clean water or vinegar and wipe the entire rim of the jar. Any speck of food or grease will stop the lid from sealing.
- Apply Lids: Use the magnetic wand to lift a hot lid from the simmering water. Center it on the clean jar rim. Screw on the band fingertip tight—just snug, not overly forced. Forcing it too tight can prevent air from escaping during processing.
Step 5: Processing the Salsa in the Water Bath Canner
This is the final, most crucial safety step. Processing sterilizes the contents and creates the vacuum seal.
Setting Up for Processing
Before adding the filled jars, check two things:
- Water Level: Ensure the water in your canner is simmering (180°F). Once the jars are loaded, the water must cover the tops of the jars by at least 1 to 2 inches. If it doesn’t, add more boiling water from a separate kettle.
- Altitude Check: Look up the required processing time for your altitude. The times below are for 0–1,000 feet elevation only.
| Jar Size | Processing Time (0–1,000 ft Elevation) |
|---|---|
| Pints | 15 Minutes |
| Quarts | 20 Minutes |
Note: If you are above 1,000 feet, you must increase your processing time. For example, at 3,001–6,000 feet, processing time increases by 10 minutes for pints and 15 minutes for quarts. Consult the NCHFP guidelines for precise adjustments for your area.
The Processing Steps
- Load Jars: Using the jar lifter, carefully lower the filled, lidded jars onto the rack in the canner. Do not let them touch each other.
- Cover and Heat: Place the lid on the canner. Turn the heat to high. Once the water reaches a full, rolling boil, start your timer according to the chart above (adjusting for altitude).
- Maintain the Boil: It is vital that the water remains at a steady, active boil for the entire processing time. If the boil stops, you must bring it back to a full boil before restarting the timer from scratch.
- End Processing: When the timer goes off, turn off the heat. Carefully remove the canner lid (lift it away from your face to avoid the burst of steam). Let the jars sit in the hot water for 5 minutes before removing them.
Step 6: Cooling, Checking Seals, and Storing
The last physical steps involve letting the sealed jars rest undisturbed. Patience here ensures you don’t accidentally break a fragile seal.
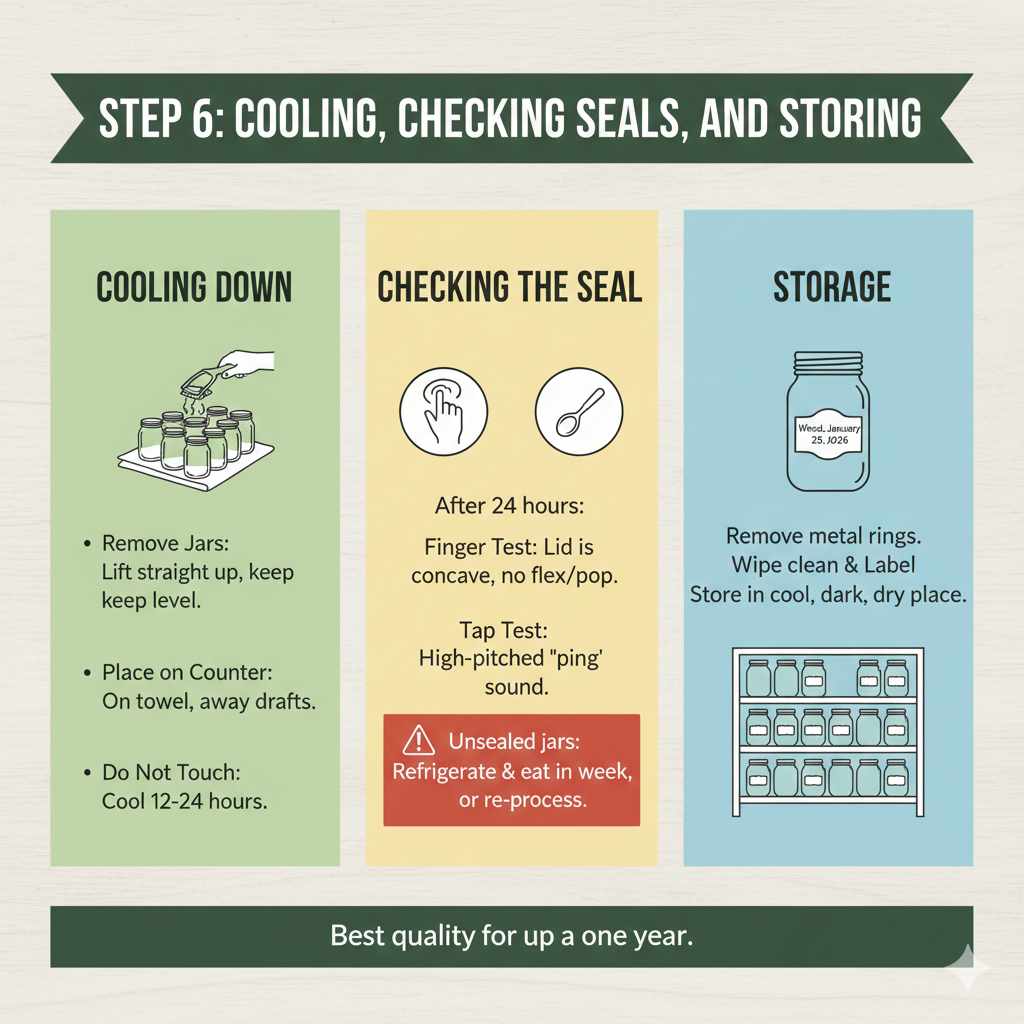
Cooling Down
- Remove Jars: Using the jar lifter, remove the jars one by one. Lift them straight up, keeping them level.
- Place on Counter: Set the hot jars on a folded towel or wooden board in a spot away from drafts. Leave at least an inch of space between jars so air can circulate.
- Do Not Touch: Do not tighten the rings, tilt the jars, or press down on the lids. Let them cool completely, which usually takes 12 to 24 hours.
Checking the Seal
After 24 hours, you can check every jar. A proper seal means the center of the lid is pulled down and concave (curved slightly inward).
- The Finger Test: Press down on the center of the lid. If it does not flex or pop, it is sealed.
- The Tap Test: Tap the lid with a spoon. A sealed jar will make a high-pitched “ping” sound. An unsealed jar will sound dull or hollow.
Any jars that did not seal must be refrigerated immediately and eaten within a week, or you can re-process them within 24 hours using fresh lids and following the full processing steps again.
Storage
Once sealed, remove the metal rings (bands). Storing jars with the bands on can trap moisture, leading to rust, or can hide a failed seal as the band holds the lid down. Wipe the jars clean, label them with the date, and store them in a cool, dark, dry place (like a pantry or basement). Properly canned salsa will maintain its best quality for up to one year.
Common Beginner Pitfalls to Avoid (Troubleshooting)
Even with careful steps, little things can go wrong. As your automotive guide for the kitchen, here are the common “check engine lights” of canning:
| Problem | Why It Happened | Easy Fix |
|---|---|---|
| Lids Won’t Seal | Jar rim was dirty, headspace was too large, or rings were screwed on too tightly. | Refrigerate contents, clean rims thoroughly, use new lids, and tighten rings only fingertip tight next time. |
| Salsa Looks Cloudy | Often caused by using iodized salt or not properly cleaning the jars before filling. | Ensure you use canning salt or Kosher salt. Wipe rims meticulously. |
| Jars Cracked During Processing | Thermal shock—jars were too cold when placed into boiling water, or the water level wasn’t high enough. | Always start jars hot in simmering water. Ensure the water covers the jars adequately. |
| Salsa Separated (Watery Top) | Ingredients were not simmered long enough, or the recipe was too liquidy to begin with. | Ensure you simmer for the full recommended time to allow pulp breakdown. |
Frequently Asked Questions (FAQ) About Canning Salsa
Q1: Can I can salsa without adding bottled lemon juice or citric acid?
A: No. For safe canning of mixed ingredients like salsa, you absolutely must add a measured amount of bottled lemon juice or citric acid as directed by the tested recipe. This ensures the final product is acidic enough to prevent botulism spores from growing.
Q2: Can I safely adjust the heat level of my canned salsa?
A: Yes—with limits. You can safely reduce the amount of hot peppers or substitute them with milder peppers (like swapping jalapeños for bell peppers). However, you should never increase the total amount of low-acid ingredients (peppers, onions, garlic) beyond what the tested recipe specifies. If you want more heat, add it after opening the jar, not during canning.
Q3: Can I use fresh lemon juice instead of bottled lemon juice?
A: It’s not recommended. Bottled lemon juice has a consistent, standardized acidity, which is critical for safe canning. Fresh lemons vary widely in acidity, even within the same batch. For canning salsa, always use bottled lemon juice or citric acid in the exact amount called for in the tested recipe.
Q4: How long should I wait before eating home-canned salsa?
A: You can eat it right away once it’s sealed and cooled, but for best flavor, wait 2–4 weeks. This resting time allows the flavors to meld and develop. Think of it like letting chili or stew sit overnight—it just gets better.
Final Thoughts: Confident, Safe, and Delicious Homemade Salsa
Canning salsa doesn’t have to be intimidating. When you follow tested recipes, respect the science behind acidity, and take the process step by step, you’re not just preserving food—you’re preserving flavor, tradition, and peace of mind. Every jar you seal is proof that safe home canning is achievable, even for beginners.
By using fresh ingredients, proper equipment, and USDA-approved methods, you ensure your salsa is both delicious and shelf-stable. From preparing your jars to hearing that satisfying ping as the lids seal, each step plays an important role in creating a product you can trust. And the reward? Homemade salsa ready to enjoy anytime, no refrigeration required.
With this guide, you now have everything you need to can salsa safely and confidently. Take your time, follow the instructions carefully, and don’t rush the process. Before you know it, your pantry will be stocked with jars full of bold, homemade flavor—ready to bring a taste of summer to your table all year long.