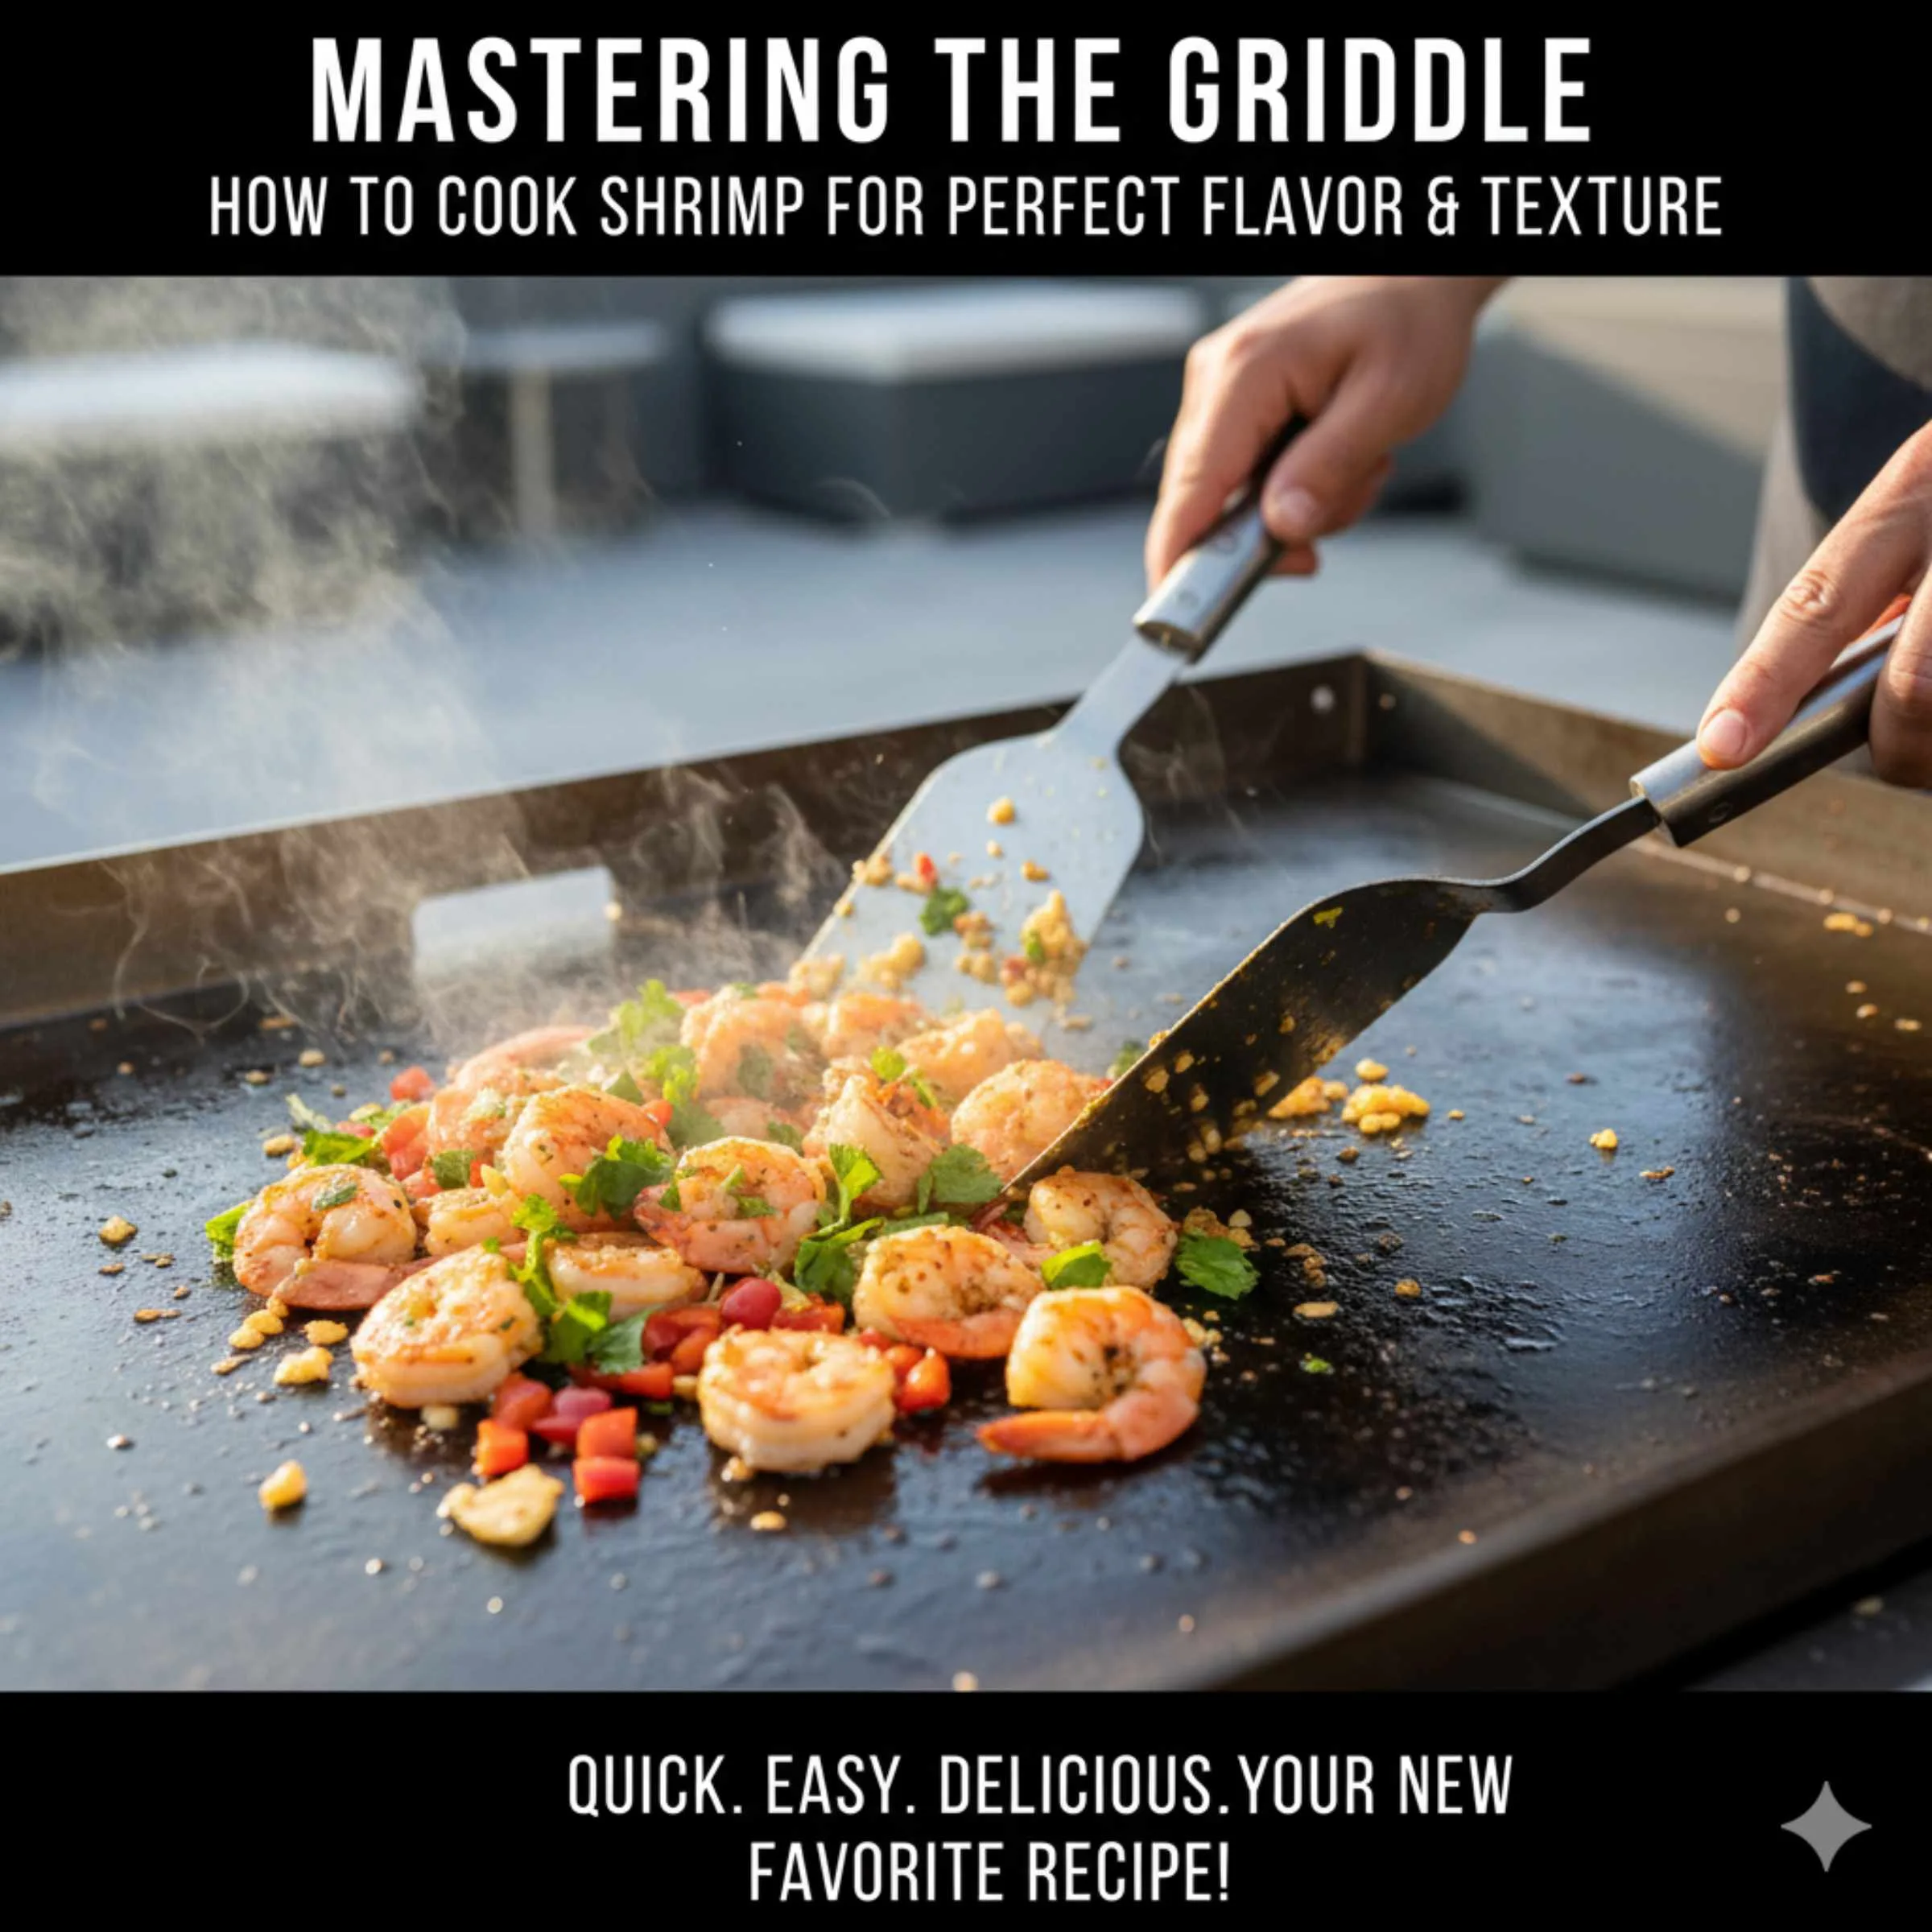
Bolded Quick Summary
To cook shrimp perfectly on a griddle, preheat your flat-top to medium-high (about 375°F to 400°F). Toss the peeled, deveined shrimp in a little oil, salt, and pepper. Lay them directly on the hot, seasoned surface and cook for 1–2 minutes per side until they turn pink and curl into a “C” shape. This method is incredibly fast and easy for juicy results.
Have you ever stared at a package of shrimp, wondering if you could truly nail that perfect sear without ending up with rubbery little hockey pucks? You are not alone. Cooking shrimp seems simple, but those little guys cook fast, and overcooking is a common pitfall, whether you are grilling outside or using a stovetop pan.
The good news is that using a flat-top griddle is one of the most forgiving and fastest ways to get restaurant-quality results right at home. A griddle gives you consistent, even heat—think of it as the ultimate non-stick surface for searing.
We are going to walk through every simple step, from prepping the shrimp to knowing exactly when to pull them off the heat. By the end of this guide, you will feel totally confident about mastering this quick meal prep!
Why Use a Griddle for Cooking Shrimp?
As an automotive guy, I often compare kitchen tools to shop tools. Think of your kitchen stove burner as having hot spots and cool spots, like a worn-out engine block. A griddle, however, is like a freshly machined, perfectly flat surface. This consistency makes all the difference when dealing with delicate, fast-cooking proteins like shrimp.
Even Heat Distribution
A cast-iron griddle, or even a good quality electric one, spreads heat uniformly across its entire surface. This means every shrimp touching the metal cooks at the same rate. No frantic moving of shrimp from the center to the edges to prevent burning.
The Perfect Sear (Maillard Reaction)
When you get your griddle nice and hot, you achieve the Maillard reaction—that’s the fancy term for browning that creates incredible flavor. On a flat, hot surface, shrimp develop a beautiful, slightly caramelized crust without drying out the interior.
Speed and Convenience
Shrimp cooks in mere minutes. A large griddle lets you cook a whole pound at once, keeping dinner moving quickly. This is perfect for busy weeknights when you need a healthy meal on the table, fast.

Essential Prep Work: Getting Your Shrimp Ready
Just like prepping a vehicle for maintenance, preparation is half the battle. Good prep ensures a smooth cooking process and delicious end results when learning how to cook shrimp on griddle.
1. Choosing the Right Shrimp
The size matters just as much as the type of oil you use. For griddling, medium to large shrimp (U/15 or 21/25 count) work best because they are less likely to overcook before they even start to brown.
- Fresh vs. Frozen: If using frozen, thaw them thoroughly in the refrigerator overnight. Never thaw them in warm water, as this ruins texture.
- Shells On or Off? For speed and flavor absorption, peel and devein them completely. Leaving the tails on can look nice for presentation, but it’s easier to eat them fully peeled if they’re just going into tacos or bowls.
2. The Crucial Drying Step
This is a tip many beginners miss! Moisture is the enemy of searing. Wet shrimp steam; dry shrimp sear beautifully. Lay your peeled and deveined shrimp on a few layers of paper towels and pat them completely dry. Seriously, get them bone dry.
3. Seasoning: Less is Often More
Since the griddle and oil do most of the work, you don’t need complex rubs. A simple foundation allows the sweet flavor of the shrimp to shine through.
- Toss the dry shrimp in a bowl with a high smoke-point oil (like avocado or canola oil). Use just enough to lightly coat them—don’t drown them!
- Sprinkle generously with kosher salt and freshly cracked black pepper.
- Optional flavor boosters: A pinch of garlic powder or smoked paprika can be added here.
Pro-Tip: If you plan on adding butter at the end for flavor, do not add butter to the initial toss. Butter burns too easily on high heat.
Setting Up Your Griddle for Success
Getting the temperature right is the single most important factor in griddling. Too cold, and they stick; too hot, and they burn instantly.
Preheating Techniques
Whether you are using an outdoor flat-top or an indoor electric griddle, patience during preheating pays off.
For most cooking, aim for a medium-high heat setting. If you are using a thermometer (highly recommended for consistency, much like checking fluid levels in your car), target a surface temperature between 375°F and 400°F (190°C – 205°C).
| Shrimp Size | Griddle Temperature Target | Why This Temp? |
|---|---|---|
| Small (51/60 count) | 350°F (175°C) | Cooks extremely fast; lower heat prevents burning. |
| Medium/Large (21/25 count) | 375°F – 400°F (190°C – 205°C) | Ideal for creating a fast, flavorful sear. |
| Jumbo (U/10 count) | 400°F (205°C) | Requires higher initial heat to penetrate thicker meat quickly. |
Adding Oil to the Surface
Once heated, add a thin layer of your chosen high smoke-point oil directly onto the griddle surface. Wait about 30 seconds for the oil to shimmer. A shimmering, thin layer of oil indicates the surface is ready and coated enough to prevent sticking.
If your shrimp start sticking immediately when they hit the surface, your griddle wasn’t hot enough, or you didn’t use enough oil. That’s an easy fix for the next batch!
Step-by-Step: How to Cook Shrimp On Griddle
This entire cooking process takes less than five minutes. Speed is key!
Step 1: Lay Them Out (The Single Layer Rule)
Place the seasoned shrimp onto the hot, oiled griddle surface. Do this quickly, ensuring each piece has space around it. You must cook them in a single layer. Overcrowding the griddle drops the temperature rapidly, causing the shrimp to steam instead of sear. If you have a lot of shrimp, work in batches.
Step 2: Initial Sear (1 to 2 Minutes)
Let the shrimp sit undisturbed for about 60 to 90 seconds. You are looking for that beautiful crust to form underneath. You will notice the bottom edges turn opaque white or pink.
Step 3: The Flip
Using a sturdy, thin metal spatula (essential for scraping them up without tearing them), flip every single shrimp over. They should release easily if the temperature was correct.
Step 4: Finishing Cook (Another 1 to 2 Minutes)
Cook on the second side for another 60 to 90 seconds. The entire cooking time is usually between 3 and 4 minutes total, depending on size.
Step 5: Flavor Boost (Optional Flavor Finish)
This is where you add richness. Pull the heat down slightly (or move the shrimp to a slightly cooler part of the griddle). Add a tablespoon of butter and one minced garlic clove (or a squeeze of fresh lemon juice) over the shrimp. Toss them quickly in the melted butter/garlic mixture for the last 30 seconds.
Remove them immediately after this step. They should be firm, pink, and fully opaque.
Knowing When Shrimp Are Done: The Visual Signals
Learning when to stop cooking is the key to avoiding tough shrimp. Overcooked shrimp shrink down tightly and become rubbery. Remember this simple rule:
- Color Change: Raw shrimp is translucent gray. Cooked shrimp is opaque pink/white all the way through.
- The Shape Test: Perfectly cooked shrimp form a loose “C” shape. If they curl into a tight “O” shape, they are likely overcooked.
If you are unsure, pull one off and cut it in half. It should be fully white with no gray or slimy center spot.
Seasoning Variations for Griddle Shrimp
Once you master the basic technique, you can start experimenting with different flavor profiles. The flat, even heat of the griddle handles robust seasoning rubs very well, unlike a grill where fine spices might fall through the grates.
Classic Garlic Butter (Quick Finish)
Toss with oil, salt, pepper. Cook for 3 minutes total. In the last 30 seconds, add 2 tablespoons of butter, 1 clove minced garlic, and a squeeze of lemon juice to the surface. Toss shrimp in the melted sauce.
Spicy Cajun Style
Use avocado oil. For the initial toss, use salt, pepper, blackening seasoning (like a pre-mixed Cajun blend), smoked paprika, and cayenne pepper. Cook as directed. This creates a wonderful charred, spicy exterior.
Asian Inspired Glaze
For this style, it is best to add the glaze after the shrimp is mostly cooked, as sugar burns quickly. Toss raw shrimp with sesame oil, soy sauce, and ginger powder. Cook for 3 minutes. In the final minute, brush on a thin glaze of honey and sriracha. Toss quickly until thickened slightly.
Tools of the Trade: Essential Griddle Gear
You don’t need fancy equipment, but having the right tools makes the job safer and cleaner. Think of this like having the right socket set for a tight bolt—it makes the job easier and prevents stripped heads.
Must-Have Griddle Accessories:
- Sturdy Metal Spatula: A good, slightly flexible metal spatula is crucial for scraping up the seared shrimp without tearing them. Wide, flat spatulas are best for large batches.
- Griddle Scraper: For quick clean-up between batches, a dedicated griddle scraper tool (often used in professional kitchens) helps remove any stuck bits efficiently.
- Oil Dispenser Bottle: Using a squeeze bottle to apply a thin, even layer of oil helps manage oil use and prevents adding too much at once.
- Instant-Read Thermometer: While not strictly required, checking the griddle surface temperature ensures you hit that sweet spot every single time, boosting your confidence immensely.
Troubleshooting Common Griddle Shrimp Problems
Even with the best instructions, sometimes things go sideways. Here are common issues and how to fix them, just like diagnosing a strange noise under the hood.
Problem 1: Shrimp Are Sticking to the Griddle
The Fix: Sticking almost always means one of two things: either the surface wasn’t hot enough when the shrimp went on, or the shrimp were wet. If you are already cooking, stop and place a small pat of butter or extra oil around the stuck shrimp to encourage it to release. Do not force it!
Problem 2: Shrimp are Gray and Steamy, Not Pink and Seared
The Fix: This means the temperature dropped too low, usually from overcrowding or not preheating long enough. Turn the heat up slightly and ensure the next batch is spaced out and the griddle is fully recovered its temperature before adding more.
Problem 3: Shrimp Taste Bland
The Fix: You probably skipped the crucial drying step or skimped on salt. Salt is a flavor enhancer. Make sure you are using enough kosher salt before they hit the heat, and don’t forget that final toss in garlic butter or lemon juice!
Safety First: Griddle Operation Tips
When working with high heat and oil, safety is paramount. Just like locking the jack stand before working under a car, we need to respect the heat source.
- Ventilation: Always cook on a well-ventilated area. High heat smoke can trigger smoke alarms quickly.
- Oil Smoke Point: Never use butter or olive oil as your main cooking fat on high heat. They have low smoke points and will break down into acrid smoke. Stick to avocado, canola, safflower, or refined coconut oil for the initial searing.
- Handling Hot Surfaces: Always use high-heat-safe gloves or mitts when dealing with griddle tools or when adjusting the heat source.
For further guidance on kitchen safety and food handling, resources from organizations like the Centers for Disease Control and Prevention (CDC) offer excellent general guidelines on safe cooking temperatures.

FAQ: Quick Answers for Griddle Shrimp Mastery
Q1: Should I use butter or oil on the griddle first?
A: Always use oil first. Oil has a higher smoke point and prevents sticking. You can add butter near the end of cooking for flavor, but if you put butter on first, it will burn before the shrimp is cooked.
Q2: Can I cook frozen shrimp right on the griddle?
A: No, this is not recommended. Frozen shrimp will release too much water, drop your griddle temperature, and result in steamed, chewy shrimp instead of seared ones. Thaw them completely first.
Q3: How long does it take to cook small shrimp on a griddle?
A: Small shrimp cook incredibly fast, sometimes in just 2 to 3 minutes total. Since they are smaller, watch them constantly. They will stop cooking the moment they fully turn pink.
Q4: What is the best non-stick surface for this job?
A: A seasoned cast-iron griddle (flat-top) offers the best heat retention and natural non-stick properties. If using an electric griddle, ensure its non-stick coating is in excellent condition.
Q5: Can I marinate the shrimp before griddling?
A: Yes, but keep marinades short (no more than 30 minutes) and avoid highly acidic bases like straight lemon juice, which start to “cook” the shrimp texture before they hit the heat. Pat them very dry after marinating.
Q6: How do I clean the griddle after cooking shrimp?
A: While the griddle is still warm (but not searing hot), use a griddle scraper to push off any stuck bits into a grease trap. Wipe down with a paper towel lightly dampened with water (steam cleaning). Once cool, season lightly with oil.
Conclusion: Total Confidence in Griddle Cooking
See? That wasn’t so tough! Mastering how to cook shrimp on griddle comes down to three simple concepts: ensure your surface is very hot, make sure your shrimp are bone dry, and time them perfectly (about 2 minutes per side). You now have the knowledge to achieve that perfect sear every single time, delivering juicy, flavorful shrimp without any of the guesswork.
Toss those cooked shrimp immediately onto your serving dishes, perhaps with a final spritz of lime or a sprinkle of fresh parsley. You’ve mastered a fast, reliable cooking technique that will save you time and impress anyone at the table. Happy cooking, and remember—a well-maintained tool, whether it’s in your toolbox or on your countertop, always delivers better results!