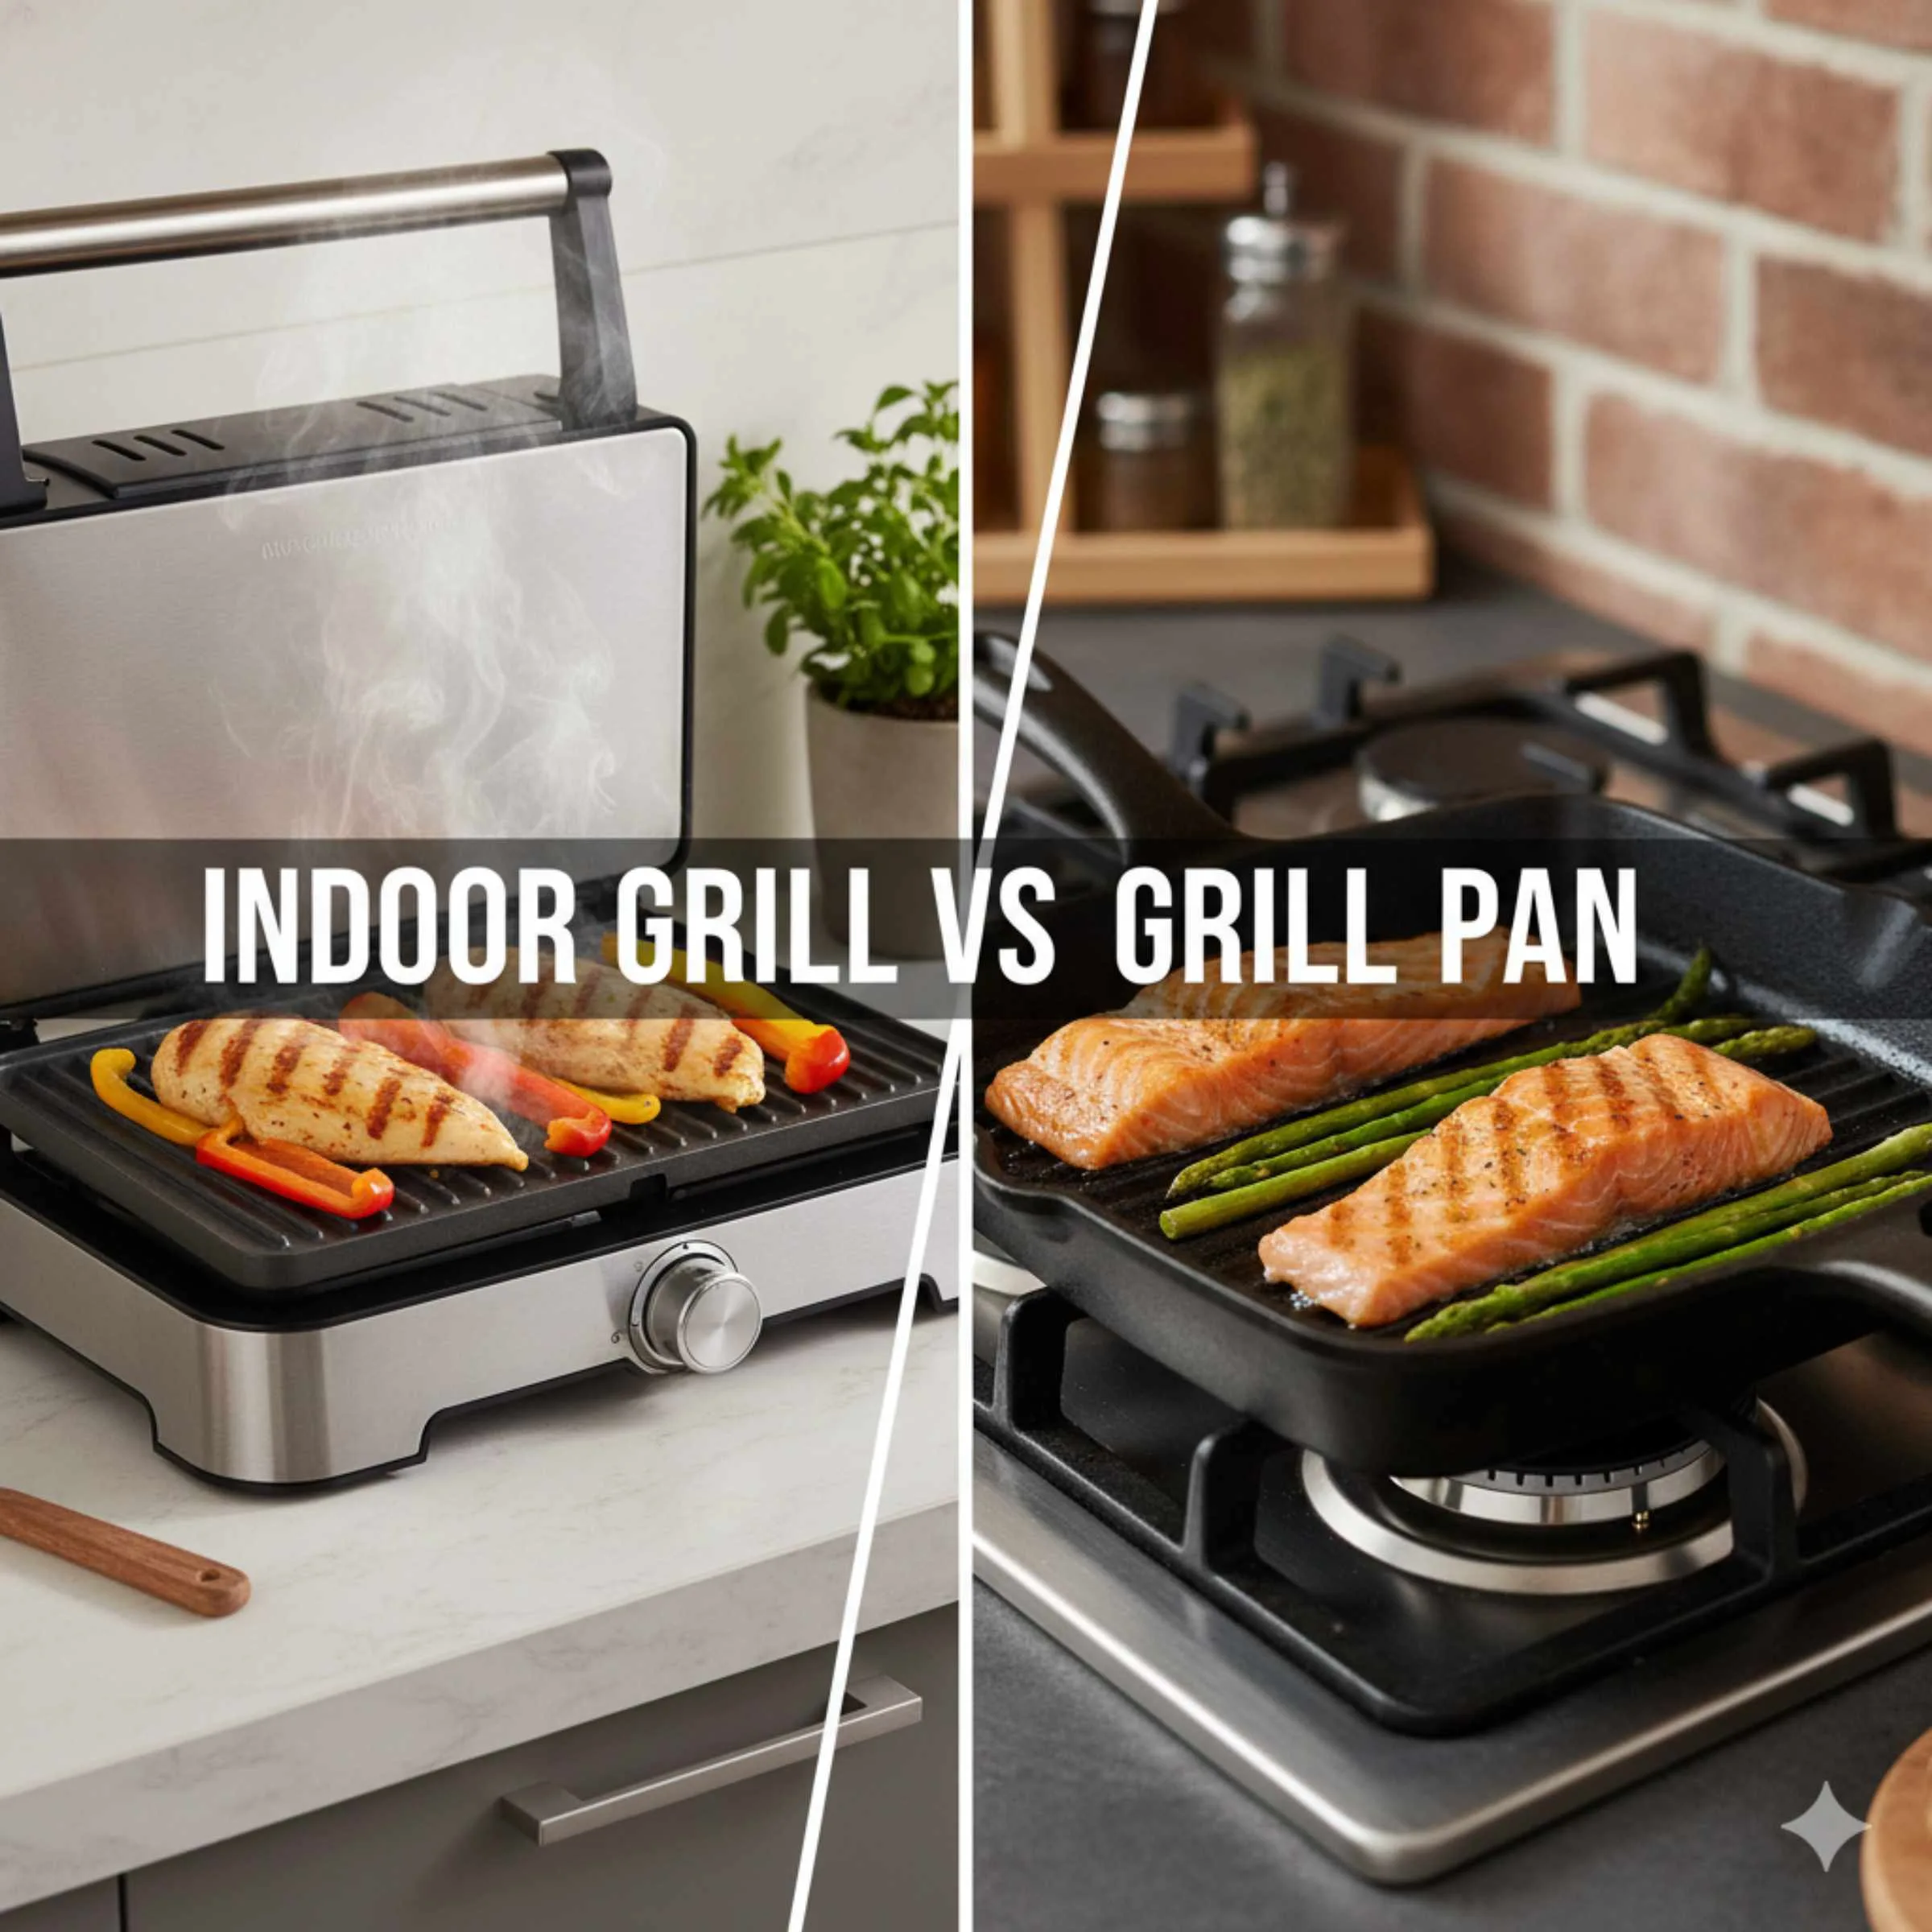
Indoor grill vs grill pan? An indoor grill offers faster, more even cooking and better smoke control, making it great for everyday use. A grill pan is cheaper, better for creating crusts, and requires no electricity, making it a solid, classic choice for char marks on the stovetop.
Hey there, fellow drivers and DIY champions! Dustin Hall here. We deal with enough unexpected repairs on our cars, so when it comes to easy kitchen choices, we want simple answers. Ever stare at your stove, wanting that perfect char without setting off every smoke detector? You are not alone! Choosing between an electric indoor grill and a trusty stovetop grill pan feels like deciding between two different types of tires—both work, but one handles the road (or the kitchen) better for your needs. Don’t sweat it! We are going to break down exactly what makes each one essential, offering clear, step-by-step advice so you feel totally confident making your choice. Let’s look under the hood of these kitchen tools and find the perfect fit for your cooking style.
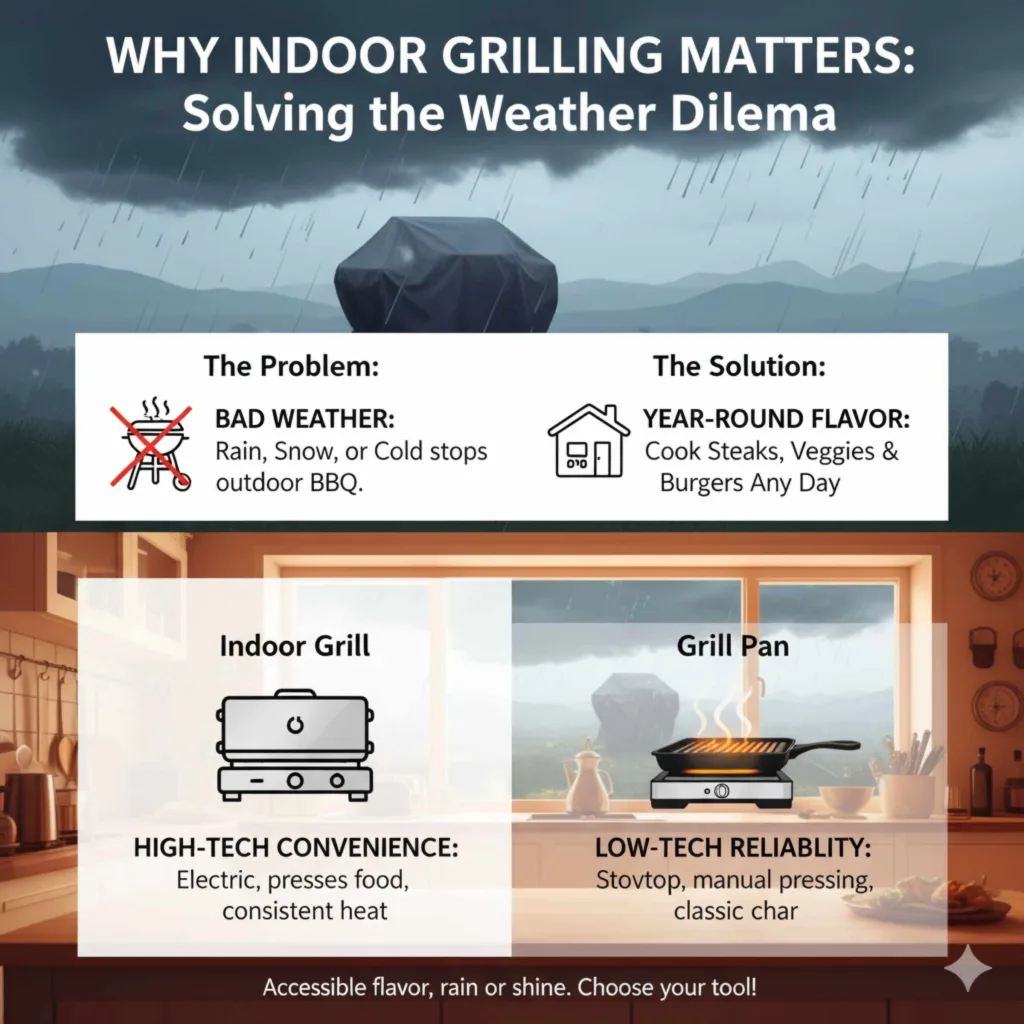
Why Indoor Grilling Matters: Solving the Weather Dilemma
We love that satisfying sizzle and those cross-hatch grill marks. But what happens when the weather turns sour? Rain, snow, or just plain cold weather can keep you from firing up the backyard barbecue. That is where indoor options step in.
For many of us, having an accessible way to cook steaks, veggies, or burgers indoors is not just convenient—it’s essential for year-round flavor. However, the sheer difference between the two main indoor options can be confusing. Are you looking for high-tech convenience or low-tech reliability? Let’s explore the core differences.
Understanding the Contenders: Indoor Grill vs Grill Pan
When we talk about indoor grilling, we typically mean one of two things: an electric countertop grill or a heavy-duty cast iron grill pan used on your stovetop. They both aim to mimic outdoor grilling, but they use totally different methods to get there.
Electric Indoor Grills: The Appliance Approach
An electric indoor grill is a standalone appliance. Think of it like a specialized contact toaster for meat. It usually has a heated bottom plate and sometimes a heated top plate that clamps down onto the food.
Pros and Cons of Electric Indoor Grills
These machines have built-in features designed for convenience and controlling the cooking environment.
- Closed Cooking Surface: The heating element is contained within the unit.
- Temperature Control: They usually offer precise temperature settings, which is great for consistency.
- Reduced Smoke: Many models have drip trays designed to catch fat away from the heat source, significantly cutting down on smoke compared to oil-slicked pans.
- Speed: They often heat up quickly and use double-sided heating for faster cooking times.
However, they are not perfect. They take up counter space, need an outlet (planning is key, just like checking your oil level!), and sometimes the heat isn’t quite as intense as a dedicated stovetop flame.
Grill Pans: The Stovetop Champion
A grill pan is simply a heavy, flat piece of cookware—usually cast iron—with raised ridges. You set this directly onto your gas or electric burner. The ridges get extremely hot, and the valleys catch the fat drippings (where the smoke often comes from if you aren’t careful!).
Pros and Cons of Grill Pans
This option is beloved by home cooks for its simplicity and high heat retention, much like a reliable engine block.
- Intense Heat: Cast iron can achieve scorching temperatures, leading to a fantastic, deep sear or crust.
- Versatility: You can use it on any heat source—stovetop, oven, or even over a campfire if you’re camping!
- No Electricity Needed: Reliability is high; if your power goes out, you can still cook on a gas stove.
- No Counter Space Commitment: They store easily in a cabinet when cool.
The main drawback? Smoke management is entirely up to you. If you overheat the pan or let grease pool in the valleys, smoke is guaranteed. Also, they only cook from the bottom unless you flip the food manually.
The Showdown: Indoor Grill vs Grill Pan Head-to-Head
To make this decision as easy as checking your tire pressure, let’s compare them across the factors that matter most to everyday home cooks.
| Feature | Electric Indoor Grill | Stovetop Grill Pan |
|---|---|---|
| Heat Source | Electric heating element | Gas or electric stovetop burner |
| Sear Quality | Good, even contact heat | Excellent high-temp crust (especially cast iron) |
| Smoke Control | Generally better, thanks to grease channels | Requires good ventilation and low grease |
| Space Requirement | Requires dedicated countertop space | Requires stovetop space and cabinet storage |
| Cleanup | Often non-stick plates are removable and dishwasher safe | Heavy scrubbing sometimes required (especially if food sticks to bare cast iron) |
| Price Point | Higher initial investment (typically $50 – $200+) | Lower initial investment (typically $20 – $60 for a quality pan) |
When to Choose the Electric Indoor Grill
The electric grill is the clear winner for the driver who values reliability, consistency, and minimal mess. If you frequently cook for yourself or a small family and hate cleaning up grease splatters, this is your go-to.
Step-by-Step: Maximizing Your Electric Grill
Follow these simple steps for perfect results every time, much like following a service manual:
- Preheat Completely: Plug in the grill and let it heat up for the full recommended time (usually 10–15 minutes). Hitting the target temperature is key to getting real grill marks.
- Lightly Oil the Food, Not the Plate: Brushing a tiny bit of high smoke-point oil (like avocado or canola) directly onto the chicken or steak prevents sticking without overloading the drip tray.
- Close and Wait: Place the food on the bottom plate. If you have a contact grill, close the lid gently. Resist the urge to open it too early! Let the trapped heat do its job.
- Check Internal Temperature: For safety and perfect doneness, always use an instant-read thermometer. This is crucial for things like chicken, just like checking your coolant levels is crucial for your engine. Check the USDA recommended minimum internal temperatures for peace of mind.
- Clean Promptly: Once cool enough to handle, remove the plates and clean them right away. This prevents cooked-on residue from hardening like old motor oil.
When a Grill Pan is Your Essential Tool
If you are working with budget constraints, have limited storage, or crave the absolute highest, most intense sear possible, the grill pan is your champion. It requires a bit more active management but delivers superior crust development.
Step-by-Step: Mastering the Grill Pan Sear
This process is all about managing heat transfer:
- Choose the Right Venue: If you have a gas stove, use it! Gas offers instant, direct heat control. If using electric, place the pan directly over the single hottest burner.
- Get It Blazing Hot: Place the dry cast iron pan—no oil yet—over medium-high to high heat. Let it heat for a solid 10 minutes until it’s practically smoking hot. This stores thermal energy, which is essential for searing.
- Oil the Food (The Right Way): Lightly brush your oiled food item. Do NOT pour oil directly into the pan valleys; this causes smoking and steaming, not grilling.
- Lay the Food Down Carefully: Place meat onto the pan away from you. You should hear an immediate, loud sizzle. This is the sound of success!
- Create the Cross-Hatch (Optional): After 2–3 minutes, rotate the food 45 degrees without lifting it, then replace it on the same spot. This creates that classic diamond pattern.
- Flip It Once: Flip the food only when it easily releases from the pan. If it sticks, it hasn’t developed its crust yet. Finish cooking on the second side.
- Ventilation Check: Turn on your range hood fan and open a window. Smoke from a grill pan is inevitable, so managing airflow is part of the process.
Making the Right Decision: Which Tool Fits Your Garage (Kitchen)?
Deciding between the indoor grill vs grill pan ultimately depends on your priorities. Think about usage frequency and storage space. We use different tools for different jobs on the car; the same applies here.
Scenario 1: The Daily Driver (Frequent, Easy Use)
You should choose the Electric Indoor Grill if:
- You grill indoors several times a week.
- You live in an apartment or have limited ventilation.
- You prioritize hands-off cooking and easy cleanup (dishwasher-safe parts).
- You need consistent, predictable results without constantly monitoring the heat source.
The electric grill is your reliable commuter car—it starts every time, handles most conditions well, and requires minimal fuss.
Scenario 2: The Weekend Warrior (Occasional, High-Performance Use)
You should choose the Stovetop Grill Pan if:
- You only grill indoors occasionally, perhaps once a month, or when entertaining.
- You demand the absolute best sear and crust possible on burgers or steaks.
- You do not mind spending a few extra minutes managing potential smoke or scrubbing cast iron.
- Countertop storage space is extremely limited.
The grill pan is like a high-performance specialized tool—it requires more focused attention but delivers peak performance when you need it.
Safety Check: Smoke, Heat, and Appliance Longevity
No matter which route you take, safety is paramount. Just like checking your vehicle’s brakes before a big trip, you must be mindful of heat and smoke when grilling indoors.
Smoke Management: Keeping Your Kitchen Air Clear
Smoke isn’t just annoying; excessive smoke can damage sensitive electronics over time and is certainly a fire hazard.
For Grill Pans:
- Never let the pan run dry and empty while heating. Always have oil on the food.
- Use oils with a high smoke point (refined avocado, grapeseed, or canola). Avoid extra virgin olive oil for searing, as it breaks down too quickly and smokes aggressively.
- Ensure your range hood is running at maximum power. Sometimes, tapping into local resources or guidelines, like those provided by your local fire department on safe cooking practices, can be helpful.
For Electric Grills:
- Ensure the drip tray is empty before cooking. If fat builds up and touches the heating element, it will smoke heavily.
- Do not place foods wrapped in foil or anything that might melt onto the heating surface.
Keeping Your Cool: Understanding Heat
Both tools get extremely hot. A cast iron grill pan retains heat for a long time, so be careful moving it after use. Electric grills are insulated, but the plates themselves are red-hot. Always use long-handled tongs and heat-resistant mitts—don’t treat them like warm plastic!
Cleaning and Maintenance: Preserving Your Investment
Taking care of your equipment ensures it lasts for years, saving you money down the road, which is the DIY way!
Caring for Your Electric Grill
Modern electric grills are designed for ease. Many feature non-stick coatings.
- Unplug First: Always disconnect the power.
- Check Removable Parts: See if the plates and drip tray are dishwasher safe. Most are.
- Wiping Down the Body: Use a slightly damp cloth (never submerge the housing) to wipe down the exterior after the unit has fully cooled.
Caring for Your Cast Iron Grill Pan
Cast iron requires seasoning and specific cleaning to maintain its non-stick properties.
- Immediate Cleaning: Clean while still warm (but not hot).
- Scrape Gently: Use a stiff brush or a dedicated cast iron scraper to remove stuck food bits. Avoid harsh soaps if you can, though minor soap use on a well-seasoned pan is often okay.
- Towel Dry Immediately: Water is the enemy of cast iron; it causes rust. Dry completely with an old towel right after washing.
- Re-Season (If Needed): Rub a very thin layer of high smoke-point oil (like flaxseed or vegetable oil) over the cooking surface before storing.
If your pan is new and you notice food sticking constantly, you might need to perform an initial seasoning process—a baking process that bakes the oil onto the metal surface, essentially building up the protective coating.
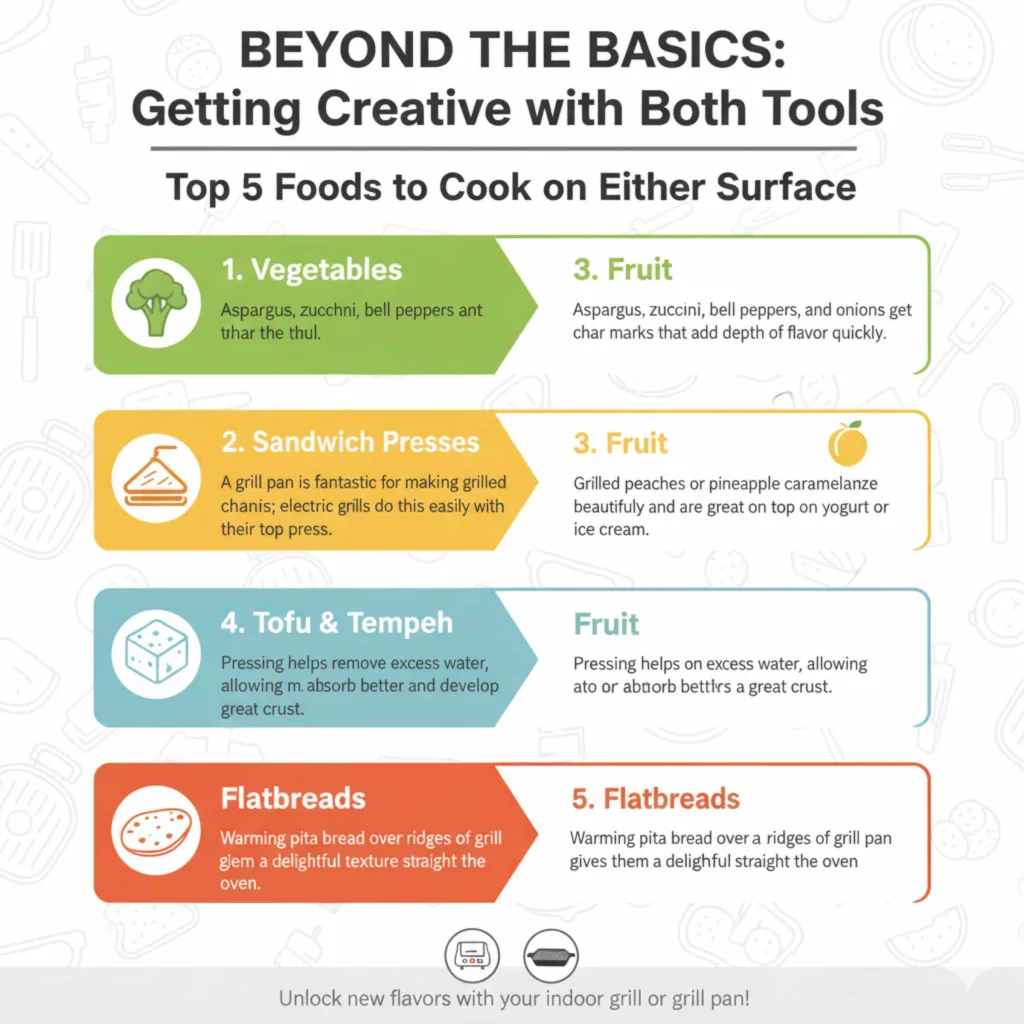
Beyond the Basics: Getting Creative with Both Tools
While steaks and burgers are the obvious choices, both the indoor grill and the grill pan excel at other tasks.
Top 5 Foods to Cook on Either Surface
1. Vegetables: Asparagus, zucchini, bell peppers, and onions get beautiful char marks that add depth of flavor quickly.
2. Sandwich Presses: A grill pan is fantastic for making grilled cheese or paninis if you press down with a heavy second pan on top. Electric grills can do this easily with their top press.
3. Fruit: Grilled peaches or pineapple caramelize beautifully and are great on top of yogurt or ice cream.
4. Tofu & Tempeh: Pressing these ingredients before grilling helps remove excess water, allowing the surface to absorb marinades better and develop a great crust.
5. Flatbreads: Warming pita bread or naan over the ridges of a grill pan gives them a delightful texture straight out of the oven.
Frequently Asked Questions (FAQ) for Beginners
Can I use a grill pan in a toaster oven?
Generally, no. Most standard grill pans are too large for typical toaster ovens. Only use a grill pan where you intend to use it: directly on a stovetop burner (gas or electric) or inside a standard oven if it fits safely. Always check the maximum size before purchasing.
Which one is better for healthier cooking?
The electric indoor grill often wins this category. Because it is designed to channel fat away into a separate drip tray, you are cooking your food in less rendered fat compared to a grill pan, where the fat pools around the food in the valleys.
Do I need to season a non-stick electric grill?
No. Non-stick electric grills are factory-coated with specialized coatings (like Teflon or ceramic blends). Attempting to season them like cast iron will ruin the non-stick surface. Just clean according to the manufacturer’s instructions.
Which tool leaves better grill marks?
The grill pan, especially a high-quality, very hot cast iron one, can achieve a deeper, more defined char/sear mark because it can reach higher sustained temperatures than most consumer electric grills.
Can I cook frozen food on either one?
It is best to thaw food before using either a grill pan or an electric grill. Cooking frozen food requires very low, slow heat to thaw before searing, which often results in grey, steamed meat rather than a nice char. Thaw safely in the refrigerator first.
Is a cast iron grill pan heavy to lift when full of food?
Yes, cast iron is heavy! This is a safety consideration. Always lift with two hands or use sturdy oven mitts, especially when moving a hot pan full of hot juices and food from the burner to the cutting board. You need to keep that stability, just like you check your lug nuts after changing a tire.
The Final Verdict: Reliability on Your Countertop
Choosing between the indoor grill vs grill pan is less about which one is superior overall and more about which one supports your driving style in the kitchen. Both tools help you keep that fresh-off-the-barbecue flavor alive, even when the weather outside says “stay home.”
If convenience, consistent heat, and minimal smoke are your top priorities, invest in a solid electric indoor grill. It’s the modern, set-it-and-forget-it solution for quick weeknight meals.