

To remove a door handle effortlessly, you often just need to locate a small release pin or screw, usually on the neck of the handle. A simple push, turn, or unscrewing motion will often detach the rose or cover plate, revealing the main screws for complete removal. This guide breaks down the process step-by-step for any beginner.
Ever found yourself needing to swap out a door handle, perhaps for a fresh style update or because one has become a bit wobbly? It might sound like a job best left to the pros, but honestly, removing a door handle is surprisingly straightforward! Many modern door handles are designed for easy DIY removal, meaning you don’t need a toolbox full of specialized gadgets. We’re going to walk through this together, making sure you feel confident and capable every step of the way. Get ready to give your doors a little makeover, and discover just how simple it can be to tackle this home improvement task yourself!
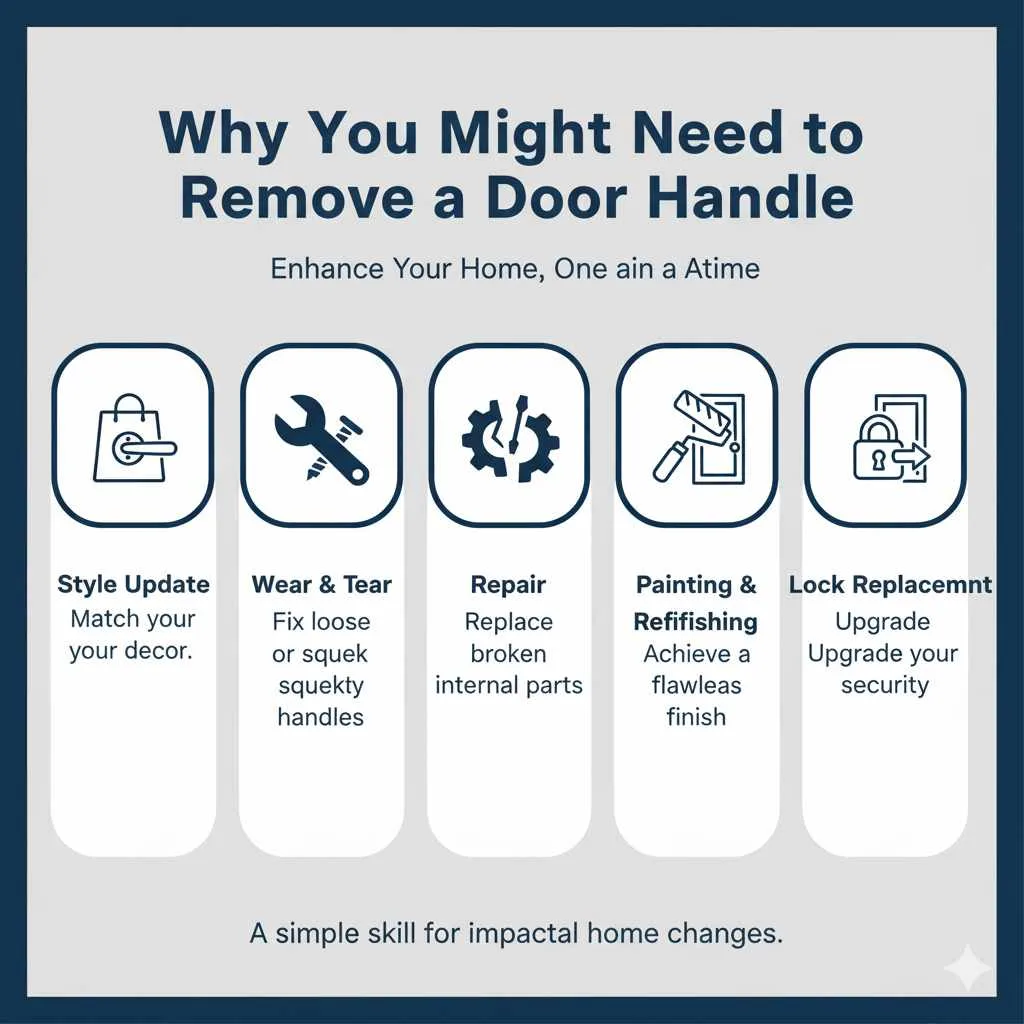
Why You Might Need to Remove a Door Handle
Think about your home’s doors. They’re not just barriers; they’re part of your home’s style! Over time, you might notice a few reasons why a door handle needs attention:
Style Update: You’ve seen a stunning new handle that perfectly matches your decor, and the old one just isn’t cutting it anymore.
Wear and Tear: Maybe a handle is loose, squeaky, or just looks a bit dated after years of use.
Repair: Sometimes, a specific part of the handle mechanism might break, requiring its removal for fixing or replacement.
Painting or Refinishing: To achieve a flawless paint job on your doors, removing the hardware is often essential for a truly professional finish.
Lock Replacement: If you’re changing out the lock mechanism, the handle usually needs to come off first.
Whatever the reason, knowing how to remove a door handle is a handy skill that empowers you to make small but impactful changes to your home without needing to call a handyman.
What Tools Will You Need?
The beauty of removing most modern door handles is that you usually only need a few common household items. Forget about complicated equipment; we’re keeping it simple and accessible!
Here’s a basic rundown of what you might need. It’s always good to have these handy before you start:
Screwdriver Set: This is your primary tool. You’ll likely need both Phillips head (cross-shaped) and flathead (straight slot) screwdrivers. Having a set with various sizes ensures you can find the perfect fit for any screws you encounter.
Small Flathead Screwdriver or Putty Knife: This is often used to gently pry off decorative cover plates (called roses) if they don’t unscrew.
Allen Wrench (Hex Key): Some door handles, especially certain modern or commercial styles, use small set screws often requiring an Allen wrench. These usually come in a pack of various sizes.
Hammer: You might only need this for very light tapping if a part is a bit stuck, but use it with extreme caution and a protective material like a cloth.
Pliers: Useful for gripping if a screw is stubborn or needs a little extra torque.
Safety Glasses: Always a good idea when working with tools, just in case.
A Cloth or Rag: To protect surfaces from scratches and to wipe away any dust or grime.
Don’t worry if you don’t have all of these! For most interior door handles, a Phillips head screwdriver is often all you need.
Understanding Different Types of Door Handles
Door handles aren’t one-size-fits-all. They come in various designs, and understanding the type you have will make removal much easier.
Here are some common types:
Knob Style: These are the classic round or oval rotating handles.
Lever Style: Often found in more modern homes, these have a lever you push down.
Handles with Visible Screws: The screws are clearly on the handles or the circular plate (rose) behind it.
Handles with Concealed Screws: This is where the “how to remove door handle without visible screws” question comes in! These have a cleaner look because the screws are hidden.
Let’s focus on the most common ones you’ll encounter in homes today.
How to Remove a Door Handle: Step-by-Step Guide
We’ll break this down into two main scenarios: handles with visible screws and those with concealed screws, as the latter is a common point of confusion.
Scenario 1: Removing Handles with Visible Screws
This is the most straightforward type. If you can see the screws, you’re halfway there!
Step 1: Identify and Gather Your Tools
First, take a good look at your door handle. Can you see screw heads on the interior side of the handle or on the decorative plate (rose) where the handle meets the door? If yes, you’re in this category. Grab your screwdriver set. A Phillips head is most common here.
Step 2: Unscrew the Handle Set
Typically, the screws are located on the interior side of the door. Place your screwdriver into the screw heads and turn them counter-clockwise. You’ll need to unscrew both sides of the handle (the part you grasp and the part on the other side of the door).
Sometimes, you only need to remove the screws on one side to loosen the whole assembly.
If the handle plate (rose) is significantly loose, try gently wiggling it. The screws might be holding this plate onto the door.
What to Expect: As you unscrew, you’ll feel resistance lessen. The handle might start to feel loose. Continue unscrewing until the screws are completely disengaged.
Step 3: Remove the Handle and Mechanism
Once the screws are out, the two halves of the handle assembly should pull apart. There’s usually a spindle rod that passes through the door, connecting the two handles. You might need to gently pull each handle half away from the door.
Tip: If one side comes off easily but the other stays put, check if there are any additional screws or if the spindle is simply stuck. A gentle wiggle should do the trick.
Step 4: Remove the Latch Mechanism (if applicable)
Most door handles have an integrated latch mechanism within the door’s edge. You’ll typically see a metal plate on the edge of the door with two screws holding it in place.
Identify the screws: These are usually smaller than the handle screws.
Unscrew them: Turn them counter-clockwise to remove the latch plate.
Pull out the latch: Once the plate is out, you should be able to slide the entire latch mechanism (the part with the bolt) straight out of the door. There might be a spindle rod attached or running through it.
Congratulations! You’ve successfully removed a door handle with visible screws.
Scenario 2: Removing Handles with Concealed Screws (No Visible Screws)
This is where things get a little more clever. These handles are designed for a sleeker look, but the screws are hidden beneath a decorative cover. You are often looking for a small release mechanism.
Step 1: Locate the Release Mechanism
The key to these handles is a tiny hole or slot, usually on the neck of the handle or on the side of the rose (the circular plate behind the handle). This is where the “no visible screws” magic happens!
Where to look: Examine the base of the handle or the edge of its decorative plate. It might be on the side that faces the door frame, or sometimes on the underside.
Step 2: Use a Small Tool to Release the Set Screw or Pin
This is where your small flathead screwdriver, a paperclip, or a similar thin, sturdy object comes in handy.
For Set Screws: Many lever handles have a small set screw on the underside or side of the handle shaft. You’ll need the appropriate size Allen wrench (hex key) or a tiny flathead screwdriver. Insert the tool into the small hole and turn it counter-clockwise. You’re not trying to remove the screw entirely, but rather loosen it enough to allow the handle to pull away.
For Release Pins: Some knob or lever handles have a small spring-loaded pin. You need to push a very small, thin object (like a straightened paperclip or the tip of a small flathead screwdriver) firmly into this hole. This action disengages a clip or latch that holds the handle onto its spindle. You might need to push and simultaneously try to pull the handle.
Step 3: Remove the Handle and Rose
Once the set screw is loosened or the pin is depressed, the handle itself (or sometimes just the outer decorative rose) should slide or pull away from the door.
Handle Pulls Off: If the handle itself comes off, you’ll then see the spindle and often the rose underneath.
Rose Plate Comes Off: In other designs, pushing that pin or loosening that screw might cause the entire decorative rose plate to detach from the door face. This will then expose the mounting screws for the internal mechanism.
Step 4: Expose and Remove the Mounting Screws
After the initial handle or rose is removed, you will now see the actual screws that hold the main mechanism to the door. They are usually on a metal plate behind the decorative cover.
Identify: These are normally visible on a metal rectangular plate.
Unscrew: Use your Phillips head screwdriver to turn these screws counter-clockwise. You’ll likely have two or four screws.
Step 5: Remove the Latch Mechanism
This is the same as Step 4 in the “visible screws” scenario.
Unscrew the latch plate: Locate the screws on the edge of the door securing the latch mechanism.
Remove the latch: Unscrew and pull out the latch assembly.
You’ve successfully navigated the trickier, concealed-screw door handle removal!
How to Remove a Door Handle Without Visible Screws: Key Takeaways
The phrase “how to remove a door handle without visible screws” usually points to a specific type of installation. The identifying feature is the absence of obvious screw heads on the exterior of the handle or its mounting plate. Instead, these handles employ a hidden release mechanism, most commonly a small set screw or a spring-loaded pin located in the neck of the handle or on the rose.
To remove such a handle:
- Locate the hidden release point: Carefully inspect the handle’s base and the edge of the rose for a tiny hole or slot.
- Engage the release mechanism: Use a small, thin object (like a paperclip, a nail, or a very small flathead screwdriver) to push into this hole to depress a pin, or use an Allen wrench or small screwdriver to loosen a set screw.
- Detach the handle/rose: With the mechanism engaged, the handle or the decorative rose plate should pull away from the door.
- Access and remove mounting screws: Once the decorative cover is off, you will find the standard screws holding the main assembly. Unscrew these to complete the removal of the handle hardware.
- Remove the latch: Finally, unscrew and remove the latch mechanism from the edge of the door.
This method ensures a clean, minimalist look while still allowing for straightforward removal when needed.
Practical Tips for Door Handle Removal
To make your DIY experience even smoother, here are a few extra tips from my design toolkit:
Work in Good Lighting: Make sure you can clearly see what you’re doing. A dim room can hide those tiny screws or release pins!
Protect Your Door: If you’re using a flathead screwdriver or putty knife to gently pry a rose plate, wrap the tool in a cloth or painter’s tape. This prevents scratches on your door’s finish.
Don’t Force It: If something feels stuck, don’t yank or force it. There’s usually a specific way the handle is designed to come apart. Double-check for hidden screws, pins, or clips. Forcing it can damage the handle or the door.
Keep Parts Organized: As you remove screws and parts, it’s a great idea to keep them together. A small plastic bag or a magnetic dish is perfect for holding all the components from one handle. This ensures you don’t lose anything and makes reinstallation much simpler.
Take Photos: Before you start, snap a few pictures of the handle from different angles. If you get stuck during reinstallation, your photos can serve as a helpful reference of how it all fits together.
Identify Your Handle Type: If you’re unsure about your handle type, a quick online search with your handle’s brand name or a picture can often bring up specific instructions or diagrams. You can often find installation guides on manufacturer websites, such as Weiser Lock’s installation guides, which can be invaluable.
Common Door Handle Problems and Solutions
Even with the best intentions, you might run into a snag. Here’s how to troubleshoot:
| Problem | Possible Cause | Solution |
| :———————– | :———————————————————- | :—————————————————————————————————————————————- |
| Handle is loose | Screws are loose or missing on the interior side. | Tighten the visible screws. If screws are missing, you’ll need to remove the handle to replace them or the entire mechanism. |
| Handle won’t turn | Latch mechanism is stuck or misaligned. | Ensure the latch bolt is fully retracted. Check if the spindle is properly aligned and not binding. Sometimes, removing and re-lubricating helps. |
| Screws won’t budge | Screws are painted over or stripped. | For painted screws, carefully score around the screw head with a utility knife. If stripped, you might need a screw extractor or pliers. |
| Decorative cover won’t come off | Set screw or pin is not fully disengaged. | Ensure you are pushing firmly enough or turning the set screw sufficiently counter-clockwise. Check for additional, less obvious release points. |
| Door won’t latch | Latch bolt is misaligned with the strike plate on the door frame. | Loosen the strike plate on the frame and adjust its position, or slightly enlarge the hole in the frame to accommodate the bolt. |
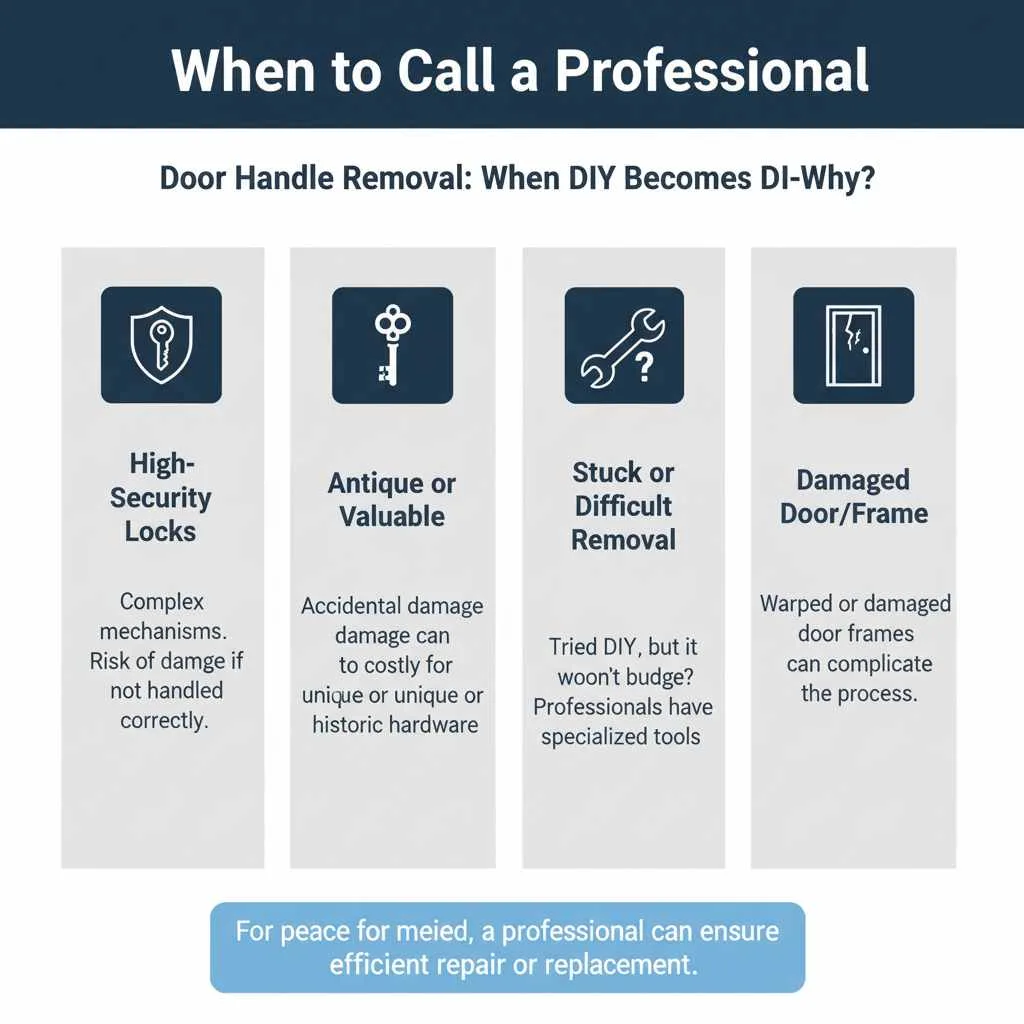
When to Call a Professional
While removing a door handle is usually a simple DIY task, there are times when it’s best to let a professional handle it.
Consider calling a locksmith or handyman if:
You have a high-security lock system: These can have complex mechanisms that are easily damaged if not handled correctly.
The door or handle is antique or very valuable: Accidental damage could be costly.
You’ve tried the steps and simply can’t get it apart: Sometimes, a fresh pair of eyes and more specialized tools are needed.
* The door itself seems damaged: If the door frame or door is warped or damaged, it might complicate the removal process.
Even for these situations, many professionals can replace or repair door handles efficiently, ensuring your peace of mind.
Frequently Asked Questions about Removing Door Handles
Q1: Do I need to remove the door handle to paint the door?
A1: Yes, for the best and most professional finish, it’s highly recommended to remove the door handles and all hardware before painting. This allows you to paint the door evenly and avoids getting paint on the hardware.
Q2: How do I remove an old, painted-over door handle?
A2: If screws are painted over, carefully use a utility knife to score around the edge of the screw head. This breaks the paint seal. Sometimes, gently tapping the screwdriver with a hammer can help break the paint bond. If the screw head is damaged, you might need pliers to grip and turn it.
Q3: What is a rose plate on a door handle?
A3: The rose plate is the decorative circular or oval plate that sits behind the door handle or lever and covers the internal mechanism and mounting screws. Some handles have visible screws on the rose plate, while others have concealed screws, meaning the rose plate needs to be removed first to access them.
Q4: Can I remove a door handle if the key is lost?
A4: Yes, losing the key usually doesn’t prevent removal, especially for interior doors. For exterior doors with lost keys, you’ll still follow the steps above. If you need to get the door open first, a locksmith might be necessary before you can tackle handle removal.
Q5: My door handle is stuck. What should I do?
A5: Don’t force it! Check thoroughly for any small set screws or locking pins you might have missed, especially on the neck of the handle or under the rose plate. Ensure you’re turning screws counter-clockwise. If it’s still stuck, you might need a bit of lubricant or, in rare cases, professional help.
Q6: How can I tell if my door handle has concealed screws?
A6: The easiest way is to visually inspect the handle and its mounting plate. If you don’t see any screw heads on the outside or the visible parts of the plate, it likely has concealed screws. Look for a small hole, slot, or indentation on the handle’s neck or the edge of the mounting plate—this is where the release mechanism is hidden.
Conclusion
As you can see, removing a door handle is a perfectly achievable DIY project for anyone. Whether your handles have straightforward visible screws or a clever concealed mechanism, the steps involved are clear and manageable. By gathering the right tools, paying attention to the details of your specific handle type, and following these easy guides, you can confidently tackle this task.
This skill not only allows you to update your home’s aesthetic with new hardware but also empowers you


Leave a Reply