
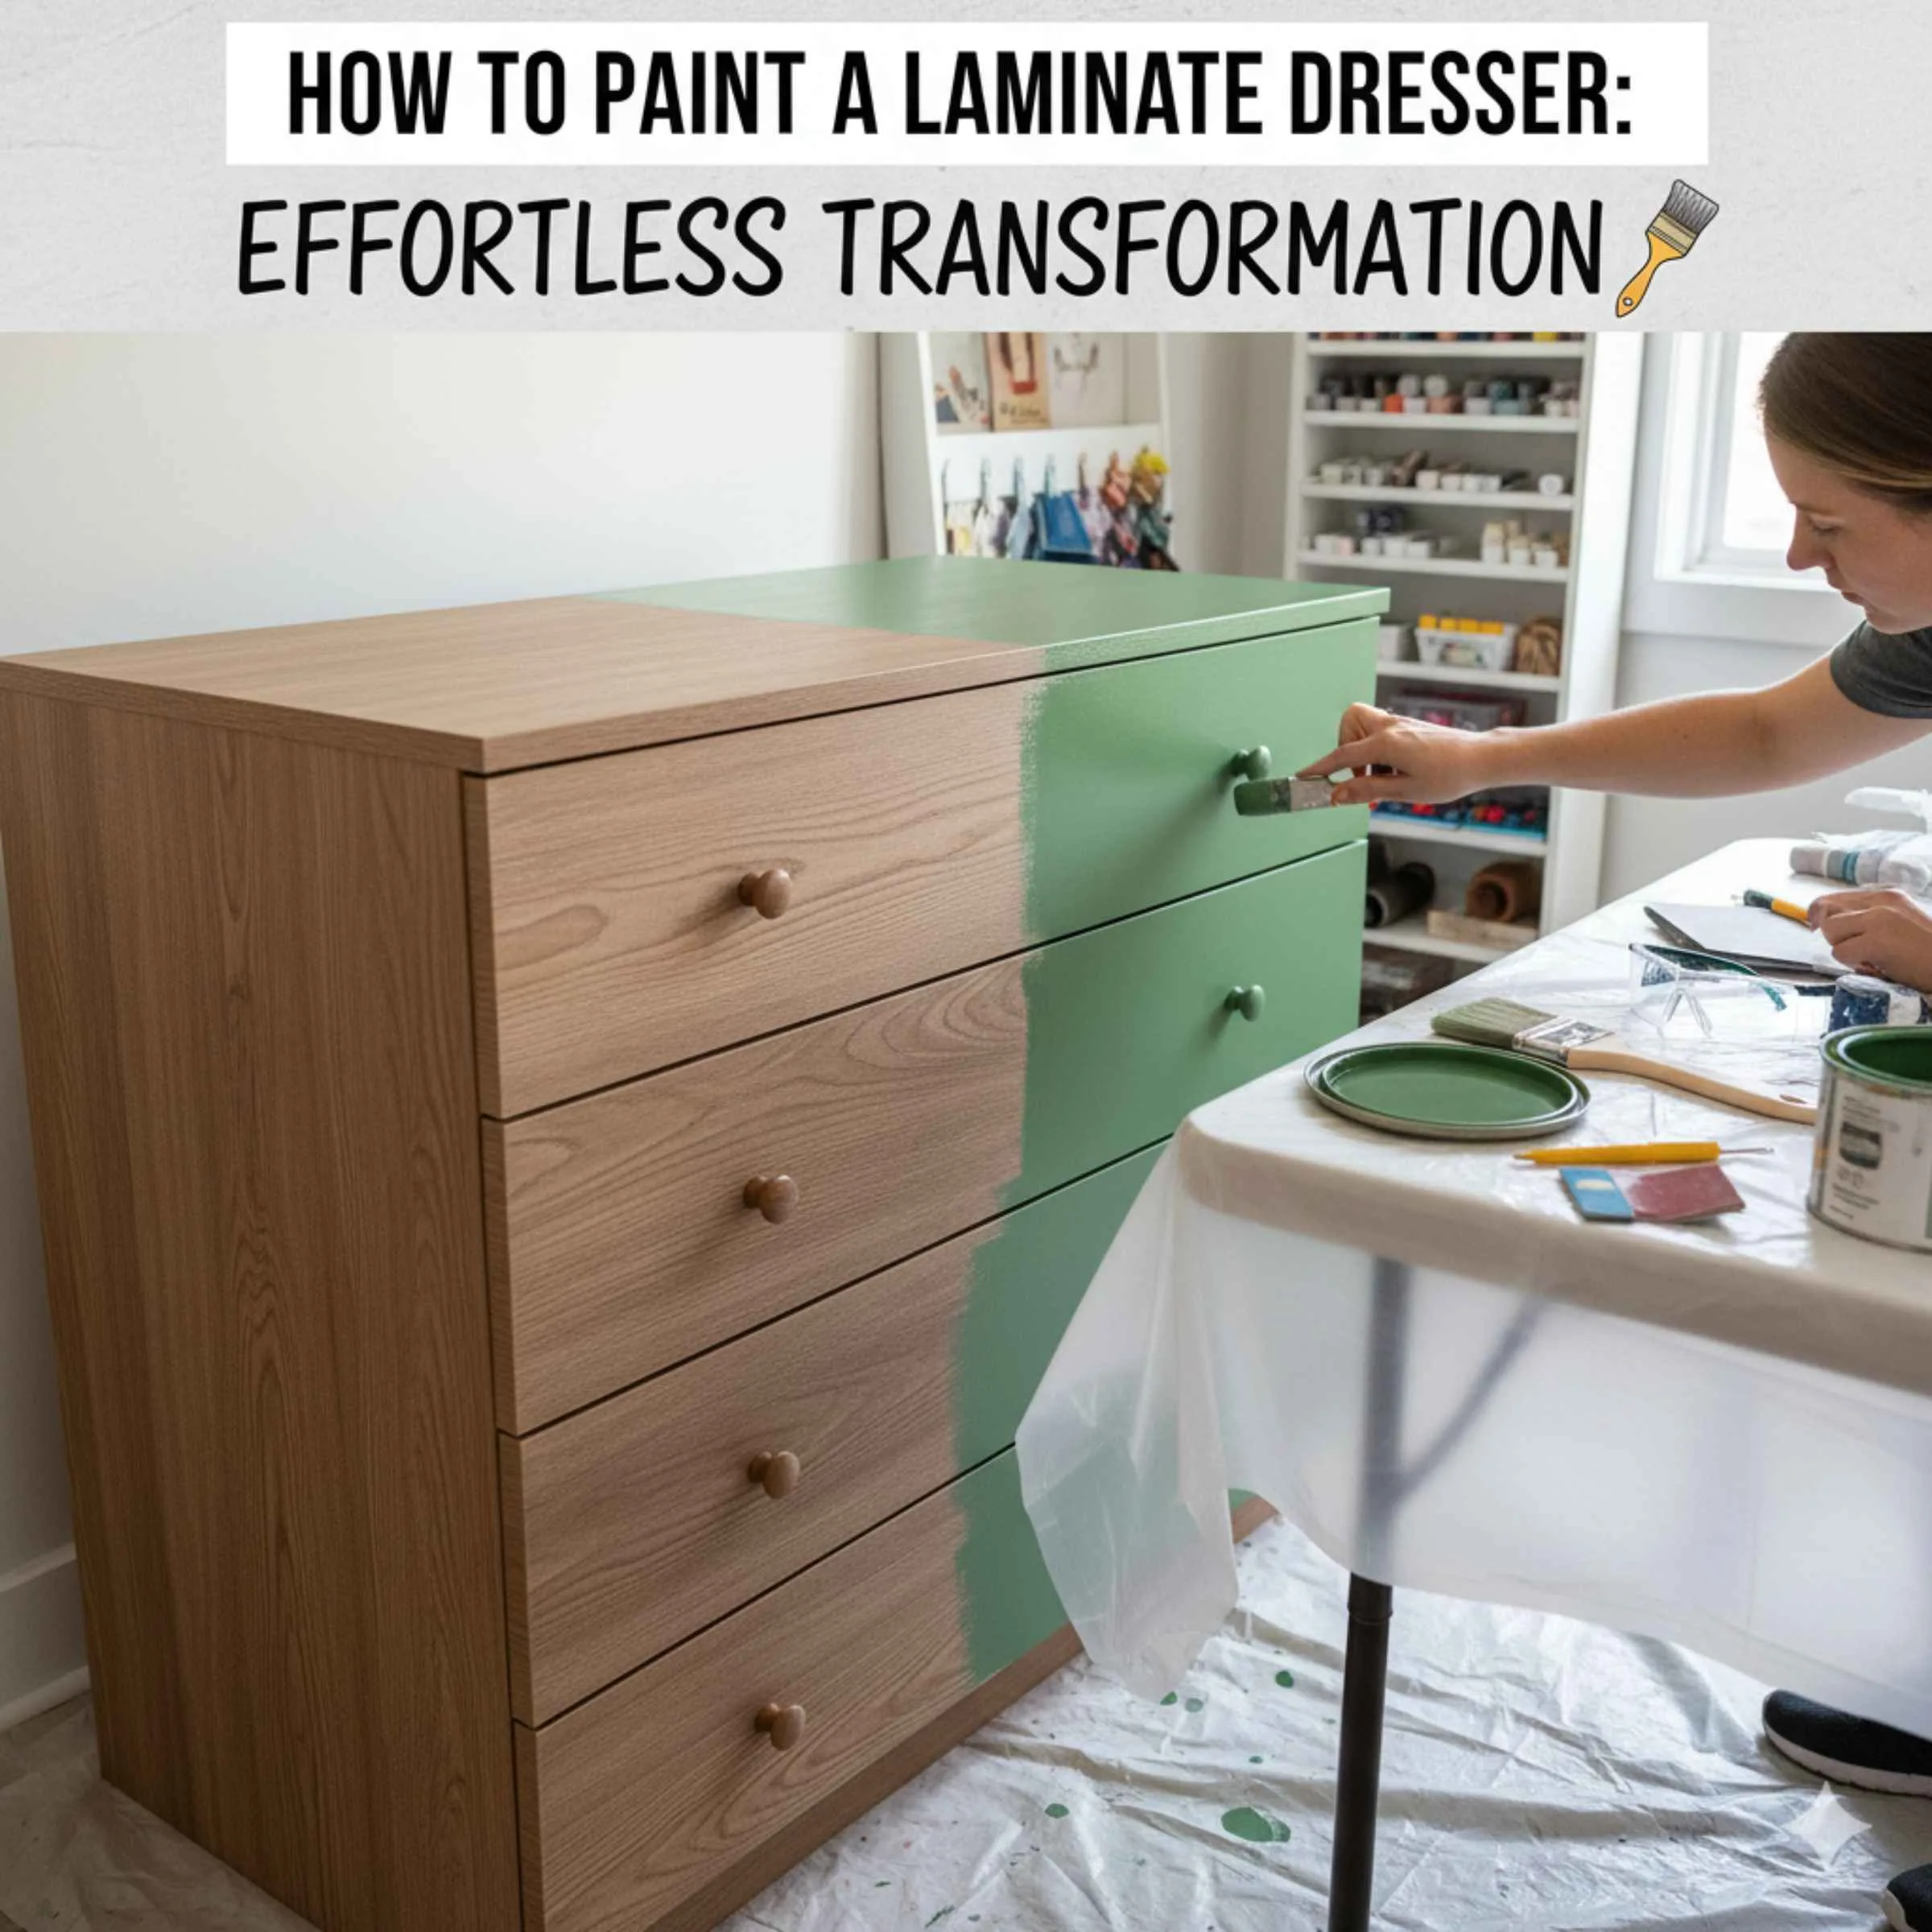
Yes, you can absolutely paint a laminate dresser! With the right preparation and materials, you can easily transform your old laminate dresser into a stylish new piece of furniture. Follow these simple steps for a smooth, durable finish that looks professionally done.
Got a laminate dresser that’s seen better days? Maybe the finish is chipped, the color is outdated, or it just doesn’t match your style anymore. Many folks think laminate can’t be painted, but that’s not true! It just needs a little extra TLC compared to solid wood.
Don’t worry, you don’t need to be a master painter or spend a fortune. This guide will walk you through everything, step-by-step. We’ll show you how to prepare the surface properly, choose the best paints and primers, and apply them for a beautiful, lasting result. Get ready to give your dresser a fresh new look without the hassle!
Why Paint a Laminate Dresser?
Laminate furniture is popular because it’s often affordable and easy to clean. However, its surface can sometimes look a bit… well, laminate-y. It might have a plastic-like sheen or a dated pattern. Painting offers fantastic benefits:
- Style Refresh: Update an old dresser to perfectly match your current decor.
- Cost-Effective: It’s much cheaper than buying a new dresser.
- Customization: Choose any color you can imagine!
- Durability: With the right paint, your painted dresser can be very hard-wearing.
- Sustainability: Give old furniture a new life instead of throwing it away.
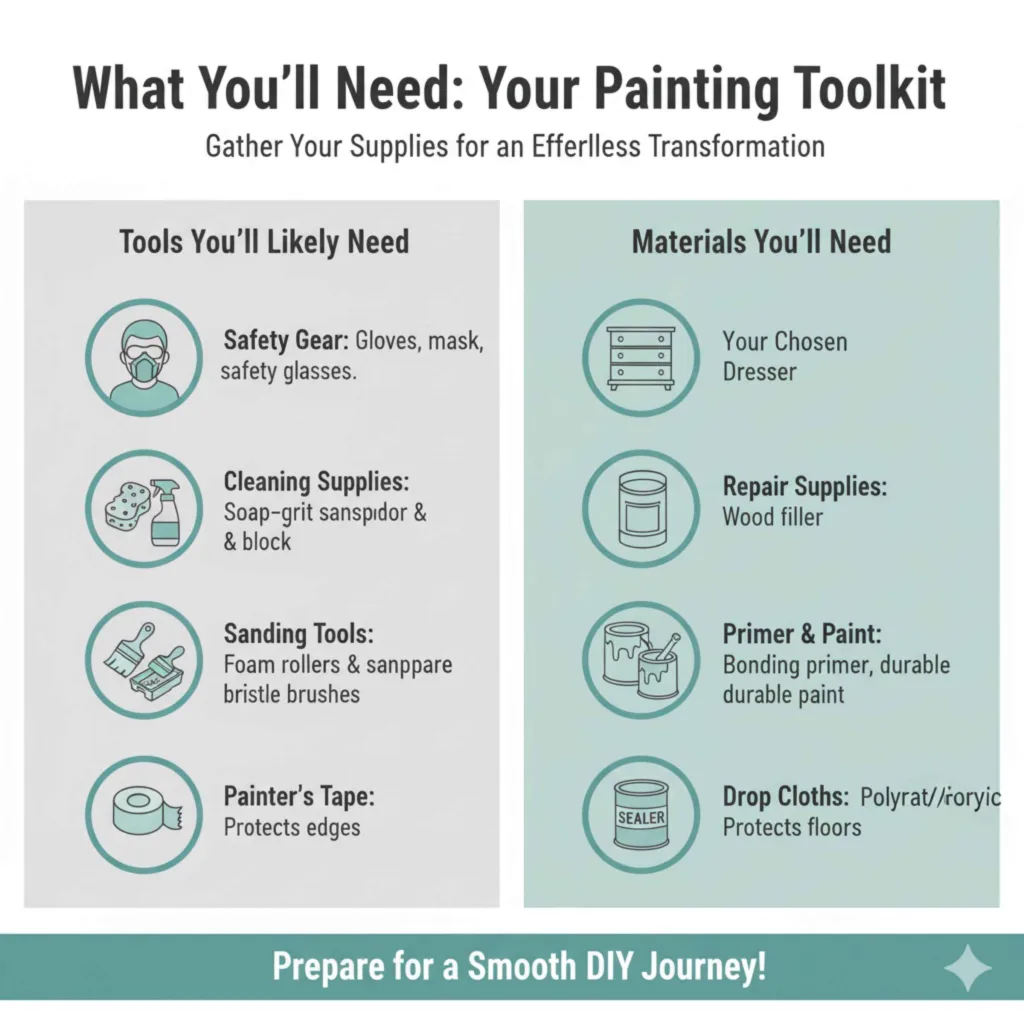
What You’ll Need: Your Painting Toolkit
Gathering your supplies before you start makes the whole process smoother. Think of this like getting your car ready for a good road trip – having the right tools makes the journey easier. Here’s what you’ll want to have on hand:
- Safety Gear: Gloves, a mask (especially for sanding and fumes), and safety glasses.
- Cleaning Supplies: Mild soap or degreaser, clean cloths or sponges, and water.
- Sanding Tools: Fine-grit sandpaper (around 150-220 grit) and a sanding block or orbital sander.
- Repair Supplies (if needed): Wood filler for any chips or gouges.
- Primer: A high-quality bonding primer specifically designed for laminate or slick surfaces. Shellac-based primers are excellent for this.
- Paint: Durable paint like an oil-based enamel, a high-quality latex paint with good adhesion, or a lacquer.
- Applicators: High-density foam rollers (for smooth surfaces) and good quality synthetic bristle brushes (for details and edges). You might also consider a paint sprayer for an ultra-smooth finish.
- Topcoat/Sealer: Polyurethane or a polycrylic for added protection.
- Painter’s Tape: For protecting areas you don’t want to paint.
- Drop Cloths: To protect your floor and surrounding areas.
Step-by-Step: How to Paint a Laminate Dresser
Let’s get this transformation underway! Follow these steps closely for the best results. We’re aiming for a smooth, even, and long-lasting finish, just like giving your car a fresh, protective coat of wax.
Step 1: Clean the Dresser Thoroughly
This is super important! Any grease, dirt, or residue will prevent the primer and paint from sticking properly. Don’t skip this step!
- Remove all drawers and hardware (knobs, handles).
- Wipe down the entire dresser with a damp cloth to remove dust.
- Use a mild degreaser or soap and water solution. Scrub gently to remove any grime or sticky spots.
- Rinse the dresser well with clean water to remove any soap residue.
- Let the dresser air dry completely. You can speed this up with a fan or a hairdryer on a cool setting. Make sure it’s bone dry before moving on.
Step 2: Lightly Sand the Surface
Laminate has a very smooth, often glossy surface, which paint doesn’t naturally grip onto. Sanding creates tiny scratches, called a “mechanical bond,” giving the primer something to hold onto. You’re not trying to remove the laminate finish, just to rough it up a bit.
- Use your 150-220 grit sandpaper or a sanding sponge.
- Sand the entire surface of the dresser where you plan to paint, including edges and drawer fronts. Apply light, even pressure.
- Don’t over-sand! You just need to dull the sheen.
- After sanding, wipe down the entire piece with a tack cloth or a slightly damp cloth to remove ALL sanding dust. It’s critical to get every speck. Dust left behind will create a bumpy finish.
Step 3: Repair Any Imperfections
If your dresser has any chips, dents, or deep scratches, now is the time to fix them.
- Apply a small amount of wood filler to the damaged area.
- Use a putty knife to smooth it flush with the surface.
- Let the filler dry completely according to the product instructions.
- Once dry, lightly sand the filled areas smooth, feathering the edges so they blend with the surrounding surface.
- Wipe away any dust with a tack cloth.
Step 4: Apply a High-Quality Primer
This is arguably the most crucial step for painting laminate. A good bonding primer acts like a bridge between the slick laminate surface and your paint. It ensures your paint adheres well and prevents chipping.
- Choose the right primer: Look for a primer labeled as a “bonding primer,” “adhesion promoter,” or specifically recommended for “slick surfaces” or “laminate.” Shellac-based primers (like Zinsser B-I-N) are often the gold standard for their incredible adhesion but have strong fumes, so ventilation is key. Water-based bonding primers are also a good option and easier to work with. You can learn more about primer types at Popular Mechanics’ guide to primers.
- Application:
- Stir the primer well; don’t shake it, as this can create bubbles.
- Using a foam roller for large areas and a brush for edges, apply a thin, even coat of primer.
- Avoid thick, gloppy application; thin coats are more effective.
- Let the first coat dry completely according to the manufacturer’s instructions.
- Once dry, lightly sand any rough spots with 220-grit sandpaper. Wipe away dust with a tack cloth.
- Apply a second coat of primer if needed, especially if the original laminate color is very dark and you’re painting it a light color. Repeat the light sanding and cleaning.
Step 5: Apply Your Paint
Now for the fun part – adding color! The type of paint you use will affect the durability and finish.
- Paint Choices:
- Latex/Acrylic Paint: High-quality acrylic latex paints (often labeled “cabinet & furniture” or “all-in-one”) can work well, especially when paired with a good primer. They are easy to clean up.
- Oil-Based Enamel: These paints are known for their hardness and durability, making them a great choice for high-traffic furniture like dressers. Cleanup requires mineral spirits.
- Lacquers: Often used by professionals, lacquers dry quickly and create a very hard, smooth finish, but they require special equipment (like a spray gun) and good ventilation.
- Application:
- Stir your paint thoroughly.
- Use your foam roller for broad surfaces and your synthetic brush for corners and edges.
- Apply thin, even coats. It’s better to do multiple thin coats than one thick one.
- Allow each coat to dry completely according to paint can instructions before applying the next. Rushing this will lead to a poor finish.
- Lightly sand between coats with 220-grit sandpaper (or even finer, like 320-grit) for an ultra-smooth finish. Always wipe away dust with a tack cloth after sanding.
- Most projects will require 2-3 coats of paint for full coverage.
Step 6: Apply a Protective Topcoat (Highly Recommended)
Laminate itself isn’t the most durable surface, and even painted, it can benefit from extra protection. A topcoat will safeguard your hard work from scratches, spills, and daily wear and tear.
- Choosing a Topcoat:
- Polyurethane: A classic choice. Water-based polyurethanes (polycrilic) are clear, non-yellowing, and easier to clean up. Oil-based polyurethanes are more durable but can impart a slight amber tint.
- Polycrylic: Specifically designed for furniture, it dries clear and is very durable.
- Lacquer-Based Sealants: Offer a very hard finish if you’ve used lacquer paint.
- Application:
- Ensure your final coat of paint is completely dry.
- Apply thin, even coats of your chosen topcoat using a foam roller or a high-quality synthetic brush.
- Allow each coat to dry thoroughly. You may want to lightly sand with very fine grit sandpaper (320+) between coats and wipe with a tack cloth for the smoothest finish.
- Apply 2-3 coats for maximum protection.
Step 7: Reattach Hardware and Drawers
Once the topcoat is fully cured (this can take several days to a week, depending on the product and humidity — check the can!), you can put everything back together.
- Carefully reattach the drawers.
- Screw in the new ( or cleaned old) knobs and handles.
- Admire your handiwork!
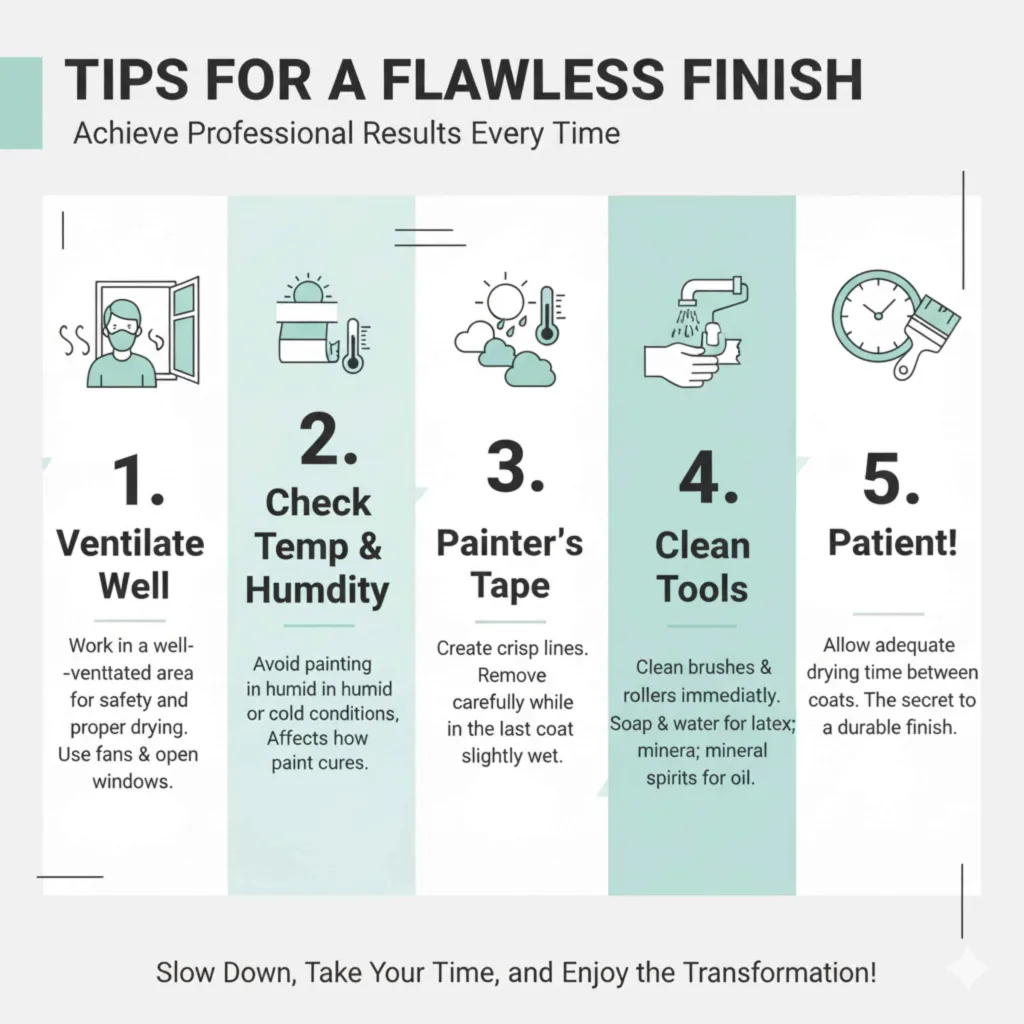
Tips for a Flawless Finish
Just like car maintenance, a few extra tips can make a big difference:
- Work in a well-ventilated area. This is crucial for your safety and for drying. Open windows, use fans, and wear a mask.
- Avoid painting in humid or extremely cold conditions. Temperature and humidity can affect how paint cures.
- Use painter’s tape to create crisp lines. Apply it after the primer has dried, and remove it carefully while the last coat of paint is still slightly wet to prevent peeling.
- Clean rollers and brushes immediately after use. For latex paints, use soap and water. For oil-based paints, use mineral spirits.
- Be patient! Allowing adequate drying time between coats is the secret to a professional-looking, durable finish. Rushing the process is the fastest way to disappointment.
Troubleshooting Common Issues
Even with careful work, you might run into a hiccup. Here are a few common problems and how to fix them:
| Problem | Cause | Solution |
|---|---|---|
| Paint is peeling or chipping | Poor surface preparation; didn’t use a bonding primer; paint not sticking. | Sanding and cleaning thoroughly are key. Ensure you used a strong bonding primer. You may need to strip the paint and start over, focusing on prep. |
| Rough or bumpy finish | Sanding dust left behind; too much paint applied at once; lint from roller. | Always use a tack cloth after sanding. Apply thin coats. Use high-density foam rollers designed for smooth surfaces. Repaint after lightly sanding down rough spots. |
| Brush marks or roller marks visible | Paint applied too thickly; wrong type of roller/brush; paint drying too quickly. | Use thin coats with the right applicators (foam roller for flat surfaces, synthetic brush for detail). Feather out strokes. Try to maintain a “wet edge” as you paint. |
| Laminate texture showing through | Primer or paint too thin; not enough coats. | Apply more thin coats, ensuring full coverage. A smoother roller and paintbrush can help minimize texture transfer. |
| Paint is sticky or tacky after drying | Paint not fully cured; excessive humidity; oil-based paint not mixed properly. | Ensure adequate drying and curing time, especially in humid conditions. For oil-based paints, verify they were mixed thoroughly to incorporate the hardening agents. If it’s still tacky after a week, you may need to apply a different type of topcoat or repainting. |
Frequently Asked Questions (FAQs)
Q1: Can I paint directly over laminate without sanding?
It’s strongly advised against painting directly over laminate without sanding. Laminate surfaces are very smooth and often have a glossy finish. Paint and primers need a slightly roughened surface (a “mechanical bond”) to grip onto. Skipping sanding will almost certainly lead to peeling and chipping later on.
Q2: What is the best type of primer for laminate?
The best primers are those designed for adhesion to slick surfaces. Look for “bonding primers” or “adhesion promoters.” Shellac-based primers are excellent performers for this task due to their superior grip, but ensure good ventilation. High-quality water-based bonding primers are also a great and more accessible option.
Q3: What kind of paint should I use on a laminate dresser?
For durability, consider oil-based enamel paints or high-quality acrylic latex paints (like those formulated for cabinets and furniture). These finishes tend to be harder and more resistant to wear and tear once cured. A topcoat will further enhance durability.
Q4: How many coats of paint do I need?
Most projects will require at least two to three thin coats of paint. This is especially true if you are painting over a dark laminate with a light color. Apply coats thinly and allow them to dry completely between applications for the smoothest, most even finish.
Q5: Do I need to seal a painted laminate dresser?
Yes, sealing a painted laminate dresser is highly recommended. A clear topcoat (like polyurethane or polycrylic) will protect the paint from scratches, scuffs, and moisture, significantly extending the life and appearance of your painted finish. It adds that crucial layer of durability.
Q6: How long does it take for painted laminate furniture to cure?
Paint has a “dry to touch” time and a “cure” time. It might feel dry to the touch within a few hours. However, it can take anywhere from 7 to 30 days for the paint and topcoat to fully cure and reach maximum hardness. Be gentle with the furniture during this period.
Getting that perfect paint job is all about patience and preparation, much like making sure your car’s engine is running smoothly before a long drive. Every step builds on the last.
Conclusion
Transforming a laminate dresser from drab to fab is a totally achievable DIY project. By cleaning, lightly sanding, priming with a good bonding primer, applying thin coats of durable paint, and finishing with a protective topcoat, you can give your dresser a fantastic, modern update. This process not only revitalizes your furniture but also adds to its longevity and makes it a proud centerpiece in your home.
Remember, the key to success with laminate is thorough preparation and the right products. Don’t be afraid to take your time; patience is your best tool here. You’ve got this!


Leave a Reply