

Fixing a bathroom vanity drawer is often surprisingly simple, involving common tools and straightforward steps like tightening screws, cleaning tracks, replacing broken parts, or adjusting alignment. This guide will walk you through diagnosing the issue and performing an effective repair yourself.
Hey there, DIYers! We’ve all had those moments in the bathroom where a stubborn drawer just won’t budge, or it sticks out at a funny angle. It’s a common household annoyance, but the good news is, fixing a bathroom vanity drawer is usually within reach for most of us. You don’t need to be a master carpenter to get that drawer sliding smoothly again. This guide is designed to help you pinpoint the problem and teach you the easy fixes, saving you a trip to the hardware store or a call to a pricey professional. We’ll go step-by-step, so you can tackle this project with confidence.
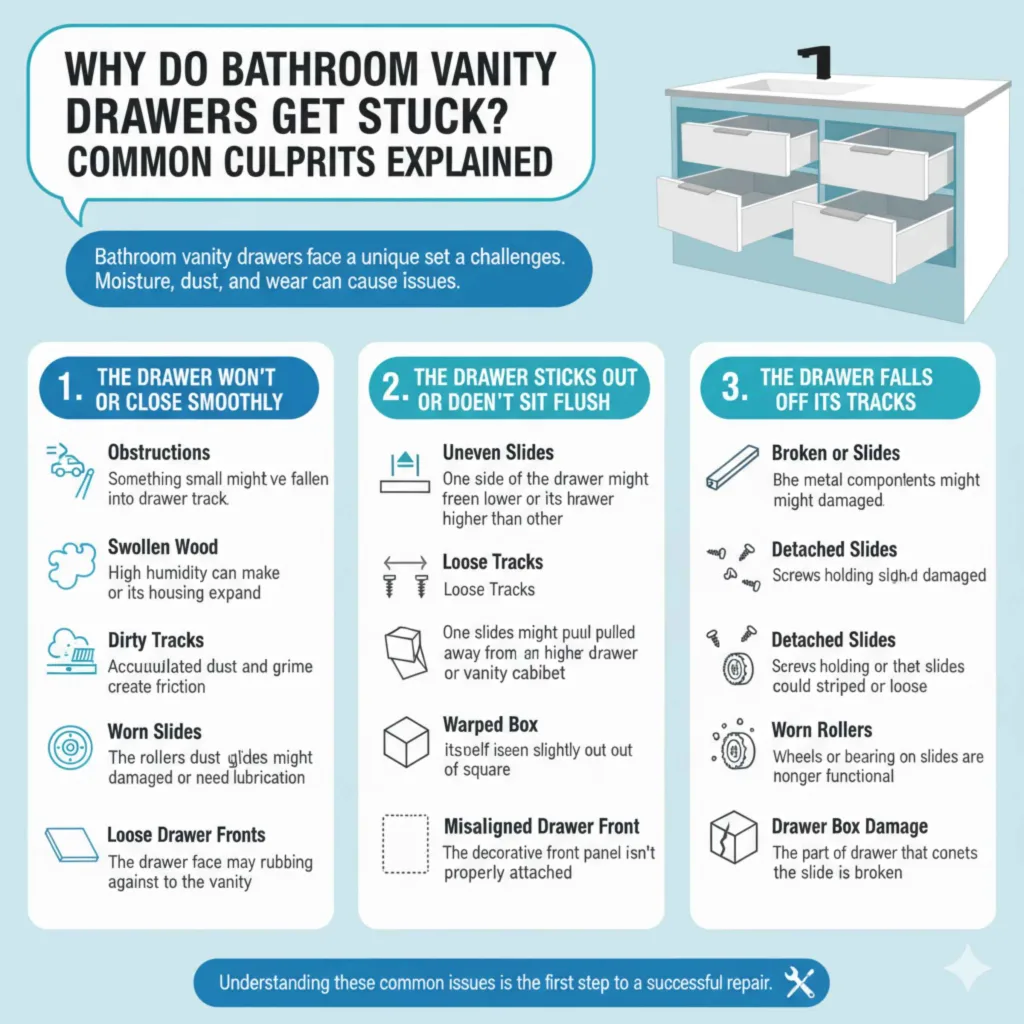
Why Do Bathroom Vanity Drawers Get Stuck? Common Culprits Explained
Bathroom vanity drawers face a unique set of challenges. Moisture is a big one – humidity from showers can cause the wood to swell, leading to sticking. Over time, dust, hairspray build-up, and even small items falling into the tracks can create obstructions. The drawer slides themselves, whether they’re old-school wooden runners or modern metal glides, can become worn, bent, or simply disconnected from their housing. Sometimes, the drawer front itself might be loose, causing it to rub against the vanity frame. Understanding these common issues is the first step to a successful repair.
1. The Drawer Won’t Open or Close Smoothly
This is probably the most frequent complaint. The culprit could be:
- Obstructions: Something small might have fallen into the drawer track.
- Swollen Wood: High humidity can make the drawer or its housing expand.
- Dirty Tracks: Accumulated dust and grime create friction.
- Worn Slides: The rollers or glides might be damaged or need lubrication.
- Loose Drawer Front: The drawer face may be rubbing against the vanity.
2. The Drawer Sticks Out or Doesn’t Sit Flush
This often points to alignment issues:
- Uneven Slides: One side of the drawer might be lower or higher than the other.
- Loose Tracks: The slides might have pulled away from the drawer or the vanity cabinet.
- Warped Drawer Box: The drawer itself might be slightly out of square.
- Misaligned Drawer Front: The decorative front panel isn’t properly attached.
3. The Drawer Falls Off Its Tracks
This is a more significant problem, usually due to:
- Broken or Bent Slides: The metal components might be damaged.
- Detached Slides: Screws holding the slides could be stripped or loose.
- Worn Rollers: The wheels or bearings on the slides are no longer functional.
- Drawer Box Damage: The part of the drawer that connects to the slide is broken.
Gathering Your Tools: What You’ll Need
Before you dive in, let’s make sure you have the essential tools. Most of these are pretty standard household items, and having them ready will make the repair process much smoother. Think of it like getting your toolbox ready for a car maintenance task – preparation is key!
- Screwdriver Set: A Phillips head and a flathead screwdriver are usually all you need. A magnetic tip can be a lifesaver for tiny screws.
- Measuring Tape: Useful for checking clearances and slide alignment.
- Level: Ensures your drawer sits straight when reinstalled.
- Pliers: Can help with gripping small parts or bending slightly misaligned metal.
- Work Gloves: Protect your hands from splinters or sharp edges.
- Safety Glasses: Always a good idea when working with tools, especially if anything could potentially chip or fall.
- Vacuum Cleaner with Hose Attachment: For cleaning out dust and debris from the tracks.
- White Lithium Grease or Silicone Spray Lubricant: Essential for smooth operation of metal slides. You can find these at most hardware stores.
- Rags or Paper Towels: For cleaning and wiping.
- Wood Glue: If you find a loose joint in the drawer box itself.
- Wood Shims (Optional): For making minor adjustments to drawer alignment.
- New Drawer Slides/Parts (If Necessary): If your current slides are broken beyond repair. Take the old ones to the hardware store to find a matching replacement, or measure them accurately.
Step-by-Step Guide: How to Fix Your Bathroom Vanity Drawer
Let’s get your drawer back in working order. We’ll start with the simplest fixes and move towards more involved repairs. Remember to take your time and work safely.
Step 1: Empty the Drawer and Assess the Problem
First things first, take everything out of the drawer. This gives you a clear view of the drawer itself and the space it sits in (the vanity opening). Gently try to slide the drawer in and out. Pay close attention to where it sticks, rubs, or makes strange noises. Does it feel like something is physically blocking it, or is the movement just generally stiff?
Step 2: Check for Obstructions and Clean the Tracks
This is the most common fix! Look inside the tracks on both the drawer and the vanity. You might find a rogue cotton swab, a loose screw, or a clump of dust and hair. Use your vacuum cleaner’s hose attachment to meticulously clean out any debris. Vacuum the tracks thoroughly. If the tracks are wooden, a damp cloth can help remove sticky residue, but make sure they dry completely before proceeding.
Step 3: Inspect and Lubricate Drawer Slides
Modern vanity drawers typically use metal drawer slides. These can be found on the sides of the drawer box and inside the vanity cabinet. Examine them for:
- Damage: Are any parts bent, dented, or broken?
- Dirt/Grime: Wipe them down with a dry cloth.
- Lubrication: Metal slides need lubrication to work smoothly. Apply a thin coat of white lithium grease or a silicone-based lubricant along the moving parts. Avoid using oil-based lubricants, as they can attract dust and make the problem worse over time.
Pro Tip: If your drawer slides have separable sections (often with a lever or clip), you might be able to pull the drawer out completely for better access. Consult the manufacturer’s instructions if you’re unsure how to separate them safely – forcing them could break them.
Step 4: Tighten Loose Screws
Drawer slides are attached with screws. Over time, these can loosen, causing the slides to droop or become misaligned. With your screwdriver, carefully tighten any loose screws holding the slides to both the drawer box and the vanity cabinet. Be careful not to overtighten, especially if the screws are going into particleboard, as this can strip the holes.
Step 5: Adjust for Swollen Wood
If the drawer is sticking due to humidity and swollen wood, there are a few things you can try. Gently sanding down the edges of the drawer where it rubs against the frame can help. Start with fine-grit sandpaper (around 120-grit) and sand just a little at a time, testing the drawer’s movement frequently. For more persistent swelling, you might need to remove the drawer and let it dry out in a less humid environment for a day or two. You can also use a dehumidifier in the bathroom if moisture is a constant issue.
Step 6: Realign the Drawer
If the drawer sits crooked or doesn’t close properly, it’s likely an alignment issue. This can be caused by loose slides or the drawer box itself being slightly out of square.
For Metal Slides:
- Ensure both slides are mounted at the exact same height. Use your level to check.
- If screws are loose, tighten them. If the screw holes are stripped, you can repair them by filling the hole with wood glue and a wooden toothpick or dowel, letting it dry, then re-drilling a pilot hole and re-inserting the screw.
- Some metal slides have adjustment screws that allow you to fine-tune the drawer’s position.
For Wooden Drawer Slides (Less Common on Modern Vanities):
- These often involve wooden guides or runners. Check if they are loose, bent, or worn.
- You might need to add small wood shims behind the runners to adjust the drawer’s position. This requires careful measurement and patience.
- Lubricating wooden tracks with a bit of wax (like a candle) or a dry lubricant can also help.
Step 7: Address a Loose Drawer Front
If the drawer front is wobbly or loose, it can rub against the vanity frame. Check the screws or fasteners that attach the decorative drawer front to the actual drawer box. Tighten them up. If the holes are stripped, use the wood glue and toothpick method mentioned earlier.
Step 8: Dealing with Broken Drawer Slides
If your drawer slides are visibly bent, broken, or worn out, they will likely need to be replaced. This is a bit more involved but still manageable.
- Remove the Drawer: Ensure the drawer is completely out of the vanity.
- Remove Old Slides: Carefully unscrew the damaged slides from both the drawer box and the vanity cabinet. Take note of exactly where they were positioned.
- Purchase Replacements: Bring your old slides to the hardware store or take detailed measurements (length, width, type of mechanism). Look for slides that match your vanity’s style and weight capacity. Companies like Rockler offer a wide variety of drawer slide options.
- Install New Slides: Mount the new slides according to their instructions, ensuring they are level and parallel. Proper installation is crucial for smooth operation. Most slides come with detailed diagrams. Double-check that the drawer-side slides are equidistant from the drawer’s front edge.
- Reinstall Drawer: Carefully align the drawer with the new slides and slide it into place. Test its movement.
Table: Common Drawer Drawer Problems and Solutions
| Problem | Likely Cause | Solution Steps | Difficulty Level |
|---|---|---|---|
| Drawer Won’t Open/Close Smoothly | Obstructions, Swollen Wood, Dirty Tracks, Worn Slides | 1. Empty & Clean Tracks 2. Lubricate Slides 3. Check for Obstructions | Easy |
| Drawer Sticks Out or Doesn’t Sit Flush | Uneven Slides, Loose Tracks, Warped Box | 1. Check Slide Alignment 2. Tighten Loose Screws 3. shim for minor adjustments | Easy to Medium |
| Drawer Falls Off Tracks | Broken/Bent Slides, Detached Slides, Worn Rollers | 1. Inspect Slides Thoroughly 2. Tighten/Repair Screws 3. Replace Slides (if damaged) | Medium to Hard |
| Drawer Front Feels Loose | Loose Fasteners | Tighten screws connecting front to box. Repair stripped holes if needed. | Easy |
Tips for Maintaining Your Vanity Drawers
Once you’ve got your drawers sliding like new, a little preventative maintenance can go a long way. Think of it like giving your car a regular oil change – it prevents bigger issues down the road.
- Regular Cleaning: Periodically vacuum out the drawer tracks, especially in the humid bathroom environment where dust and hairspray can accumulate.
- Control Humidity: Use your bathroom fan during and after showers to reduce moisture that can cause wood to swell. A small dehumidifier in the bathroom can also be beneficial.
- Mind What You Store: Avoid leaving heavy items too close to the front of the drawer, which can put extra strain on the slides.
- Gentle Use: Avoid slamming drawers shut. A gentle push is usually enough to engage the slides and close them properly.
- Periodic Lubrication: For metal slides, a quick reapplication of lubricant every 6-12 months can keep them running smoothly.

Frequently Asked Questions (FAQ)
Q1: How often should I lubricate my bathroom vanity drawer slides?
A1: For metal slides, lubricating them once or twice a year is usually sufficient. If you notice them becoming stiff or noisy, it’s a good time to reapply lubricant.
Q2: My drawer is made of wood and it’s sticking. What can I do?
A2: Wood can swell in humid conditions. Try gently sanding the edges where the drawer rubs. If it’s very swollen, try removing the drawer and letting it dry out in a less humid area for a day or two before reinstalling.
Q3: What’s the best lubricant for drawer slides?
A3: White lithium grease or silicone-based spray lubricants are generally recommended for metal drawer slides. They provide long-lasting lubrication and don’t attract as much dust as oil-based lubricants.
Q4: Can I fix stripped screw holes in my vanity cabinet?
A4: Yes, you can! The most common DIY fix is to fill the stripped hole with wood glue and a few wooden toothpicks. Let it dry completely, then drill a small pilot hole and re-screw. This gives the new screw something solid to grip.
Q5: One side of my drawer is lower than the other. How do I fix it?
A5: This is usually an alignment issue with the drawer slides. Check if the screws holding the slides are loose on that side. If they are, tighten them. If the holes are stripped, repair them as described above. You may also be able to shim behind the slide to raise it to the correct level.
Q6: My drawer slides are rusted. Can they be salvaged?
A6: Light rust can sometimes be cleaned off with steel wool. However, heavy rust usually means the slides are compromised and will likely need to be replaced for smooth, reliable operation. Replacement is often the best long-term solution.
Conclusion
See? Fixing that troublesome bathroom vanity drawer is well within your capabilities. By following these steps, you’ve learned how to diagnose common issues, perform simple repairs like cleaning and lubricating, and even tackle more involved tasks like replacing drawer slides. You’ve saved yourself time and money, and gained valuable DIY experience in the process. Remember, regular maintenance is your best friend for keeping everything in your home running smoothly, just like keeping your car tuned up. So next time a drawer gives you grief, you’ll know exactly what to do!


