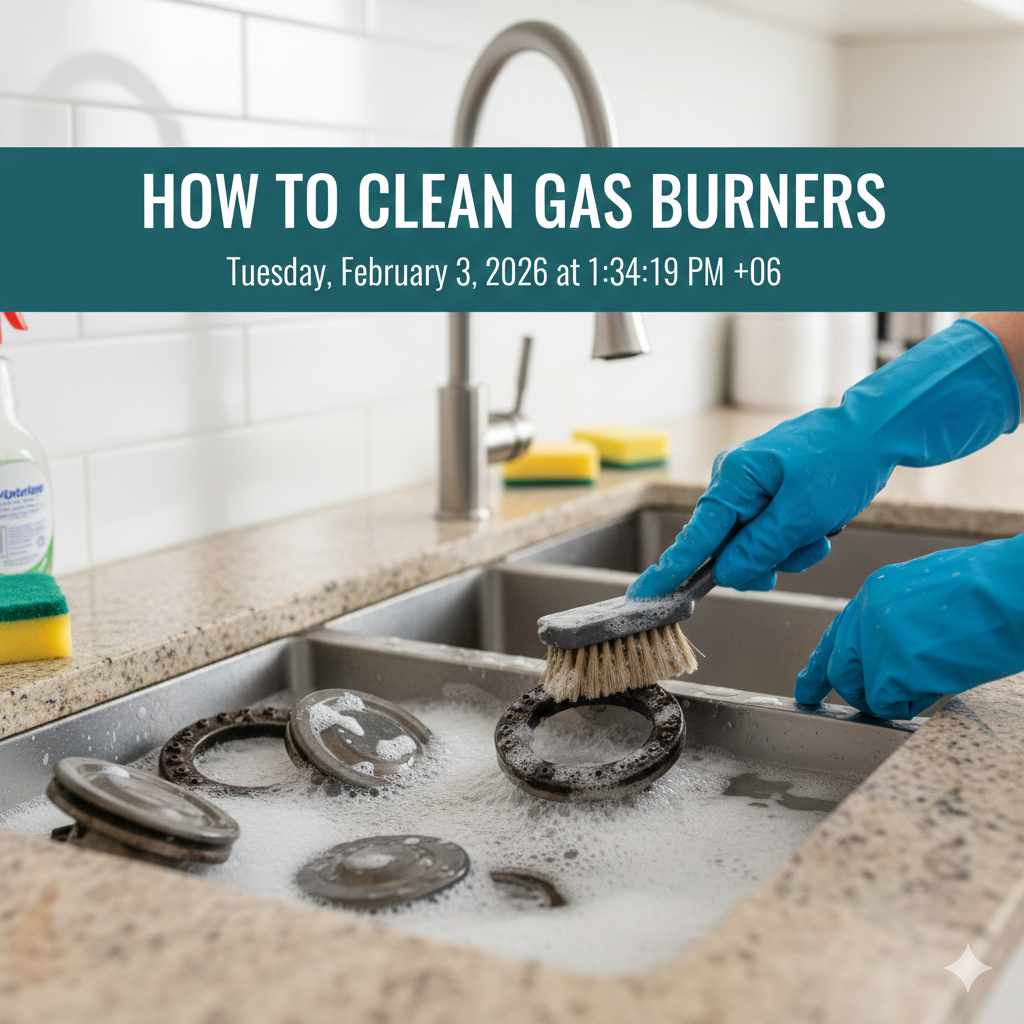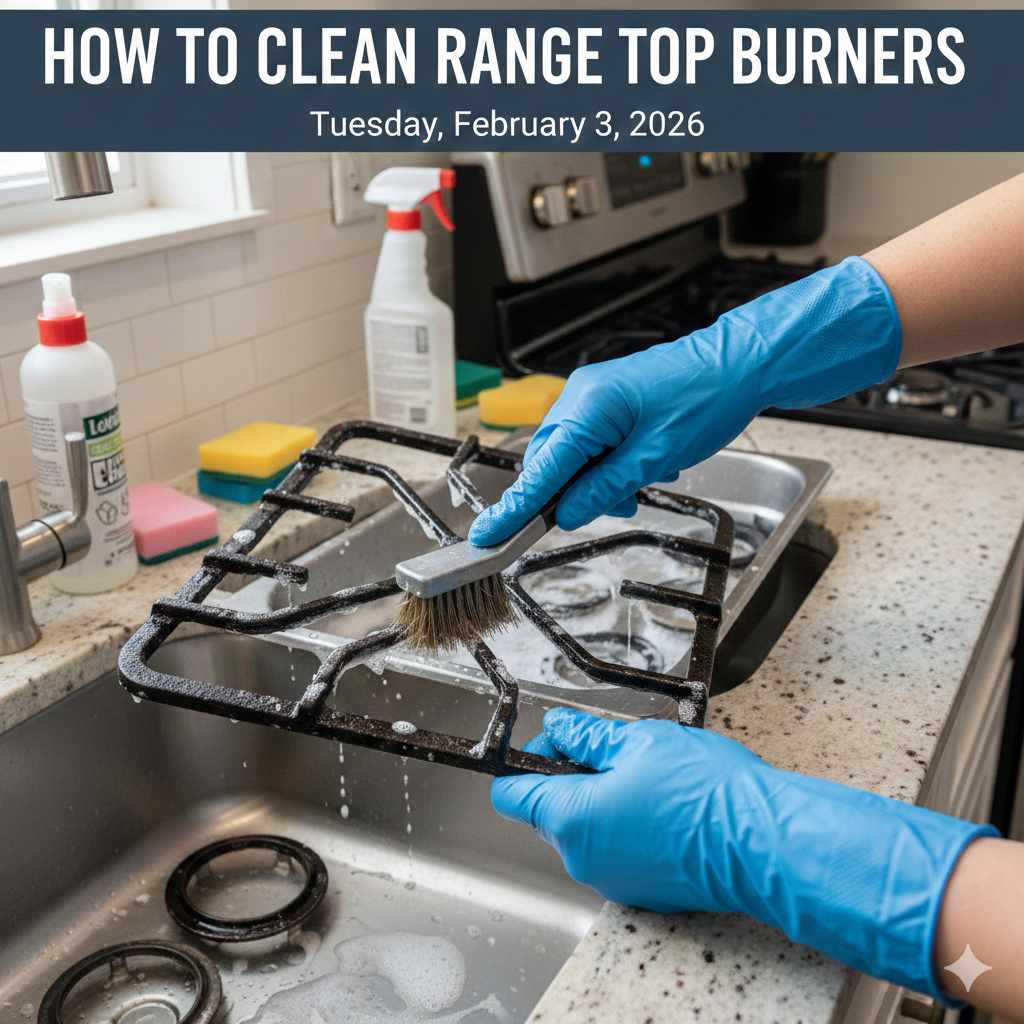
To clean range top burners effectively, first, remove the grate and caps, soak them in hot, soapy water, and then scrub the burner heads gently using a soft brush or toothbrush. Always ensure all parts are completely dry before reassembling to maintain safe, consistent cooking performance.
When you fire up the stove to make dinner, nothing is more frustrating than seeing those burners sputter or yellow flames appear. Dirty range top burners don’t just look messy; they can hurt your cooking efficiency and even pose a safety risk if the burner ports get clogged. If you think tackling this is a job for a seasoned pro, think again! I’m Dustin Hall, and I’m here to show you that cleaning your stovetop burners is simple, safe, and something every homeowner can handle. We will walk through this step-by-step, using common household items. Get ready to restore your stove to its clean, high-performing best!
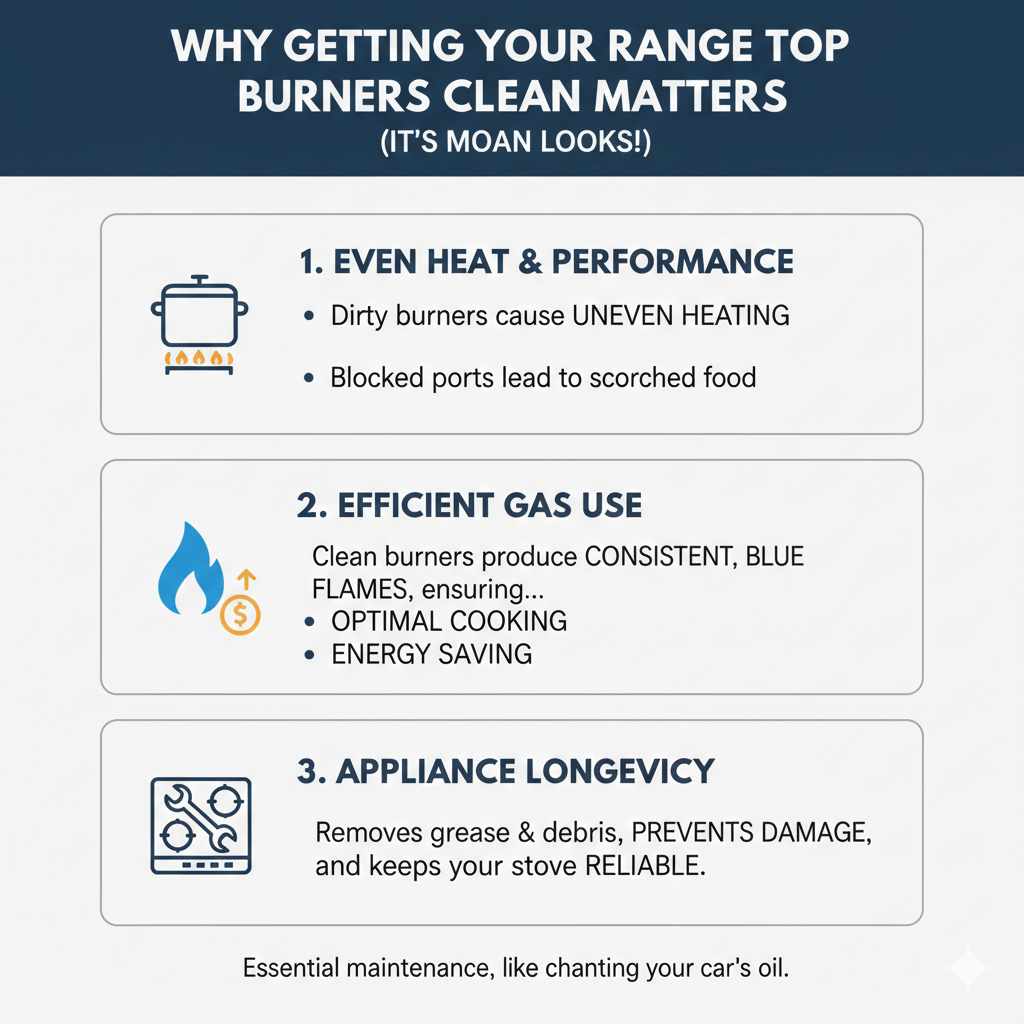
Why Getting Your Range Top Burners Clean Matters (It’s More Than Looks!)
Cleaning your range top burners isn’t just about curb appeal in your kitchen. It directly impacts how well your stove works. A dirty burner head often means uneven heat distribution. Think about trying to simmer a sauce only to have one side scorch—that’s often a sign of blocked ports.
We want consistent, blue flames, which signal efficient gas burning. Grease, food debris, and spilled liquids build up over time, blocking these small openings. Cleaning them restores that perfect blue flame, saves energy, and keeps your appliance reliable for years to come. It’s just good maintenance, like changing your car’s oil—an essential task that keeps the engine (or in this case, the stovetop) running smoothly.
Safety First: Essential Precautions Before You Begin
Before we even grab a sponge, we need to make sure everything is safe. Working on any appliance, especially gas ones, requires an extra layer of caution. My best advice? Always treat your stove like a delicate piece of machinery that needs its power off before any interaction.
Step 1: Power Down and Cool Off
Never attempt to clean burners that are hot or still connected to an active electrical source if you have an electric cooktop.
- Ensure the Cooktop is Completely Cool: Wait at least 30 minutes after using the stove. Heat can cause chemical reactions with cleaning agents and is a major burn risk.
- Disconnect Power (For Electric/Induction): If you have an electric smoothtop, unplug the range if possible, or turn off the circuit breaker controlling the stove. If you have a gas range, simply ensure all knobs are in the “Off” position.
Step 2: Gather Your Non-Abrasive Cleaning Toolkit
The key to cleaning burner parts is being thorough without scratching the finish. Metals, especially aluminum caps, scratch easily. Skip the steel wool!
Here are the tools I recommend having on hand:
- Dish soap (a gentle degreaser)
- Baking soda (nature’s gentle abrasive)
- White vinegar (good for cutting through mineral deposits)
- A non-abrasive scrub sponge or soft cloth
- An old, unused toothbrush or wooden/plastic toothpick (for clearing ports)
- Warm water
The Step-by-Step Guide to Cleaning Range Top Burners
We will break this process into three main components: the Grates, the Burner Caps, and the Burner Heads. Each piece needs a slightly different approach.
Part A: Cleaning the Grates and Burner Caps (The Soak Method)
The grates (the heavy metal supports you put your pots on) and the burner caps (the flat discs that sit directly over the flame opening) take the brunt of the spills and usually require the most soaking time.
Soaking for Maximum Grime Removal
This method works wonders because it lets the soap break down baked-on grease without you having to scrub aggressively.
- Remove Components: Carefully lift off the grates and the burner caps. Set them aside on a towel.
- Prepare the Bath: Fill your sink with very hot water—as hot as your tap will safely go. Add a generous squirt of dish soap. If you have really tough grease, a few tablespoons of baking soda can be added to the water.
- Submerge: Place all the grates and caps into the hot, soapy water. Make sure they are fully submerged.
- Wait Patiently: Let them soak for at least 30 minutes. For really old, caked-on spills, an overnight soak is even better. This dissolves the bond between the grease and the metal.
Scrubbing After the Soak
Once the soaking time is up, the grime should lift much easier:
- Use your non-abrasive sponge or cloth to wipe down the components. Most debris should slide right off.
- For stubborn spots on the grates (especially cast iron), you can create a paste of baking soda and a little water. Apply the paste, let it sit for ten minutes, and then scrub lightly.
- Rinse everything thoroughly with clean water.
Part B: Cleaning the Burner Heads (The Delicate Part)
The burner head is the silver or gray metal piece where the actual gas comes out—it has small holes or ports around the edge. These ports are critical. This section requires finesse, not force.
Assessing the Burner Head
Look at the burner head closely. You are looking for debris blocking the tiny holes (the flame ports). You might also notice a small, often raised, opening—this is usually the igniter electrode (the part that clicks!), so avoid scrubbing this area directly.
If you are working on a gas range, understanding the components helps: The burner head delivers the gas, and the cap distributes the flame evenly. If you click the igniter and nothing happens, it’s often because the cap or head is wet or dirty, interfering with the spark.
Clearing the Ports Safely
We never want to enlarge these holes, as that can mess up your flame pattern. Stick to gentle clearing tools.
- Use the Right Tool: Take a thin, pointed object that won’t scratch the metal. A wooden toothpick, a straightened paperclip (used very carefully), or a fine sewing needle works well.
- Gently Clear: Gently insert the tip of your tool into each blocked port. Wiggle it slightly to dislodge the debris. Do not poke hard or push the debris further in. You are just trying to open the pathway.
- Wipe Clean: Once you’ve cleared visible blockages, take a damp, soft cloth and gently wipe down the surface of the burner head to remove any residue you’ve dislodged.
Dustin’s Pro Tip on Vinegar: For porcelain-coated burner heads, a mixture of half water and half white vinegar can be great for wiping down the surface after soaking. Vinegar helps dissolve mineral residue left behind by boiled-over liquids.
Part C: Drying — The Most Crucial Step
This step is non-negotiable. If you place wet burner components back onto the stove, you risk rust, poor ignition (especially bad clicking sounds), or an uneven, weak flame.
Moisture trapped in the burner head or under the cap can interfere with the ignition process.
- Air Dry First: Lay all components—grates, caps, and heads—on a clean, dry towel. Let them air dry for at least two hours.
- Towel Dry: Use a dry cloth to manually wipe down every surface, ensuring no water pools in crevices.
- Final Dry Check: If you are in a hurry, you can use a hairdryer on a low, cool setting to speed up the drying process in the burner holes themselves, but patience is usually the key to success here. Ensure the igniter electrode is perfectly dry, too.
Reassembly: Putting Your Clean Burners Back Together
Once everything is bone dry, it’s time to put it all back. Correct reassembly ensures safety and optimal performance.
- Place Burner Heads: Carefully set the burner heads back into their correct slots. They usually fit in one orientation only. Make sure they sit flat.
- Position Caps: Place the burner caps squarely on top of the burner heads. They must be perfectly centered. An off-center cap can block gas flow or prevent ignition.
- Set Grates: Place the grates on top. Ensure they sit stably and levelly on the stovetop surface and over the burner assemblies.
Testing for a Perfect Flame
After reassembly, you must test the results. Turn the gas supply back on (or flip the breaker).
Turn the corresponding burner knob to “Light.” You should hear maybe one or two clicks and then a nice, steady blue flame.
Success looks like: A steady, strong flame that is mostly blue with maybe a tiny bit of lighter blue/yellow at the very tip. If you see a large, lazy yellow flame or the burner won’t light after several clicks, turn it off immediately and check two things first: is the cap centered, and is the entire part completely dry?
Troubleshooting Common Burner Cleaning Issues
Even with the best intentions, sometimes things don’t go perfectly the first time. Here are a few common issues beginners face and simple fixes.
Issue 1: The Igniter Keeps Clicking but Won’t Light
This is almost always moisture related or a blocked port.
- Cause: Water is interfering with the spark jump, or a port is still mostly blocked.
- Fix: Turn off the gas, remove the cap, and dry the igniter electrode piece very thoroughly. If it still won’t light after 15 minutes of drying time, gently use a toothpick to check the ports again.
Issue 2: Uneven Flames After Cleaning
If one side of the burner is strong and the other is weak (a ragged flame), the gas is not distributing evenly.
- Cause: The burner cap is not seated correctly, or a few ports on one side are still clogged.
- Fix: Ensure the cap is centered. If that doesn’t work, re-clean the head, focusing only on the side with the weak flame.
Issue 3: My Grates are Still Greasy
Heavy cast iron grates can sometimes resist a standard soak.
For extreme buildup, consider using an ammonia solution in a sealed bag, but this requires much more caution. For a safer approach, research specialized cast iron cleaner or use an oven cleaner cautiously (check your manufacturer’s guidelines first—many manufacturers advise against oven cleaner on gas grates). For everyday maintenance, the baking soda paste works well.
Deep Dive Comparison: Cleaning Methods
While our primary method uses gentle soap and water, sometimes users ask about other heavy-duty options. Here is a look at what works and what to generally avoid when cleaning gas burner components.
| Cleaning Agent | Best For | Caution Level | Dustin’s Verdict |
|---|---|---|---|
| Dish Soap & Hot Water | General grease, light buildup (Daily/Weekly) | Very Low | Your primary weapon. Safe and effective. |
| Baking Soda Paste | Tough, baked-on spills on caps/grates | Low | Excellent alternative to scratching pads. |
| White Vinegar Spray | Mineral deposits, light shining | Low | Great for a final wipe-down on porcelain surfaces. |
| Oven Cleaner | Extremely heavy cast iron grate buildup | High (Wear gloves/eye protection; avoid electronic parts!) | Use only as a last resort on grates; never on burner heads or igniters. |
| Steel Wool/Scouring Pads | None | Very High (Will scratch finishes) | Avoid entirely. You are looking for clean metal, not damaged metal. |
According to guidelines from organizations like the U.S. Department of Energy regarding appliance efficiency, ensuring your appliances are operating at peak condition through regular cleaning directly supports energy conservation by allowing for cleaner, more efficient fuel use.
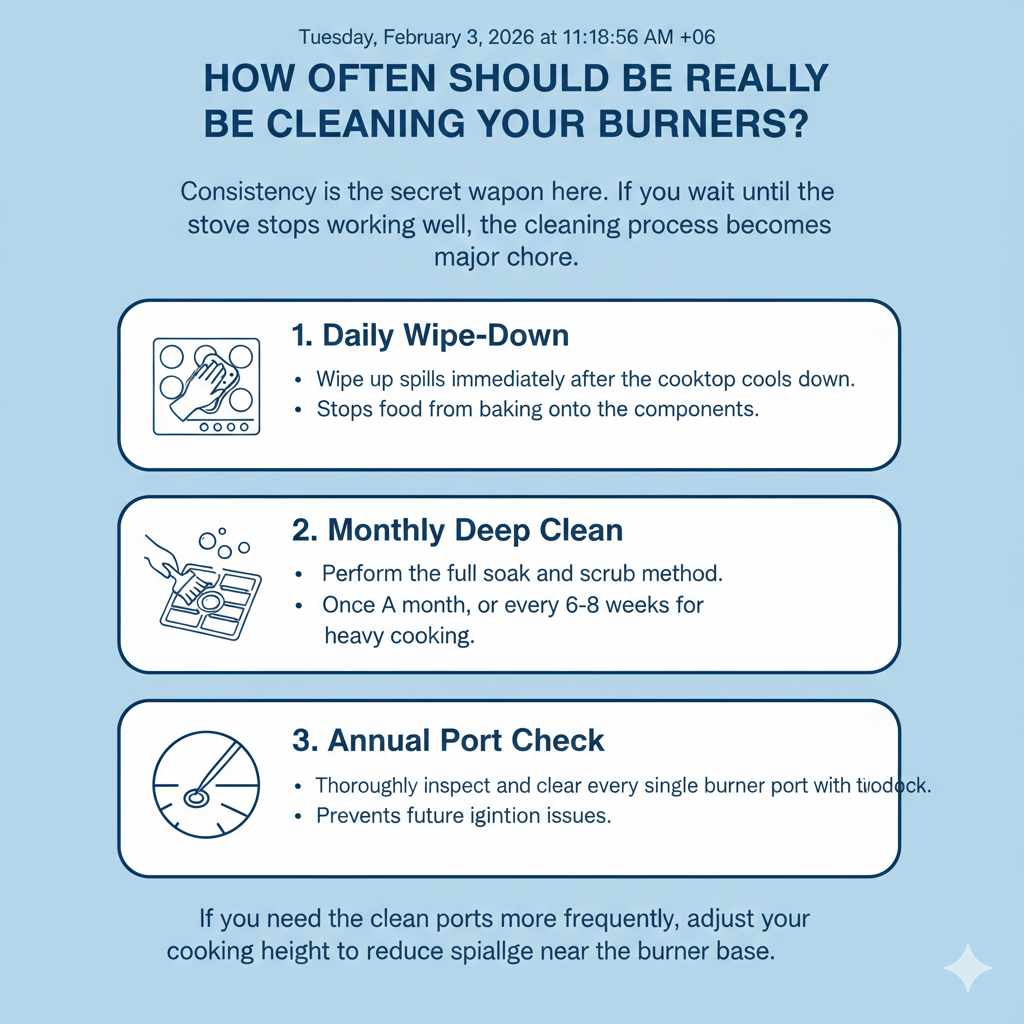
How Often Should You Really Be Cleaning Your Burners?
Consistency is the secret weapon here. If you wait until the stove stops working well, the cleaning process becomes a major chore.
Here’s a basic maintenance schedule:
- Daily Wipe-Down: Wipe up spills immediately after the cooktop cools down. This stops food from baking onto the components.
- Monthly Deep Clean: Perform the full soak and scrub method (Parts A and B) once a month, or every six to eight weeks if you cook heavily.
- Annual Port Check: Once a year, dedicate time to thoroughly inspect and clear every single burner port with a toothpick, even if the flame looks okay. This preventative step prevents future ignition issues.
If you find yourself needing to clean the ports more frequently than every month, it might indicate that your pots and pans are sitting too high relative to the flame, causing excessive spillage near the burner base. Adjusting your cooking height can sometimes reduce the mess significantly.
Frequently Asked Questions (FAQ) About Cleaning Stovetop Parts
Q1: Can I put my gas burner grates in the dishwasher?
A: It depends on the material. If they are heavy-duty, sealed cast iron, check your stove manual first; sometimes, yes. However, many manufacturers advise against it, as dishwasher detergent can strip the protective seasoning off the iron, leading to rust. Hand washing is always the safest bet for longevity.
Q2: What should I use to clean the igniter electrode (the little white ceramic stick)?
A: Very gently wipe the igniter with a soft, dry cloth or a cotton swab dipped in a tiny bit of rubbing alcohol if it seems greasy. Crucially, never scrub it, and ensure it is completely dry before use. Direct force can easily break this fragile part.
Q3: My burner is totally clogged. Can soaking overnight really help?
A: Yes, absolutely! Overnight soaking in hot, soapy water is the most effective way to break down baked-on carbon and grease without the need for harsh scrubbing tools that could damage the metal components.
Q4: Is a yellow flame dangerous or just inefficient?
A: A mostly blue flame with tiny yellow/orange tips is normal. However, a large, lazy yellow or orange flame indicates incomplete combustion, usually because the gas ports are dirty or obstructed. This is inefficient and can lead to soot buildup on your cookware. Clean your burners promptly if you notice a significant change to yellow.
Q5: How do I clean a flat, glass/ceramic electric cooktop surface?
A: Electric smooth tops require a different approach. Use a specialized ceramic cooktop cleaner or a paste of baking soda and water. Gently scrub with a nylon pad or a razor blade scraper held at a 45-degree angle for burnt-on sugar or plastic spills. Never use abrasive powders on glass.
Q6: What if I accidentally scratch the burner head while cleaning the ports?
A: A minor scratch might not immediately cause trouble. However, if the scratch is deep or rough, the burner head might not distribute the flame evenly anymore, leading to hot spots. If performance suffers significantly afterward, you will need to purchase a replacement burner assembly kit specific to your stove model.
Final Thoughts on Confidence and Cooking
See? You handled that like a seasoned pro! Learning how to clean range top burners doesn’t require a toolbox full of specialized gear or a degree in appliance repair. It just takes a little bit of patience, the right gentle tools, and the understanding that those little burner holes are the key to great cooking.
By implementing this simple routine, you aren’t just cleaning; you’re preventing future repair calls, saving a little energy, and most importantly, ensuring that when you need your stove, it’s ready to deliver that perfect, evenly spread blue flame every single time. A clean stove is a happy stove, and a happy stove means stress-free cooking for you!