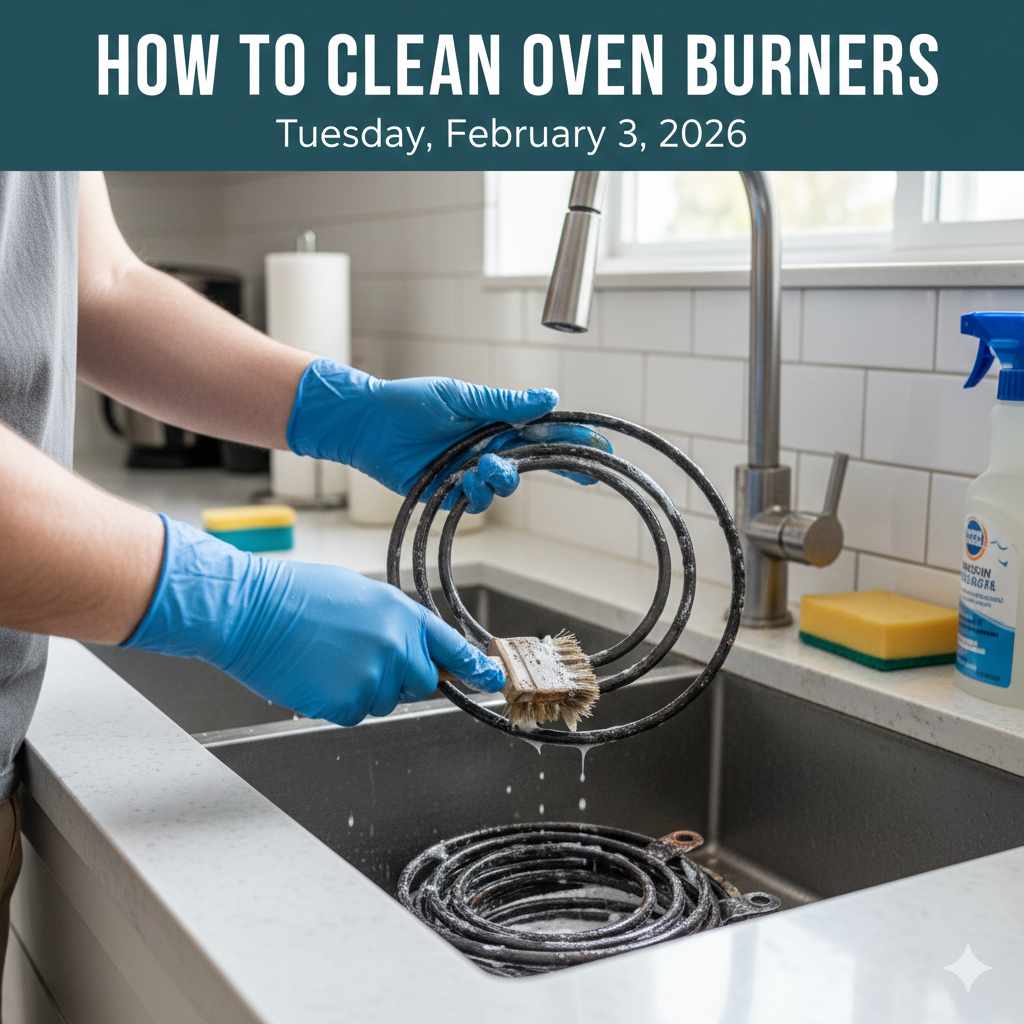
To effectively clean your oven gas burners, safely soak the removable caps and heads in hot, soapy water or a vinegar solution, gently scrub off hardened buildup with a soft brush or sponge after soaking, and ensure all parts are completely dry before reassembling to restore proper flame and efficiency.
Is your gas stove flame looking weak, uneven, or maybe even a little yellow? You are definitely not alone! Over time, cooking spills—grease, burnt sugar, and food debris—can clog up your oven gas burners. This messes with the gas flow, making your cooking less effective and wasting precious energy. Dealing with this seems like a job for a professional mechanic, but I promise you, it’s a simple fix anyone can handle right in their kitchen. We are going to walk through the easiest, safest steps to get those burners looking and working like new again. Let’s dive into making your stove top reliable and efficient!
The Essential Checklist: Tools You Need Before You Start
Before we start taking things apart, gathering your supplies makes the whole job go smoothly. You don’t need fancy tools or harsh chemicals. Think simple cleaning supplies you probably already have under the sink. A little preparation goes a long way toward an easy cleaning session.
Gather Your Gear
Here is what you should collect before tackling how to clean oven burners:
- Rubber Gloves: To keep your hands clean and protected.
- Stove Burner Grates: The large metal pieces the pots sit on (these often need cleaning first).
- Burner Caps (The Discs): These sit on top of the burner heads.
- Burner Heads (The Ring): The piece with the gas ports/holes.
- Warm Water and Dish Soap: Standard dish soap works great to cut through grease.
- White Vinegar: An excellent, gentle solution for breaking down tough mineral deposits.
- Non-Abrasive Sponge or Cloth: For wiping surfaces without scratching.
- Soft Bristle Brush (or Old Toothbrush): Perfect for gently scrubbing the tiny gas ports.
- Toothpicks, Paperclips, or Sewing Needles: For carefully clearing blocked ports (use with care!).
- Drying Towels: Absolutely crucial for the final step.

Safety First: Disconnecting Power and Cooling Down
As an automotive guide, the first rule for any DIY repair is safety. While we are working on the stove, not a car engine, the principles are the same: turn off the power source first. This prevents accidental activation and potential shocks or burns.
Step 1: Cool Down and Shut Off Gas
- Ensure the Stove is Cold: Never attempt to remove or clean burner parts if the stove has recently been used. Wait until everything is completely cool to the touch.
- Disconnect the Power (If Possible): For electric ignition stoves, unplugging the range from the wall outlet behind the stove ensures zero risk of the igniter sparking. If unplugging is impossible, check your owner’s manual to see if there is a way to temporarily disable the electrical connection.
- Turn Off the Gas Supply (Recommended for Deep Cleaning/Repair): If you are doing a very detailed cleaning or feel uncomfortable, locate the gas shut-off valve for your range, usually located behind the lower access panel or near the appliance connection point, and turn it off. For simple cleaning, this step is often skipped, but it is the safest option if you are unsure.
When dealing with gas lines, always be sure to check local safety codes or consult a certified professional if you need to disconnect or reconnect gas lines. For standard cleaning, just letting it cool and unplugging it is usually enough.
Phase 1: Removing and Pre-Soaking the Burner Components
The key to easy cleaning is soaking. Hardened food residue softens up quickly when submerged in the right solution, saving you a lot of scrubbing muscle power later. We need to separate the parts that came off the stove top.
Step 2: Carefully Remove Components
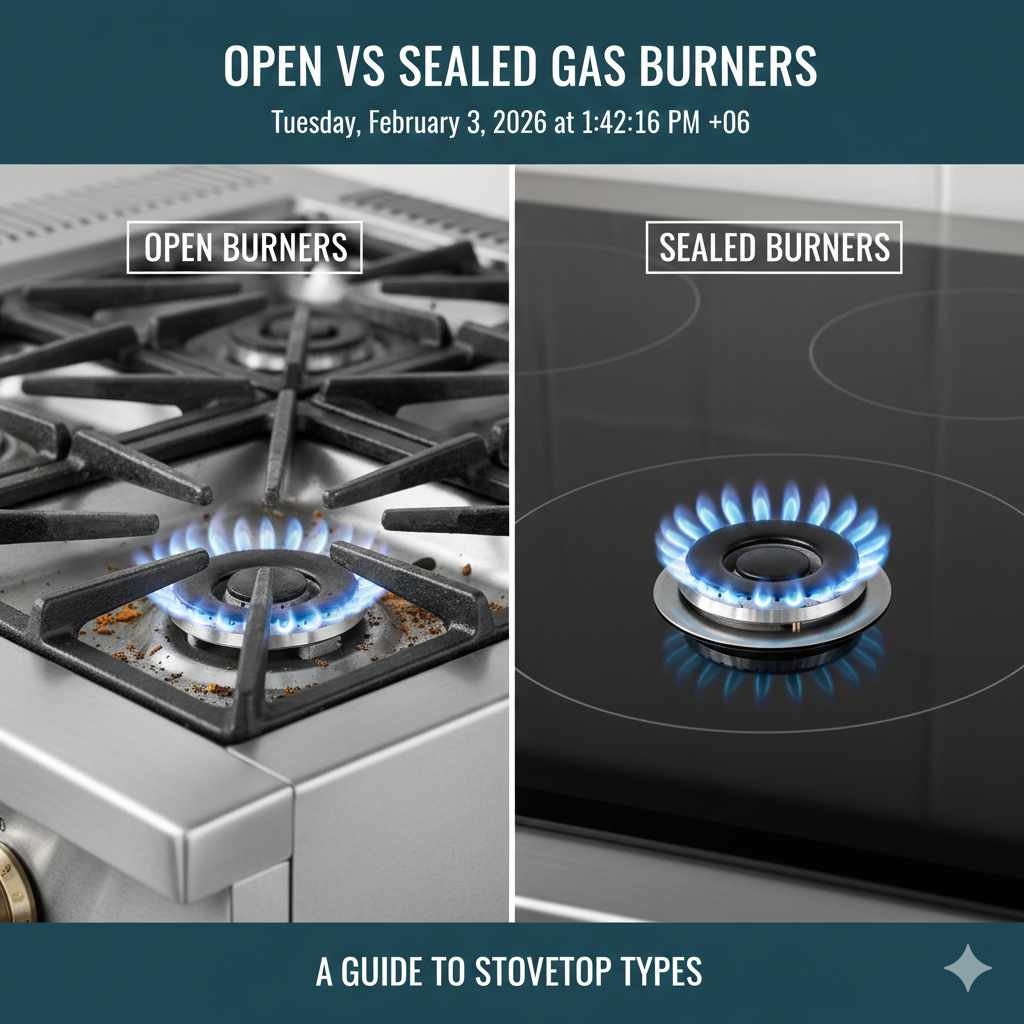
Gas cooktops typically have three distinct types of removable pieces on top of the burner assembly:
- Grates: These are the heaviest pieces that hold your pots. Lift them straight up and set them aside.
- Burner Caps: These are the flat, often black, discs that sit directly over the center of the burner. Lift these off carefully.
- Burner Heads (or Bases): These are the larger rings or star-shaped pieces where the flame comes out. These might require a slight twist or gentle wiggle to lift them off the central stem. Do not force them!
Expert Tip from Dustin: Take a quick photo of how everything sits before you take it apart. It makes putting it back together perfectly much simpler later on!
Step 3: The Soaking Solution
Now it’s time to introduce our cleaning agents. You have two reliable options, depending on how dirty your parts are. For standard maintenance, dish soap is fine. For caked-on, black residue, vinegar is your friend.
Soaking Options Comparison
Here is a quick guide to choosing your soak:
| Soil Level | Recommended Solution | Soaking Time |
|---|---|---|
| Light Grease/Dust | Hot Water + Dish Soap | 30 Minutes |
| Heavy Carbon Buildup | 50/50 White Vinegar & Hot Water | 1 Hour (or overnight for severe clogs) |
| Very Stubborn Spots | Baking Soda Paste (applied after soaking) | 15 Minutes |
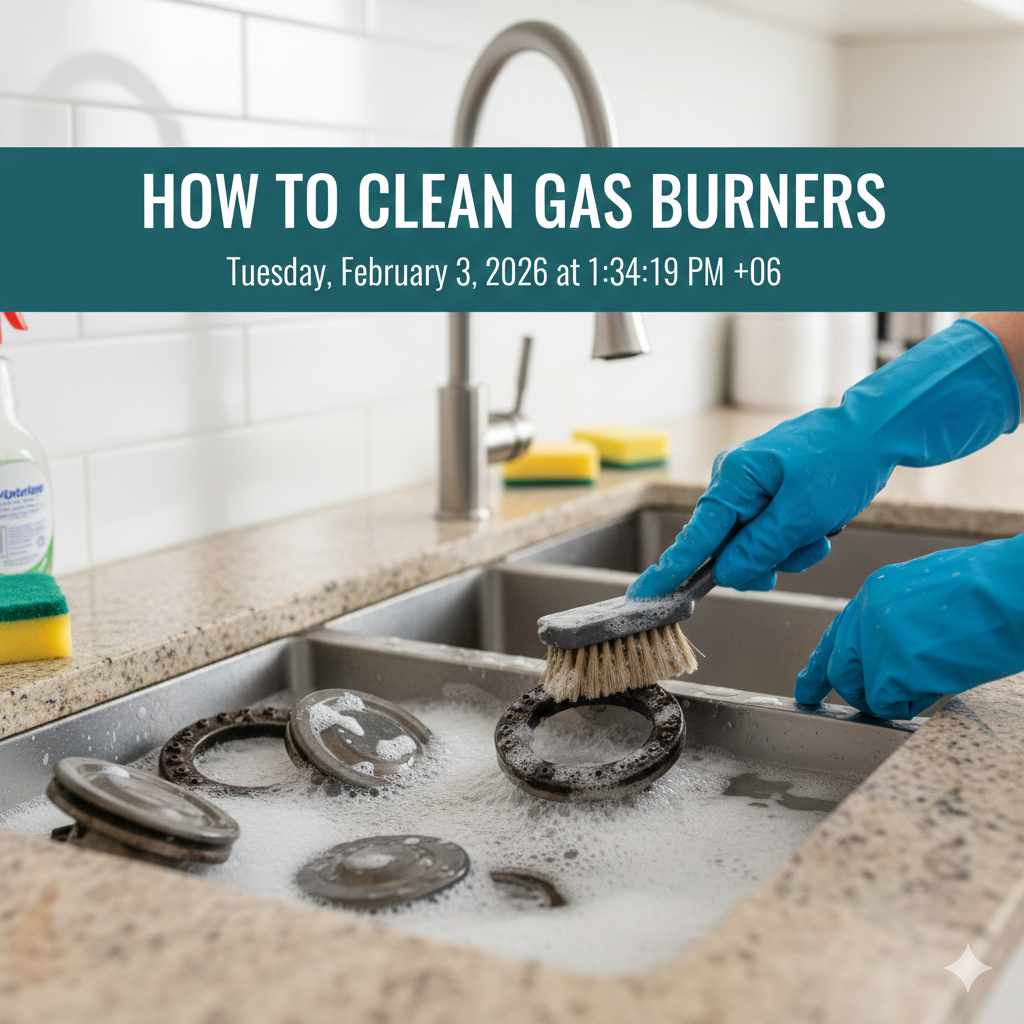
Use a large sink or a plastic tub for this process. If you have very greasy grates, you might want to soak those separately. Only soak the removable parts (caps and heads). Never submerge the stove body or the igniters!
- Fill your sink or bucket with very hot water.
- Add a generous squirt of grease-cutting dish soap, or create your 50/50 vinegar solution.
- Submerge the burner caps and burner heads completely. Let them soak for at least 30 minutes.
This soaking process does most of the heavy lifting for us. While those parts relax, we can clean the surface of the stove top itself.
Phase 2: Cleaning the Stove Top and Burner Ports
While the burner components are soaking, we focus on the main cooktop and the tiny holes that release the gas. This part is critical for an even flame.
Step 4: Wiping Down the Cooktop Surface
The area surrounding the burners often collects splatters. Since we unplugged the stove, this is safe to wipe down.
- Dip your soft sponge into the warm, soapy water (or use kitchen surface cleaner).
- Wipe away any loose debris or grease on the enameled or stainless steel cooktop surface.
- For stubborn spots right around the base of the burners, let the cleaner sit for a minute or two before wiping again.
Step 5: Clearing the Burner Ports (The Crucial Step)
Those tiny holes on the burner heads are where the gas escapes to ignite. If they are partially blocked, the flame will be weak or irregular. This is where we use a non-metallic tool.
Important Safety Note: Never use a wooden toothpick or anything that could break off inside the port, and absolutely avoid using metal wires that might damage the brass or aluminum parts. A straightened paperclip or a thin sewing needle is usually perfect for this delicate task.
- Retrieve one burner head from the soaking solution and gently shake off excess water.
- Examine the small holes ringing the burner head. You will clearly see any that are clogged with dry debris.
- Carefully insert your toothpick, paperclip, or needle into each clogged port. Push gently backward and forward to dislodge the blockage. Do not poke hard or deep; you are only clearing the exit hole.
- If the port seems totally sealed, try soaking that specific spot for a little longer, or use the sharp tip of a thin item to scrape the inside surface lightly.
- After clearing, rinse the burner head under clean running water to flush out any debris you just loosened.
This process ensures gas can flow evenly. Evenly flowing gas gives you an even, strong blue flame—the sign of a healthy stove. To learn more about the importance of proper gas appliance maintenance for home safety, reliable sources like the National Fuel Gas Code (often referenced through organizations like the National Fire Protection Association (NFPA)) emphasize keeping burner openings clear.
Phase 3: Scrubbing, Rinsing, and Drying
After the soaking works its magic, the final physical cleaning should be relatively easy. This phase focuses on removing the loosened grime and preparing everything for reassembly.
Step 6: Scrubbing the Components
Take the soaked parts out of the water. You should notice the grime wipes away much easier now.
- Use your soft-bristle brush or the non-abrasive side of your sponge. Gently scrub the burner caps and heads, focusing on any remaining residue.
- For exceptionally tough, baked-on spots on durable parts like the grates, you can apply a paste of baking soda and a little water. Let it sit for 15 minutes, then scrub it off. Baking soda is a wonderful, gentle abrasive.
- Rinse all components thoroughly under clean, warm water. Ensure no soap residue or vinegar remains, as this can impact performance or smell when heated.
Step 7: The Most Important Step—Drying
This step cannot be rushed. If any moisture is left inside the burner heads or near the electrical igniter mechanisms, you will have trouble getting your stove to light, or you could cause corrosion. Moisture left on the burner heads can interfere with the gas-to-air mixture.
- Dry every piece completely with a clean, lint-free towel. Rub them dry thoroughly.
- For extra peace of mind, especially in humid weather or if you are cleaning the burner heads, allow them to air dry on a rack for several hours. Some folks even place them outside on a warm, dry day if they have a safe spot for a few hours.
- Ensure the central stem where the burner head sits is also completely dry.
Phase 4: Reassembly and Testing
Putting everything back correctly ensures the burner lights properly and distributes the flame evenly across the bottom of your pots and pans.
Step 8: Reattaching Burner Heads and Caps
This is where that photo you took earlier comes in handy!
- Place the clean, dry burner heads back onto their central stems. Ensure they sit flat and level. Sometimes there’s a specific orientation required, so make sure any alignment tabs or slots line up correctly. Let’s repeat this process for all burners.
- Place the burner caps back on top of the heads. These also need to sit flat and centered. If the cap is tilted, the flame will be uneven.
- Place the grates back over the entire assembly.
Step 9: Testing the Flame
Once everything is dry and reassembled, it’s time to check your work.
- Plug the stove back in (or turn the gas supply back on).
- Turn on one burner to the low setting. You should hear a consistent clicking sound from the igniter.
- The burner should light quickly. Watch the flame color and pattern—it should be mostly blue, with perhaps a tiny bit of yellow or orange at the very tip.
- The flame should burn evenly all the way around the ring. If one section is weak or flickering, turn it off, let it cool, and recheck the cap seating and the port clearing for that specific burner.
- Test each burner on medium and high settings to ensure stability.
A well-maintained gas burner will produce a clean, quiet, blue flame. If you see large, lazy yellow flames, it often means the air/fuel mixture is off, which usually points to a blocked port or a poorly seated burner head/cap. For more detailed troubleshooting on flame color, the U.S. Department of Energy often provides good general guidelines on appliance efficiency, which relates directly to flame quality.
Troubleshooting Common Cleaning Issues
Even with the perfect steps, sometimes things don’t go exactly as planned. Here are a few quick fixes for common hiccups when you are learning how to clean oven burners.
Problem 1: The Igniter Won’t Spark
If you turn the knob and hear nothing, or just a weak click,
- Check Power: Ensure the stove is plugged in fully.
- Check Debris: Sometimes water or debris gets into the small igniter tip (the white ceramic piece near the burner). Let it dry completely, or gently wipe that specific ceramic tip with a dry cloth or cotton swab. Never soak the igniter!
Problem 2: The Flame Is Too High or Won’t Turn Down
This is almost always related to how the knob aligns with the gas valve underneath.
- Turn off the gas supply, remove the knob, and check if the valve stem beneath it is aligned correctly when the knob is in the “Off” position.
- If the issue persists after reassembly, the internal valve mechanism might need a service professional.
Problem 3: The Burner Cap Keeps Sliding Off Center
The burner cap needs to sit perfectly flat on the burner head grooves. If it slides, the flame will escape through cracks instead of the ports.
- Ensure the burner head is seated firmly on its base before placing the cap on top. The cap often has a small recess that locks onto a center post on the burner head. Make sure this seating is secure.
Remember, patience is key here. If you rush the drying step, you’ll just have to wait longer later! A little extra time spent drying ensures a perfect result.
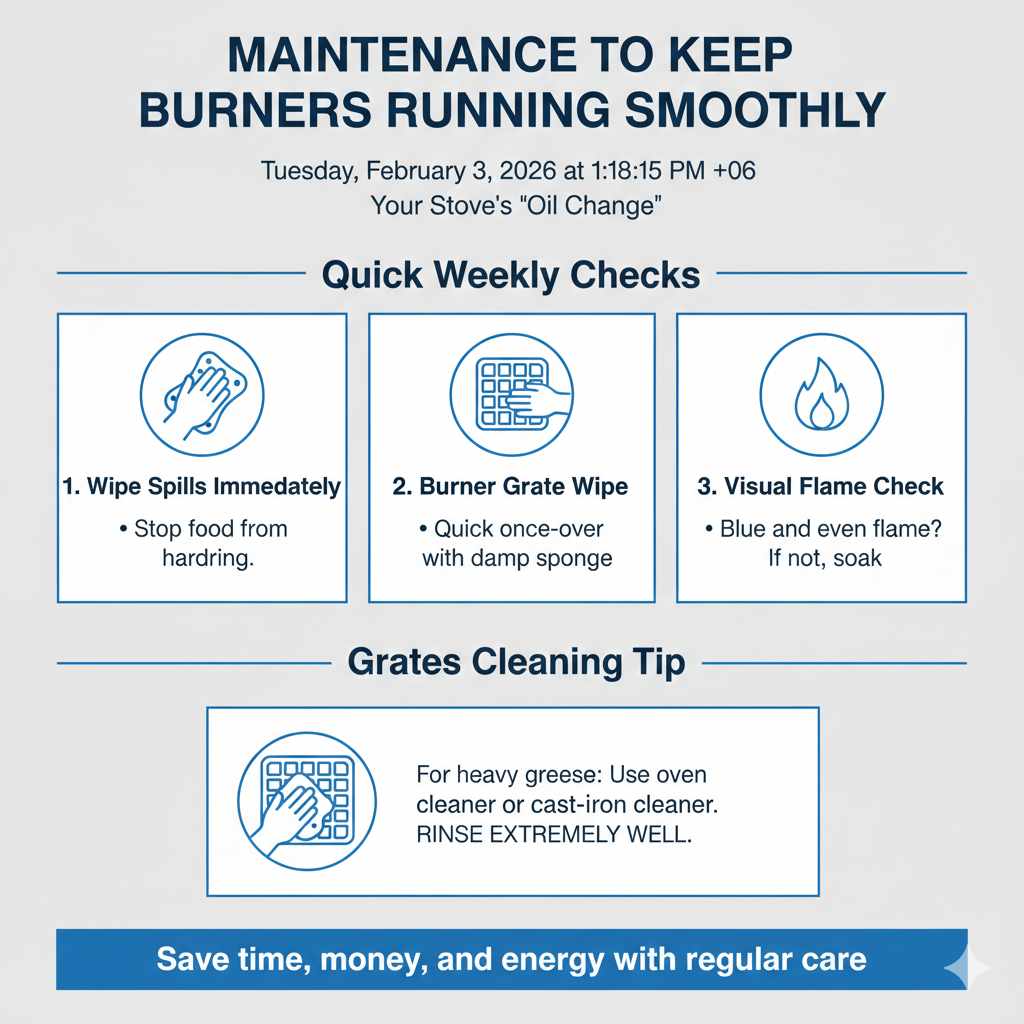
Maintenance to Keep Burners Running Smoothly
The best way to avoid a major deep clean is through preventative maintenance. Think of this like the regular oil change for your stove—it keeps the whole system running efficiently.
Quick Weekly Checks
- Wipe Spills Immediately: If sugar or sauce boils over, wipe it up while the stove is cool but before the spill hardens into carbon.
- Burner Grate Wipe: Give the grates a quick once-over with a damp sponge every few uses.
- Visual Flame Check: Once a month, briefly turn on each burner high and look at the flame. Is it blue and even? If not, it’s time for a quick soak (Steps 3–7).
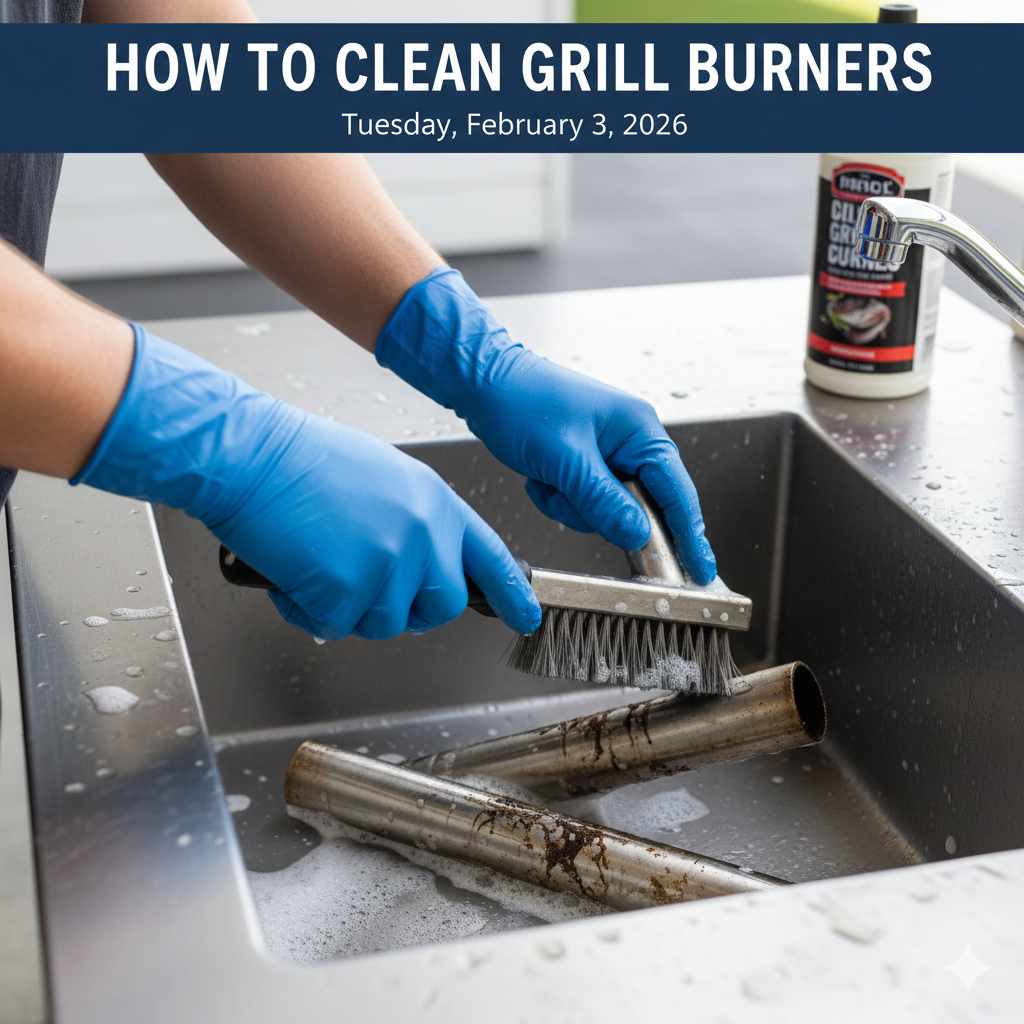
Grates Cleaning Tip
If your heavy cast-iron grates are excessively greasy and soaking isn’t working, you can use a specialty oven cleaner designed for baked-on grease (wear heavy gloves!) or use a dedicated cast-iron cleaner. Always rinse these extremely well before putting them back on the stove.
Saving time and money on service calls is incredibly satisfying. By keeping these components clean—especially those tiny gas ports—you ensure your stove is using gas efficiently, which saves you money on utility bills over the long run. It’s a great feeling when you master a basic home maintenance task!
Frequently Asked Questions (FAQ) for Beginners
Q1: Can I use steel wool or harsh scouring pads to clean my gas burner heads?
A: No, avoid steel wool or harsh scouring pads. Most burner heads and caps are made of softer metals like cast iron or aluminum. Abrasive pads can scratch the surface, damage the gas ports, or scratch off any specialized coating, leading to uneven burning or faster corrosion. Stick to soft brushes or plastic scrubbers.
Q2: How long do the burner parts need to soak?
A: For light cleaning, 30 minutes in hot, soapy water is usually enough. For heavy, baked-on grease, soak them for at least an hour. If the grime is very old, letting them soak in a vinegar solution overnight is the most effective, hands-off approach.
Q3: What is the correct color for a gas stove flame?
A: A perfectly combusted gas flame should be predominantly blue. If you see large patches of yellow or orange, it signals incomplete combustion, often caused by clogged burner ports or issues with the air intake. A clean blue flame is both safer and more fuel-efficient.
Q4: Can I clean the igniter? I don’t want to replace it.
A: Yes, you can clean the igniter, but it must be done very gently. The igniter is the small white ceramic post near the burner that creates the spark. Make sure the stove is unplugged first. Lightly wipe the igniter tip with a dry cloth or a cotton swab. If it appears greasy, you can use a cotton swab lightly dampened with rubbing alcohol. Never soak the igniter, scrub it, or apply pressure—ceramic igniters are fragile and can crack easily. Always allow it to dry completely before restoring power.
Conclusion: Clean Burners, Better Cooking, Zero Guesswork
A weak or uneven gas flame isn’t just annoying—it’s your stove’s way of telling you it needs attention. The good news is that cleaning oven gas burners is a simple, affordable task that delivers immediate results. With basic household supplies, a careful approach, and a little patience, you can restore strong, even blue flames and keep your stove operating safely and efficiently.
Regular burner maintenance improves cooking performance, reduces wasted gas, and helps prevent ignition problems before they turn into costly repairs. By soaking removable parts, gently clearing clogged ports, and—most importantly—fully drying everything before reassembly, you’re addressing the root causes of poor burner performance, not just the symptoms.
Think of burner cleaning as preventative maintenance for one of the hardest-working appliances in your home. A few minutes of care now saves frustration later and keeps every meal cooking exactly the way it should. When your burners are clean, your flame is steady, and your stove responds instantly, you’ll know you did it right.
A clean stove isn’t just about appearances—it’s about efficiency, safety, and confidence every time you turn the knob.