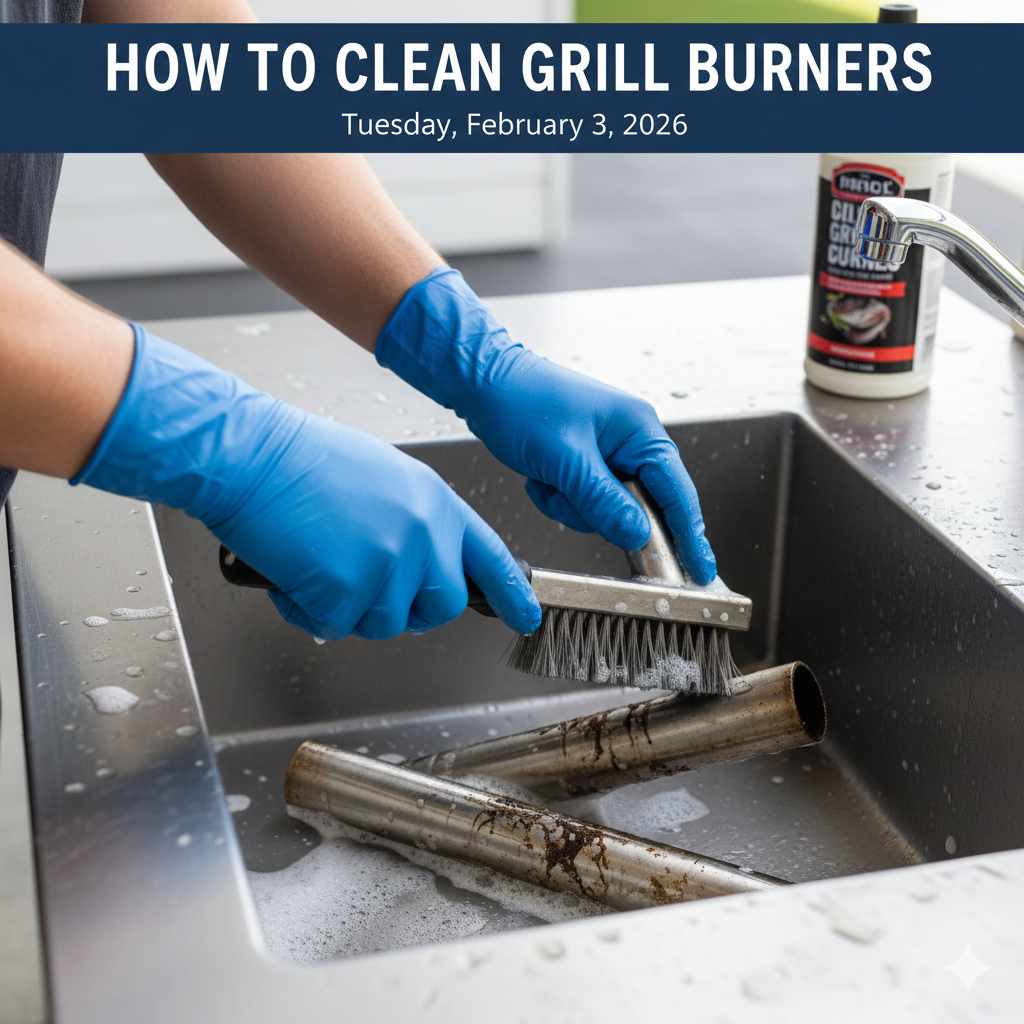
To easily clean grill burners, first ensure the grill is cool and disconnected from gas, then use a stiff brush to remove loose debris, clear any clogged ports with a small wire or paperclip, and wipe down the exterior. Regular cleaning prevents uneven heating and extends burner life, keeping your grilling perfect every time.
When you fire up your barbecue, you expect that perfect sizzle and even heat, right? But sometimes, the flame sputters, or one side cooks much hotter than the other. Most often, the culprit hiding in plain sight is dirty grill burners. They look simple, but clogged ports can seriously mess up your cookout plans. Don’t worry! Cleaning them isn’t rocket science, and you don’t need fancy tools. I’m Dustin, and I’m here to walk you through this simple maintenance task. Getting those burners clean means reliable, delicious grilling every single time. Let’s dive into the easy, safe steps to get your grill running like new again.
Why Cleaning Your Grill Burners is Non-Negotiable
Think of your grill burners like the fuel injectors in your car; they need a clean pathway for the fuel (gas) to flow smoothly. When they get clogged, everything goes downhill fast.
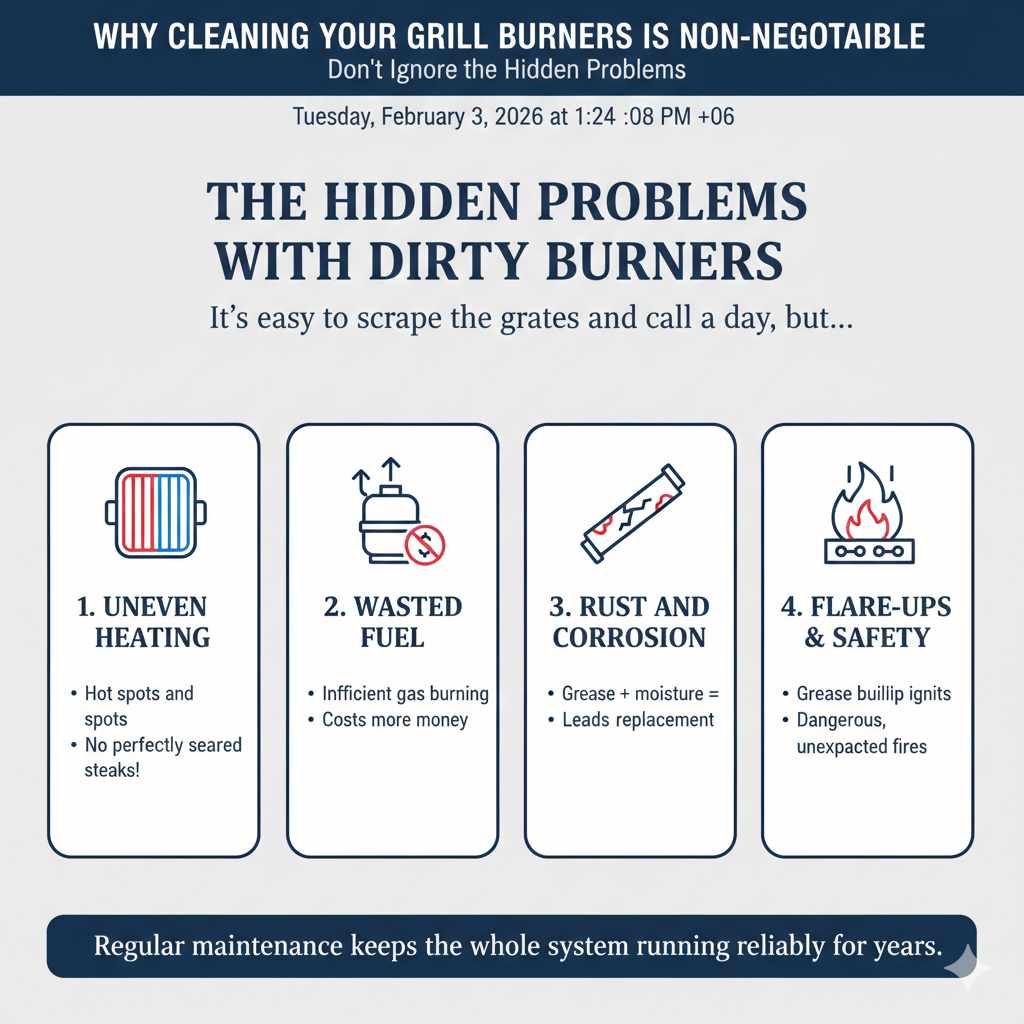
The Hidden Problems with Dirty Burners
It’s easy to just scrape the grates and call it a day, but ignoring the burners underneath leads to several frustrating issues:
- Uneven Heating: This is the biggest headache. If some ports are blocked, you end up with hot spots and cold spots. Say goodbye to perfectly seared steaks!
- Wasted Fuel: When gas can’t escape cleanly, it burns inefficiently. This means you use more propane or natural gas than necessary, costing you money.
- Rust and Corrosion: Food debris, grease buildup, and moisture sit against the metal when the burner isn’t heating properly. This speeds up rust, which eventually means replacement time sooner than you’d like.
- Flare-Ups and Safety Concerns: Excessive grease buildup around the burner area can ignite unexpectedly, leading to large, dangerous flare-ups. Proper cleaning minimizes this risk.
- Reduced Lifespan: Like any engine part, regular maintenance keeps the whole system running reliably for years.
Gathering Your Essential Cleaning Toolkit
Before tackling any grill maintenance, safety first! This job usually takes less than an hour, depending on how dirty your grill is. You don’t need a full mechanic’s toolbox, just a few simple items.
Tools You Will Need to Clean Grill Burners
Keep this list handy. These are common items you might already have around the garage or kitchen.
- Grill Brush (Stiff Bristles): A high-quality wire brush is essential for scrubbing away surface grime. Look for one with sturdy metal bristles.
- Small, Pointed Tool: This is for clearing individual port holes. Options include a straightened paperclip, a thin nail, a drill bit designed for clearing holes (without power!), or a dedicated burner cleaning tool.
- Small Utility Brush or Toothbrush: Great for detailing hard-to-reach spots or cleaning the exterior of the burner tubes.
- Safety Gear: Always wear sturdy work gloves to protect your hands from sharp edges or grease. Safety glasses are smart, too.
- Shop Towels or Rags: For wiping surfaces down.
- Duct Tape or Vacuum: To help remove debris once it’s loosened.
Step-by-Step Guide: How to Clean Grill Burners Safely and Effectively
Follow these steps in order. We prioritize safety, disconnection, and thorough cleaning to ensure you don’t accidentally damage any components.
Step 1: Safety First – Disconnect the Gas Source
This step is not optional! You are working near gas lines and heat-retaining metal.
- For Propane Grills: Turn the regulator knob on the propane tank to the “Off” position. Detach the regulator hose from the tank completely.
- For Natural Gas Grills: Shut off the gas supply valve located on the gas line leading to the grill.
- Release Pressure: Once disconnected, turn on all burner control knobs to the highest setting for about 30 seconds. This bleeds out any remaining gas trapped in the lines. Turn the control knobs back to “Off.”
Step 2: Access the Burners and Remove Components
You need clear access to the tubes themselves. This usually means removing the cooking grates and the heat tents (flavorizer bars).
- Carefully lift out your cooking grates. Set them aside for separate cleaning later.
- Lift out the heat tents or V-shaped metal shields that sit directly over the burners. These catch drippings and vaporize them—they get very dirty! Place these aside.
- Inspect how the burner tubes are held in place. Usually, they are held by a clip, a single screw, or simply rest in brackets at the front and back.
- Gently lift the burner tubes out of their housing. Be extremely careful not to pull too hard on the rubber gas tube or hose connecting the burner to the manifold (the main gas supply pipe). You are usually just lifting the burner end out of the bracket for cleaning access.
Step 3: Cleaning the Exterior and Ports (The Main Event)
This is where we clear the blockage. Focus on the small holes, called ports, that release the gas.
A. Brush the Surface
Use your stiff wire brush. Brush across the burner tube, not along the length of it. Brushing across helps loosen crusty debris without pushing it deeper into the ports. Thoroughly scrub all sides of the tube.
B. Clear the Ports
This requires patience. Take your straightened paperclip or thin wire. Gently insert it into each clogged burner port opening. Carefully push and wiggle the wire to clear out any blockage. Rotate the wire inside the hole if needed.
Important Tip: Do not widen the holes! The size of the ports is precisely engineered for optimal gas flow. You are just clearing the debris, not making the hole bigger.
C. Clear the Inside (Optional but Recommended)
If your burner tubes are severely clogged or have internal rust, you might need to clean the inside of the tube as well. Carefully disconnect the burner end from the manifold (if it’s designed to come apart easily) or use a specialized internal brush. Otherwise, simply tapping the ends of the tubes against a piece of wood can help shake out loose soot inside.
Step 4: Don’t Forget the Venturi Tubes
The venturi tubes are the sleeves that slide over the gas orifices (the tiny connections leading from the control valves). These tubes mix air with the gas before it enters the burner. If these are blocked by spiders or insect nests (a very common issue!), you will have serious performance problems.
Use a thin brush or a piece of wire to gently probe inside the open end of the venturi tube where it connects to the gas inlet. You should always check this area during annual deep cleaning.
Step 5: Final Wipe Down and Reassembly
Once the hard work is done, it’s time to put everything back together correctly.
- Use a dry rag or shop towel to wipe down the exterior of the cleaned burner tubes. Ensure no loose debris remains on the tubes or around the manifold.
- Carefully place the burner tubes back into their proper seating locations. Ensure the ends are seated correctly in the brackets and the valve inlets.
- Reinstall the heat tents (flavorizer bars) over the burners. Make sure they lay flat and correctly align over the tubes.
- Replace the cooking grates.
Troubleshooting Common Burner Issues
Sometimes, cleaning isn’t enough, or the problem isn’t just surface grime. Here’s a quick look at what to check if things still aren’t right after cleaning.
When Cleaning Doesn’t Solve the Problem
If you clean every port and your grill still runs poorly, look for these subtle issues:
| Symptom After Cleaning | Likely Cause | What to Check Next |
|---|---|---|
| Flame is yellow or orange | Improper air/fuel mixture (rarely caused by the burner itself) | Check the air intake vents for blockage. |
| Still weak flame on one side | Clogged manifold orifice or burner tube damage | Inspect the small opening where gas enters the tube (the orifice). |
| Grate feels loose near the valve | Burner not seated properly | Re-remove and reinstall the burner, ensuring it clicks/sits securely. |
| Burner tube has large holes or rust-through | Tube failure/wear and tear | The tube needs replacement. Do not try to weld or patch burner tubes. |
Maintenance Schedule: How Often Should You Clean?
Preventative care is always easier than reactive repair. Establishing a routine keeps your grill happy.
Frequency Guidelines for Burner Care
Your usage level dictates how often you need to perform this full cleaning.
- After Every Cookout: Use the brush after cooking and run the grill on high for 10–15 minutes to burn off surface residue before shutting down.
- Monthly (Light Use): Perform the brush-off and heat tent cleaning.
- Twice Per Season (Heavy Use or Deep Clean): This is when you follow the full step-by-step guide above—disconnecting gas, removing tubes, and checking the venturis.
- Annually: A complete teardown and inspection of all gas components, including checking the manifold system for leaks. For reference on gas safety, consult appliance safety guidelines, such as those published by the U.S. Fire Administration.
Understanding Burner Materials and Care
Grill burners are typically made of stainless steel or sometimes cast iron. The material affects how you clean them and how long they might last.
Stainless Steel vs. Cast Iron Burners
Most modern, quality grills use stainless steel burners because they resist rust better than older cast iron versions.
Stainless Steel Burners
These are generally easier to maintain. They are durable, but mineral deposits from gas or water vapor can still clog the ports. A wire brush handles most issues well.
Cast Iron Burners
These often require more vigilance. If you are cleaning cast iron tubes, avoid soaking them in water, as they rust very easily. Use oil or a light machine lubricant sparingly on the exterior after cleaning to help prevent surface corrosion.
A Quick Note on Grate and Heat Tent Cleaning
While we are focused on the burners, remember that the components sitting directly above them affect how well the heat transfers.
Tips for Related Parts:
- Cooking Grates: Soak heavy-duty grates in hot, soapy water (Dawn dish soap works wonders) for an hour. Use a good scraper or stiff brush to remove baked-on carbon and fat.
- Heat Tents/Flavorizer Bars: Scrape off the chunky debris, then let them sit in the same hot soapy water as the grates. Rinse thoroughly before drying completely. Any moisture left behind can lead to rust when you fire up the grill.
Safety Check: Inspecting Gas Lines and Valves
While you have everything apart, it’s a perfect time to ensure all the non-cleaning parts are in good working order. This reinforces the reliability of your whole grilling setup.
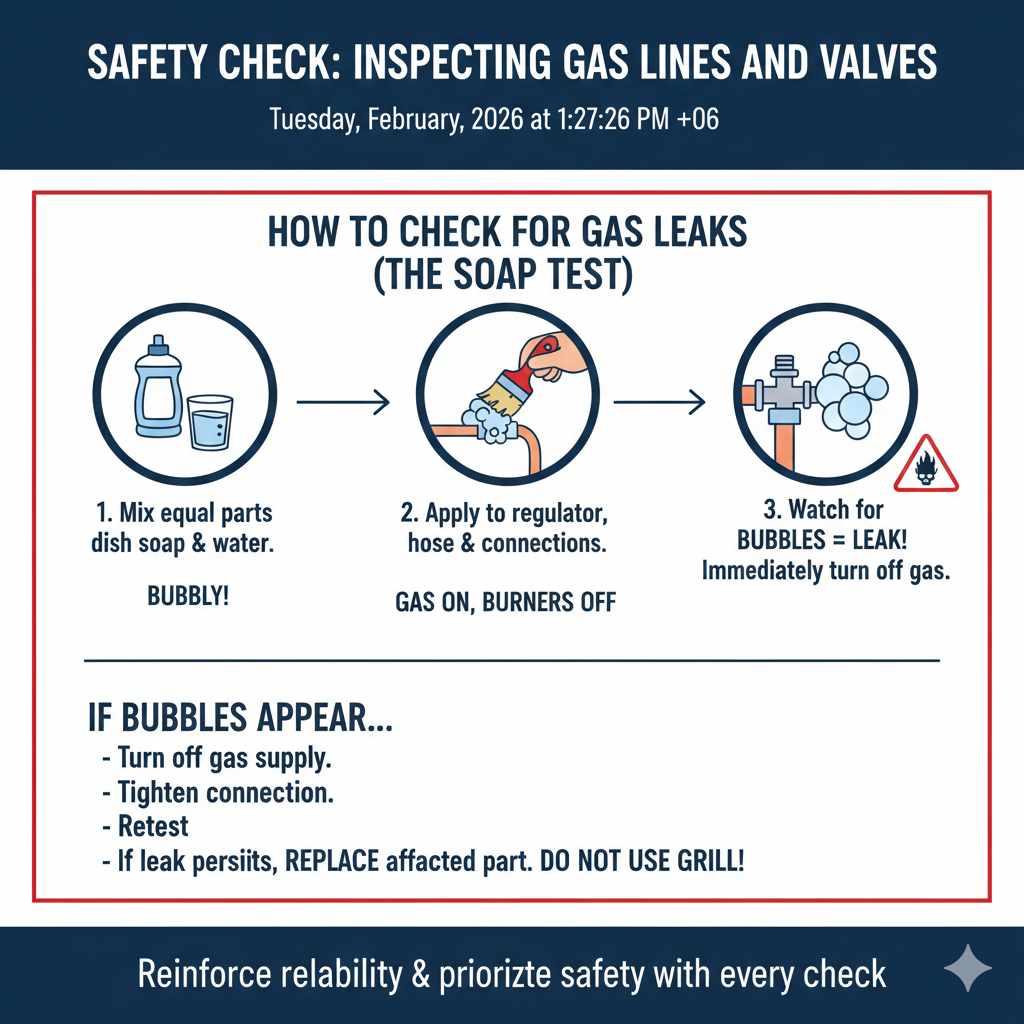
How to Check for Gas Leaks (The Soap Test)
After reassembling the burners and reconnecting the gas, but before lighting the grill, perform a quick leak check. This is a crucial best practice for LP (propane) gas systems.
- Mix a solution of equal parts dish soap and water until very bubbly.
- Ensure all burner knobs are in the “Off” position.
- Turn the gas supply back on (connect the propane tank or open the main valve).
- Using a small paintbrush or sponge, apply the soapy water mixture liberally over the regulator connection, the hose, and the connections where the burners meet the manifold.
- Watch carefully. If you see any bubbles forming and growing where you applied the soap, you have a gas leak!
- If bubbles appear, immediately turn off the gas supply, tighten the connection, and retest. If the leak persists, replace the affected hose or connection immediately—do not use the grill until the leak is resolved. A reliable source for safety demonstrations can be found through local fire department resources or verified hardware guides that focus on LP safety standards.
Frequently Asked Questions (FAQ) for Beginner Grill Owners
Q1: Can I use oven cleaner to clean my grill burners?
A: It’s generally best to avoid harsh chemical oven cleaners on burner tubes. They aren’t designed for the material and can sometimes eat away at coatings or cause premature corrosion. Stick to a stiff brush and mild soap if needed.
Q2: My burner tube is made of cast iron. Should I soak it?
A: No. Cast iron rusts very quickly when wet. Brush off the debris thoroughly and perhaps lightly coat the exterior with cooking oil (like canola or vegetable oil) after it’s dry to help protect it.
Q3: What is the best way to clean out the tiny holes (ports) without making them bigger?
A: Use a very narrow, non-flexible tool like a straightened paperclip or a dedicated, tiny metal pick. Gently probe each hole to dislodge blockage. Avoid using anything sharp enough to scratch the inside of the port opening aggressively.
Q4: I noticed small spiders or webs inside the tube connection. Is this dangerous?
A: Yes, this is very common! Spiders love the smell of gas residue and build nests inside venturi tubes, which causes pressure issues. Always check the venturi opening where the tube meets the main manifold for blockages.
Q5: How do I know if my burner needs replacement instead of cleaning?
A: If you see significant rust-through (actual holes in the metal tube), deep, unremovable cracks, or if the metal is visibly warped by excessive heat, it’s time for a replacement burner. Cleaning won’t fix structural damage.
Q6: Do I have to disconnect the gas every time I clean the burners?
A: Only disconnect the tank/gas line for a deep clean (when you remove the tubes). For routine cleaning (brushing the top of the tubes while they are installed), ensure the grill is completely cool, and you only need to turn the knobs off.
Conclusion: Enjoying Reliable Grill Performance
You made it! You’ve taken charge of maintaining one of the most critical parts of your barbecue. Cleaning the grill burners might seem like a chore best left to the professionals, but as you’ve seen, with a few simple tools and a systematic approach, you can handle this job yourself safely and effectively. Not only will your grill heat evenly, but you will also save money on gas and extend the life of your entire unit. Taking care of these details gives you the confidence to fire up the grill anytime, knowing your tool is ready to perform perfectly. So go ahead, fire up those burners, and get ready for some great grilling!