

Quick Summary: Changing a lock is a straightforward DIY project that enhances home security. This guide provides easy, step-by-step instructions for replacing most common door locks, empowering you to tackle this essential home maintenance task with confidence and a touch of style.
Feeling a little uneasy about who might have a key to your home? Or perhaps your current lock is looking a bit tired and worn? You’re not alone! Many of us put off tasks like changing a lock, thinking it’s too complicated or requires a professional. But guess what? With a little guidance and a few basic tools, you can absolutely master how to change a lock yourself. Imagine the peace of mind and the fresh, updated look it brings to your entryway! This guide is here to make this DIY project feel as simple and rewarding as choosing a new throw pillow. We’ll walk through each step, keeping things clear, concise, and decidedly un-intimidating. Ready to boost your home’s security and your DIY confidence? Let’s get started!
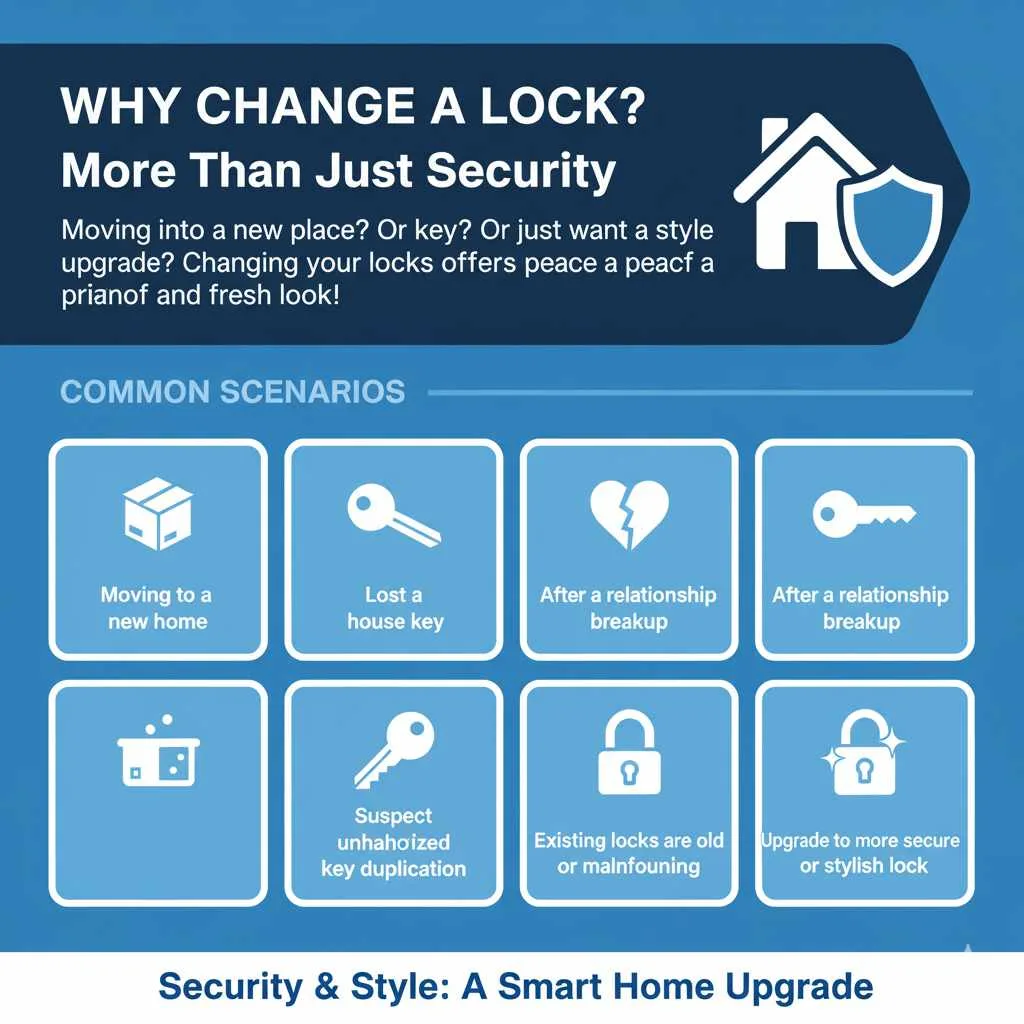
Why Change a Lock? More Than Just Security
There are so many good reasons to update your door locks. Of course, the biggest reason is security: if you’ve moved into a new place, if a key has gone missing, or if you just want an extra layer of protection, changing your locks is a smart move. It’s one of the most effective ways to ensure only you and trusted individuals have access to your home. For homeowners, it provides significant peace of mind. For renters, it might be a necessary step for added security in a new living space. Beyond security, though, changing a lock can also be a subtle way to enhance your home’s aesthetic. Think of it as adding a touch of updated style to your entryway! A shiny new lock can make an old door feel refreshed and more welcoming.
Here are some common scenarios where changing a lock is a wise decision:
- Moving into a new home or apartment.
- Losing a house key.
- After a relationship breakup.
- If you suspect unauthorized key duplication.
- When existing locks are old, worn, or malfunctioning.
- To upgrade to a more secure or stylish lock type.
Understanding Your Lock: What You’re Replacing
Before you dive in, it’s helpful to know what kind of lock you’re dealing with. The most common type of lock needing replacement is a residential door lock, often called a keyed entry lock or knob lock. These typically consist of a doorknob on each side of the door, with a latch mechanism that goes through the door edge. Another popular type is a deadbolt lock, which offers enhanced security and is usually installed above or below the doorknob. Many doors have both!
When you buy a new lock, it usually comes as a set with all the necessary components. You’ll need to make sure your new lock is compatible with your door’s existing preparation – meaning the holes in your door line up for the new lock’s parts. Don’t worry, most standard residential locks are designed to fit common door sizes and pre-drilled holes. If you’re looking to upgrade, consider smart locks for keyless entry or higher-security deadbolts. You can find a great selection and learn more about different lock types for your home’s needs at resources like CPSC’s Home Security Guidelines.
Tools You’ll Need: Simple and Accessible
The best part about this DIY project is that you likely have most of the tools already. You don’t need a professional toolkit to change a lock. Here’s a simple list of what you’ll generally need:
- Screwdriver: A Phillips head screwdriver is usually all you need. Make sure it fits the screws well so you don’t strip them.
- Measuring Tape: For ensuring backset and door thickness if you’re unsure about compatibility (though most new locks are standard).
- New Lock Set: Make sure it’s the right type (knob, deadbolt, etc.) and finish for your door.
- Gloves (Optional): To keep your hands clean and protected.
- Soft Cloth or Rag: To wipe away any dust or debris.
- Plastic Scraper or Putty Knife (Occasionally): If old paint or sealant is sticking parts together, though this is rare for interior lock mechanisms.
Most residential lock replacements focus on the doorknob and deadbolt components. If you are changing a lock on a sliding glass door, the process can be slightly different and might involve specialized hardware. We’ll touch on that below, but the fundamental principles of removing old and installing new parts remain the same.
Step-by-Step: How to Change a Standard Door Lock
Let’s break down how to change a standard lock. This is for a typical residential door lock, like the one on your front door or a bedroom door.
Step 1: Remove the Old Lock
This is where your screwdriver comes in. Look for the screws on the interior side of the doorknob or deadbolt. These are usually quite visible.
- Locate Screws: On the inside portion of the lockset (the part you don’t see keys for), you’ll find one or two screws. On some knob-style locks, these may be hidden behind a small cover or require you to press a release button.
- Unscrew: Carefully unscrew these screws. Keep them in a safe place, like a small bowl or magnetic tray, so they don’t get lost.
- Separate the Lock Halves: Once the screws are out, the interior and exterior parts of the lock should easily separate. You might need to gently wiggle them. On a knob lock, you might find the exterior knob can be pulled away once the screws are gone.
- Remove the Latch Mechanism: Look at the edge of the door where the latch extends. You’ll see a metal plate held in place by usually two screws. Unscrew these and pull the entire latch mechanism straight out from the door edge.
It’s honestly as simple as that! For most standard locks, this is the extent of the removal process. You’re already doing great!
Step 2: Install the New Lock’s Latch
Your new lock set will come with a new latch mechanism and a strike plate for the door frame. Let’s get that new latch in!
- Insert New Latch: Take the new latch mechanism from your new lock set. It should slide into the hole on the edge of your door. Make sure the “face” of the latch (where the bolt extends) is oriented correctly – usually, the beveled edge faces the direction the door closes.
- Secure the Latch: The new latch should come with its own screws. Screw it firmly into place. Ensure it sits flush with the door edge.
Step 3: Install the New Lockset (Exterior and Interior)
Now it’s time to put the main parts of your new lock in place.
- Position Exterior Piece: Take the exterior side of your new lockset (the part with the keyhole, if it’s a keyed entry lock). Insert the connecting spindle or mechanism through the latch mechanism you just installed.
- Align Interior Piece: Bring the interior side of the lockset to the door, aligning it with the exterior piece and the spindle. It should fit snugly against the door.
- Insert and Tighten Mounting Screws: Your new lock will have longer screws designed to go through the interior piece, the door, and often into the exterior piece, securing everything together. Start by threading these screws by hand to ensure they catch properly. Once they’re started, use your screwdriver to tighten them. Tighten them evenly, alternating between screws if there are multiple, until the lock is snug against the door. Don’t overtighten, as this could damage the door or the lock.
Step 4: Test the New Lock
Before you close the door and potentially lock yourself out, it’s crucial to test your new lock!
- Check the Latch: Open and close the door. Does the latch slide smoothly in and out?
- Test the Lock/Unlock Function: From both the inside and outside, insert the key (if applicable) and test the locking and unlocking mechanism. Does it turn freely? Does the deadbolt extend and retract properly?
- Operate the Knob/Lever: Make sure the doorknob or lever operates smoothly without sticking.
If everything works perfectly, congratulations! You’ve successfully changed your door lock. If something feels stiff or doesn’t work right, double-check that all screws are snug (but not overtightened) and that the components are aligned correctly. Sometimes, slight adjustments are all that’s needed.
How to Change a Lock on a Sliding Glass Door
Sliding glass doors offer a bit of a different challenge, as they often use specialized locks. The most common types are mortise locks or sliding bolts that engage with the frame. While the specific hardware varies, the general principle of removing the old and installing the new remains the same.
Here’s a general overview of how to change a lock on a sliding glass door:
- Identify the Lock Mechanism: Sliding door locks are often integrated into the door handle or are a separate bolt-style mechanism.
- Remove Exterior Hardware: Look for screws on the exterior side of the handle or lock. These can sometimes be hidden behind decorative plates.
- Access Internal Components: Once the exterior parts are removed, you’ll usually have access to the inner workings and mounting screws.
- Remove the Old Lock: Unscrew and carefully remove the old lock assembly. Watch for any springs or small parts.
- Install the New Lock: Follow the manufacturer’s instructions for your new sliding door lock. This typically involves mounting the new mechanism, securing it with screws, and reattaching any exterior handles or plates.
- Test Thoroughly: Ensure the door slides smoothly and locks securely into the frame. A misaligned lock can prevent the door from closing properly or becoming a security risk.
For sliding glass doors, it’s often best to purchase a replacement lock specifically designed for your door’s make and model, if possible. You can often find replacement parts or compatible locks at hardware stores or specialized locksmith suppliers online. Resources like Sunset’s Guide to Sliding Door Locks can offer more visual examples of these mechanisms.
Choosing the Right Lock: Style and Security
When selecting a new lock, don’t forget to consider both function and form! The right lock can enhance your home’s curb appeal and align with your personal style.
Here’s a quick look at some popular choices:
| Lock Type | Description | Pros | Cons |
|---|---|---|---|
| Doorknob Lock | The classic knob, often integrated with a simple latch. Common for interior doors and some exterior entries. | Affordable, easy to install, wide variety of styles. | Can be less secure than other options if not paired with a deadbolt. |
| Lever Handle Lock | Features a lever that you push down to open. Easier to operate, especially for those with mobility issues. | Ergonomic, stylish, often ADA-compliant. | Can sometimes be susceptible to forced entry if not a high-quality design. |
| Deadbolt Lock | A strong bolt that extends into the door frame when locked, offering superior security. Can be single-cylinder (key outside, thumb-turn inside) or double-cylinder (key outside and inside). | Highly secure, a strong deterrent against forced entry. | Requires a separate installation usually, can be more costly. Double-cylinder types can be a fire hazard if immediate egress is needed. |
| Smart Lock | Keyless entry via smartphone app, keypad, fingerprint, or voice command. Integrates with smart home systems. | Convenience, advanced security features, remote access control. | More expensive, requires batteries or power, potential for technological glitches or cyber threats. |
When picking a finish, think about your existing hardware. Brushed nickel, oil-rubbed bronze, matte black, and polished brass are popular choices that can complement your home’s exterior paint and trim. For front doors, consider a matching deadbolt and doorknob for a cohesive and stylish look. For security, always opt for a deadbolt in addition to your primary lock on exterior doors. According to the National homeowners Insurance Council, deadbolts significantly increase a home’s security rating.
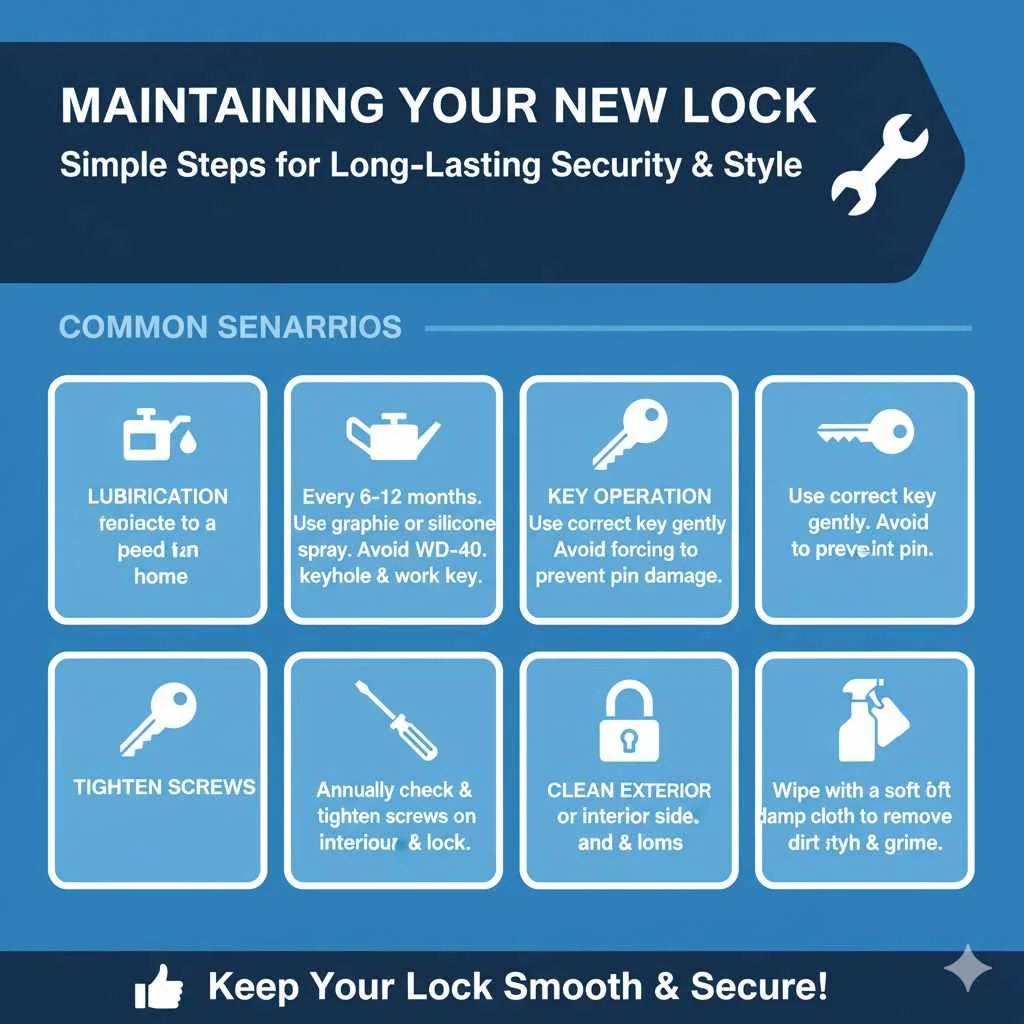
Maintaining Your New Lock
Once your new lock is installed, a little care will ensure it serves you well for years to come. It’s all about simple home maintenance that keeps things running smoothly.
- Lubrication: Every six months to a year, lubricate the lock mechanism. Use a graphite-based lubricant or a silicone spray. Avoid using oil-based lubricants like WD-40, as they can attract dirt and dust, gumming up the works over time. Spray a little into the keyhole and work the key in and out a few times.
- Key Operation: Always use the correct key and insert it gently. Forcing a key can damage the pins inside the lock.
- Tighten Screws Periodically: Over time, screws can loosen slightly with use. Every year or so, check the screws on the interior side of your lock. If they feel a bit loose, tighten them gently.
- Clean the Exterior: Wipe down the exterior of the lock with a soft, damp cloth to keep it looking its best and free from dirt and grime.
These simple maintenance steps will keep your lock functioning smoothly and looking great, ensuring both security and style for your home.
Frequently Asked Questions (FAQ)
Q1: How difficult is it to change a residential door lock?
It’s a surprisingly easy DIY project! For most standard doorknob and deadbolt locks, it only requires a screwdriver and about 15-30 minutes. The steps involve unscrewing the old lock, removing its parts, and installing the new ones in reverse.
Q2: What if my new lock doesn’t fit the holes in my door?
Most new locks are designed to fit standard door preparations. If you encounter issues, double-check the measurements of your existing lock’s backset (the distance from the edge of the door to the center of the doorknob hole) and the door’s thickness. You might need to purchase a lock with adjustable backset or, in rare cases, slightly modify the door opening. However, for typical replacements, this is uncommon.
Q3: Can I change just the key cylinder without replacing the whole lock?
Yes, for many locks, particularly deadbolts, you can replace just the cylinder (the part where the key goes). This is a good option if the rest of the lock mechanism is still working fine but you need to change the key (e.g., when moving into a new home and don’t want to replace the entire lockset). You’ll need to ensure you get a compatible cylinder.
Q4: Do I need a professional locksmith to change my locks?
For standard residential locks, a professional locksmith is usually not necessary. Changing a lock is a straightforward DIY task. You might consider a locksmith for more complex lock systems, high-security installations, or if you’re uncomfortable performing the task yourself.
Q5: How often should I change my house locks?
There’s no set schedule. You should change your locks anytime you move into a new home, lose a key, or feel your home’s security has been compromised. Otherwise, if your locks are functioning well and show no signs of wear, they can last for many years. Regular maintenance, as described above, can prolong their lifespan.
Q6: What is the “backset” of a lock?
The backset is the distance from the edge of the door to the center of the hole where the doorknob or deadbolt mechanism passes through. The most common backset for residential doors is 2-3/8 inches or 2-3/4 inches. New locks often come with adjustable latches to accommodate both measurements.
Conclusion
There you have it! Changing a lock is well within your reach, a simple yet powerful way to enhance your home’s security and even its style. We’ve covered why you might want to make the change, the basic tools you’ll need, and a clear, step-by-step guide for most common door locks. Remember, your home is your sanctuary, and ensuring its security with updated locks is a rewarding project that boosts your confidence and peace of mind. Don’t hesitate to tackle this; you’ve got this!


Leave a Reply