

Best Answer: Steamed clams and mussels typically take 5 to 7 minutes to cook once the pot is steaming. They are ready when their shells are fully open. Discard any that remain closed after cooking.
Do you ever stare at a pot of beautiful, unopened steamer clams or mussels and wonder, “Are they done yet?” It’s a common worry! Getting seafood just right can feel a little tricky, but I’m here to make it simple. Cooking steamers is actually quite easy and incredibly rewarding. Once you know the signs, you’ll be serving up perfectly cooked, delicious shellfish like a pro. We’ll walk through everything you need to know to ensure your steamers are safe, tender, and bursting with flavor. Get ready to impress yourself and your guests with your new culinary skills!
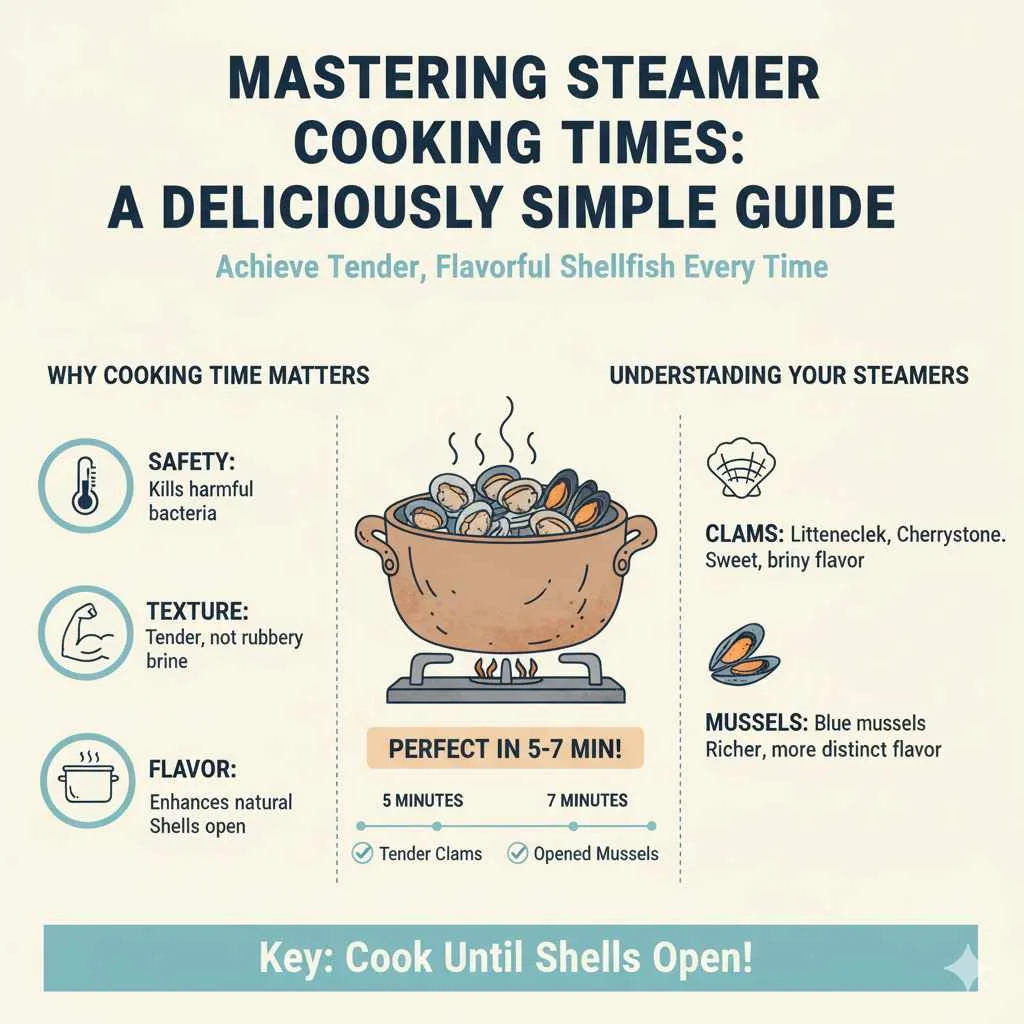
Mastering Steamer Cooking Times: A Deliciously Simple Guide
Steamed clams and mussels, often called “steamers,” are a fantastic dish. They’re elegant enough for a dinner party but simple enough for a weeknight treat. The key to success is understanding how long to cook them. Overcook them, and they become tough. Undercook them, and they’re not safe to eat. Let’s break down the process so you can achieve perfectly cooked, tender, and flavorful shellfish every single time.
Why Cooking Time Matters for Steamers
Steaming is a gentle cooking method that relies on moist heat. For clams and mussels, this process not only cooks the succulent meat inside but also helps to open their shells, signaling they are ready to eat. The timing is crucial because:
Safety: Shellfish need to reach a safe internal temperature to kill any harmful bacteria or viruses.
Texture: Properly cooked steamers are tender and juicy. Overcooking leads to a rubbery, less enjoyable texture.
Flavor: Gentle steaming allows the natural, briny flavors of the shellfish to shine through, enhanced by the aromatics and liquid in your pot.
Doneness Indicator: The opening of the shells is the primary visual cue that your steamers are cooked.
Understanding Your Steamers: Clams vs. Mussels
While both are cooked similarly, there can be slight differences in their cooking times and how they open. It’s helpful to know what you’re working with.
Clams
Clams are bivalve mollusks with two hinged shells. For steaming, littleneck, Manila, and cherrystone clams are popular choices. They have a slightly sweet, briny flavor and a satisfying chew.
Mussels
Mussels are also bivalve mollusks but typically have a darker shell and a more distinct, richer flavor than clams. Blue mussels are the most common variety for cooking. They are often a bit more delicate than clams.
The primary goal is to cook them until their shells open. This indicates they are cooked through and safe to consume.
The Art of Preparing Steamers for Cooking
Before we even talk about timing, proper preparation is crucial. Skipping these steps can lead to gritty shellfish and a less enjoyable meal.
Step 1: Cleaning and Purging
This is perhaps the most important step to avoid sandy or gritty steamers.
Scrubbing: Use a stiff brush to scrub the exterior of the clams and mussels under cold running water. This removes any mud, sand, or debris clinging to the shells.
Purging: This process encourages the shellfish to expel any sand or grit from their insides.
Place the scrubbed shellfish in a large bowl.
Cover them with cold, salted water (use about 1/4 cup of salt per quart of water, or follow the National Oceanic and Atmospheric Administration’s (NOAA) guidance on safe seafood handling).
Let them sit for at least 20-30 minutes. You might see them spitting out water or sand. For best results, you can extend this to an hour or even longer in the refrigerator, changing the water if it becomes cloudy.
Drain and rinse them thoroughly after purging.
Step 2: Discarding Bad Shellfish
Before cooking, always check your shellfish:
Clams: Discard any clams with cracked or broken shells. Also, discard any that are already open and don’t close when tapped sharply on the counter.
Mussels: Do the same for mussels – discard any with broken shells. Mussels have a “beard” (a fibrous byssus). You can pull this out firmly with your fingers or a knife. It’s not harmful if you miss a little, but it’s best to remove most of it.
How to Steam Your Delicious Discoveries
Steaming is remarkably simple. You need a large pot with a tight-fitting lid, some liquid, and your prepared shellfish.
Essential Equipment for Steaming
Large Pot with Lid: A stockpot or Dutch oven works well.
Steaming Rack or Basket (Optional but helpful): This keeps the shellfish slightly elevated from the liquid.
Tongs or Slotted Spoon: For removing the cooked shellfish.
Choosing Your Steaming Liquid and Aromatics
The liquid in the pot creates the steam, and adding aromatics infuses your shellfish with incredible flavor. Popular choices include:
Broth: Fish, vegetable, or chicken broth.
Wine: Dry white wine (like Sauvignon Blanc or Pinot Grigio) is a classic pairing.
Water: Simple and effective.
Beer: A lager or pale ale can add a unique depth.
Aromatics to Consider:
Garlic (minced or sliced)
Shallots or Onions (chopped)
Herbs (parsley, thyme, cilantro, dill)
Butter or Olive Oil
A pinch of red pepper flakes for a bit of heat
The Steaming Process: Step-by-Step
1. Add Liquid and Aromatics: Pour about 1-2 inches of your chosen liquid into the bottom of the pot. Add your aromatics (garlic, shallots, herbs, butter/oil, pepper flakes).
2. Heat the Pot: Place the pot over medium-high heat and bring the liquid to a simmer. You want visible steam before adding the shellfish.
3. Add the Shellfish: Carefully add your cleaned and purged clams and mussels to the pot. If you have a steaming rack, place them in it. Otherwise, they can go directly in the pot. Don’t overcrowd the pot; cook in batches if necessary.
4. Cover Tightly: Place the lid on the pot, ensuring it fits snugly. This traps the steam, which is essential for cooking.
5. Steam and Time: This is where the magic happens.
Begin Timing: Start your timer as soon as the lid is on.
Cook Time: For most clams and mussels, this will be 5 to 7 minutes.
Watch for Open Shells: The steam will cause the shells to open. This is your primary signal that they are done.
6. Check for Doneness: After 5 minutes, lift the lid (carefully, to avoid steam burns) and give them a gentle swirl or shake. If most are open, they are likely ready. If many are still closed, cover and cook for another 1-2 minutes.
7. Serve Immediately: Once most of the shellfish have opened, remove the pot from the heat. Use tongs or a slotted spoon to transfer them to serving bowls.
What About Those Unopened Shells?
It’s inevitable – a few shellfish might remain stubbornly closed.
Discard Them: Any clams or mussels that are still closed after the cooking time are likely dead. They are not safe to eat and should be discarded. Do not try to force them open.
A Table of Steamer Cooking Times: A Quick Reference
While 5-7 minutes is standard, a quick reference can be helpful as you get the hang of it. Remember, these are general times, and visual cues (open shells!) are the most important indicators.
| Type of Shellfish | Approximate Steaming Time (after water simmers) | Key Indicator |
|---|---|---|
| Littleneck Clams | 5-8 minutes | Shells fully open |
| Manila Clams | 5-7 minutes | Shells fully open |
| Cherrystone Clams | 6-9 minutes | Shells fully open |
| Mussels (Blue Mussels) | 5-7 minutes | Shells fully open |
| Oysters (for steaming) | 4-6 minutes | Shells slightly ajar |
Note: These times can vary slightly based on the size of the shellfish and the intensity of your heat source. Always prioritize the visual cue of open shells.
Tips for Perfect Steamers Every Time
Achieving steaming perfection is all about attention to detail and a little practice. Here are some expert tips to elevate your game:
Don’t Overcrowd: If your pot is too full, the shellfish won’t steam evenly. Cook in batches if needed. This ensures proper circulation of steam around each piece.
Tight-Fitting Lid: A good seal is essential for trapping steam. If your lid is loose, consider using a piece of foil to create a better seal.
Freshness is Key: Always use the freshest shellfish possible. Purchase them from a reputable seafood market and try to cook them the same day you buy them.
Taste the Broth: The flavorful liquid left in the pot after steaming is liquid gold! Serve it with crusty bread for dipping. You can also use it as a base for pasta sauces, risottos, or seafood stews.
Vary Your Aromatics and Liquids: Don’t be afraid to experiment! Try adding a splash of Pernod for an anise flavor with mussels, or a bit of smoky paprika with clams. The U.S. Food and Drug Administration (FDA) offers excellent resources on general seafood safety, which is always a good read before preparing any type of seafood.
Serve Hot: Steamers are best enjoyed immediately after cooking.
Troubleshooting Common Steamer Issues
Even with the best intentions, you might run into a few snags. Here’s how to handle them:
Issue: Shellfish Taking Too Long to Open
Possible Cause: Heat might not be high enough, lid isn’t sealing properly, or the shellfish are old.
Solution: Ensure your heat is set to medium-high and the lid is tight. If after 10-12 minutes, very few have opened, it might be time to discard them.
Issue: Gritty or Sandy Steamers
Possible Cause: Insufficient purging or not scrubbing well enough.
Solution: For future cooking, extend the purging time and scrub more vigorously. You can sometimes help a bit by rinsing them a final time in cold water right before cooking.
Issue: Tough, Rubbery Shellfish
Possible Cause: Overcooked.
Solution: Reduce your cooking time slightly next time. Pay close attention to the shells opening; that’s your cue.
Serving Your Perfectly Steamed Delights
Once your steamers are ready and you’ve discarded any that didn’t open, it’s time to serve!
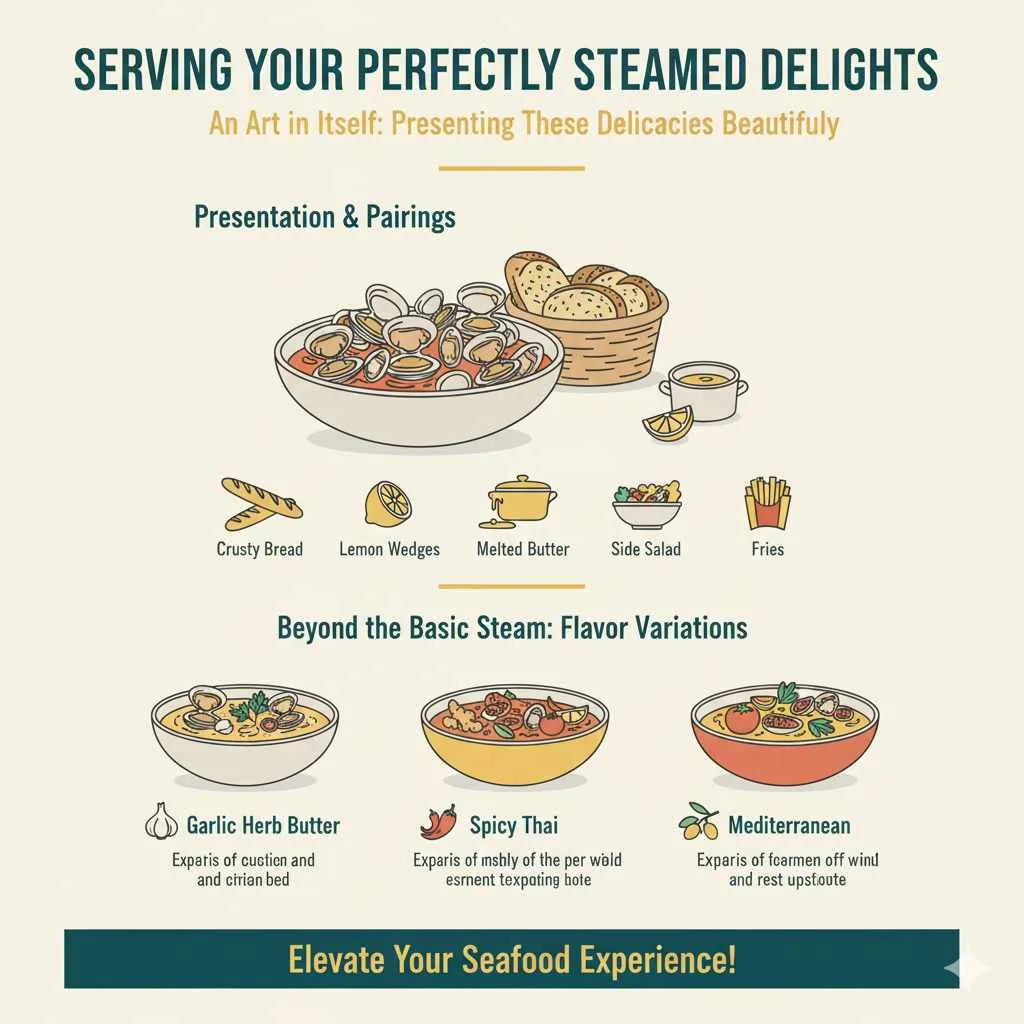
Presentation: Ladle the shellfish and their delicious broth into wide, shallow bowls.
Pairings:
Crusty Bread: Essential for soaking up the flavorful broth.
Lemon Wedges: A squeeze of fresh lemon brightens the flavor.
Melted Butter: A simple, delightful dipping sauce.
Side Salad: A light, fresh salad complements the richness of the shellfish.
Fries: For a classic moules-frites experience.
Beyond the Basic Steam: Flavor Variations
While simple steaming is wonderful, consider these variations:
Garlic Herb Butter: Add a generous amount of butter, minced garlic, and chopped parsley to the pot with the shellfish.
Spicy Thai: Use coconut milk as your liquid, add ginger, garlic, chili peppers, and cilantro.
* Mediterranean: Incorporate diced tomatoes, olives, capers, and oregano into your steaming liquid.
Frequently Asked Questions About Steaming Shellfish
Q1: How do I know if clams and mussels are fresh?
A1: Fresh clams and mussels should smell like the ocean – clean and briny. They should be tightly closed or close when tapped. Discard any that are cracked, broken, or float in water. Always buy from a reputable source.
Q2: Can I steam shellfish in advance?
A2: No, it’s best to cook shellfish just before serving. They are highly perishable and lose their optimal texture and flavor quickly after cooking. Reheating is also not recommended.
Q3: What kind of pot is best for steaming?
A3: A large pot with a tight-fitting lid is ideal. A stockpot or Dutch oven works very well. The lid is crucial for trapping steam effectively, which is the cooking agent.
Q4: Can I put too many shellfish in the pot at once?
A4: Yes, overcrowding can prevent even cooking. The steam needs to circulate around each piece. If your pot is very full, it’s better to cook them in two batches to ensure they all open properly and cook uniformly.
Q5: Do I need to add salt to the steaming liquid?
A5: If you’re using unsalted broth or water, adding a little salt (about 1 teaspoon per cup of liquid) can help season the shellfish as they cook. However, if you’re using salted broth or adding salty ingredients like soy sauce or fish sauce, you might not need extra salt. The shellfish themselves bring a natural saltiness.
Q6: How long can I purge clams and mussels?
A6: You can purge clams and mussels for at least 20-30 minutes. For best results and to ensure all grit is removed, you can purge them for up to an hour or even longer in a well-refrigerated bowl (changing the water every 30 minutes if it becomes cloudy). Don’t purge them for days, as they can die.
Q7: Are steamed oysters the same as steamed clams and mussels?
A7: Steamed oysters are also delicious and follow similar principles, but their shells tend to open even more slightly than clams or mussels when cooked. Their steaming time is often shorter, around 4-6 minutes. Always check for slight opening and discard any that remain tightly shut. For more specific guidance on oyster preparation, resources like The Shellfish Institute can be helpful.
Conclusion: Your New Go-To Seafood Dish
You see? Cooking steamed clams and mussels is wonderfully straightforward. With a little preparation to ensure they’re clean and a keen eye on those opening shells, you’re guaranteed a delicious, healthy, and impressive meal. That 5-7 minute window is your sweet spot, but always let the shellfish tell you when they’re ready by opening up. Now you have the confidence and the knowledge to create a stunning seafood dish that feels both sophisticated and approachable. So, gather your ingredients, get steaming, and savor the taste of the sea! Happy cooking!


