Quick Summary:
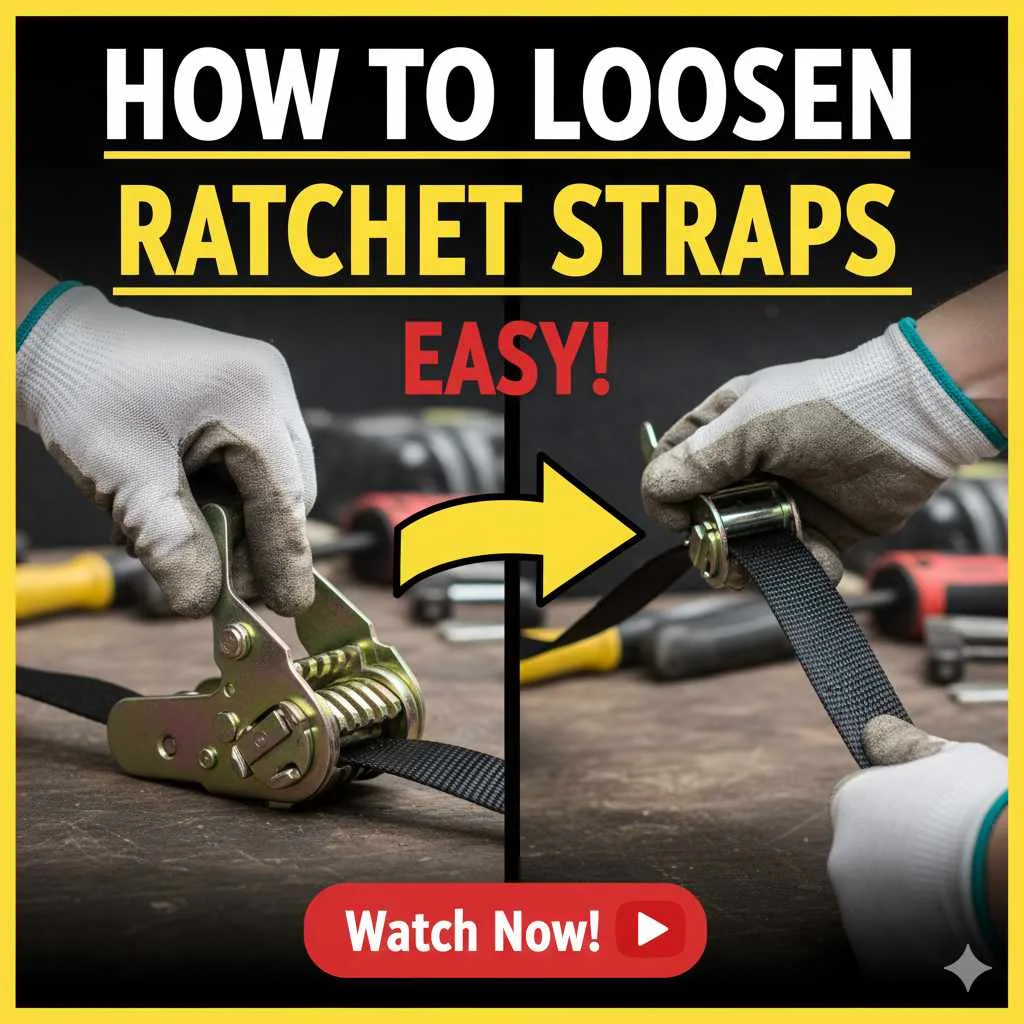
Loosening ratchet straps is simple once you know the trick! Follow these easy steps in our YouTube-inspired guide to safely release tension, preventing damage and frustration. We’ll show you the exact mechanism to disengage for a quick, secure release.
Tangled, tightened ratchet straps can feel like a real knot in your day. You’ve secured your cargo perfectly, but now releasing it feels like a wrestling match. Don’t worry! Many of us have been there, staring at that metal buckle, wondering just how to make it budge. It’s a common hurdle when hauling, moving furniture, or securing anything with these handy straps. The good news is, there’s a straightforward technique to loosen them that respects the strap and your time. This guide will break down the process so you can confidently manage your ratchet straps every single time, turning a moment of frustration into a simple task.
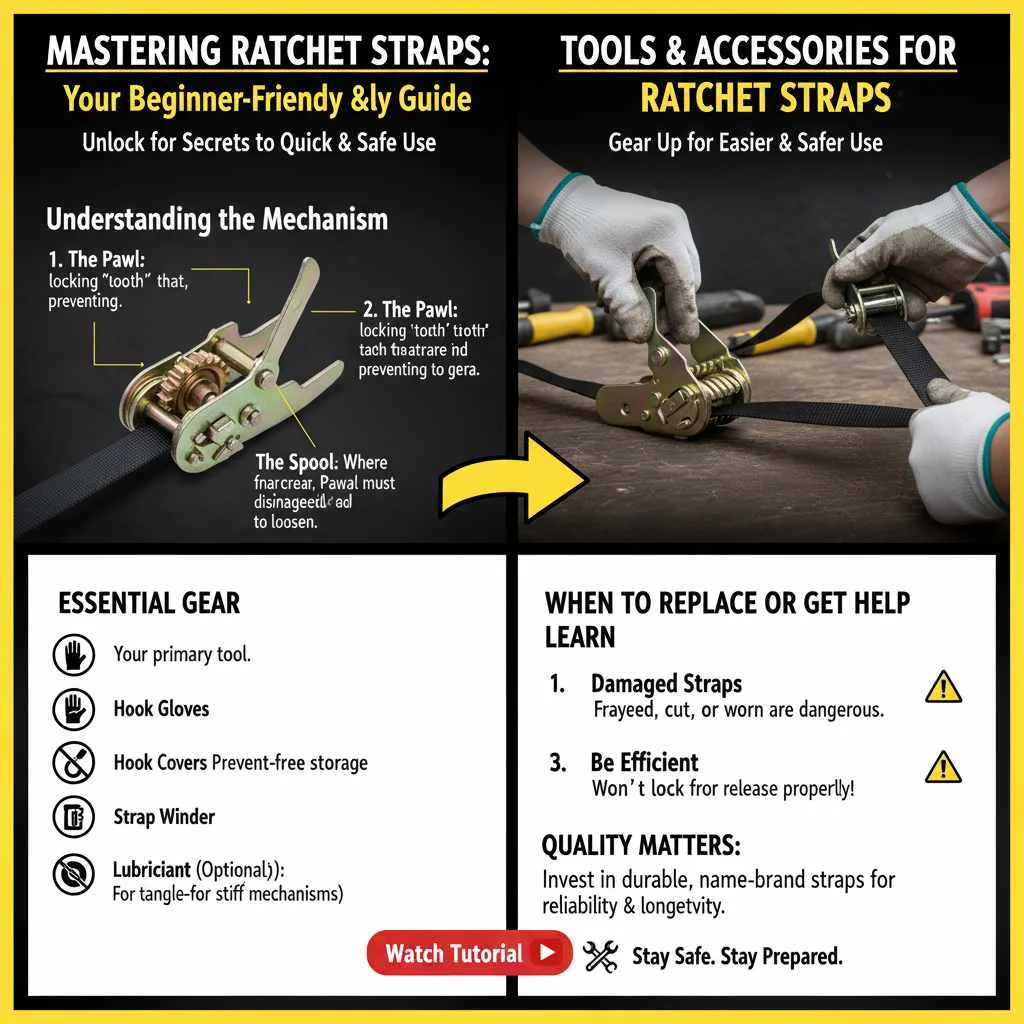
Mastering Ratchet Straps: Your Beginner-Friendly YouTube Guide
Ratchet straps are incredibly useful tools for securing all sorts of items, from your kayak on the roof of your car to furniture in a moving truck. They offer strong, reliable tension. However, when it comes to loosening them, many beginners find themselves puzzled. The frustration of a tightly locked strap can be immense, especially when you’re in a hurry or dealing with precious cargo. Thankfully, the design is clever and quite simple to operate once you understand the mechanics. We’ll walk you through how to release them, drawing inspiration from the clearest YouTube tutorials, so you can feel empowered and efficient.
Understanding the Ratchet Mechanism
Before we dive into the “how-to,” let’s quickly look at how a ratchet strap works. The core is the ratchet mechanism, usually a metal casing with a lever. Inside, there are gears and a pawl system. When you ratchet it tight, you’re moving a lever back and forth, which engages teeth on a spool, winding the strap and creating tension. The pawl is the crucial part that locks the spool in place, preventing it from unwinding. To loosen, you simply need to disengage this pawl.
Why Learning to Loosen is Important
Knowing how to properly loosen a ratchet strap is as important as knowing how to tighten it. Releasing tension incorrectly can:
- Damage the strap: Yanking or forcing can fray or break the webbing.
- Damage the ratchet mechanism: Improper manipulation can bend or break internal parts.
- Cause injury: A suddenly released strap under high tension can snap back.
- Damage your cargo: A rushed or forceful unstrapping can lead to scratches or bumps.
Our goal is to equip you with the knowledge to avoid all these issues. Think of it as learning the undo button for your tied-down items!

The Essential Steps: How to Loosen Ratchet Straps (YouTube Style!)
Most YouTube tutorials on loosening ratchet straps focus on identifying and manipulating the release lever. It’s a single, simple action that can make all the difference. Let’s break it down:
Step 1: Locate the Ratchet Mechanism
First, find the metal part of the strap system. This is the ratchet. It’s usually a rectangular or somewhat bulky metal component where the strap winds up. You’ll also see a lever attached to it. This lever is your key!
Step 2: Identify the Release Lever
On the ratchet mechanism, there’s a lever that you use to tighten the strap by moving it back and forth. There’s another part of this lever, or a distinct, smaller lever, that you need to push or pull to release the tension. It’s often a flat piece you can press down with your thumb or forefinger.
Step 3: Engage the Release Mechanism
This is the magic step! Once you’ve found the release lever (let’s call it the “release button” for clarity), you need to press it down firmly. This lifts the internal pawl away from the ratchet’s gear teeth. You might hear a click or feel a slight give. Use your thumb or finger to push this lever as far as it will go.
Step 4: Unwind the Strap
While keeping the release button fully engaged (this is crucial!), gently pull the loose end of the strap. The ratchet spool should now be free to unwind. You can usually pull the strap out freely. If it’s still tight, double-check that you are pressing the release button all the way down and that there isn’t any slack caught elsewhere on the mechanism.
Step 5: Full Release and Storage
Once the strap is completely loose, you can detach it from its anchor point. It’s good practice to coil up your straps neatly after use. This prevents them from getting tangled, dirty, or damaged, making them ready for their next job. Many straps have a hook on one end, which can be used to secure the coiled webbing.
Pro Tip: If the strap is exceptionally tight and difficult to loosen, you may need to release a little tension first by slightly pushing the strap back into the ratchet mechanism before engaging the release lever. This can sometimes free up a stuck pawl.
Common Ratchet Strap Issues and How to Fix Them
Even with understanding the basic mechanism, sometimes ratchet straps can be a bit finicky. Here are a few common problems and their solutions, much like you’d find explained clearly on YouTube.
Stuck Release Lever
Problem: The release lever won’t budge.
Solution:
- Check for Obstructions: Ensure no dirt, debris, or bent webbing is jamming the lever.
- Apply Gentle Pressure: Sometimes, a little upward or downward wiggle while pressing the lever can help.
- Lubrication: A light spray of a lubricant like WD-40 can sometimes free up a stiff lever, but use sparingly and wipe off any excess.
- Check Tension: As mentioned, try to slightly push a bit of slack back into the strap using the main spool area, then try the release lever again.
Strap Won’t Unwind
Problem: The lever releases, but the strap stays tight.
Solution:
- Ensure Lever is Fully Engaged: This is the most common reason. You must hold the release lever all the way down.
- Check for Snags: Make sure the webbing isn’t caught on anything or twisted within the mechanism.
- Gradual Release: If it’s very tight, try to pull outwards gently while keeping the lever down. You might need to let out a little bit of slack at a time.
Damaged Webbing or Ratchet
Problem: The strap or the metal ratchet looks damaged (frayed, torn, bent).
Solution:
- Inspect Thoroughly: Look for any signs of wear and tear. Frayed edges, cuts, or worn spots on the webbing are serious safety concerns. Bent or cracked metal on the ratchet mechanism are also critical failures.
- Do Not Use: For safety reasons, any ratchet strap showing significant damage should be retired immediately. You can find replacement straps and mechanisms, but often it’s safer and more cost-effective to buy a new strap assembly. Reputable sources for tie-down equipment include companies like US Cargo Control or Eckert’s.
- Proper Handling: To prevent future damage, always handle straps with care, avoid dragging them over rough surfaces, and don’t overtighten past the strap’s working load limit. You can learn more about working load limits from the Occupational Safety and Health Administration (OSHA) guidelines on material handling.
These fixes are often demonstrated visually on YouTube, showing you exactly where to look and what to do. A quick search for “ratchet strap stuck release” will bring up many helpful videos.
Tools and Accessories for Ratchet Straps
While you usually don’t need many tools to loosen ratchet straps, having a few helpful accessories can make the job even easier and safer.
Essential Tools & Accessories:
- Your Hands: The primary tool!
- Gloves: Protect your hands from rough webbing and sharp edges, especially when dealing with very tight straps or dusty conditions.
- Ratchet Strap Hook Covers: Small plastic caps that can protect your vehicle or cargo from scratches from the metal hooks.
- Strap Winders: Devices that help you neatly coil your straps for storage, preventing tangles.
- Lubricant (e.g., WD-40): For occasional use on a stiff lever, used sparingly.
When to Consider Professional Help or Replacement:
If you’ve followed all the steps and a strap simply won’t disengage, or if any part of the strap looks compromised, it’s time to consider replacement. Cheaply made straps might not be designed for easy release or may fail prematurely. Investing in quality tie-down equipment from known brands offers peace of mind and better durability. Companies specializing in cargo control, like Kinedyne or Ancra, offer durable products that are built to last.
A Comparison: Ratchet Strap Types and Their Release Mechanisms
While most ratchet straps share a similar release principle, there can be slight variations in the lever design across different brands and types. Understanding these can help you adapt.
| Strap Type | Typical Release Mechanism | Notes for Loosening |
|---|---|---|
| Standard Ratchet Strap with Hook Ends | Push-down lever on the side of the ratchet | Most common. Ensure lever is fully down before pulling strap. |
| Ratchet Strap with Chain Extensions | Similar push-down lever | The chain can add weight, making it feel more stubborn. Ensure the lever is fully engaged to release the webbing spool. |
| Bulk Tie-Down Straps (e.g., for lumber) | Larger, more robust levers, sometimes requiring more force | May have a slightly different feel but operates on the same pawl-and-gear principle. |
| Cam Buckle Straps | No ratchet mechanism; uses a cam that grips the strap. | These don’t ‘ratchet’ and are released by disengaging the cam lever, which is typically a simple pull or lift action. Much simpler to loosen but offers less tension. |
The key takeaway is that the overwhelming majority of tie-down straps that use a ratcheting system rely on a movable lever to disengage the locking mechanism. The specific shape or placement of this lever is the only minor variation you’re likely to encounter.
Frequently Asked Questions About Loosening Ratchet Straps
Here are some common questions beginners have:
Q1: Do I need special tools to loosen a ratchet strap?
A: No, usually not! Your hands are generally all you need. Sometimes, gloves are helpful for grip and protection. Only in rare cases of a very stuck lever might a lubricant be considered.
Q2: What’s the ‘trigger’ on a ratchet strap?
A: The ‘trigger,’ often called the release lever or button, is a part of the metal ratchet mechanism that you push or pull to disengage the locking pawl, allowing the strap to unwind.
Q3: My ratchet strap is really tight. How do I get it to loosen?
A: First, make sure you are pressing the release lever all the way down. If it’s still stuck, try gently pushing a bit of the strap back into the spool while holding the lever down. This can help free up the internal mechanism.
Q4: Can I just cut the strap if it’s stuck?
A: Cutting a strap is a last resort. It damages the strap and can be dangerous if the strap is under significant tension. Always try to disengage the release lever first. Cutting should only be considered if the strap is old, damaged, and needs to be discarded anyway, and even then, with extreme caution.
Q5: How do I prevent my ratchet straps from getting tangled?
A: Coil them neatly after each use. Many straps can be secured with their own hook or a Velcro strap. Consider using a dedicated strap winder for larger collections.
Q6: What is the difference between a ratchet strap and a toggle strap?
A: A ratchet strap uses a mechanism with gears and a pawl to tighten and hold tension, allowing for very high tension. A toggle strap, or cam strap, uses a cam that grips the strap frictionally and is released by a simple lever. Cam straps offer less tension but are much easier to loosen.
Q7: Is it dangerous to loosen a ratchet strap?
A: Releasing tension too quickly or carelessly can cause the strap to snap back. Always ensure you have a firm grip on the strap and that your fingers are clear of the mechanism and the travel path of the strap as it unwinds. Release tension gradually.
Conclusion: Confidently Managing Your Ratchet Straps
Learning how to loosen ratchet straps is a simple yet essential skill for anyone who uses them. By understanding the basic mechanics and following the straightforward steps—locating the release lever, engaging it fully, and gently unwinding—you can tackle this task with confidence and ease. Remember to always prioritize safety, inspect your straps for damage, and never force a mechanism that feels improperly stuck.
These guides, inspired by clear visual demonstrations you’d find on YouTube, are designed to demystify the process. With a little practice, loosening ratchet straps will become as second nature as tightening them. You’ll save time, prevent damage, and keep your gear secure and ready for your next adventure or project. So next time you need to unstrap cargo, you’ll know exactly what to do. Happy securing, and happy un-securing!