Learn how to hang a shelf with brackets easily! This guide provides simple, step-by-step instructions for beginners to securely mount shelves, transforming any space with stylish and functional storage. Get ready to add your personal touch to your home decor.
Ever feel like your walls are just begging for a little something extra? Adding shelves is a fantastic way to bring in personality, style, and much-needed storage without taking up precious floor space. But the thought of drilling holes and hoping for the best can be a bit daunting, right? Don’t worry! Hanging a shelf with brackets is actually one of the most straightforward DIY projects you can tackle. Think of it as adding a beautiful frame to your favorite decor items or creating a practical spot for everyday essentials. This guide is designed to make you feel completely confident, breaking down each step into easy-to-follow instructions. We’ll cover everything from picking the right brackets to making sure your shelf is perfectly level and secure. Get ready to transform your space!
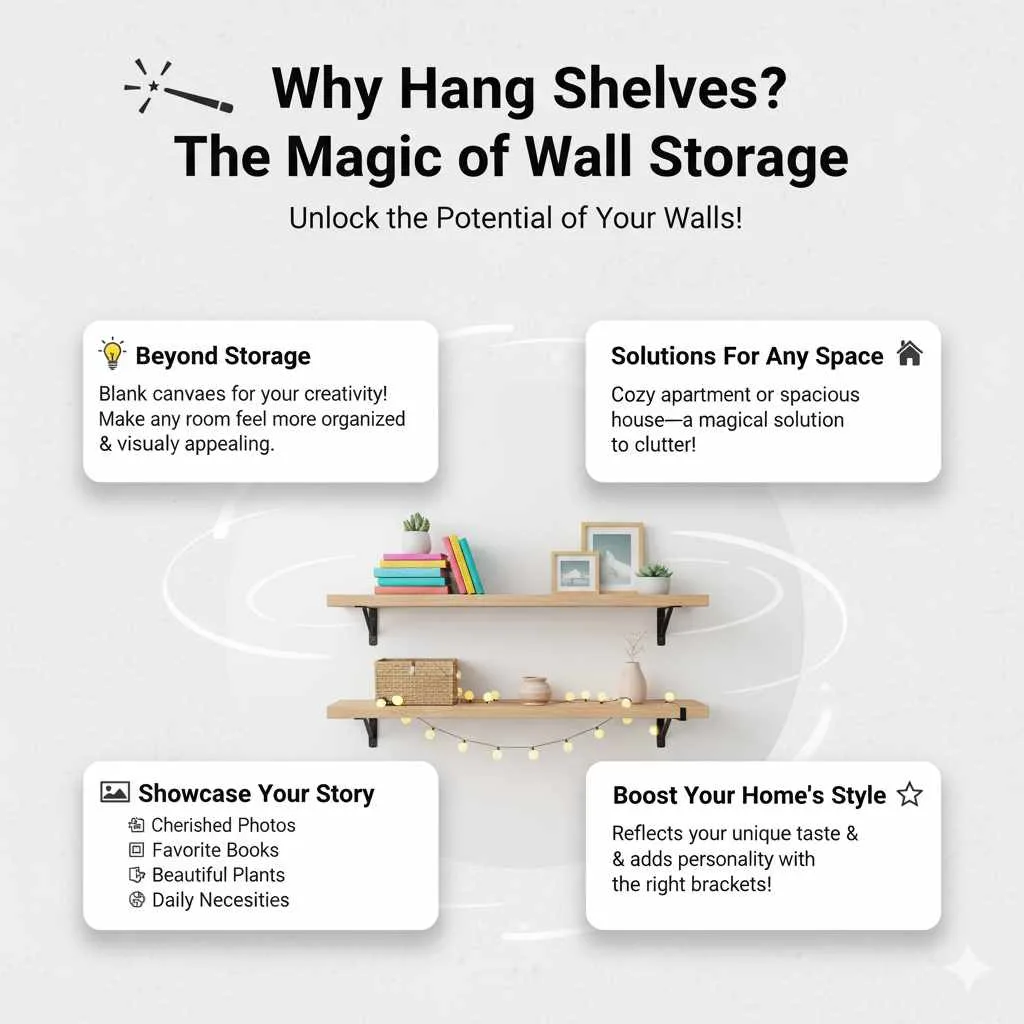
Why Hang Shelves? The Magic of Wall Storage
Shelves are more than just places to put things; they’re blank canvases for your creativity! They’re your secret weapon for making any room feel more organized and visually appealing. Whether you’re in a cozy apartment or a spacious house, shelves offer a magical solution to clutter. They can highlight your cherished photos, display your favorite books, showcase beautiful plants, or simply keep your daily necessities within easy reach. Plus, the right brackets and shelves can add a whole lot of style to your home, reflecting your unique taste and personality. Let’s unlock the potential of your walls!
Choosing Your Shelf and Bracket Style
Before we grab our tools, let’s talk about the fun part: picking the perfect shelf and brackets! This is where your personal style truly shines. Think about the room the shelf will live in and what you’ll be storing on it.
Shelf Materials
- Wood: Classic, versatile, and can be painted or stained to match any decor. Pine, oak, or MDF are common choices.
- Metal: Offers a modern, industrial, or minimalist look. Great for heavier items.
- Glass: Sleek and airy, perfect for bathrooms or showcasing delicate items.
- Floating Shelves: Appear to hover on the wall with hidden brackets, creating a clean, minimalist look.
Bracket Types
Brackets are the unsung heroes, providing support and adding to the aesthetic. Here are a few popular styles:
- L-Brackets: The most common and versatile. They come in various sizes, materials (metal, wood), and finishes (black, white, brass, stainless steel).
- Corner Brackets: Designed to fit into corners, maximizing often-unused space.
- Decorative Brackets: Often feature ornate designs, scrollwork, or unique shapes to add a decorative element beyond just support.
- Floating Shelf Brackets: These are internal hardware that screws into the wall and then into the shelf, making the shelf appear to float.
- Continuous or Bar Brackets: A long bar that runs behind the shelf, offering a minimalist look and strong support, often used for modern or floating shelves.
Gathering Your Essential Tools and Materials
Having the right tools makes any DIY project smoother and more successful. Don’t worry if you don’t have everything; many of these are standard household items, and some can be borrowed or are inexpensive to purchase.
What You’ll Need:
- Your Shelf and Brackets: Chosen based on your style and needs.
- Level: Absolutely crucial for a straight shelf! A 24-inch level is a good starting point.
- Measuring Tape: For precise placement.
- Pencil: For marking measurements and pilot holes.
- Drill with Drill Bits: To create pilot holes and drive screws. Various sizes are helpful.
- Screwdriver: If you prefer not to use a drill for driving screws.
- Stud Finder: Essential for locating wall studs, which provide the strongest support.
- Wall Anchors (if not screwing into studs): For drywall, plaster, or hollow walls. Use anchors appropriate for your wall type and the weight you plan to put on the shelf (e.g., toggle bolts, molly bolts, screw-in anchors). A helpful resource for understanding wall types and anchors can be found on the This Old House website.
- Safety Glasses: Always protect your eyes when drilling!
- Screws: Ensure they are long enough to go through your bracket, the wall material, and into the stud or anchor securely. The length will depend on your bracket and wall depth.
- Optional: Sandpaper and Paint/Stain: If you’re customizing your shelf.
- Optional: Small Pry Bar or Putty Knife: To help remove old anchors if needed.
Step-by-Step: How to Hang Shelf With Brackets
This is where we bring your vision to life! Follow these steps carefully, and you’ll have a beautifully hung shelf in no time, ready to hold your treasures.
Step 1: Plan Your Shelf Placement
This is more than just picking a spot. Think about:
- Height: Where do you want it? Consider comfortable reach, visual balance with other decor, and clearance for things like doors or windows. A good rule of thumb for living areas is to place shelves about 60-72 inches from the floor.
- Purpose: Will it hold heavy books? Light decor? This influences where you’ll need to find studs.
- Visual Flow: Does the shelf placement make sense with the rest of your room’s layout and other furniture?
Step 2: Locate Wall Studs
This is the MOST important step for a strong, reliable shelf. Wall studs are vertical pieces of wood (or sometimes metal) inside your walls that provide solid support.
- Use your stud finder. Gently slide it across the wall where you plan to hang your shelf.
- Mark the edges of the studs you find with your pencil. Most electrical boxes on stud finders have lights or sounds to indicate a stud.
- Aim to place at least one, preferably two, of your bracket screws into a stud. If your shelf is long, try to get at least one screw per bracket into a stud. For shelves holding significant weight, aim for two screws into a stud per bracket, if possible.
- Don’t have a stud finder? You can tap on the wall; a solid sound usually means a stud is present, while a hollow sound indicates air or insulation. You can also carefully remove a small piece of trim or baseboard and look inside the wall cavity for studs.
Step 3: Mark Bracket Placement
Now it’s time to get precise!
- Hold your first bracket up to the wall at your desired height. Use your level to ensure it’s perfectly straight.
- Mark the screw hole locations on the wall with your pencil.
- If you’re attaching the bracket to a stud, ensure your marks are on the stud.
- If you cannot hit a stud for a particular screw, you’ll need a wall anchor (see Step 4).
- Repeat this for your second bracket, measuring carefully to ensure it’s the correct distance apart to match your shelf. Use your level on the wall between the pencil marks to confirm they’re at the same height.
- Tip: For longer shelves, or if you’re unsure about bracket spacing, place your shelf upside down on a flat surface and measure the distance between the screw holes on the brackets when they are in their intended positions.
Step 4: Prepare for Screws (Drill Pilot Holes or Insert Anchors)
This step depends on whether you’re drilling into a stud or drywall.
If you are screwing into a stud:
- Choose a drill bit that is slightly smaller than the diameter of your screws.
- Drill pilot holes at each pencil mark where you’re hitting a stud. This makes driving the screws much easier and prevents the wood stud from splitting.
If you are NOT screwing into a stud (using anchors):
- Your wall anchors will come with instructions. Generally, you’ll need to drill a hole of a specific size (indicated on the anchor packaging) at your marked locations.
- Insert the wall anchor into the hole. Some anchors might require you to gently tap them in with a hammer or screw them in.
- Important Consideration: For heavy-duty shelving, or if you have concerns about drywall strength, it’s always best to try and incorporate stud attachment. Consult anchor manufacturer weight limits for guidance. For example, Toggler’s Heavy Duty Toggle Bolts are a popular and strong option for drywall.
Step 5: Install the Brackets
Time to secure the brackets!
- Align your first bracket with the pilot holes (or anchors).
- Using your drill or screwdriver, drive the screws firmly through the bracket and into the wall. If using anchors, drive the screws into the anchors.
- Ensure the bracket is snug and secure against the wall; there should be no wobble.
- Repeat for the second bracket. Double-check that both brackets are level with each other!
Step 6: Place and Secure the Shelf
The moment of truth!
- Carefully place your shelf onto the installed brackets.
- Most shelves will have pre-drilled holes on the underside to attach them to the brackets for added security. If yours does, align these holes with the holes on your brackets.
- Use your drill or screwdriver to drive screws through the shelf and into the brackets.
- If your shelf doesn’t have pre-drilled holes, and you want extra security (especially for higher shelves or if you have kids/pets), you can drill pilot holes and then drive screws up from the underside of the bracket into the shelf.
Step 7: Final Check and Styling
You did it!
- Gently push and pull on the shelf to ensure it’s completely stable.
- Wipe away any pencil marks.
- Now for the best part: arrange your decor, books, or essentials on your new, perfectly hung shelf!
Weight Capacity: What Your Shelf Can Hold
Understanding weight capacity is crucial for safety and longevity. It’s not just about the shelf itself, but also the brackets and how they are installed.
Factors Affecting Weight Capacity:
- Bracket Strength: Thicker metal brackets or solid wood brackets are generally stronger.
- Mounting Method: Securing brackets into wall studs offers the highest weight capacity.
- Wall Anchors: Different anchors have different weight limits. Always check the packaging.
- Shelf Material: Solid wood or metal shelves can bear more weight than hollow shelves or glass.
- Distribution: Evenly distributing weight across the shelf and brackets is key.
- Installation Quality: A securely installed shelf will always hold more than a loosely fixed one.
General Guidelines:
It’s difficult to give exact numbers as they vary so much. However, here’s a general idea:
| Installation Method | Estimated Max Weight Per Bracket (General) |
|---|---|
| Screws into Wall Studs | 25-50+ lbs |
| Screws into Heavy-Duty Drywall Anchors (e.g., Toggle Bolts) | 15-30 lbs |
| Screws into Standard Drywall Anchors (e.g., Plastic Expansion Anchors) | 5-15 lbs |
Always consult the manufacturer’s specifications for your specific brackets and anchors. If you are unsure about the weight capacity of your installation, lean towards caution and test by applying gentle pressure before placing heavy items.
Troubleshooting Common Issues
Even the best DIYers run into small hiccups. Here are a few common problems and how to fix them:
- Shelf Isn’t Level: This usually happens if the brackets aren’t installed at the same height. You may need to loosen the screws on the higher bracket, shim underneath it with a thin piece of wood or cardboard, and re-tighten, or reposition the brackets if it’s significantly off.
- Screws Won’t Tighten/Keep Spinning: This often means you’ve stripped the screw hole. If it’s in a stud, you might be able to use a slightly larger screw. If it’s in an anchor, the anchor may be damaged, and you’ll need to remove it, insert a new one, and try again.
- Wobbly Shelf: Ensure all screws are tight. If the wall itself is flexible, you might need to add more brackets or use longer screws to reach deeper into the wall or studs.
- Can’t Find a Stud: Don’t force screws into the wall without proper anchors if you miss a stud. Use appropriate drywall anchors designed for the weight you intend to place on the shelf.
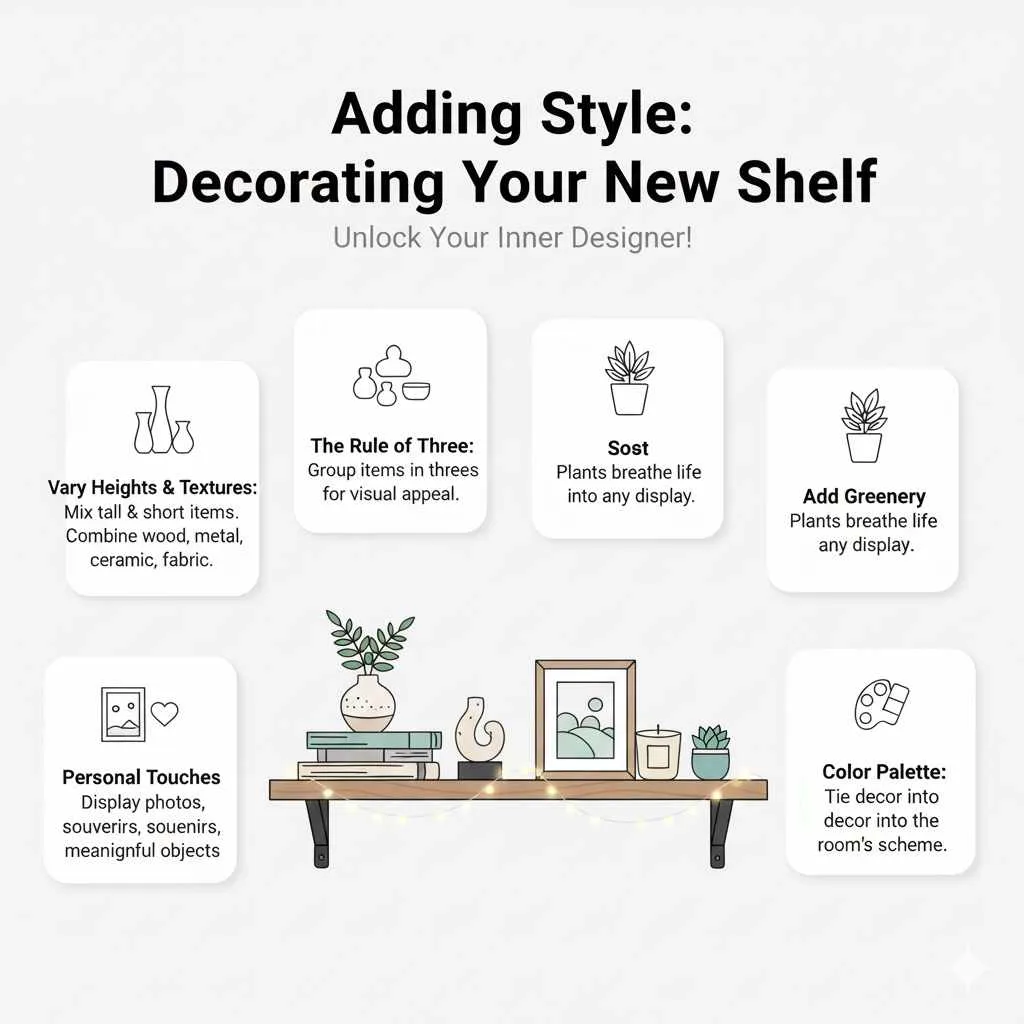
Adding Style: Decorating Your New Shelf
Once your shelf is securely in place, the real decorating fun begins! This is your chance to add personality and flair to your room.
Tips for Beautiful Shelf Styling:
- Vary Heights and Textures: Mix tall items (vases, books) with shorter ones (small sculptures, candles). Combine different materials like wood, metal, ceramic, and fabric.
- The Rule of Three: Grouping items in threes often creates visually pleasing arrangements.
- Add Greenery: A small plant or a bit of faux foliage can breathe life into any shelf display.
- Incorporate Personal Touches: Display photos, souvenirs, or meaningful objects that tell your story.
- Leave Some Space: Don’t overcrowd the shelf. Negative space allows your items to stand out and prevents the shelf from looking cluttered.
- Consider Color Palette: Tie your shelf decor into the room’s existing color scheme for a cohesive look.
- Think About Lighting: A small spotlight or accent light can make your shelf a focal point.
Frequently Asked Questions (FAQ)
Q1: What is the most important thing to remember when hanging a shelf?
The most important thing is to ensure the shelf is mounted securely. This means screwing into wall studs whenever possible or using appropriate, high-quality wall anchors if studs aren’t available. Safety first!
Q2: How far apart should shelf brackets be?
The distance depends on the length of your shelf and the weight it will hold. For standard shelves (24-36 inches), placing brackets at each end is usually sufficient. For longer shelves, add a bracket in the middle for extra support. Always check the shelf and bracket manufacturer’s recommendations.
Q3: Can I hang a shelf on a plaster wall?
Yes, you can hang shelves on plaster walls. However, plaster walls can be more brittle than drywall. It’s highly recommended to locate studs for the strongest support. If you must use anchors, opt for heavy-duty anchors like toggle bolts, as standard plastic anchors may not hold well.
Q4: How do I know if I’m drilling into a stud?
A stud finder is the easiest way. If you don’t have one, you can tap the wall; a solid thud indicates a stud, while a hollow sound means there isn’t one. You can also use a small drill bit to carefully probe the wall at your marked spot. If it meets solid resistance, it’s likely a stud.
Q5: What happens if I can’t find a stud and need to hang my shelf?
You’ll need to use wall anchors. Choose anchors rated for the weight you anticipate placing on the shelf. Heavy-duty options like toggle bolts or molly bolts are excellent for drywall and hollow walls. Always follow the anchor’s installation instructions carefully.
Q6: How much weight can a shelf bracket hold?
Weight capacity varies greatly by bracket size, material, and how it’s installed. Brackets screwed directly into studs can often hold 25-50 lbs or more per bracket. Brackets relying solely on drywall anchors will have a lower capacity, typically 5-15 lbs for standard anchors, or up to 30 lbs for heavy-duty ones. Always check product specifications.
Conclusion
See? You totally have this! Hanging a shelf with brackets is a foundational DIY skill that opens